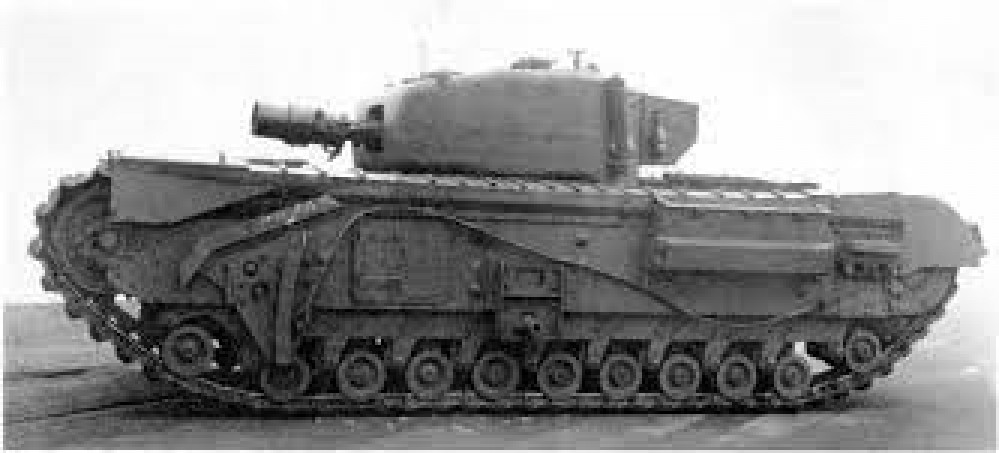
How to be an Armoured Farmer, building Hobart's Funnies in Glorious 15mm (and maybe 28mm if they arrive in time!)
Building the Small Box Girder Bridge Layer (SBG)
The first thing to note for all the rivet counters out there in gaming land, is that this is not an SBG in the truest sense of the term, if it was it wouldn’t have a flat bottom to the bridge but would be at the same inverse angle as the top (to make an elongated diamond shape). The metal SBG I got hold of from SkyTrex is a true SBG. so what about this one, well from the evidence I can find it is a scissor bridge (folding) variant of and SBG, what I cannot confirm is whether they landed on D Day. all of the photos that exist only show the fixed bridge variants, so this type was more likely to have been used further in land. I have to be honest and state that this one, whilst I think it looks the best out of the two bridge layers I have bought, was definitely the most fiddly to put together. Also note the deliberate mistake I make with the Bank Seat Beam (the bits on the end of a bridge that actually sit on the river/gap banks). I still think it looks better the way I first did it, even though I know exactly why and how they should have been the other way around. And being a minor league rivet counter, I couldn’t just leave it being wrong, so a lot of swearing and careful scalpel work later I managed to swap them around.
So on with the build.
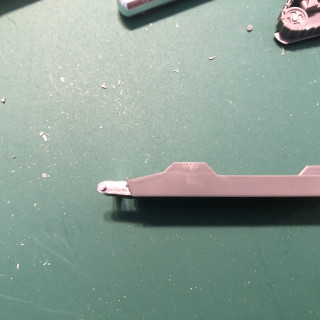
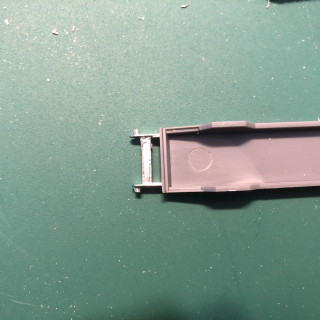
The first thing I did was to fix the bridge mounting hardpoint to the front of the hull of the AVRE. I did it now so that I had easy access for any adjustments/filing to get the best fit possible (as it will be taking all the weight of the finished bridge).
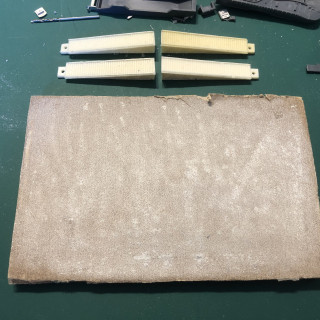
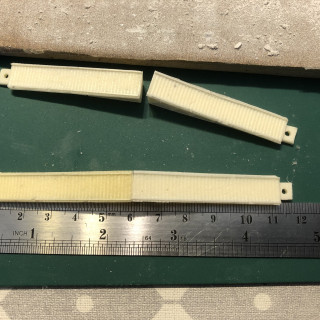
The next thing to do was clean down and sand straight the four bridge ramps. i used a straight edge and ruler to make sure that each pair would be the same length and kept checking to ensure any sanding I did was square so i ended up with mated surfaces for gluing together with gorilla glue.


![TerrainFest 2024! Build Terrain With OnTableTop & Win A £300 Prize [Extended!]](https://images.beastsofwar.com/2024/10/TerrainFEST-2024-Social-Media-Post-Square-225-127.jpg)




Leave a Reply