Digital dice roller
Crack out the ferric chloride!
While everything had been proven on the breadboard and the code tested to destruction, it was finally time to push everything together and see if it actually worked as a final, completed, assembled “thing”.
Which meant home-etching a few PCBs to try things out (the PCBs I’d ordered from China are still nowhere to be seen – perhaps stuck onboard a ship wedged horizontally across the Persian Gulf I’ve no doubt).
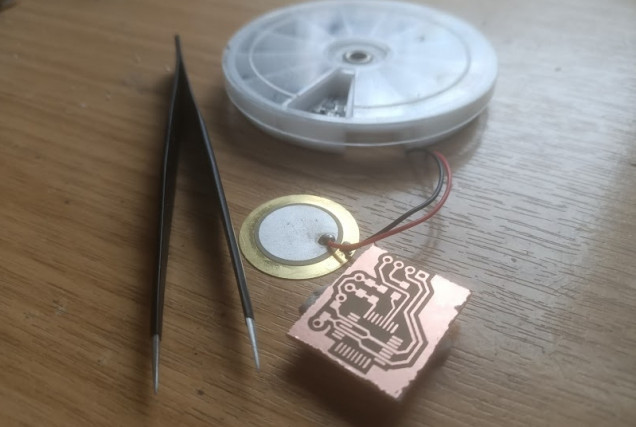
So I dropped the PCB layout onto my laser cuttter and etched the car-paint mask off the copper clad surface and threw it into some heated ferric chloride. The result was a nice, shiny-looking circuit board:
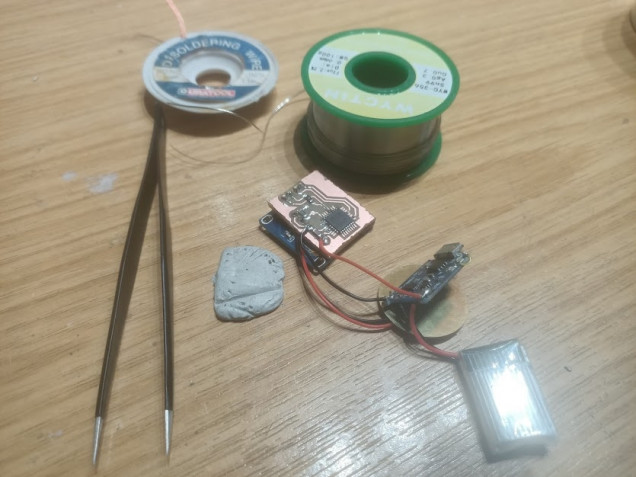
Using a fine soldering iron tip, some tweezers, and some ever-handy blue-tack (to act like a third hand and hold everything in place) I soldered the AVR microcontroller onto the PCB and added in the 1206-sized discrete components
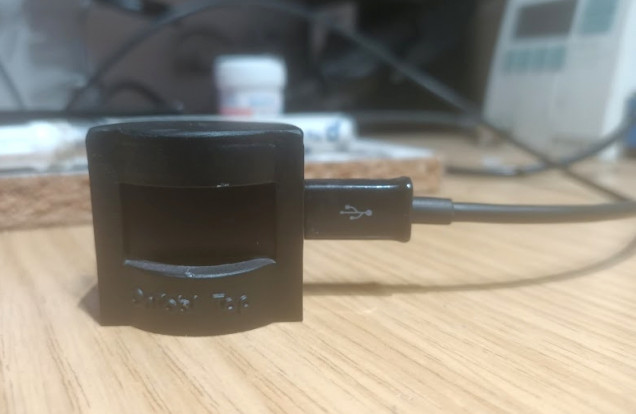
Then I jammed the whole lot inside my 3d-printed enclosure and filled with copious amounts of hot glue, to stop anything from moving around inside. The piezo was hot-glued to the underside and the device then plugged in to a phone charger (micro USB, 5v) supply and left for an hour or so to fully charge up.


![TerrainFest 2024 Begins! Build Terrain With OnTableTop & Win A £300 Prize! [Extended!]](https://images.beastsofwar.com/2024/10/TerrainFEST-2024-Social-Media-Post-Square-225-127.jpg)


Leave a Reply