How to be an Armoured Farmer, building Hobart's Funnies in Glorious 15mm (and maybe 28mm if they arrive in time!)
And now to add the gribbly bits!
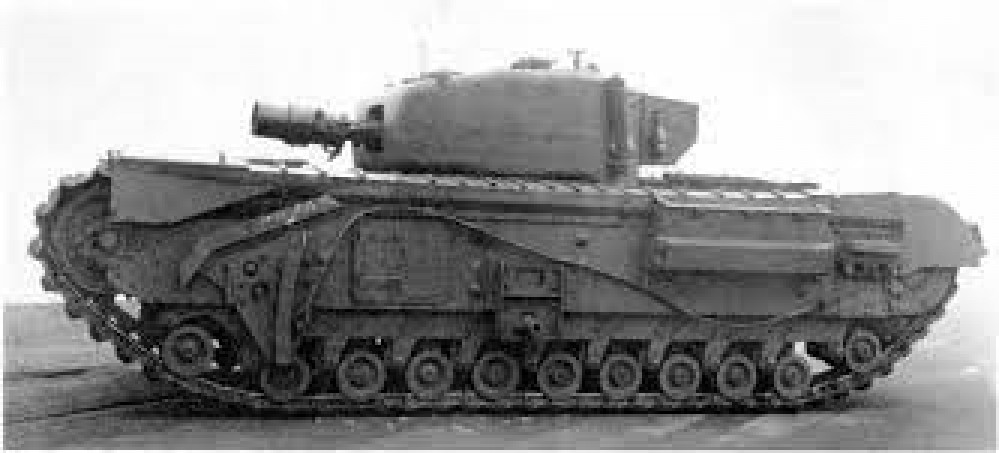
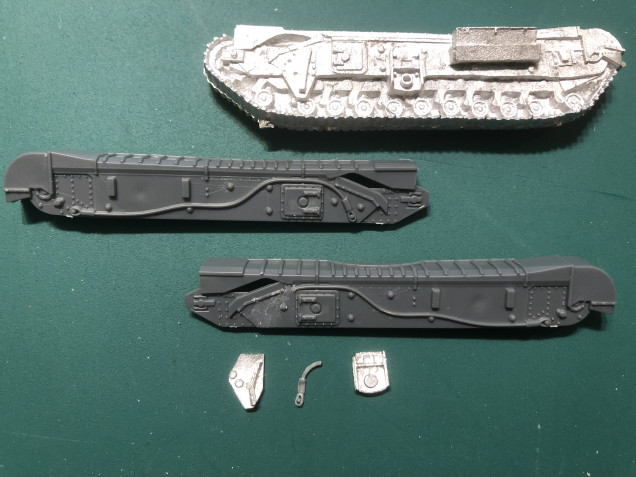
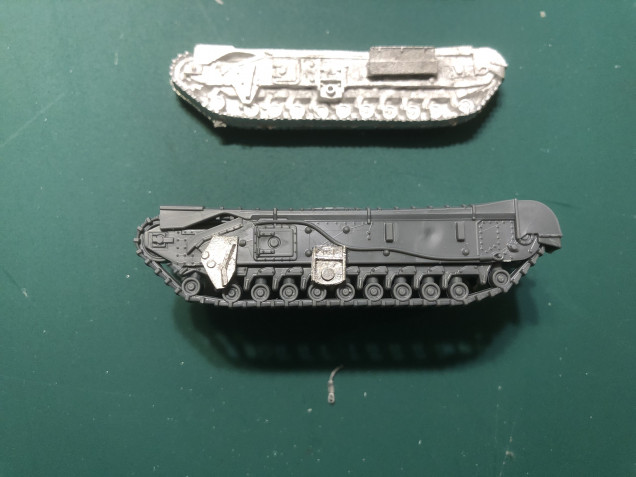
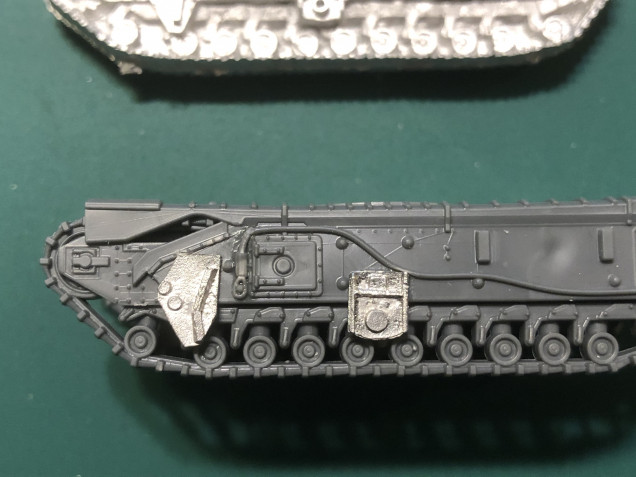
As all of the D Day version will have the hard points for the various funnies attached to them I needed to do some extremely careful scalpel work. The first to the rear hardpoint was to cut a tiny notch out of the tow cable so that the S&S model piece would sit down properly and also remove one of the larger rivet heads. I also filed down the white metal to make it a bit thinner and to make that sit better. The last little bit I did was to note where it sat and remove the plastic bolt heads underneath it, again to ensure it sat down properly. Later on I found that with a very new scalpel, I could cut underneath the tow cable all together at this point and simply push it out of the way and then glue it back down once the hardpoint was fixed in place.
The forward hardpoint was a bit more difficult, as not only did I need to cut away the bolt and rivet heads in the way, I also had to move the end of the tow cable. In my first attempt, I cut it off completely and repositioned it down the side of the side hatch. This matched the reference photos I had but was a bit of a faff, as I had to hide the joint where I cut off the cable. I then found another reference photo of the cable running over the top of the forward hard point and with some very careful cutting I managed to cut away the cable without have to remove it, it was then just a case of bending it to suit the new location and gluing it in place. The last bits to do was to file down the white metal as before and also take a small nick out of a bit of detail in the top left hand corner so that it would locate in the correct position (again as per the reference photos).


Leave a Reply