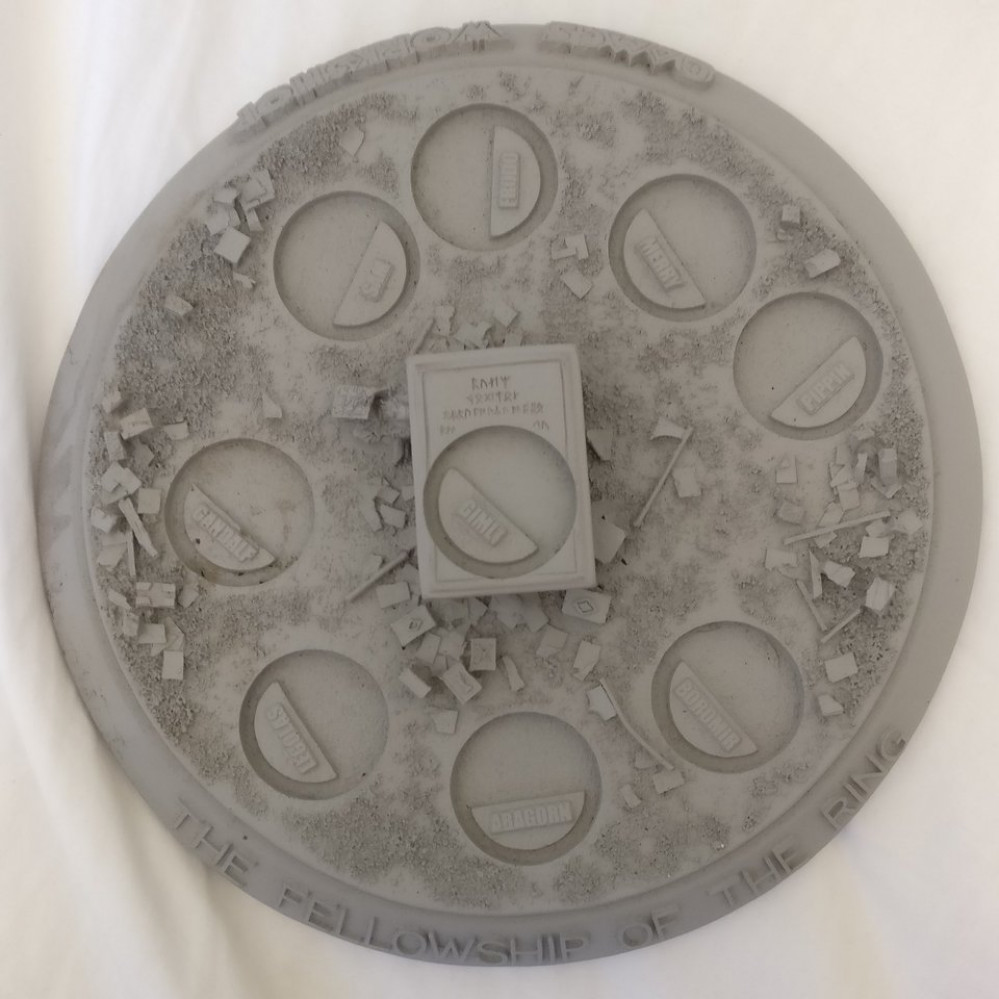
Balins Tomb: Save yourself £50+
Cut out the base and add some depth.
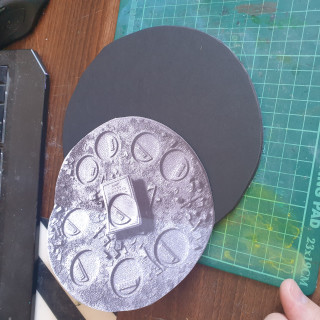
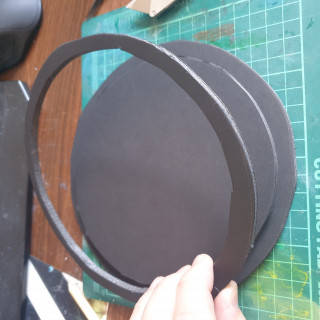
Cut out two equal sized discs of foam core 1cm larger than the top of the diorama. Then cut one of them down to the correct size using your printed layout as a guide.
Stick these two pieces together using good old PVA.
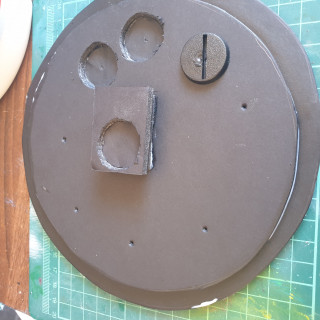
I also made the tomb out of two pieces cut into rectangles one again slightly smaller than the other. Place them in the centre I found cutting the tomb away from the template allows you to place it in the right spot.
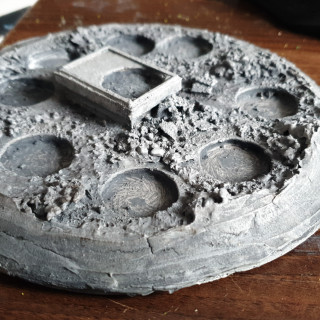
Again using the template as a guide to draw out the placement of the cut outs for each of the nine minis. Punch a hole with a pencil for each of the centres and cut them out carefully. (This can and should be done prior to gluing for ease but I did it afterwards and it worked out fine just be careful to not cut through both layers) Add a little extra detail to the top of the tomb using thinly sliced toothpicks or wooden stirrers.
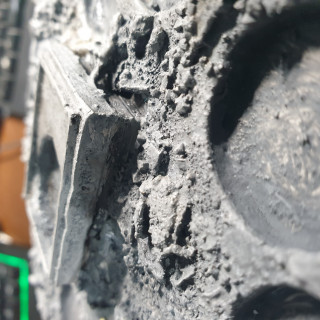
After this step it’s onto layering some texture. I used smal pebbles from an old fish tank, chopped up foam core roughed up in a tub filled with sharp stones, some course basing mix and grout mixed with PVA and cheap acrylic craft paint.
Layer the mix around the edge to add a sloped edge to the plinth.
Use your cheap acrylic paint to mix up a base coat for the rocks. I’ve found mixing in some extra PVA seals the edges of the foam core allowing you to spray paint it as a base coat without melting exposed foam.
The final image is of the stage after painting and base coating.


![TerrainFest 2024 Begins! Build Terrain With OnTableTop & Win A £300 Prize! [Extended!]](https://images.beastsofwar.com/2024/10/TerrainFEST-2024-Social-Media-Post-Square-225-127.jpg)




Leave a Reply