Demystifying Freehand With 144artist
Exercises to Change One's Perspective
As I mentioned in the intro, I have a background in illustration but anyone who can write their name with a felt tipped pen can learn to do what I do. Along similar lines, I heartily suggest watching the excellent Gerry Can episode on using pens for fine detail. A big part of dealing with anything new or intimidating is to break into its elemental parts and change one’s view. Freehand detail on miniatures comes down to lines and dots, just like writing. A lower case “t” written on a shield is a cross, extend the lines and the shield is now quartered. I’ll go into more depth about breaking visuals down into simpler bits in later posts. For now I wanted to start with some exercises which will go a long way in helping anyone build up control and confidence quickly
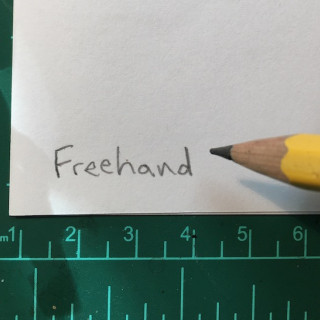
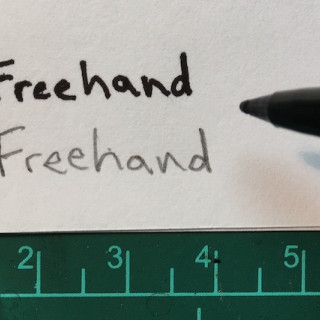
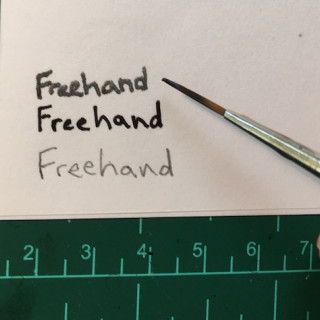
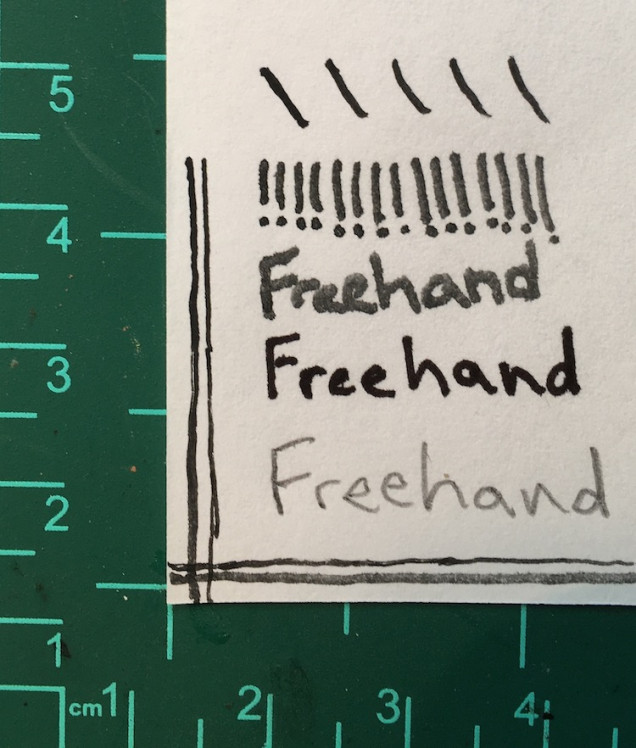
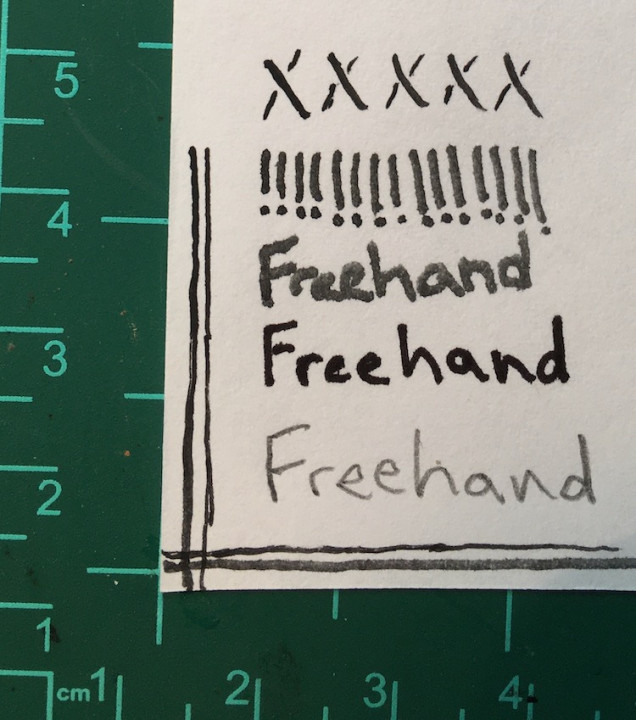
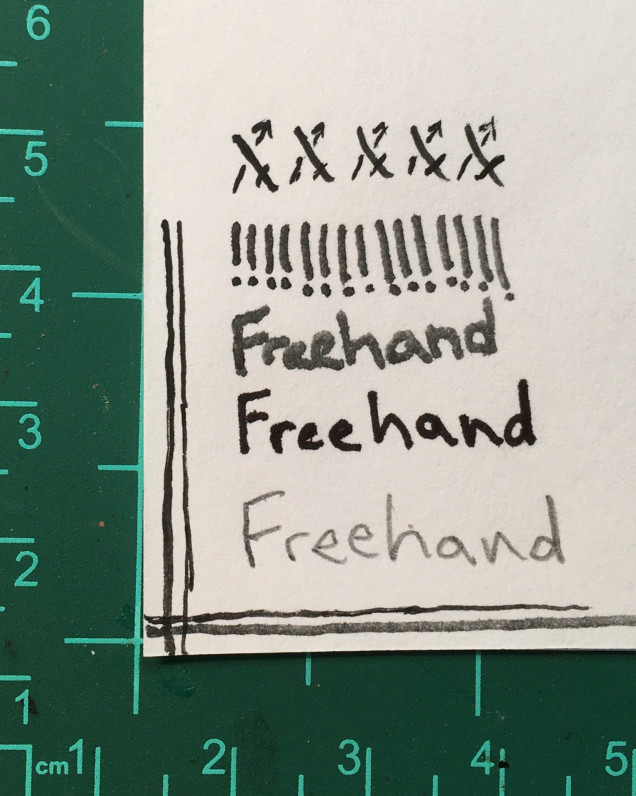
Start by printing a name or phrase in neat, small letters first in pencil on a piece of paper (easier and cheaper than minis). Using a familiar tool that erases eliminates any subconscious worries of “not getting it right”. Once the line of ink is started you don’t even think about that, just the movements. Unlike the example, repeat the word again and again to form a line of letters/words all the way across the page. Beneath this, repeat the process with a felt tip or Micron pen as either require a gentle touch. Don’t try to be perfect, just as close as you can so don’t sweat the lines wavering in thickness too much. A solid dot can still read as an “O” and this about building muscle memory. Finally, the process is repeated with a fine tipped brush. A size 0 as is plenty small enough if you keep the tip clean and sharp. Use a very gentle pressure, like with the felt tip pen, to maximize control of the brush and paint as well as protect that delicate point. I prefer long bristles as they hold more moisture which helps the paint move down them smoothly. A wet pallet for fine detail can be helpful as it keeps the paint moist though even without one I still recommend adding a little water to most paints to achieve a consistency like cream. The smoother the paint flows down and off the bristles the smoother the learning process.
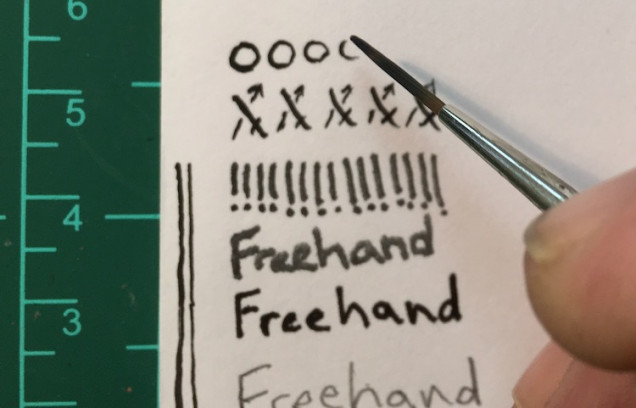 I find that with a brush, circles are easier to do in two parts rather than one motion, putting dots in the middle is just practicing accuracy and look like eyes. Those half circles make for nice wavy lines as well. Practicing on paper makes it cheaper and easier to work on the skills before trying to use them in 3D. I still do warm ups like these when I am using a new detail brush, new paint, or getting ready to do a lot of fine detail.
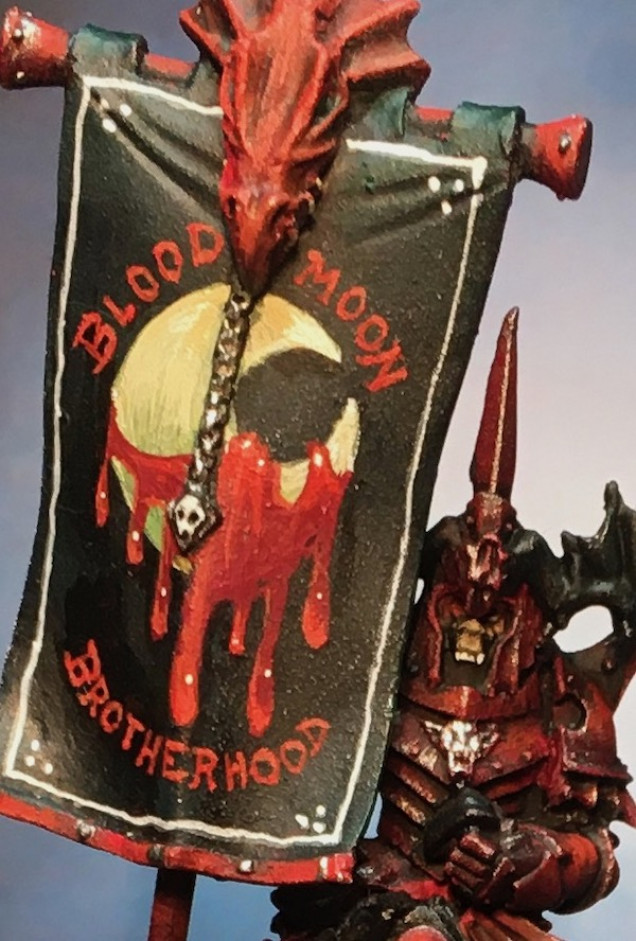
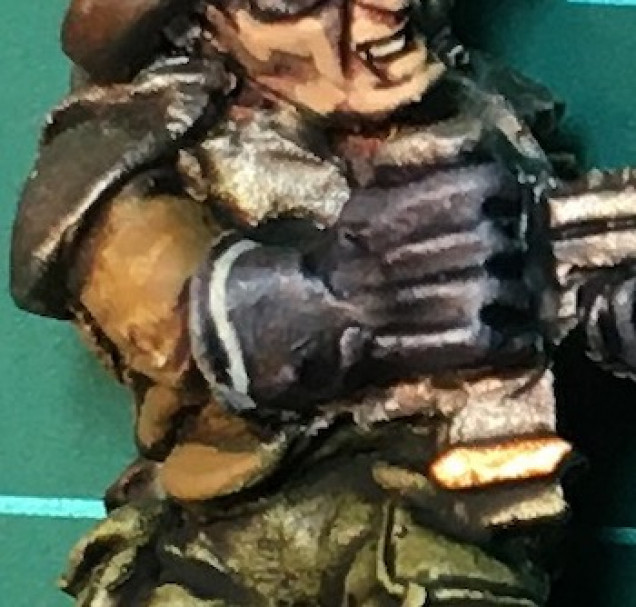
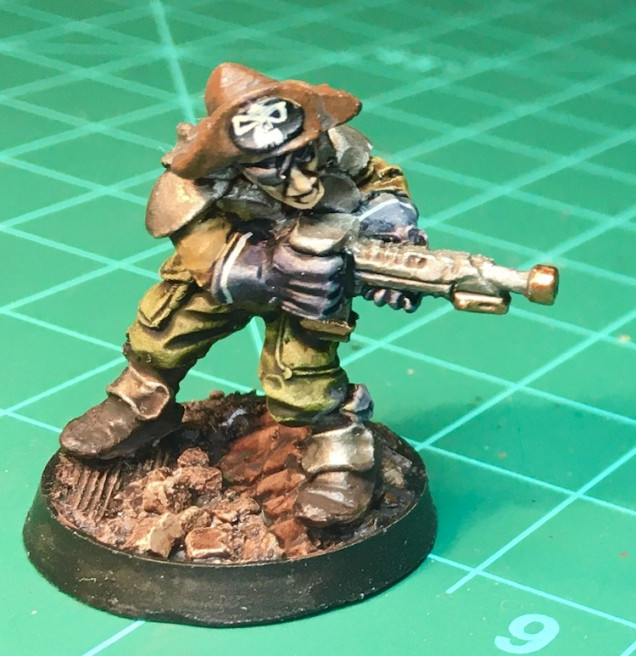
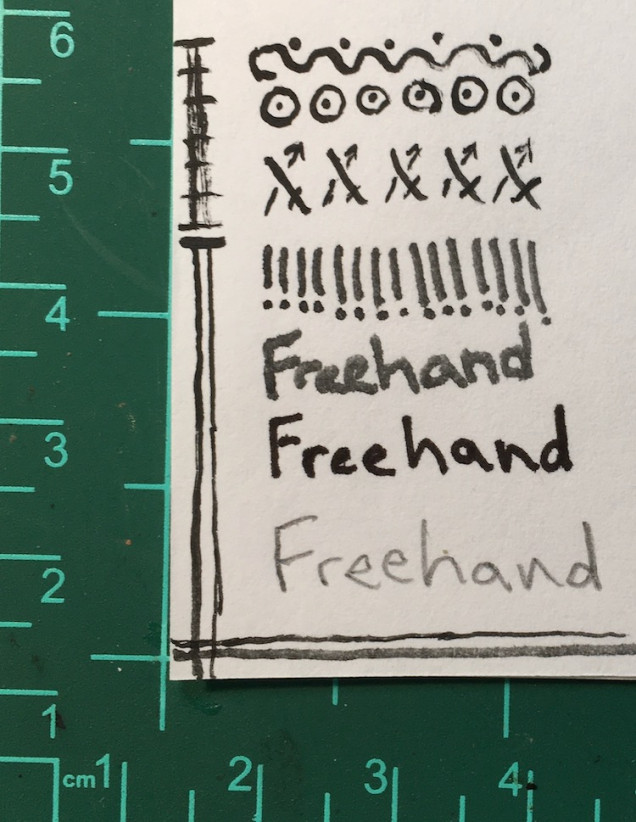 The border on the corner of the above example is an easy way to get good at fine straight lines and what will make the next step less intimidating. It is easier to paint a line parallel to an edge so I'll paint them along the sides and then add another parallel to those. Again, don't attempt perfect, attempt repetition. A little of this practice and the edge of a glove or cape doesn't seem at all hard to follow. I recommend starting on an area without a lot of folds and cleanly sculpted edges to, again, reduce frustration (like the smudge in the upper left from a drying brush).
 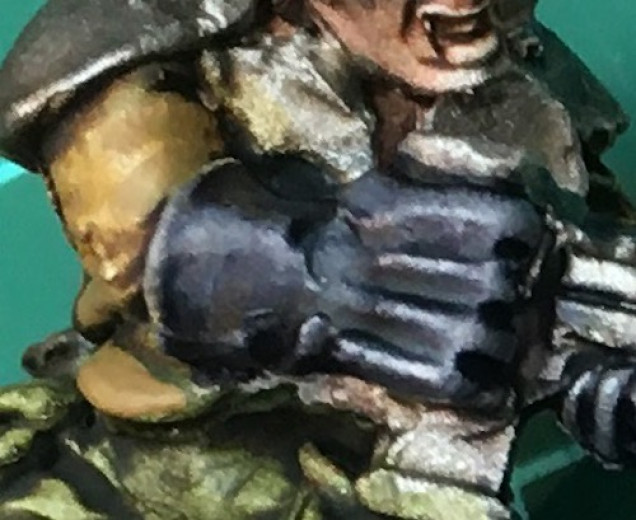 Old School 40K miniature. Clean, defined edge in a basic color that will be easy to match if I mess up.


![TerrainFest 2024 Begins! Build Terrain With OnTableTop & Win A £300 Prize! [Extended!]](https://images.beastsofwar.com/2024/10/TerrainFEST-2024-Social-Media-Post-Square-225-127.jpg)




Brilliant stuff. I hope you can go into stage by stage detail with the Mantic dungeon furniture, etc. ??
Many thanks! I have some ideas and a huge box full of Terrain Crate2 pieces. If you have requests or want more info on something don’t hesitate in letting me know.
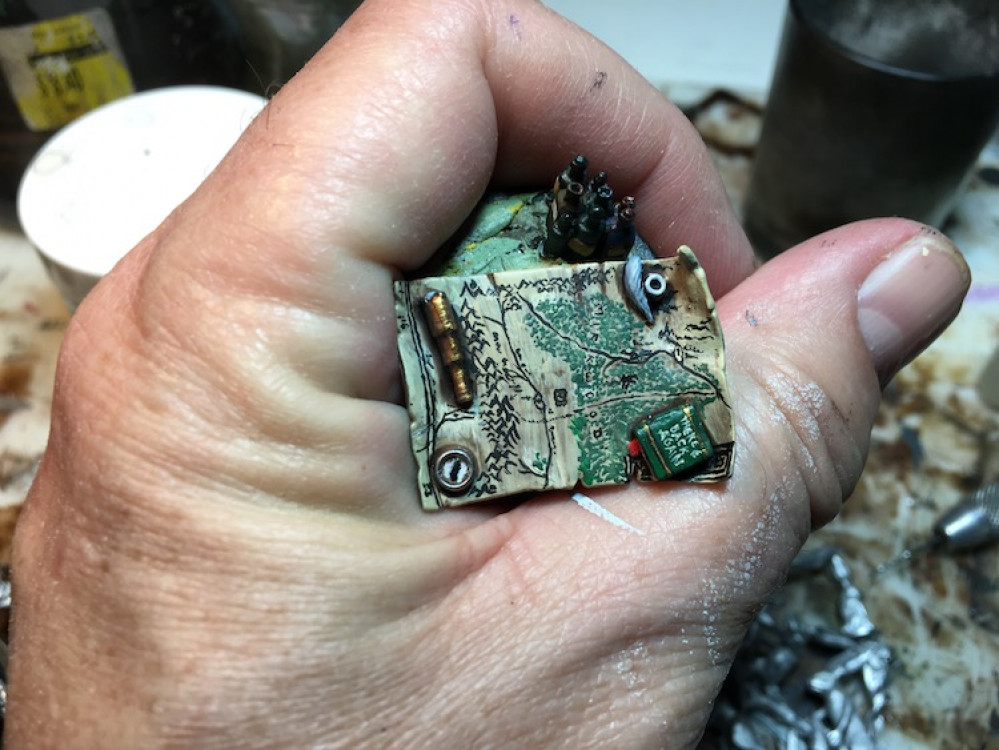
Well, seeing as the map from the Hobbit was one of the first things you produced that drew me into your excellent work, how about a stage by stage replication from preparation of the piece, painting and right through to the end photography of the same table-top scroll but as the map of the Warhammer Old Worlde/Empire or the map of the kingdoms in Game of Thrones???
I actually have a commission to do another of the Hobbit maps I will be documenting but the idea of a WH Old World map is intriguing and must be pursued.
This is a great idea, full of useful tips. Definitely concur about using an edge as a clear guideline for parallel lines. I always start tartan patterns with a horizontal line on the bottom edge of a kilt for exactly that reason.