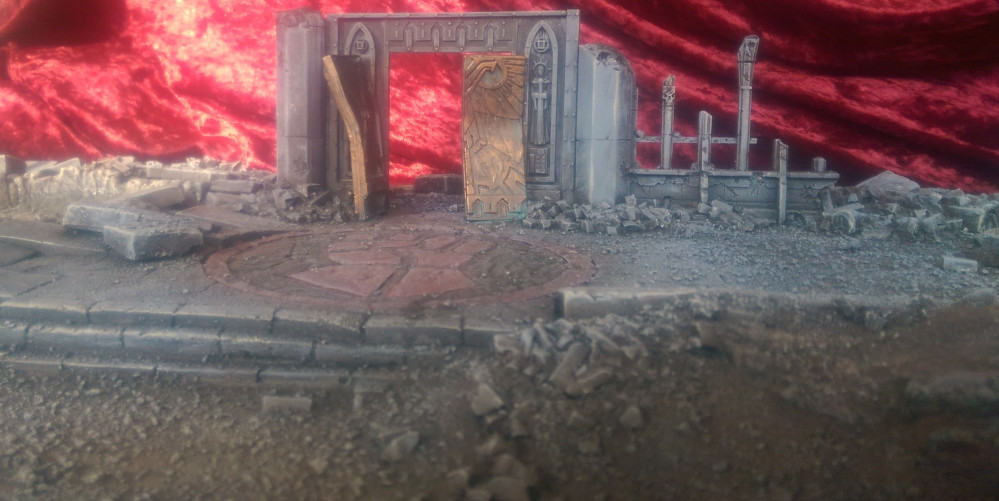
Starminer Builds...Crimson Fists Display Board
Part 3: Best Laid Plans
Laying Down The Layout
Now that I had a strong sturdy board and frame assembled, it was time to draw the layout on the board.
Referencing my original concept drawing, I grabbed some suitable Games Workshop plastic craters and positioned them roughly where I wanted them. Here, I just eyeballed them for what I thought would be best aesthetic, positionally. I also laid out some of the walls to determine my preferred position.
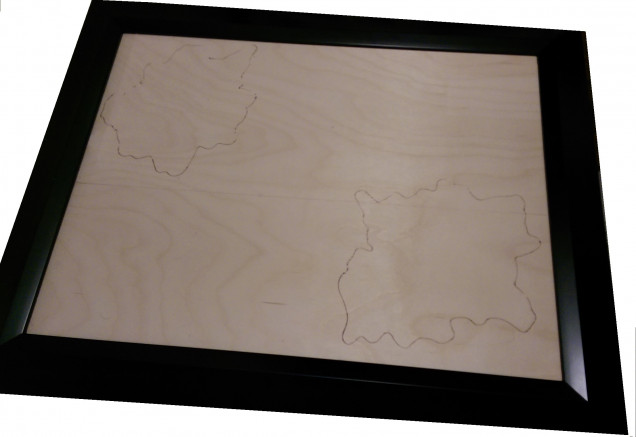
When I was satisfied with the crater positions, I traced them out on the board so that I would have reference for when I began gluing everything down later.
Breaking Ground
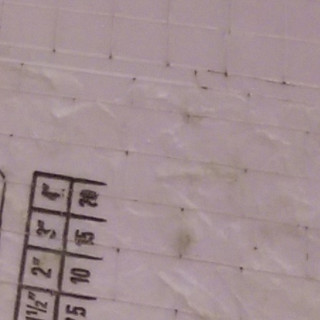
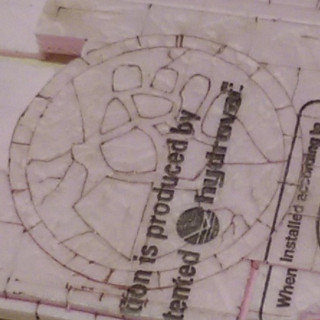
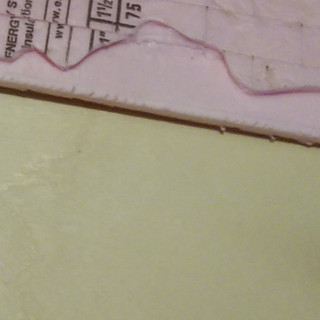
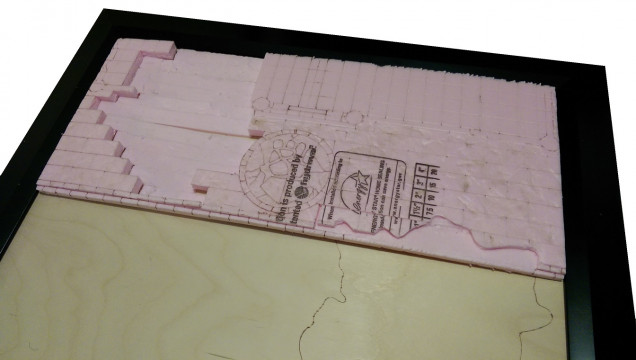
I then started cutting the foam insulation board to the desired length and width, and with the aid of the layout, overlaid the craters and traced them onto the foam. After drawing the rest of the detail on the foam, I started cutting and shaping the foam.
To do this, I textured the foam using various rough stones from the garden, focussing on the outside of the wall, as I wanted the inner stones to feel more refined as stone floors. I then traced my drawn out detail with a hobby knife, about 2 mm deep. Following that, I used an embossing tool (a ball point pen works perfectly for this) and traced all of the cuts to give it a little more depth and shape.
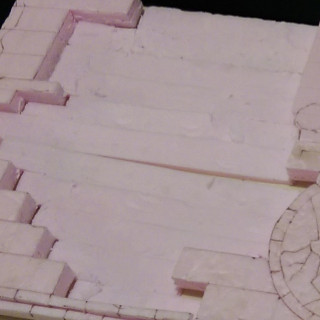
At first I cut following the exact perimeter of the crater, but then I realised I wanted the craters to look like they had sent the large stone paving slabs flying, as the bombs penetrated and detonated below the concrete.
So I cut the rectangular blocks more deeply around the crater perimeter, then ran the knife under the surface by half the foam thickness, prying up the blocks a section at a time. The blocks with irregular shapes would later be cut down into additional rubble.
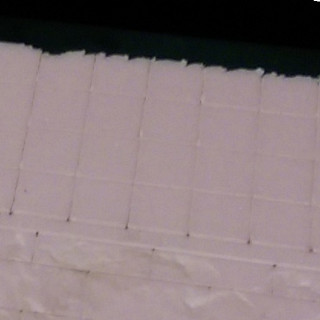
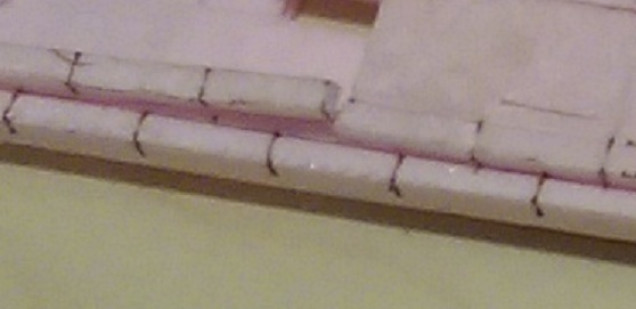
For the step curb, I measured the foam, then divided it by thirds. I cut a square long strip from the edge that would be the curb. I later glued it into place to make it a uniform 3 step curb, to make the building feel like it was elevated above the ground grade, without it being an out of scale curb.
With all the foam cutting and texturing complete, I was ready to move on to gluing everything down and building up the ground textures, the ruined building and rubble.




Leave a Reply