Path of Conquest 2020 : The 100 Kingdoms - The host of the Iron Wolf
Painting the Steel Legion
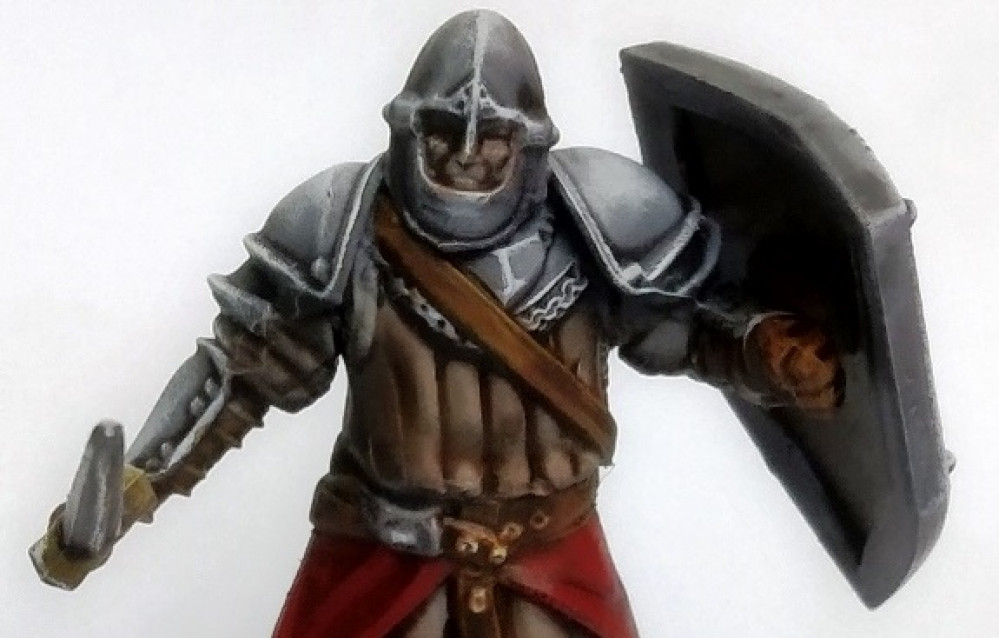
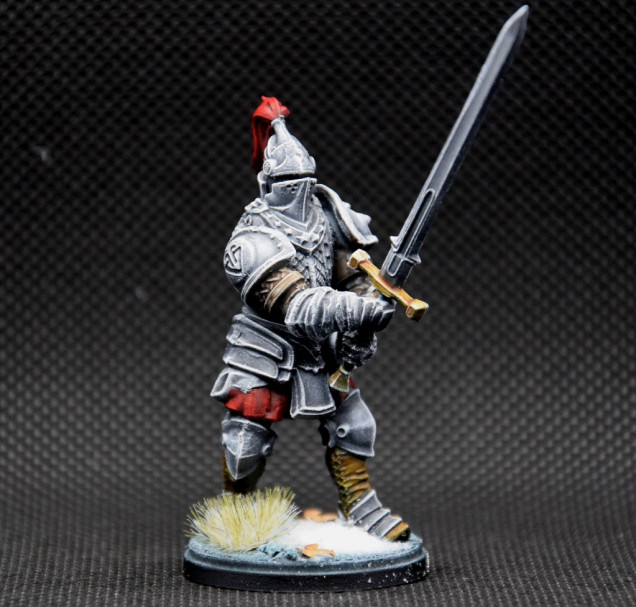
The Steel Legion is one of the most impressive units of the 100 Kingdoms. They are surrounded with legends, and thus deserved a special treatment.
I used the very same painting scheme I had used on the Men at Arms, but since it was a heavy unit with full armour, I decided it was perfect to explain the technique I use to speed paint NMM.
Here is a step by step guide to how to do it.
I used the steps I outlined in my first post on this project (step by step below).
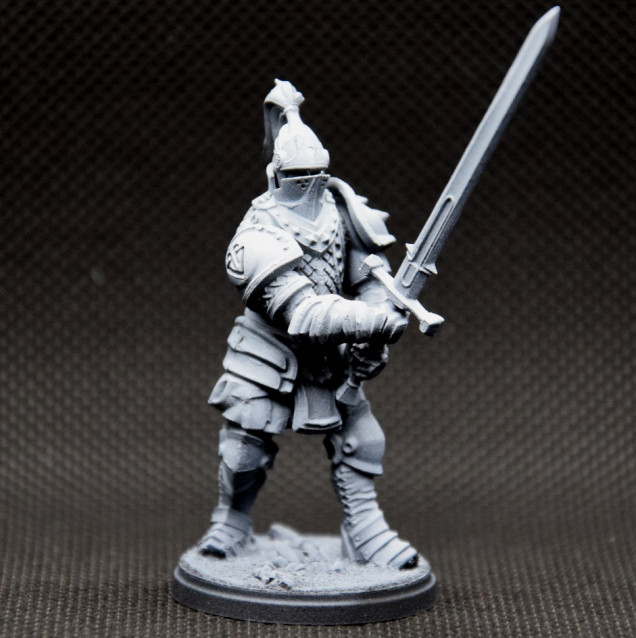
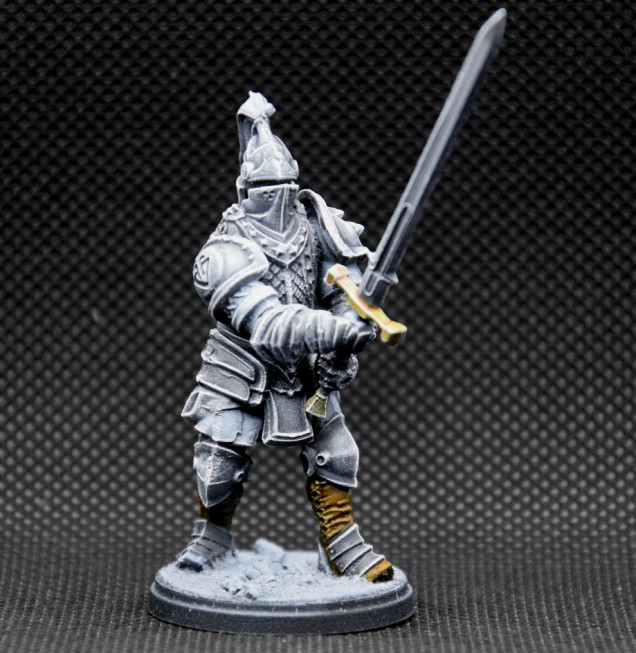
First I primed it in black with the Vallejo Black Primer. I had put some sand on the bases beforehand, to have them undercoated with the airbrush.
I then used a zenithal Highlight of the Vallejo White primer.
These two parts are KEY to the NMM : the zenithal highlight creates the reflection, but I couldn’t do NMM if the undercoat was grey, because NMM uses strong contrasts to create the illusion of the reflection of light on the metal.
That’s why I didn’t rush.
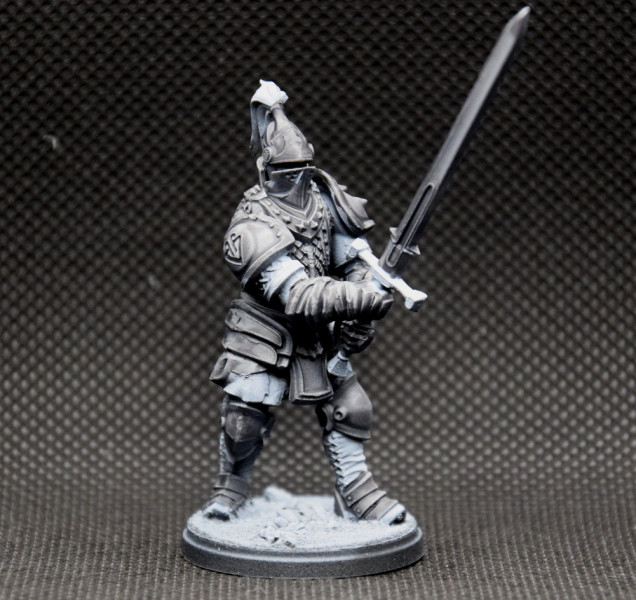
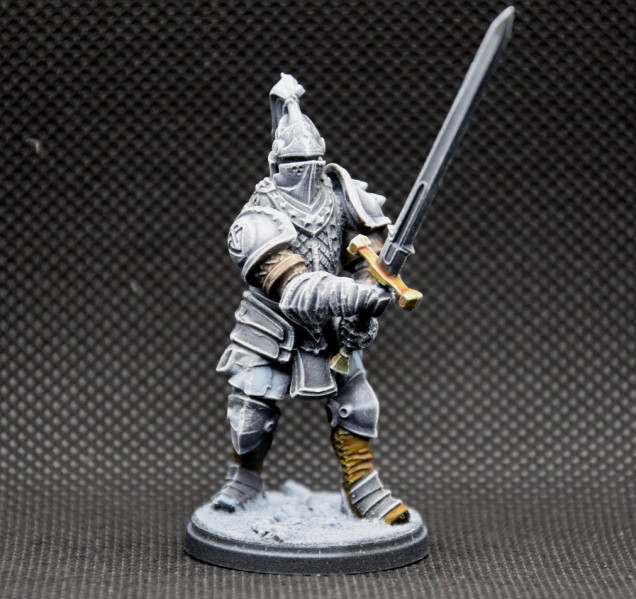
Citadel Contrast Basilicanum Grey is perfect for Steel armour. One of the first secrets is to use a thin coat. You still need some paint to go into the recesses, but not too much.
For the gold parts, is used a thin coat of Iyanden Yellow.
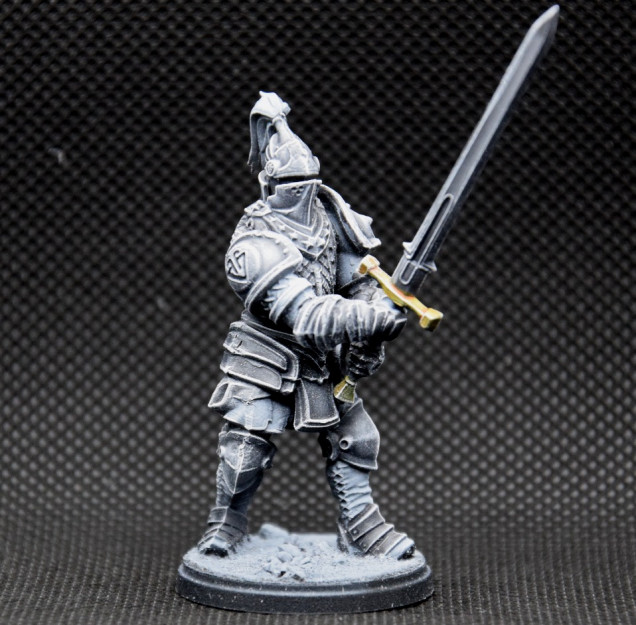
It took me a long time to master drybrushing. If you want to make effective drybrush, here is a simple method:
– Use a paper sheet.
– Your brush has to have firm bristles, that will put some pressure one the minature and leave some paint, even when the paint is dry.
– Pick some paint with your brush and brush on your paper sheet until you hardly see paint goin on the sheet.
– THEN BRUSH SOME MORE one the paper sheet
This is when you are ready to drybrush your miniature. If you want to do it right, each stroke will leave an almost invisible layer of dried paint.
Do it again and always avoid rushing this step. Once done, all the edges will have been highlighted.
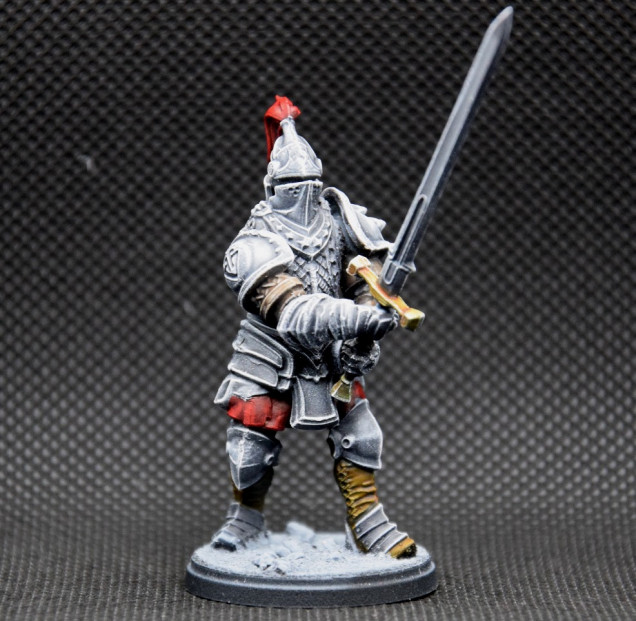
It’s now time for Agrax Earthshade. I put it on the gold parts to deepen the shadows, and on the Gambison, just to taint it.
I also paint Wood (banner pole and some others) in this step, but it’s not visible on this model: Citadel Contrast Wyldwood
Clothes and shield: Citadel Contrast Flesh Tearers Red
Clothes and shield highlights : Citadel Base Mephiston Red
Flesh (not visible here) : Citadel Contrast Darkoath Flesh




First off the latest mini’s are looking great, well done. Thanks for the detailed overview of your method. Hearing how others achieve their results is one of the fun parts of these project blogs so thanks for taking the time.
I write this kind of tutorial because I enjoy reading such posts. And I think I found a way to achieve good results with minimum effort (and good results with NMM take often a lot of time).
It took me about 6 hours (including the undercoat with the airbrush) to paint the steel legion.