From here to Infinity
What we need is a volunteer...(pt1)
(Been having issues getting this update posted so going to try breaking it into two parts)
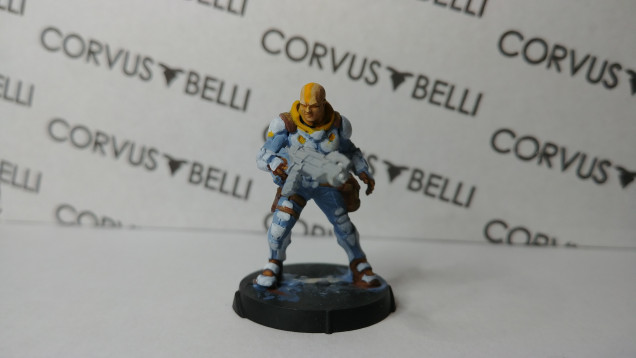
As mentioned in the last exciting episode the next steps were to find a volunteer to test out possible color schemes on. I want to go for a winter theme which means the armor will be in white/grey but I still want to tie the force back to the standard Yu Jing color scheme. The choice of secondary color (for the under armor) was also a bit up in the air. Initially I was thinking of going with black but in the end decided an icy blue might work better.
So time for that volunteer and who better than the Zhanshi who was just added to the force (that’s what he gets for being late!)?
Before diving in a bit of general info for those who are interested. First off I’ll be using Reapers Master Series paints (https://www.reapermini.com/). I’ve been using them for years and have been very happy with them. Brush wise I’m mainly using a 5-0 Kolinsky Sable (again by Reaper). As we go through I’ll give the paint name, number and then the paint to water mix ratio I’m using (ex. 2/1 is two drops of paint to one drop of water). Lastly I’m generally doing multiple coats at any given step but won’t always mention that (safe to assume most steps get at least two coats).
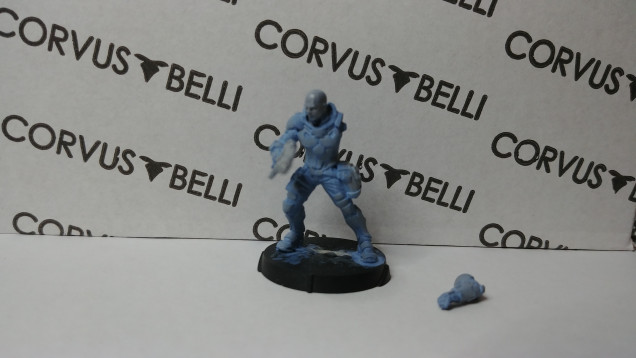
Ok off we go then. First off I primed him with Grey Primer – 09299 – 8/1 and base coated him with Twilight Blue – 09020 – 2/1 applying two coats and then following with Snow Shadow – 09021 – 2/1 for another two coats.
Worth mentioning that I left his left arm separate to aid in painting.
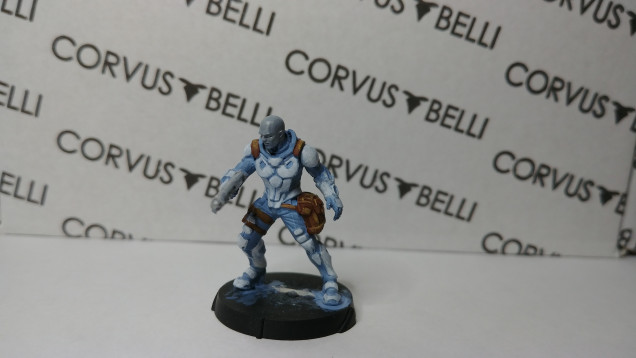
With the base down I painted the armor plates in Rainy Grey – 09038 – 2/1 followed by a bunch of coats of Pure White – 09039 – 2/1. I also went ahead and painted up the leather items both to get them done and so I could attach his arm. These were done with Ruddy Leather – 09109 – 3/1 followed by Oiled Leather – 09110 – 2/1 and then highlighted with Burnt Orange – 09111 – 2/1.
This is probably a good time to mention that the Master Series paints come in convenient color triads that include a base, shadow and highlight color grouping. I don’t always stick to them but they are nice to use that way.
In all I was pretty happy with how things were looking so far.
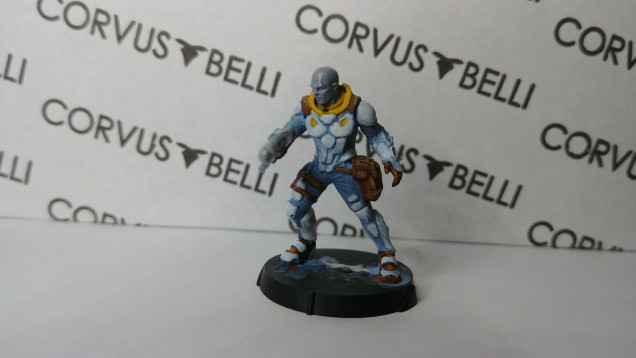
Ok so arm attached and armor plates set it was time to work on tying into the Yu Jing color scheme. Doing a bit of research I found that the yellow used varied from a bright yellow down into oranges and even more of a red so it seemed I had some leeway. I started with a base of Palmino Gold – 09074 – 3/1 followed by Buckskin Pale – 09075 – 2/1 and then Marigold Yellow – 09007 – 2/1. This came out pretty well though I’m not sure the first two colors added much.
I also realized I’d missed his boots and gloves and got those done before my browns dried 🙂
Pretty happy with the overall effect I painted up the bare skin portions of the model (basically his head). For this I started with a number of coats of my base tone (Golden Skin – 09092 – 3/1) and then washed it with the shadow (Golden Shadow – 09091 – 1/3). After that I went back to the Golden Skin before highlighting with Golden Highlight – 09093 – 2/1. I also added a Marigold Yellow tattoo going up and over his head.




Leave a Reply