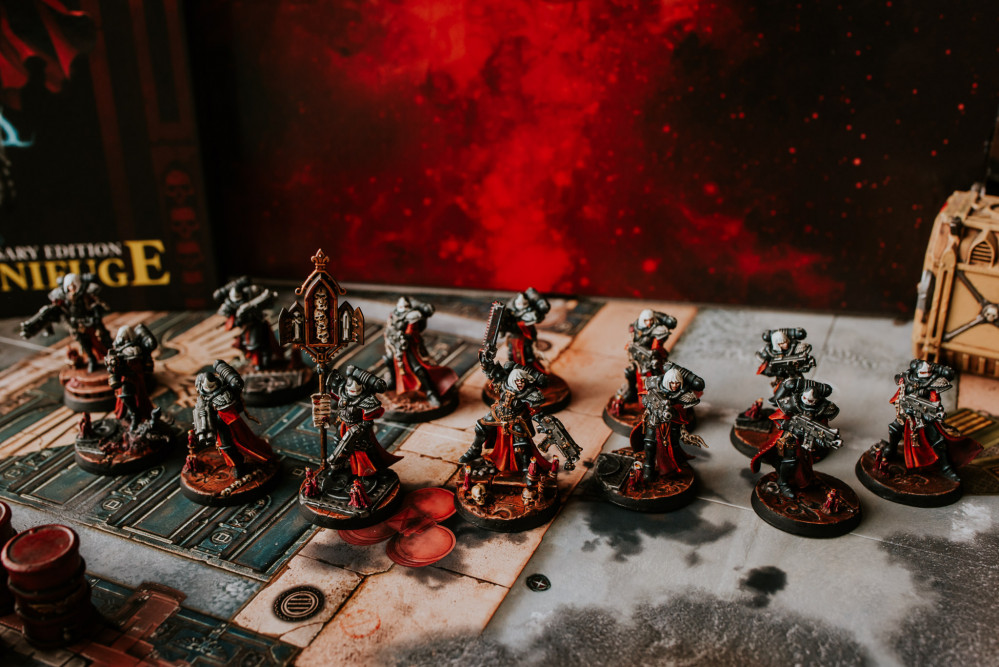
The Emperor Protects ~ Adepta Sororitas ~ A Sisters of Battle Project
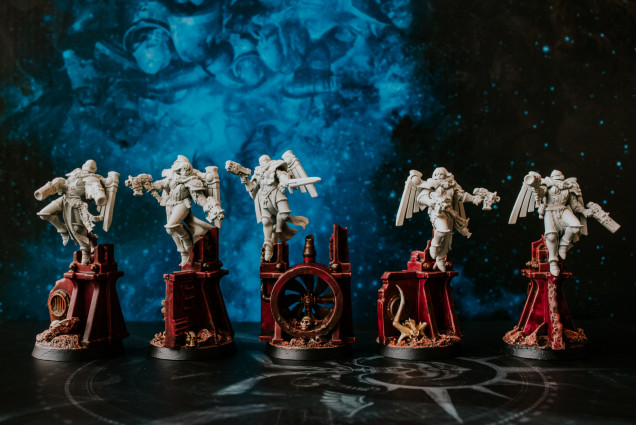
AVENGING ANGELS ~ PAINTING SERAPHIM SCENIC FLYING BASES
PINK TO MAKE THE EMPEROR WINK
*****
Man I’m banging out the hobby this last couple of weeks. Yesterday was the due date of our baby boy but still no signs as yet. I’m sure he’s gonna be fashionably late like a proper dude. In this latest guide I’m gonna be painting my Seraphim scenic flying bases. Wahoo! The main colour palette is based around Contrast Volupus Pink. Genuinely my favourite colour in the contrast range so far. In fact if was to do my sisters again I’d probably smash em all out in this colour haha.
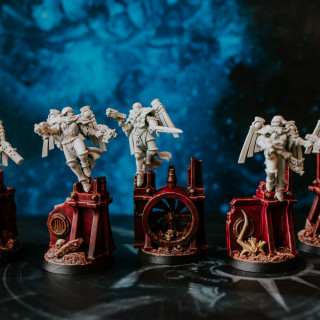
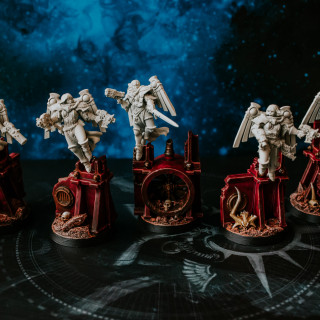
I really wanted to combine colours that would relate to those of my non flying sisters units & I feel like I’ve really achieved that. These bases were a blast to paint & a welcome reprieve from all those delicate details of the past few units. Anyway without further ado here’s my paint list coming at ya!
PAINT LIST
*****
• WRAITHBONE
• CONTRAST VOLUPUS PINK
• CONTRAST GORE-GRUNTA FUR
• LEADBELCHER
• KINDLEFLAME
• CONTRAST SKELETON HORDE
• MODEL MATES MUD BROWN WEATHERING WASH
• RYZA RUST
• WHITE SCAR
• ABADDON BLACK
TWO THICK COATS
*****
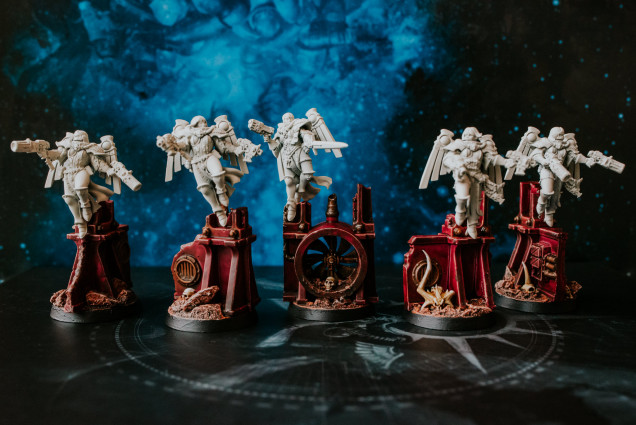
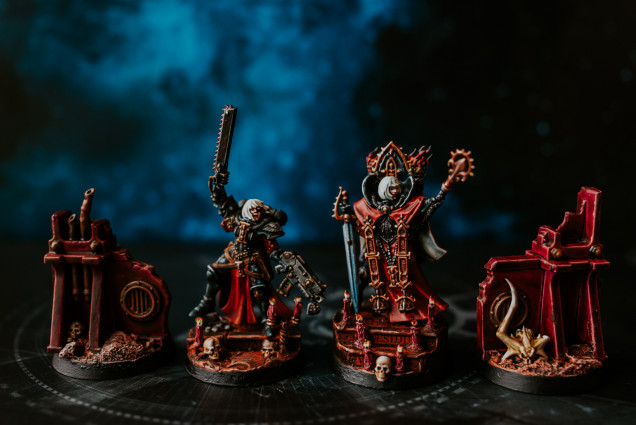
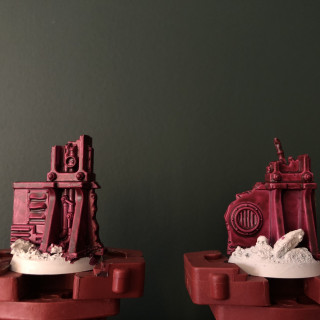
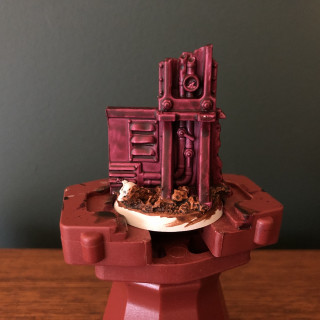
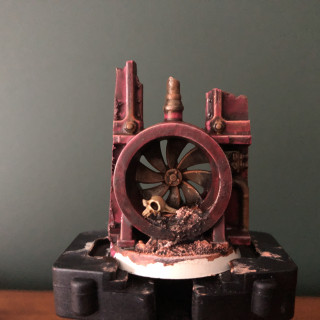
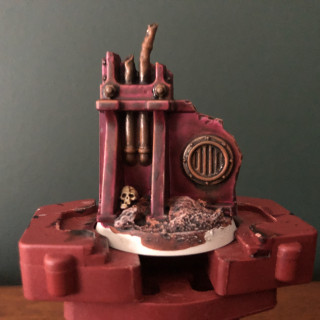
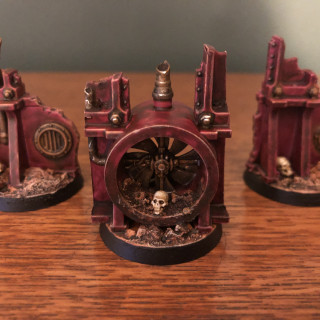
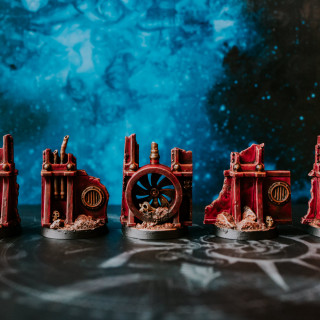
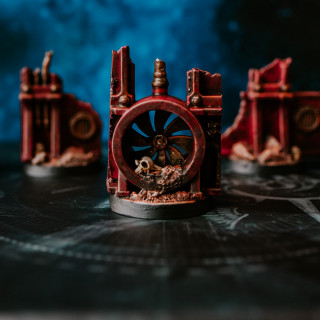
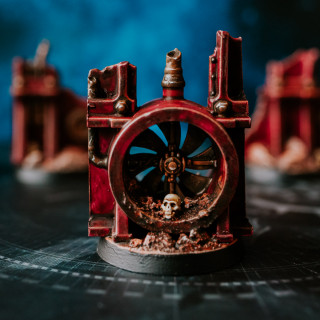
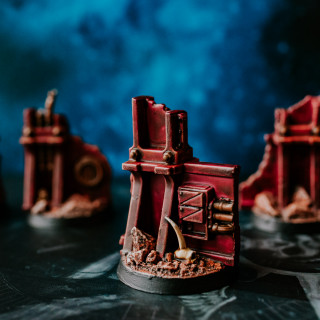
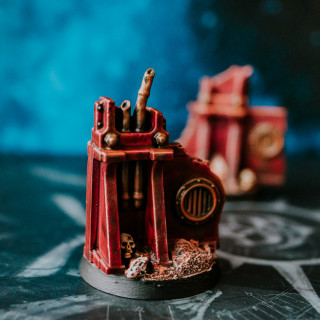
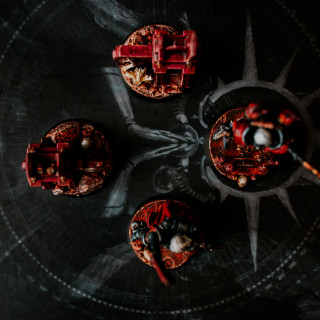
Let’s get this party started you lovely lot. All the images for the steps below are above. I began with a Wraithbone spray base coat to work from before hitting all of the structural elements of the base with two thick coats of Volupus pink. It’s important to really let the previous coat dry before applying the next one. Not gonna lie I think I let the first dry over night before chucking on the next. That will leave you with a really nice contrast base to work from. With the darker recesses pooling and giving life to all those awesome details.
After those two coats had dried I tidied up with Wraithbone before applying a single layer of Contrast Gore-Grunt Fur onto the floor level of the base including all the sandy bits & rocks. Already we can see these badass tones coming together.
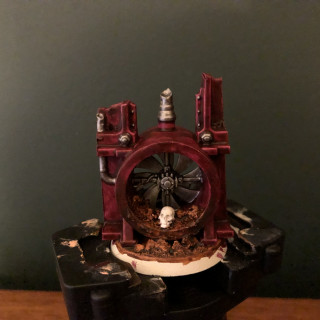
While that was drying I used Leadbelcher to pick out all the vents, pipes, rebar, nuts & bolts. YES! LOOK AT IT SHINE!
With the Contrast Gore-Grunta Fur dry, I then applied a drybrush of Kindleflame over the entire base & structure. A heavier dry brush was focused on the rocks & brown elements of the base. A lighter more edge focused drybrush was applied to the edges of the Contrast Volupus Pink structure. This really tied the earth and structural elements together.
When that was dry I applied a final drybrush to the brown elements only of Wraithbone. That actually completes the earthy elements of the base. How easy was that!
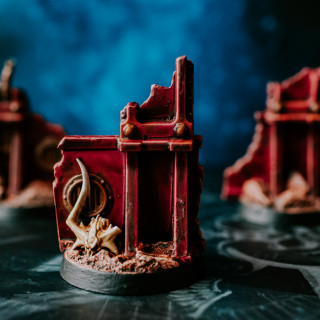
I then used a single coat of Contrast Skeleton Horde on all the skulls & bone elements of the base before moving onto the weathering.
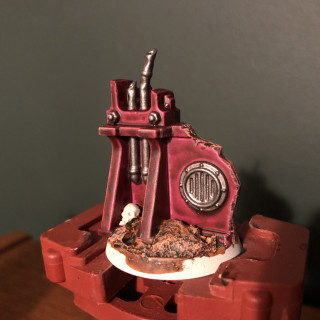
Ooh this bit was bloody fun! I used Model Mates Mud Brown Weathering Wash & applied a single coat to all the metal elements on the base. Literally painting over them completely. When this had just about dried I used a damp cotton bud to pull always some of the mud effect. I did this by gently stippling across the surface so some of the metal showed through giving it that worn aged appearance.
As a final step of weathering I used Ryza Rust dry paint and applied a dry brush to all the metal elements. I gradually built up the drybrush in several layers until it got to a badass rustiness I could be proud of. I’m over the moon with how these two techniques really brought the bases to a state I was happy with.
Last but not least I applied a highlight of Wraithbone to the topmost points of the skulls followed by a very fine highlight of Whitescar.
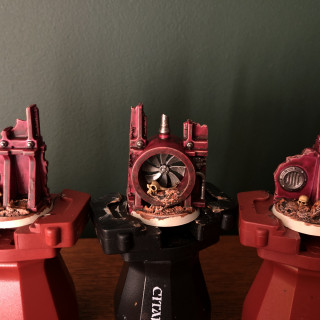
With the bases complete I finished them off with the obligatory victory lap/rim job of Abaddon Black. WAHOO! BASEY GOODNESS!
NEXT ON THE PAINT TABLE
*****
I’ll give you one guess? YES! Next I’ll be painting the Seraphim themselves which will complete my limited edition starter box for the Sisters. How bloody exciting! I won’t be posting a painting guide for these ladies as I’m gonna be painting them exactly the same as I’ve explained in my previous posts. But of course you can definitely expect some awesome photographs when they’re done!
See you on the next one lovelies!
Much Love
Eternity Gate




Leave a Reply