Manda's (Amachan) Gaming Table, Sci-Fi Scatter Pieces
Ryza Ruins Progress
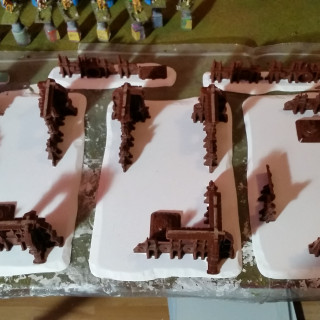
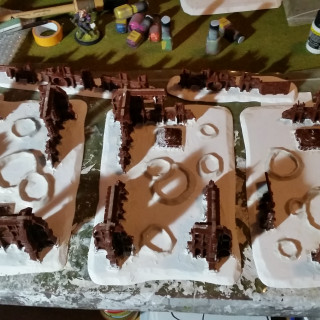
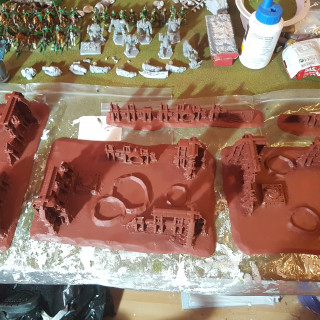
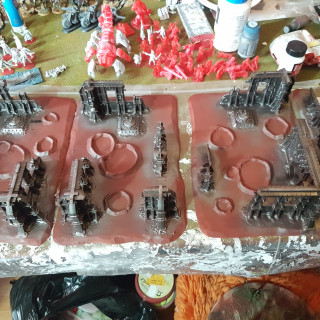
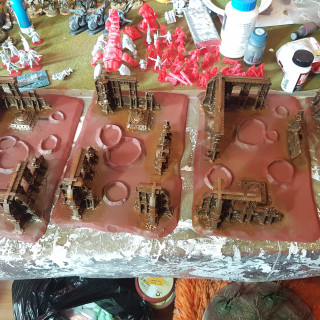
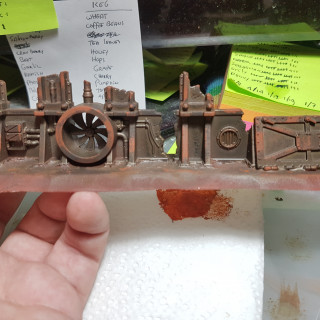
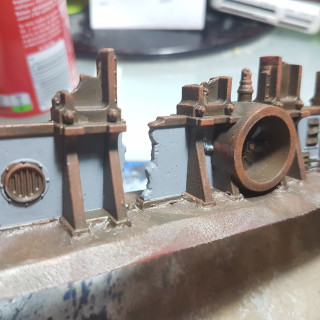
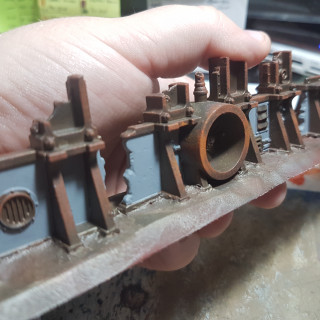
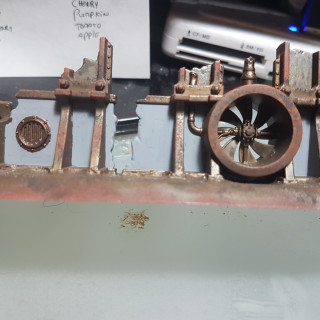
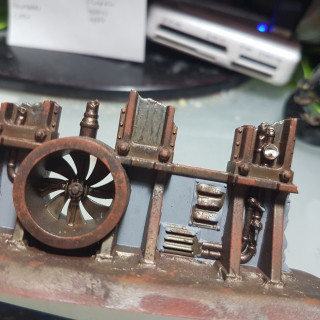
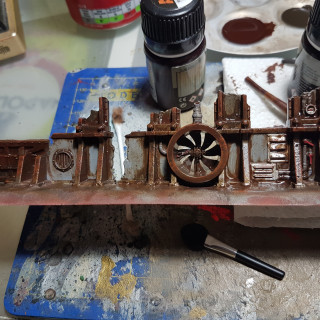
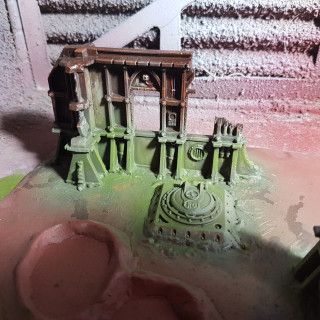
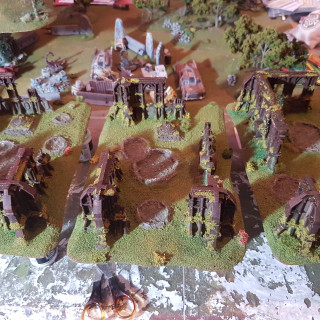
To start off I cut some ePVC foamboard to the sizes I want to use and assembled the ruins in the way I want them and glued them to the foamboard. I then used clay to make craters in the ruins and use fillet to fill in and blend in the edges of the ruins with the foamboard. I then primed it in Vallejo Surface Primer German Red Brown (73.605) and then got pissed off at GW and put the project in a cupboard for 2 months. When they came back out of the cupboard I basecoated the ruins in Vallejo Metal Color Burnt Iron (77.721) and covered it with Vallejo Model Wash Rust (76.506) all with the airbrush.
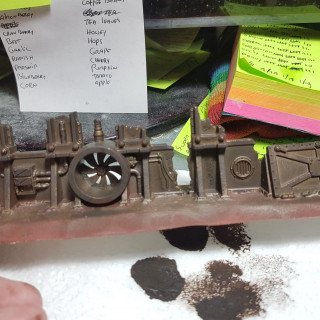
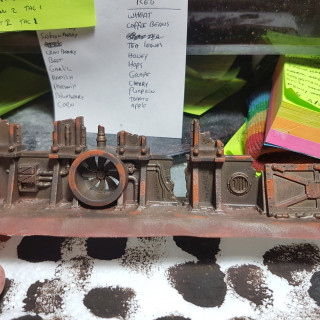
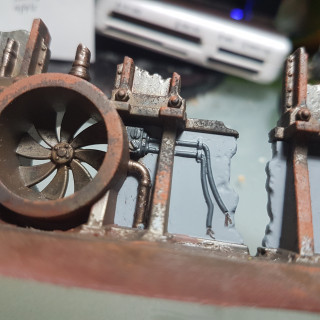
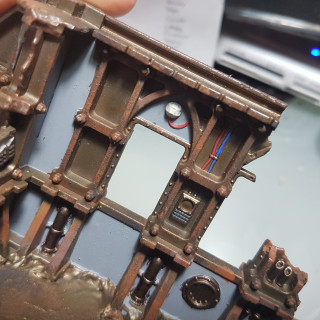
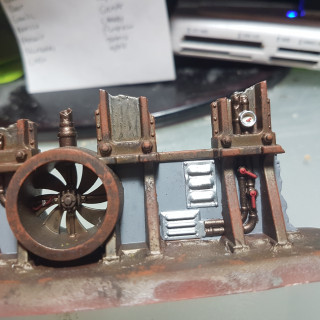
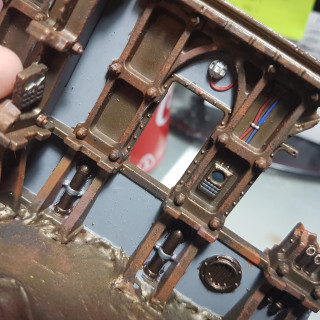
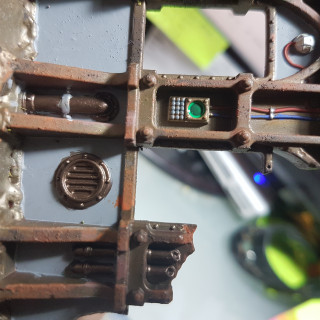
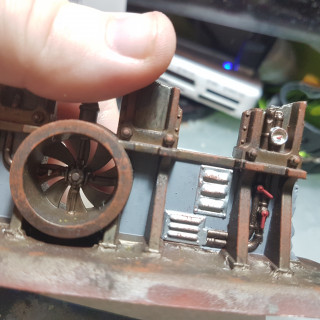
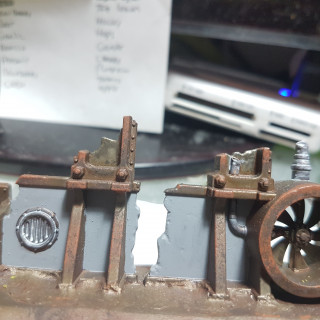
I then started stippling the metal bits with Citadel Technical Typhus Corrosion (99189956010) followed by Vallejo Panzer Aces Light Rust (70.301) and then by The Army Painter Warpaints Dry Rust (WP1479). I then painted all the things that I think would be concrete with Vallejo Model Color Medium Sea Grey (70.870). I then touched up the rust with some Vallejo Model Air Rust (71.080) and then stippled on some The Army Painter Warpaints Dry Rust (WP1479) to blend it in more. After all the washes and weathering I doubt you’d be able to see it like this.
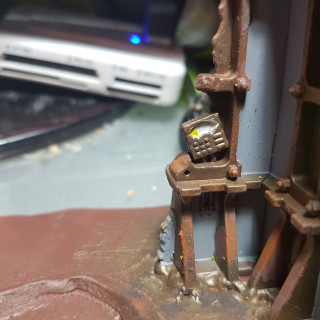
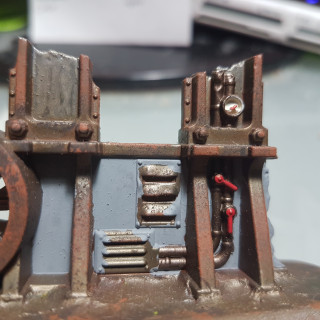
I painted the copper bits in Vallejo Game Color Tinny Tin (72.060) I then painted the inside of the dials with 22 thin coats of Vallejo Model Air Aged White (71.132) and then applied a coat of Vallejo Game Color Moon Yellow (72.005) on some of the visible markings on the dials. I then painted the dial needles and valve handles with Vallejo Model Color Flat Red (70.957) and started to realize that I may be painting too many of the tiny details for a terrain piece that is still going to be weathered up. I then painted the thicker cables and some of the buttons and plastic bits in Vallejo Panzer Aces Dark Rubber (70.306). I then painted most of the thinner wires with Vallejo Model Color Flat Red (70.957) and some others with Vallejo Game Color Ultramarine Blue (72.022). I painted all the aluminium bits in Vallejo Model Air Steel (71.065). All the screens got painted in Vallejo Model Color Black Grey (70.862) and then got a coat of Vallejo Model Color Transparent Green (70.936). While aluminium doesn’t actually rust it is commonly used in an alloy with iron and thus can show some signs of rust, to replicate this I stippled on some Vallejo Model Air Rust (71.080) on the aluminium bits. Then I do a couple of touch ups before the final step in painting the details. For the final step I made a wash using water, Vallejo Matt Medium (70.540) and a bit of Vallejo Game Color Verdigris (72.096) and applied that over the copper bits.
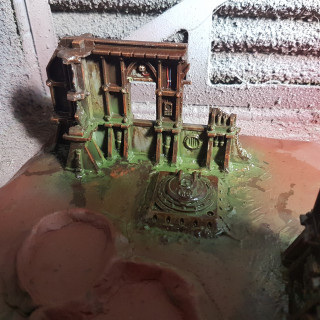
I then gloss coated the ruins and when that was fully cured I started to apply a rough and liberal layer of AK Interactive Streaking Grime (AK 012) and then a layer of AK Interactive Rust Streaks (AK 013) on top of that. I then coated the ruins piece by piece is some enamel thinner and used cotton buds to remove parts of the enamel washes. Now I want to let this cure for at least 3 days and then another gloss coat to seal it in. Once that coat is cured I sprayed some AK Interactive Moss Deposits (AK 676) focussing on the centre of the lower part of the ruins. I don’t mind any overspray at all when doing this. I then let this sit for about an hour and got out some paper kitchen towel and some odourless thinner, soaked the towel in the thinner and started rubbing it over the ruins to remove some of the Moss Deposits. This needs to dry now for at least 3 days and then I’ll matt coat all the ruins to get rid of any shininess from the previous gloss coat.
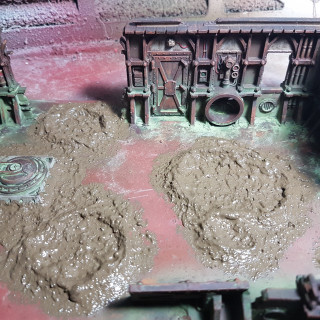
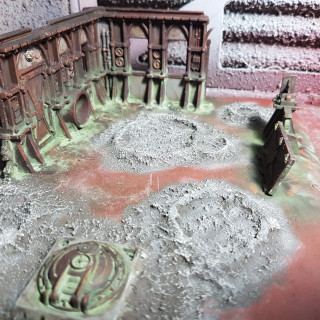
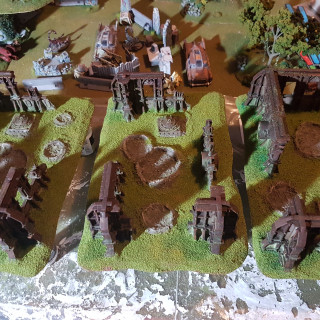
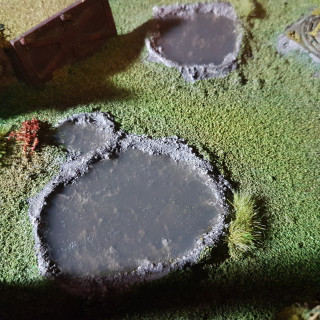
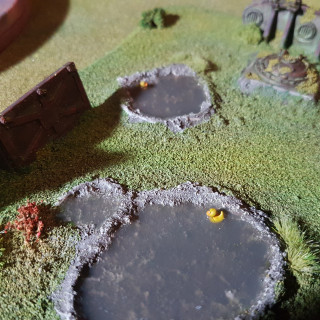
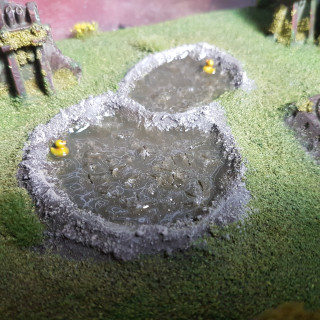
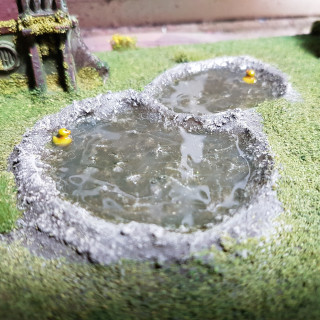
I started by stippling on some AK Interactive Diorama Terrains Muddy Ground (AK8017) on and around the craters and around the hatches. After this dried I applied a quick drybrush of Vallejo Panzer Aces Light Mud (70.315) over the mud texture. I started applying watered down PVA over the base and sprinkled on some dark green flock against the ruins, light green flock in some mid areas that are more exposed to the sun and finally the mid green tone over the rest. I tapped the excess off and put them on some stands to dry. When this was dry I started by glueing on some flower/grass tufts and some clump foliage as bushes, first to cover up some areas where the flock didn’t take too well and then to dress up the piece. I then put a bit of glue on the ruins and sprinkled on some light green flock to act as moss and finished it up by adding some ivy and hanging weeds here and there. It is important to use waterproof glue for these steps as you will see. I then sprayed the pieces with heavily watered down PVA to seal it all in. And then as some final steps I added some AK Interactive Diorama Puddles (AK8028) in the craters and added some 3D printed rubber duckies I painted and prepared at some point in there to finish it off. Unfortunately rushing to try and get it done by using the AK Interactive Diorama Puddles (AK8028) backfired a bit. I added 4 thin layers of Vallejo Water Texture Still Water (26.230) to smooth it out.




Leave a Reply