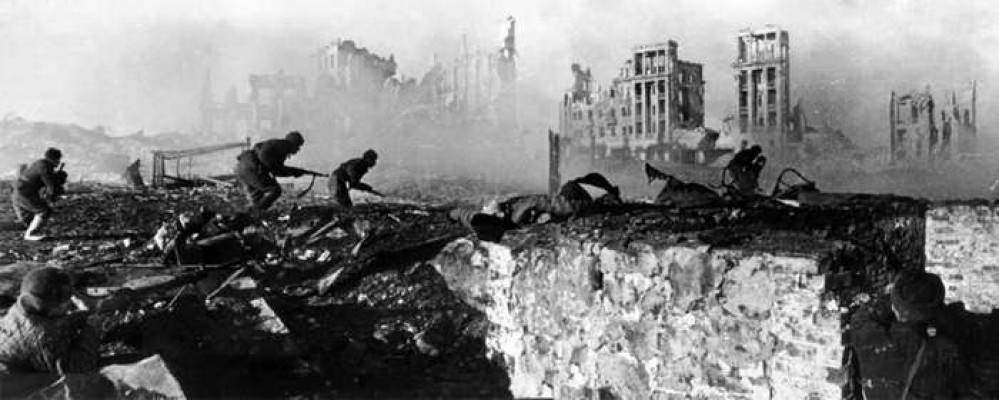
Stalingrad
Soviet Infantry Painting Guide
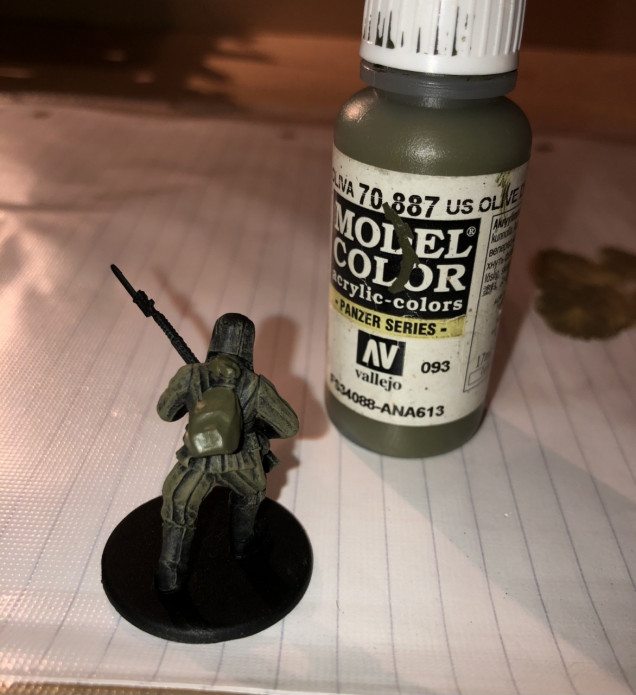
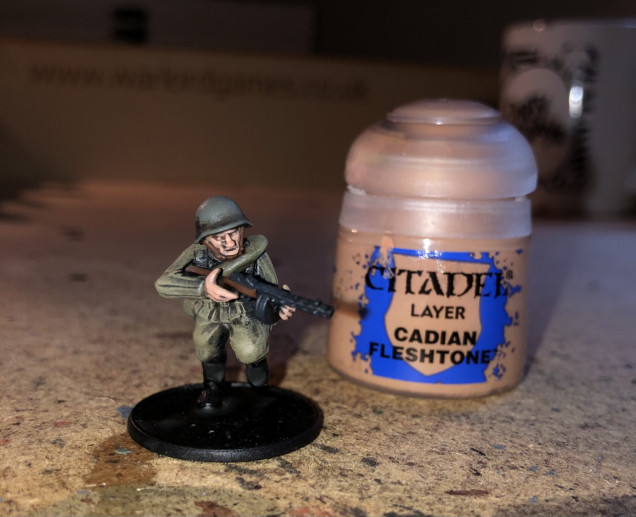
As promised, here is my painting guide for how I do my Soviet Infantry. The aim is to be a quick method, using a limited pallet but achieving a gritty, muted and battle-hardened look!
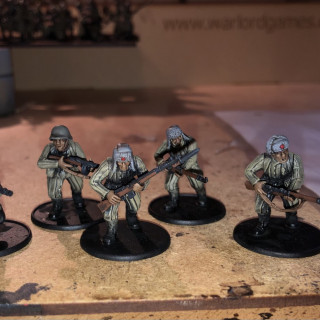
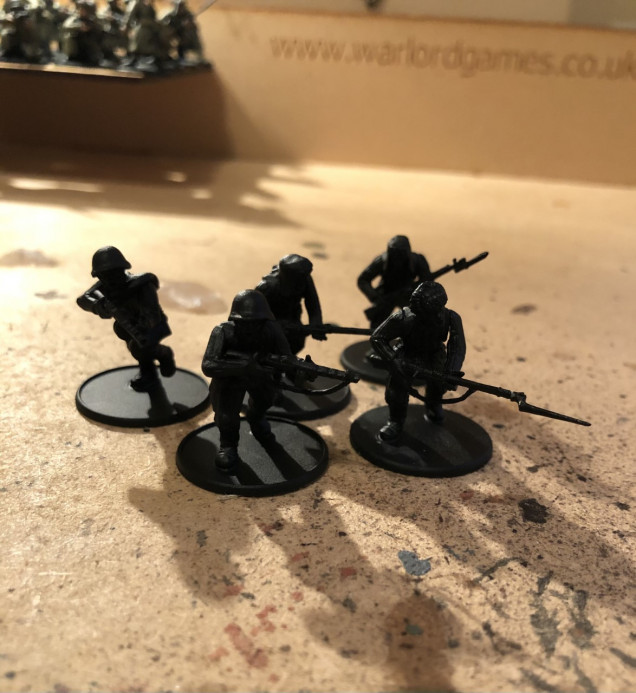 Step 1: To start I prime my figures black. This is key as they black underlayer will create shadows on the miniature. As seen here, I usually paint in batches of 5.
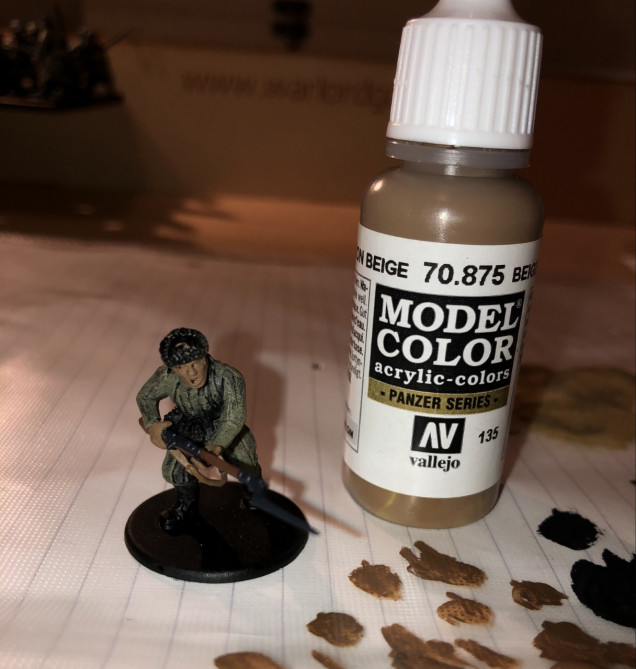
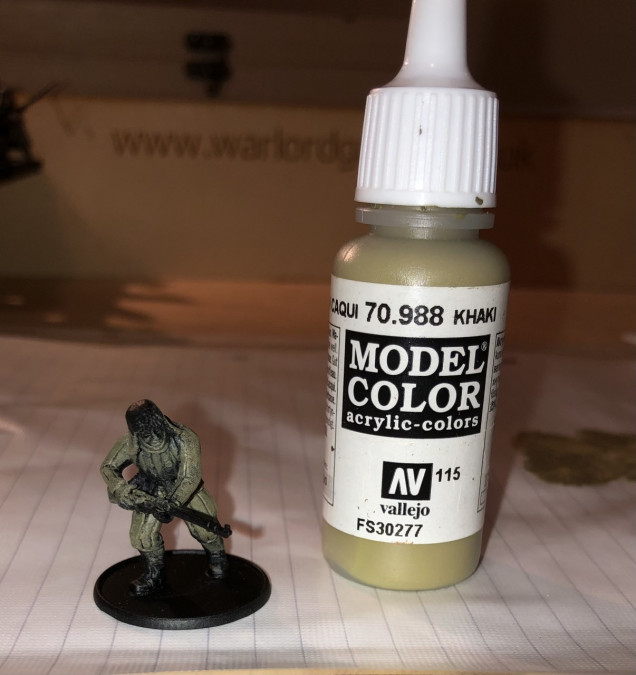 Step 2: Next, I liberally apply Khaki over the entire uniform, while also getting a touch on the boots to create a dusty highlight on the raised parts. This is messy but does look quite good when finished.
 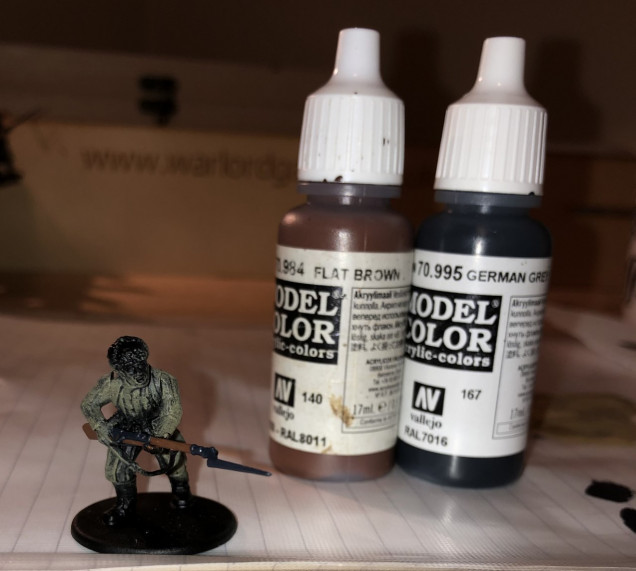 Step 4: Now its time to paint the weapons. I use Flat Brown for wooden stocks (I also pick out bayonet handles located on some of the figures belts and any helmet straps with this colour) and German Grey for metal, which I think gives the metal a nice blue-ish tinge.
 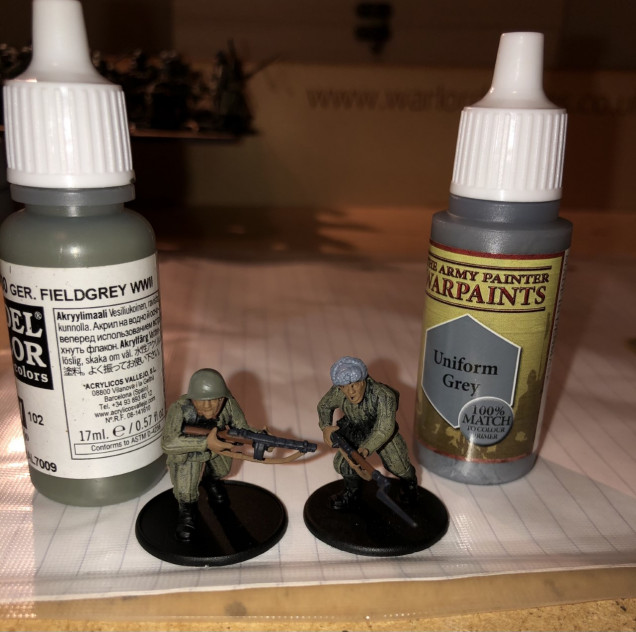 Step 6: Then I paint the helmets with German Field Grey and Ushanka hats Uniform Grey (I also pick out the Soviet stars on these in red... of course).
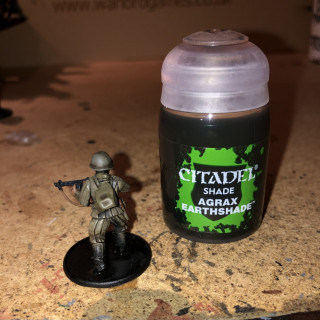
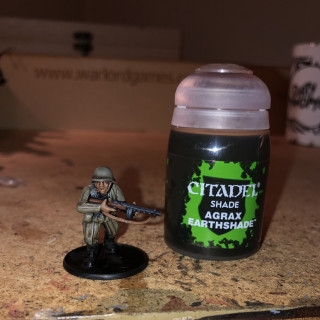
Step 7: Now it’s time for the wash. My go to is Agrax Earthshade and apply it liberally all over the model. This step ties the model together and makes that dry brushed uniform look a lot less messy.
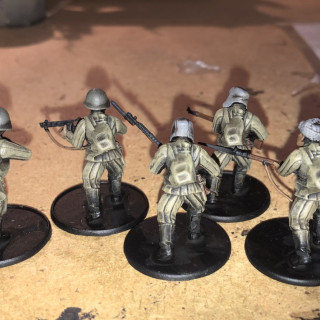
Step 8: Once the wash has dried, I apply a light, ‘dusting’ dry brush of Khaki again over the uniform, including the backpacks and bedrolls. I also highlight the head gear in its original colour too.






![TerrainFest 2024! Build Terrain With OnTableTop & Win A £300 Prize [Extended!]](https://images.beastsofwar.com/2024/10/TerrainFEST-2024-Social-Media-Post-Square-225-127.jpg)




Leave a Reply