#PATHOFCONQUEST The Nords: Army - John's Conquest
Ugr skin, basing and magnetism!
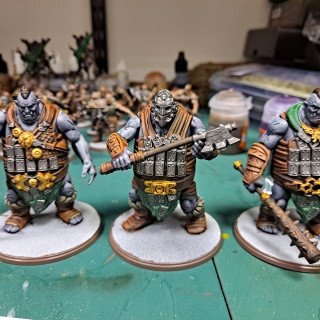
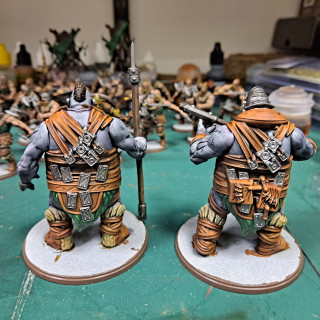
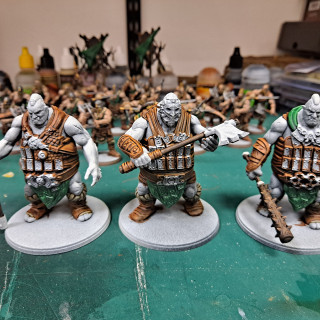
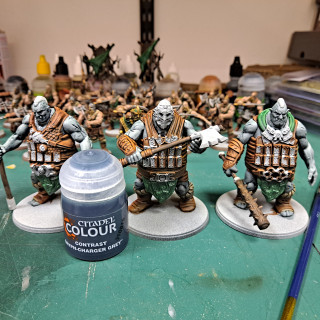
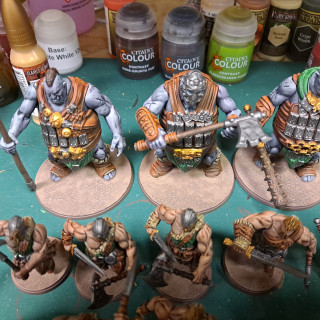
The Ugr follow the same colour format for cloth, leather and metals until I get to the skin.
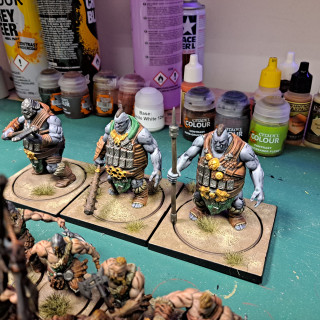
For the skin I used:
Gryph Charger Grey
Magos Purple.
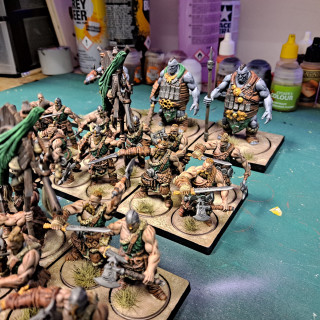
I put the grey down heavily over the base coats, then, let it dry fully before adding a water-thinned coat of the purple. This gives the finish a less “flat” colour. So in places the skin appears to have a more flesh “purple” showing through in places. I think for a larger model, it is important to play with the tones of skin and such as you can generally see those tonal differences more easily. Now… time for basing!
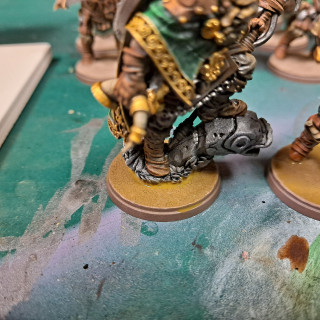
With the basing I was, at first, tempted to go a traditional “texture, wash and drybrush” approach. But I have done that so often with my armies at home that I wanted to do something with a different finish. With that in mind I grabbed some Agrellan Earth. This is a crackle paint, which means that, as it dries, it cracks and creates a broken, dry ground texture. So… in the way I usually do I slapped it down thick and heavy, just to see what would happen. And what happened was this, lovely looking, uneven pattern of cracks. The only issue is that the cracks reexpose the lighter coloured basecoats of the base. SO! as any good modeler does, I broke out the pigment powder!
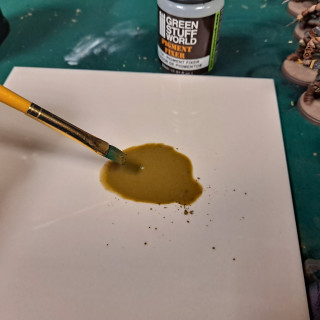
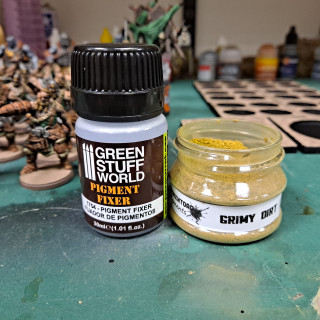
Taking the Grimy Dirt pigment, I mixed in some Pigment Fixer to create a wash which I coated every base, again trying to keep an uneven coating, letting it dry in a patchy manner. This filled the cracks in the base and gave me a nice, dusty finish. But… this wasn’t enough.
I added a brighter pigment “Burning sands” dry and patches over the more heavily cracked portions of each base. After that, I painted the outter base rims black. ….Almost there. But something was bugging me…
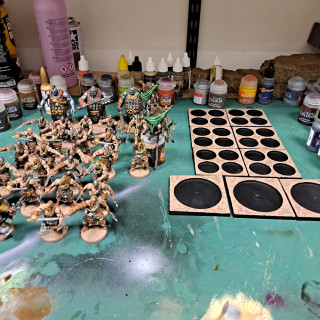
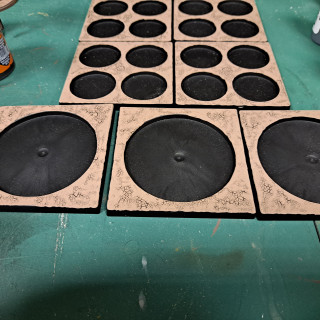
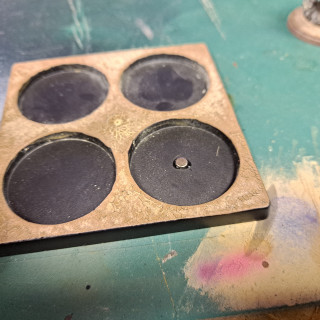
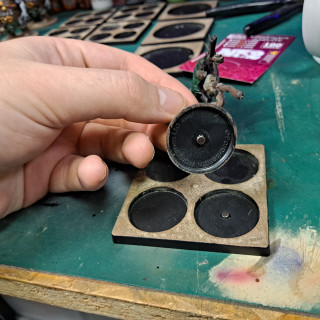
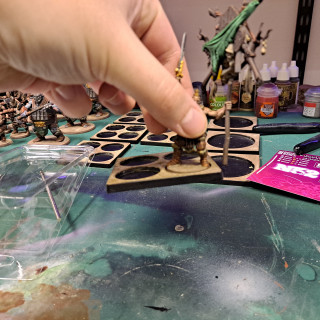
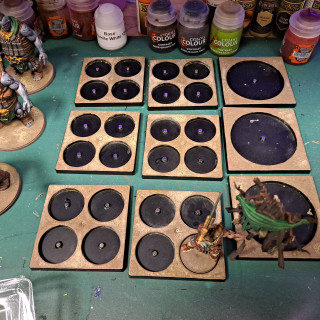
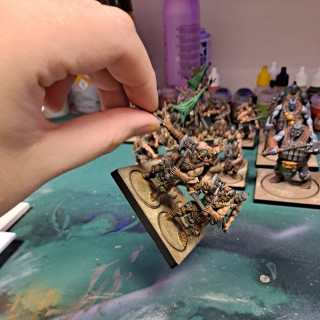
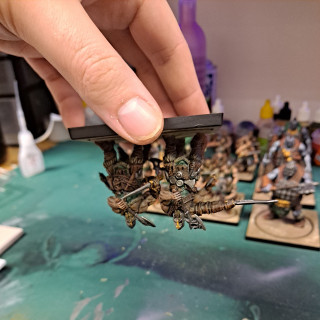
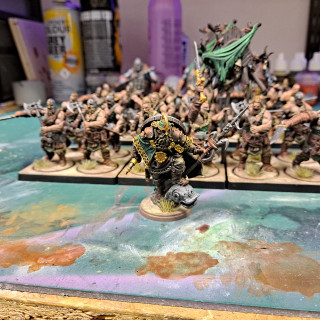
I have never been a fan of movement trays. Models are hard to place and tend to fall over when moving the tray around. In this case, the banner bearers are particularly difficult to balance. So I put 2 and 2 together and got a Pineapple… then I decided to use magnets.
I ensured that I exercised patience and care to ensure that every set of magnets was placed the same way up, so that I would have the ability to place any miniature in to any slot on the movement trays. This will let me “pose” the miniatures to minimize bases interfering with their neighbours. And finally… my banners don’t want to just fall over.
AND DRUMROLL PLEASE!
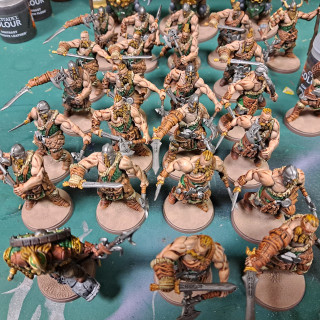
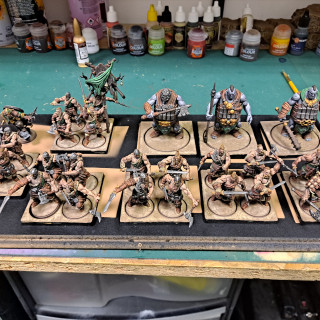
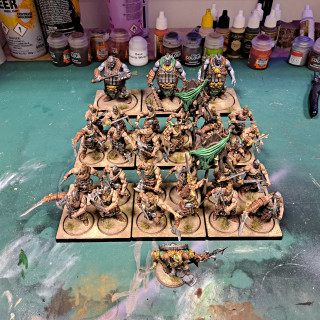
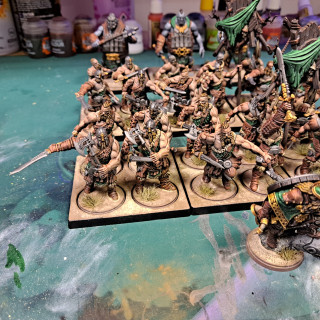
With some Army Painter grass tufts super glued down I have completed Milestone one! HUZAH!
Having this first Milestone complete is a real morale booster. One that, I’m sure, feels great for my three competitors. We finally get a glimpse of the completed army and can more easily push on to the next Milestones with a sense of there being no more, major, decisions to make creatively.
So, enjoy the images and see you again in Milestone two!




Leave a Reply