Paint part two: detailing and drybrushing
Paint part two: detailing and drybrushing
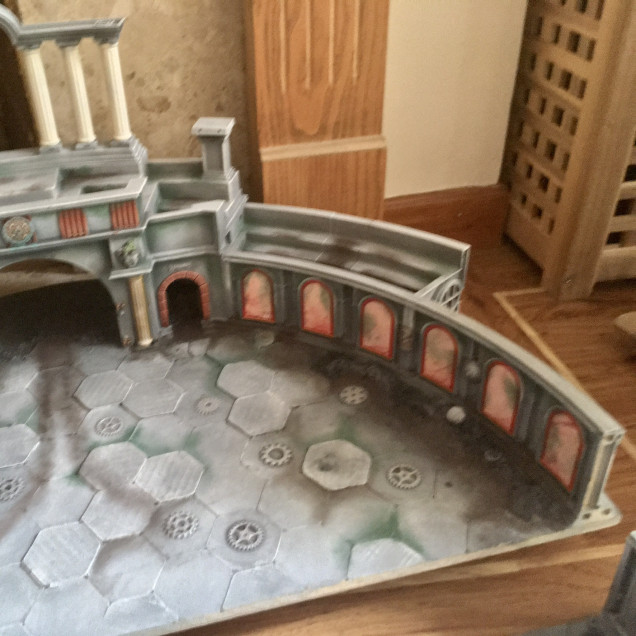
With all the priming done, I was then ready to start getting details and pushing further textures onto the arena.
I use makeup brushes for drybrushing as they are cheap to get hold of and have a softness that really suits drybrushing techniques.
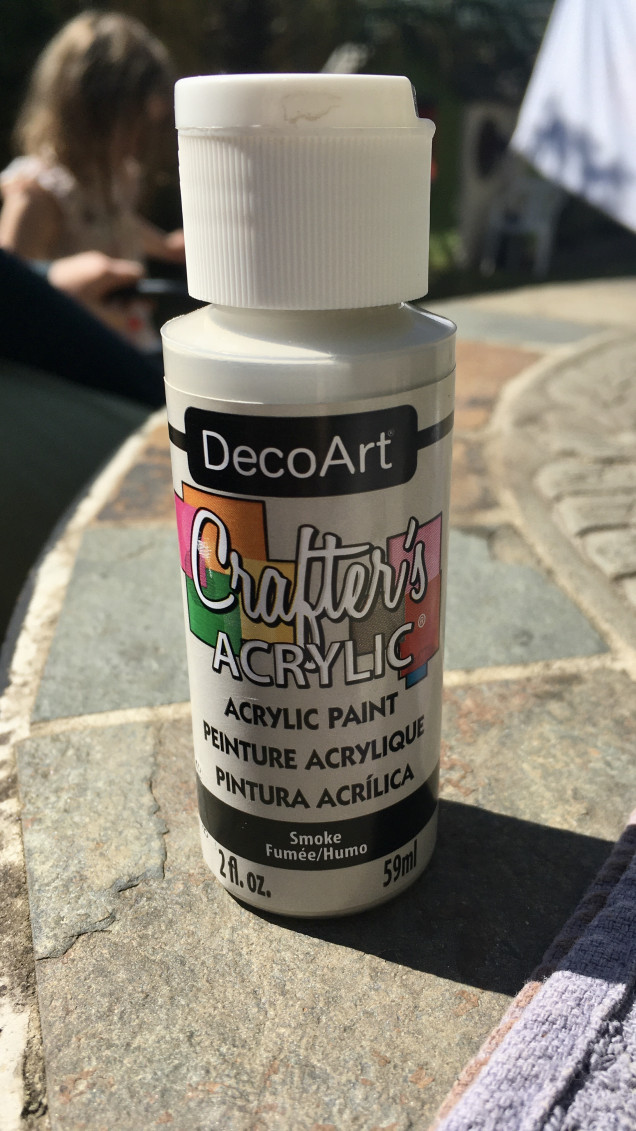
using craft store “smoke” paint, I’ve added extra highlights across all surfaces.
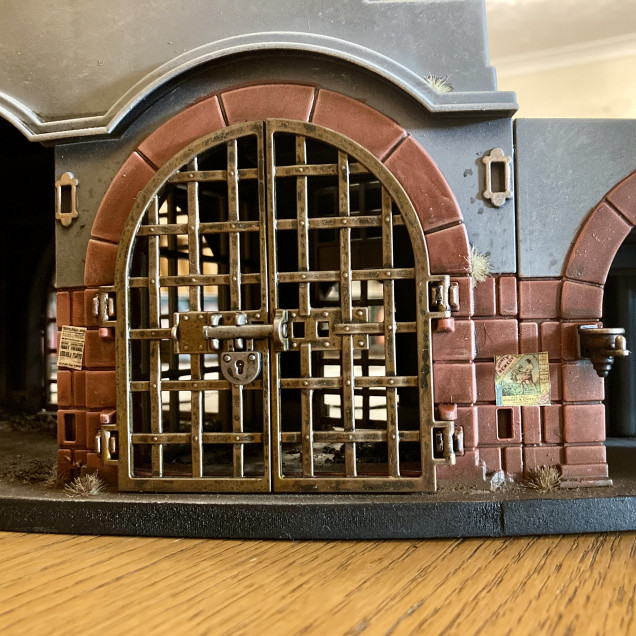
After that, I went around the whole piece adding leadbelcher or Warplock bronze metallics to metal areas – cogs, gates, braziers etc
at this point, I also used a mix of GW contrast Blood Angels Red and Gryph Hound Orange over the arches and any other parts (ticket office roof) that I wanted to be brick.
Finally, and before adding any further weathering – I stuck back onto the piece the alcove arched stickers that go all around the inside wall. This was a really quick way to add extra colour and an effective marble look to those elements. Adding them now meant that they wouldn’t be spoiled by drybrushing but could be weathered along with everything else.


Leave a Reply