
Infinity
Caledonia Settlements
I don’t think I will make an entire woodland or highland table. With starting the Highlander Sectorial I thought I would do the same as I done before and make a backdrop for pictures to put them in situ.
I had planned for this to take me a week, it ended up at about 3 weeks but only about 3 days of work. Had some issues getting a delivery of dirt, yes dirt. It was nice dirt though…
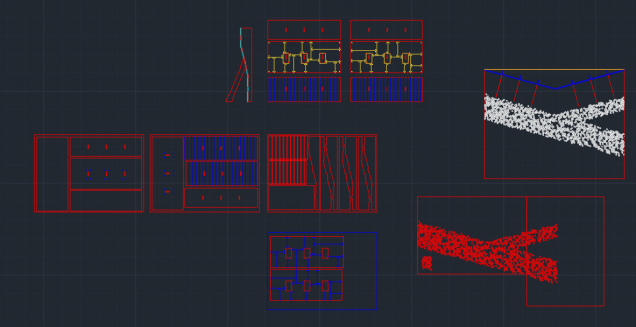
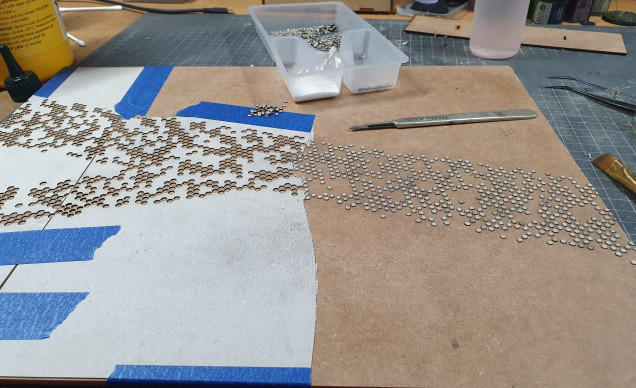 Started with the base I trimmed down an A3 bit of MDF. If you care about warping don’t use this or seal it better than I did. I cut out all the parts that I would need including the probably about 1000 cobble stones for the path. Each individually glued with PVA. I think if I had another material apart from card, I could have done this quicker but this cost about 3p, so the main cost had to be time.
 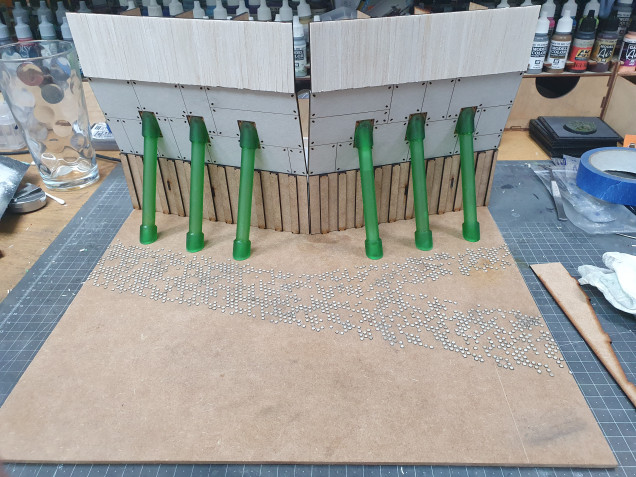 I also put the columns onto 3D print. These were done in fusion 360 the main parts were then assembled. The part that was hurting my head was the gap in the middle. I will make something to fill that Later. I also used planks of balsawood for the top. I wanted the design to show a progression from the first settlement with small strong walls moving up and up as threats became apparent.
 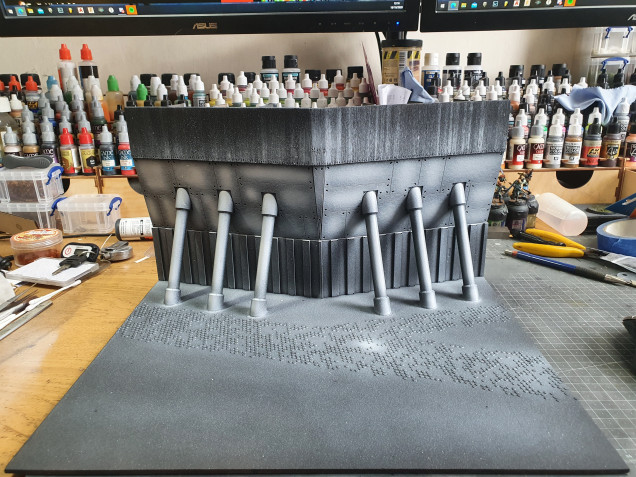 I filled in the centre I used scraps and measured to make the centre triangle. then primed everything in black and grey. I always like this step brings everything together.
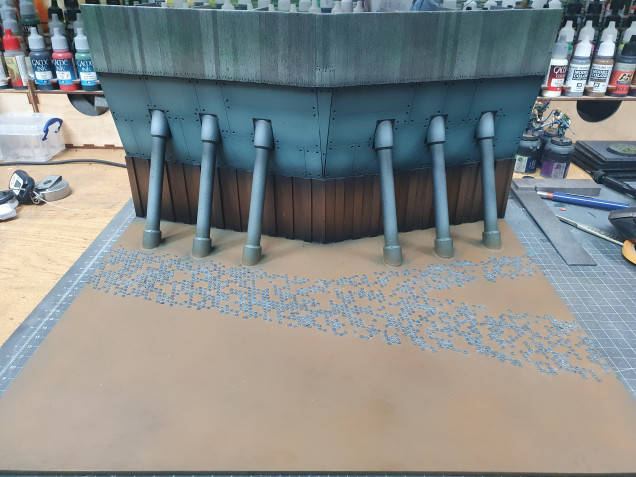 I then painted the wood with 3 colours of grey, green brown. I then used some wash and green ink for a mossy look. I quite liked this reminded me of green fence wash. I masked this off and painted the a few shades of teal. Masked that off done the rusty coloured bottom. I then masked the last section off leaving only the columns to do in a grey. After everything was done, I used some blackwash through an airbrush for more variation and contrast. I also painted each of the cobblestones in 3 shades of slate blue.
 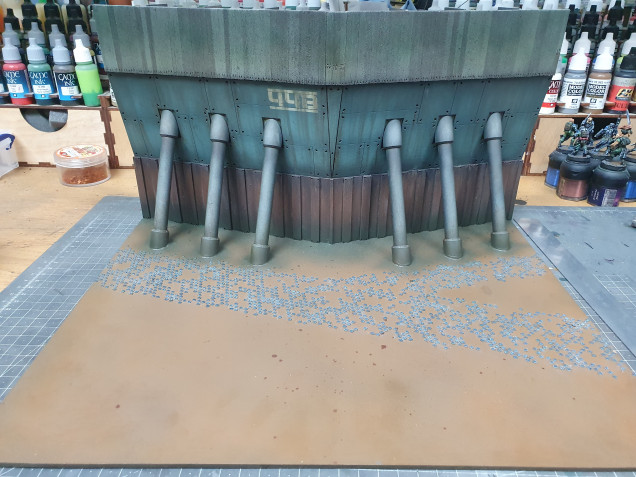 It was looking very clean. I made a stencil out of laser cut paper and sprayed bone through it. I then used oil streaking effects and rust effects to weather everything. I then used acrylic streaking grime though an airbrush to give a moss look. This finished the painting stage.
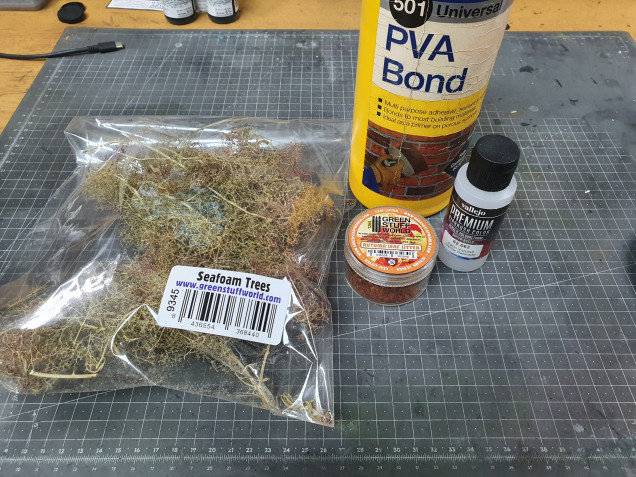
 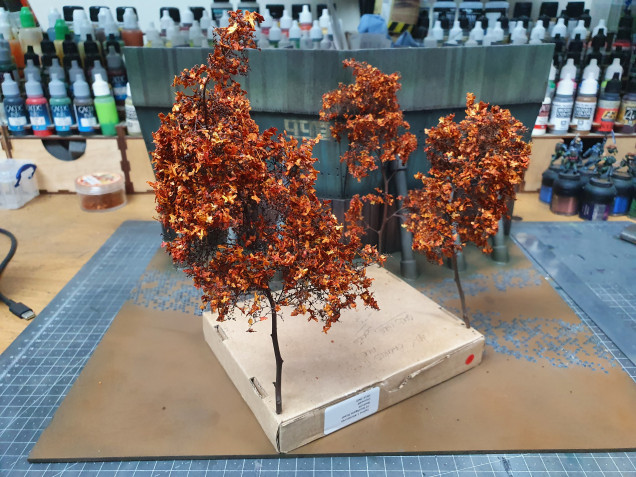 I spayed the seafoam brown then used a large brush with PVA on the tips. I then varnished this after to hold everything more after the glue had dried. I may, if I were going to use these for gaming had made these thicker but the 4 trees took about an hour and they wouldn’t block photo’s to much
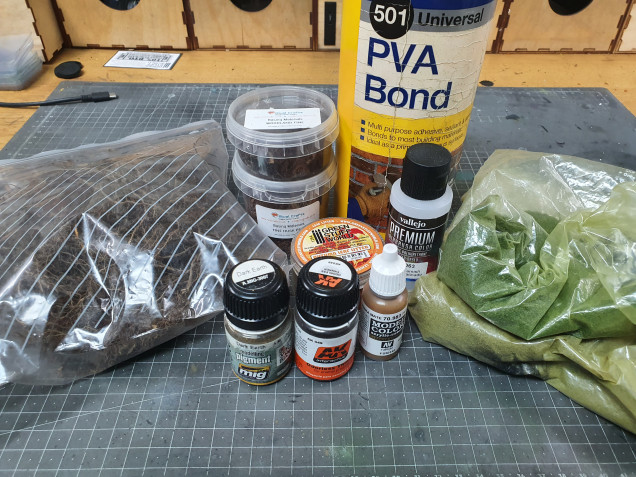 I got my basing materials together. Some roots for roots, Some wood bark, some fine husk for soil along with some spare leaves some pigment and flock.
 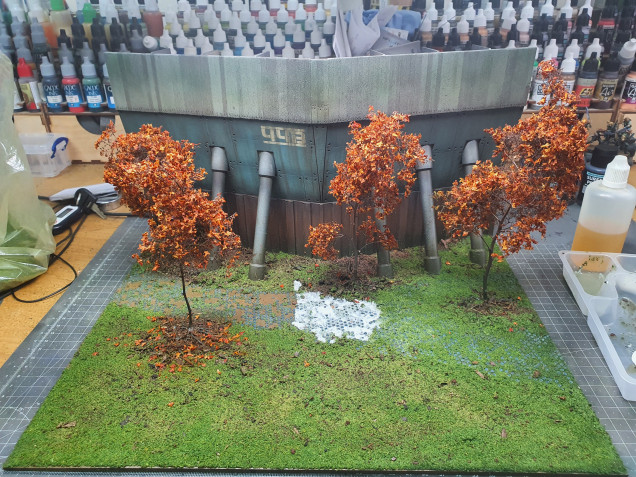 I then glued everything down the tree roots were done with superglue after pinning the trees then sprayed the same brown as the trees. I flocked the whole board and used a watered down PVA mixture. Sadly, again the patch gave me issues and I had to do this in sections removing the unwanted flock over the stones with a damp brush.




Leave a Reply