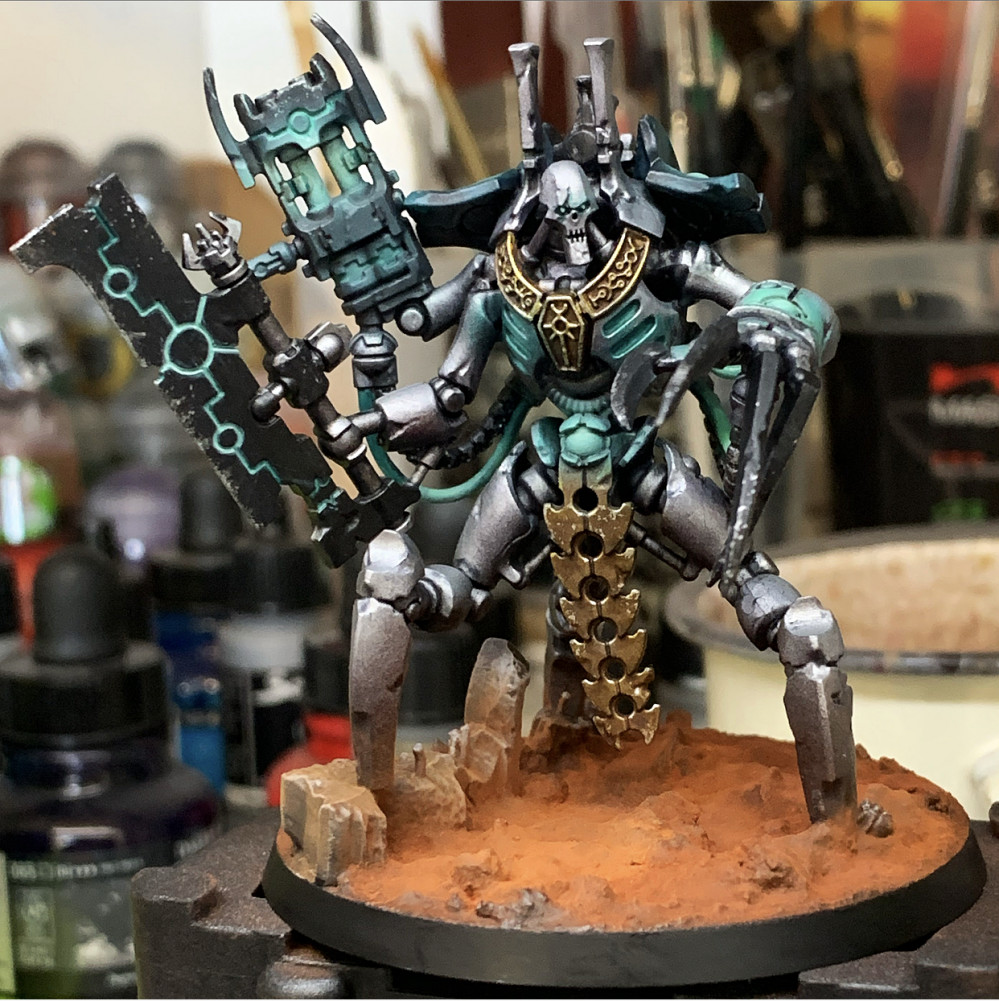
Forging a Dynasty
Living Metal - Part 2
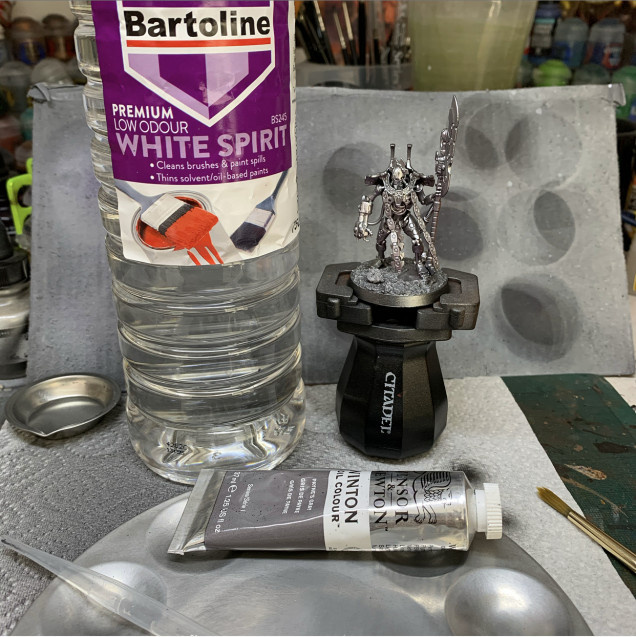
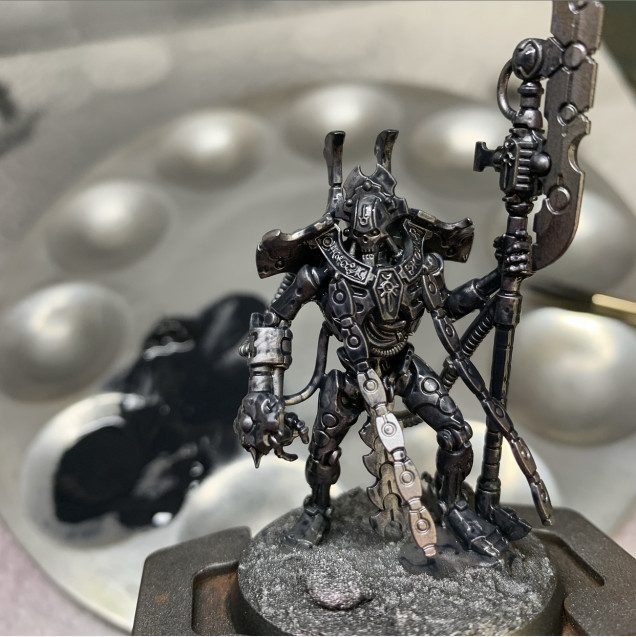
So we’ve done acrylic, we’ve done ink, now time for oils! This is a heavy wash of Payne’s Grey oil paint. Just a tube of artists oils from the craft shop, mixed with some white spirit to make a thick goop. Then just slop it all over so that it looks a right mess. As long as it goes in all the recesses we don’t care about surfaces, we don’t care about pooling, the messier the better. Fun stuff!
We need a bit of the white spirit to evaporate and the paint to dry a little bit. For a batch of models, once you’ve gooped up the last model you can pretty much start the next stage on the first model. When painting a single model you can either leave it for half an hour, or blast it with a hairdryer. You can even go have lunch or dinner and come back to it later. The oil stays wet for hours.
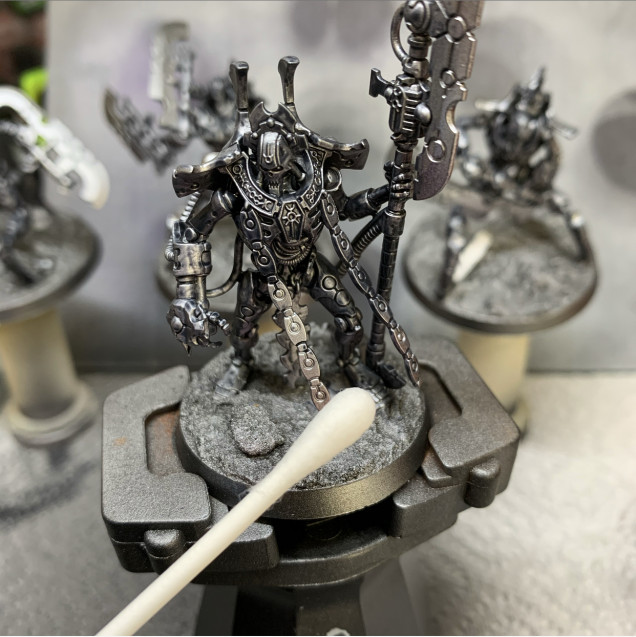
This is a reductive technique, so the next step is to remove the oil wash from the surfaces. This is simply done with a dry cotton bud, dabbing very gently. You’ll noticed I haven’t varnished between stages. This is fine but it is necessary to be gentle as the airbrushed layers underneath are thin. You don’t want to scrub too hard, but it’s more robust than you might think.
I tend to grab a dry cotton bud to clean the upper surfaces ( so they look highlighted) but I don’t mind working with a dirtier bud on the lower parts as this works some of the oil onto the surface and creates a nice inky, oily sheen.
I then take a cotton bud dipped in some white spirit to “highlight” the model by making sure the very upper parts and edges are completely clean of oil with the pure silver showing through.
Wash and highlight in one step – pretty neat!


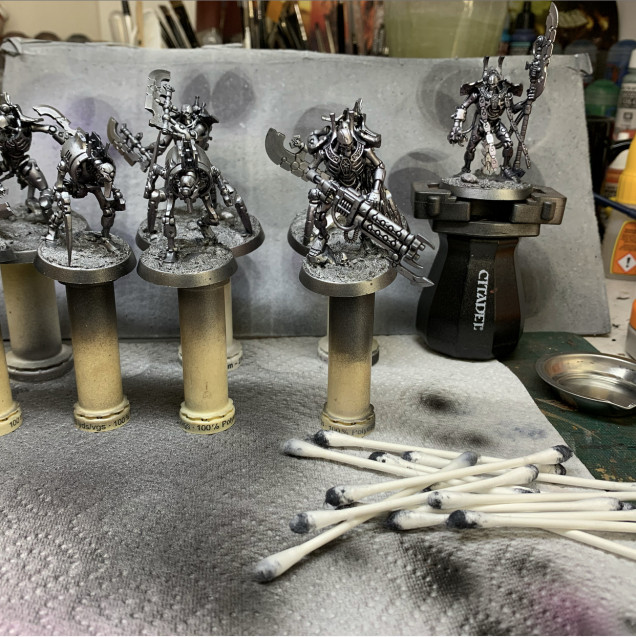
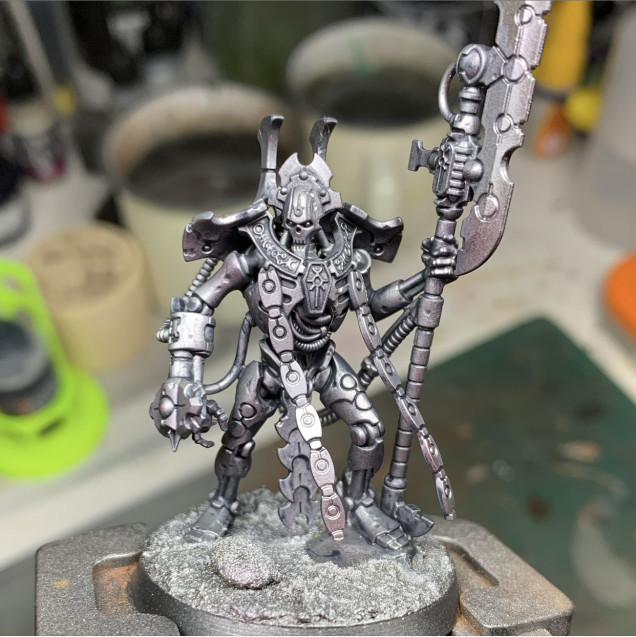


great looking necrons you will be desperate to get them into action @darkdanegan
Thank you – yes – looking forward to seeing what they can do!