My First Serious Attempt at Weathering a WWII Tank
Finishing the Weathering and the Tank
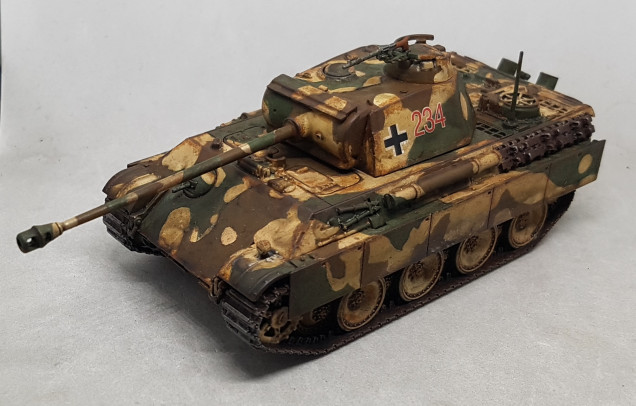 JanuineVision has what he calls his Magimix. Its roughly 6 parts Nuln Oil, 6 parts Agrax Earthshade, 2 parts Athonian Camoshade and 6-8 parts Lahmium Medium and no water. Water and GW washes apparently don't mix too well and results in tide marks. YMMV. He uses this as his dirty shadowy weathered mix for surfaces left out in the elements. I mixed up 3-4 times that with maximum medium and coated every part of the tank and the PAK 40.
This was then left overnight to dry thoroughly. Next morning everything got gloss varnished to give it a nice hard seal as its going to take abuse during the next stage. I went off and painted something else for a while to ensure this was fully dry too.
There are no WIP shots from here on out as when I’m working with loose pigments I wear a dust musk and it does not come off for anything until varnish has been applied. I do not want a stray breath cough or sneeze blowing pigments everywhere so no breaks or pauses were taken and my coffee unfortunately was allowed to cool.
When working with dry pigments I clean my tray off and put down a clean piece of paper with a crisp clean fold in the middle. That way I can make all the mess I like and recover the stray pigments. I tap off the loose pigments on the page after application and then fold the paper up and funnel it straight back in to the pot for use later.
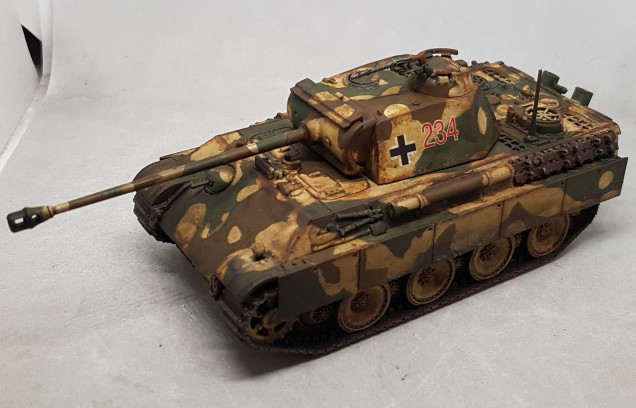
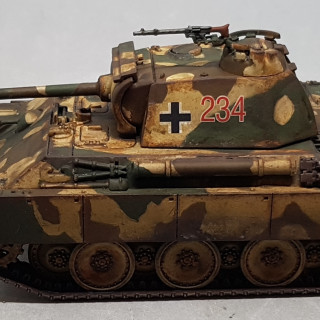
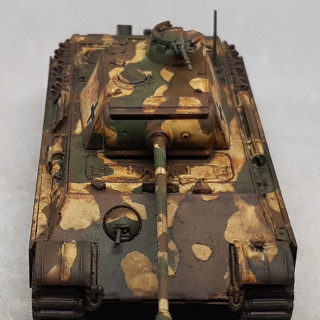
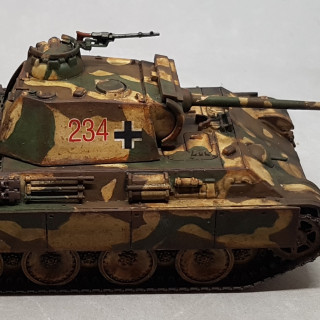
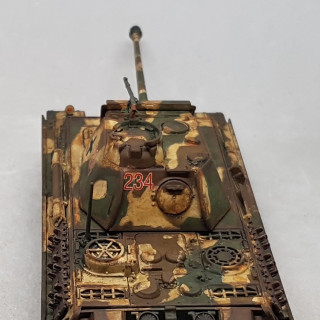
Using an old soft word drybrush Vallejo Pigments Green Earth was rubbed into the main body of the tank and the PAK 40 until it almost looked like I’d tipped my hoover bag over it. The tracks and anything mud would hit were treated the same, but with VMC Natural Umber. Black Pigments were applied to the end of both barrels.
Everything was sealed with Gloss Varnish to both protect the model and seal in the pigments, and then finally dulled down with matt varnish.
Most of the pigment appears to have dissolved in the process, which is a shame. If anyone has any advice on how to preserve a dusty finish using pigments this was I’d love to hear about it. I’m going to have to do some research.







Leave a Reply