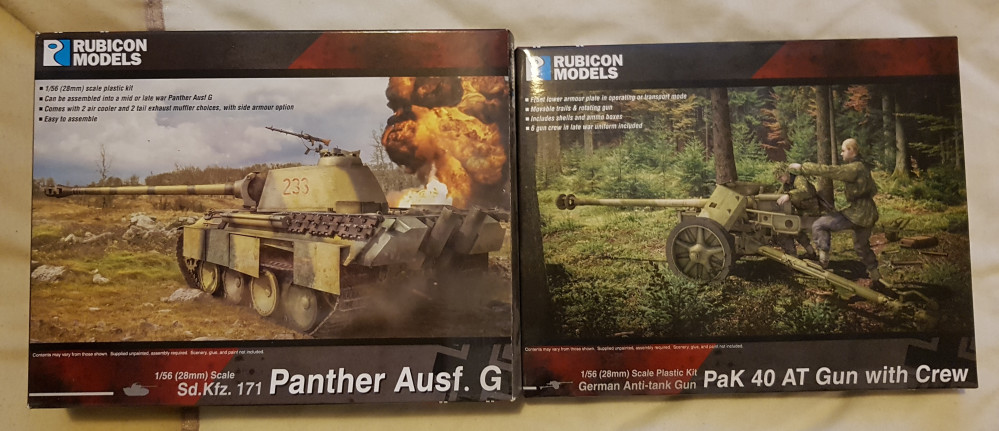
My First Serious Attempt at Weathering a WWII Tank
Chipping & Weathering
Unhappy with the results of following previous videos, I went away and watched a few more for inspiration
Previous video I’m still taking some inspiration from this
Chipping Do’s and Dont’s My main inspiration going forwards, although Johns regular sponge video sessions gave me the confidence to try the sponge stuff in the first place. Contains the flicky spray thing I’ll mention later
Stug Video I think I follow this one less, but it was still helpful
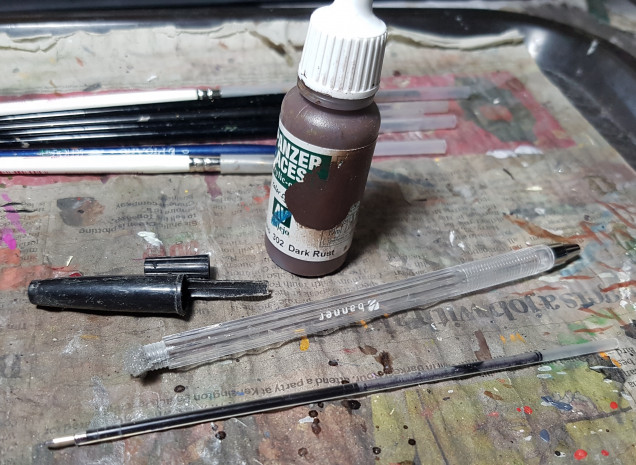 I've heard JanuineVision recommend this tool for sponge chipping many times so I thought I'd give it a go. It's a little chunk of packing foam wedges in the end of a biro.
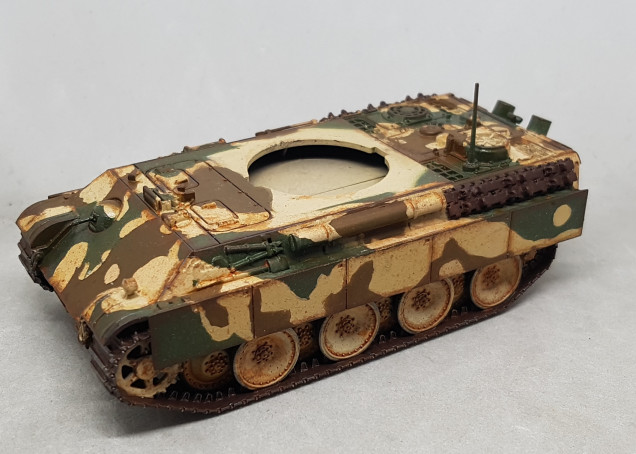
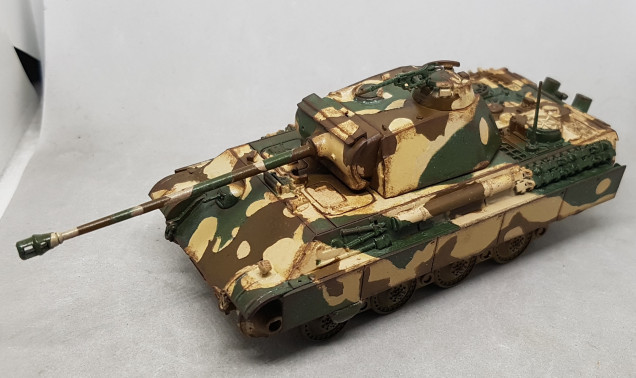 VMC Dart Rust was applied as chipping along every edge or area that might receive chips. The chips were then joined up by edging along the edges with more VMC dark rust
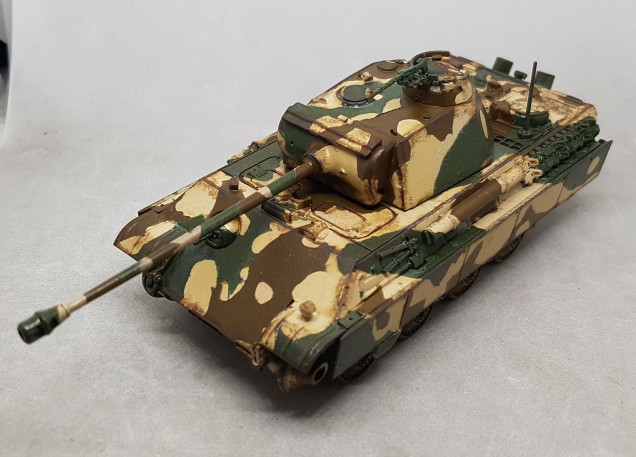 A little white as added to some VMC German Grey and the edging was repeated, but this time it was patchier. I tried to keep the Dark Rust visible and use this as more of a harsher weathering, as in the rust had worn through and actual metal was showing
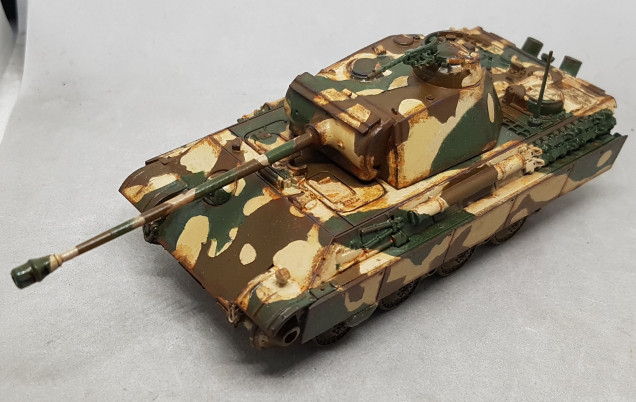 I mixed up a very thin rust solution and applied it somewhere between a glaze and a wash. I used a mix of Mission Models Transparent Light Rust and Vallejo Pigments Brown Iron Oxide with some water and GW Lahmium Medium. This was then brushed over any area with chips and the bolts and crevices of the wheels.
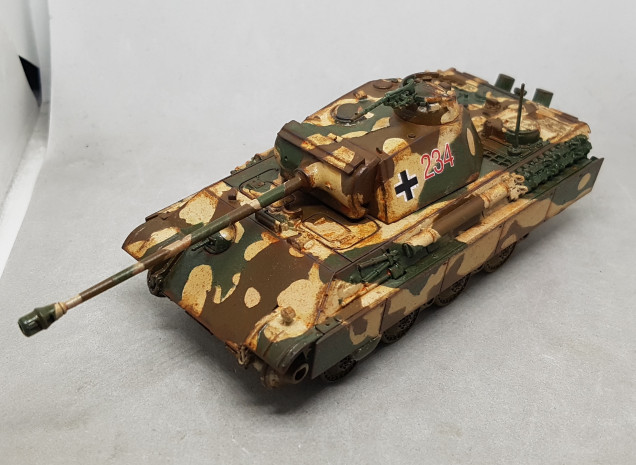 It was at this point that I remembered the transfers, which should have gone down before any weathering was started. I gloss varnished the areas I wanted them to go and let that dry. I then applied the transfers, let them dry, and then gloss varnished over the top. Once dry I used some of the rust mix to apply a little weathering over the top where relevant. Some if this rust was also flicky sprayed over the tank using an old GW Stippling brush and the arm from the lid of that biro, as per the video
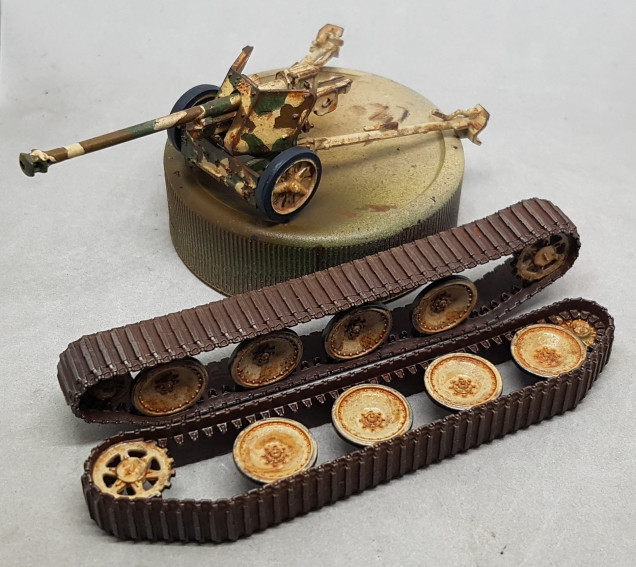
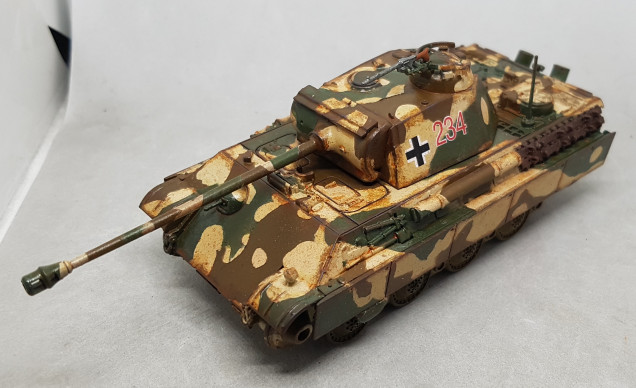 The gun was painted in P3 Pig iron and the stock was painted in P3 Bloodstone. The track sections were painted in VMC Dark Rust and then lightly drybrushed with Pig Iron


![TerrainFest 2024 Begins! Build Terrain With OnTableTop & Win A £300 Prize! [Extended!]](https://images.beastsofwar.com/2024/10/TerrainFEST-2024-Social-Media-Post-Square-225-127.jpg)




Leave a Reply