


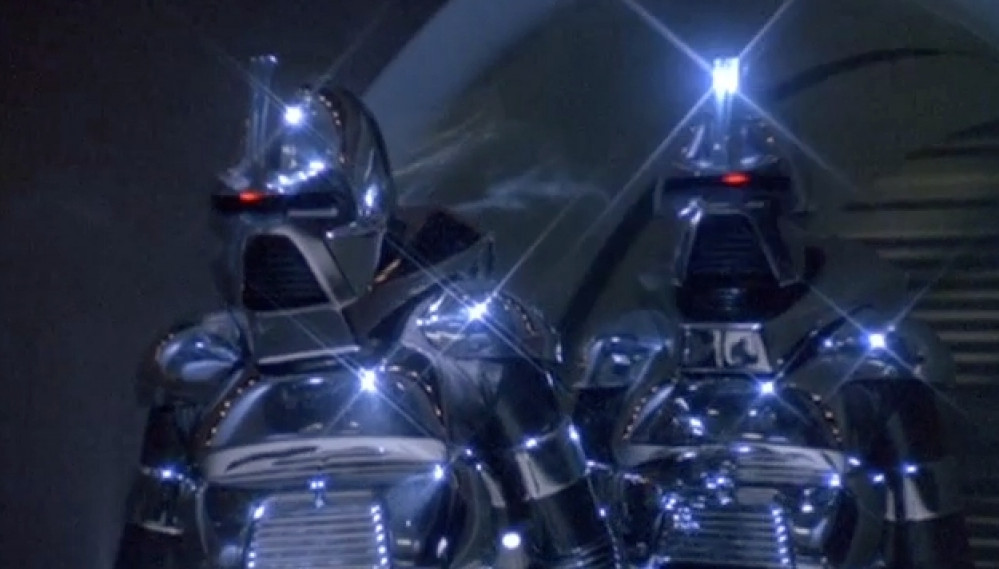
Animated Cylon with LEDs at 32mm


Printing the cylons for testing
With the models prepared, I ran them through the online service netfabb to fix any mesh issues (the original .stl files were less than brilliant) then put them into Prusa Slicer for adding supports.
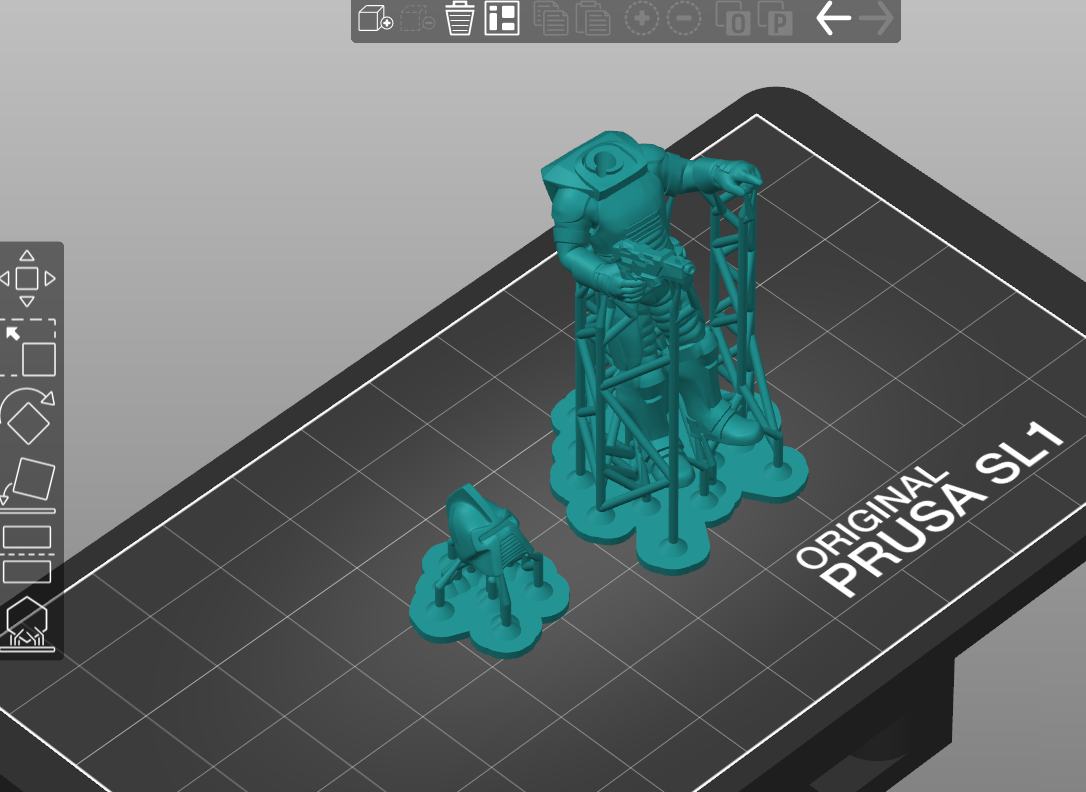
On my AnyCubic Photon printer, I managed to fit six heads and bodies, to create a TV-sized regiment (were there ever more than six Cylons on-screen at any one time throughout the entire series of Battlestar Galactica?)
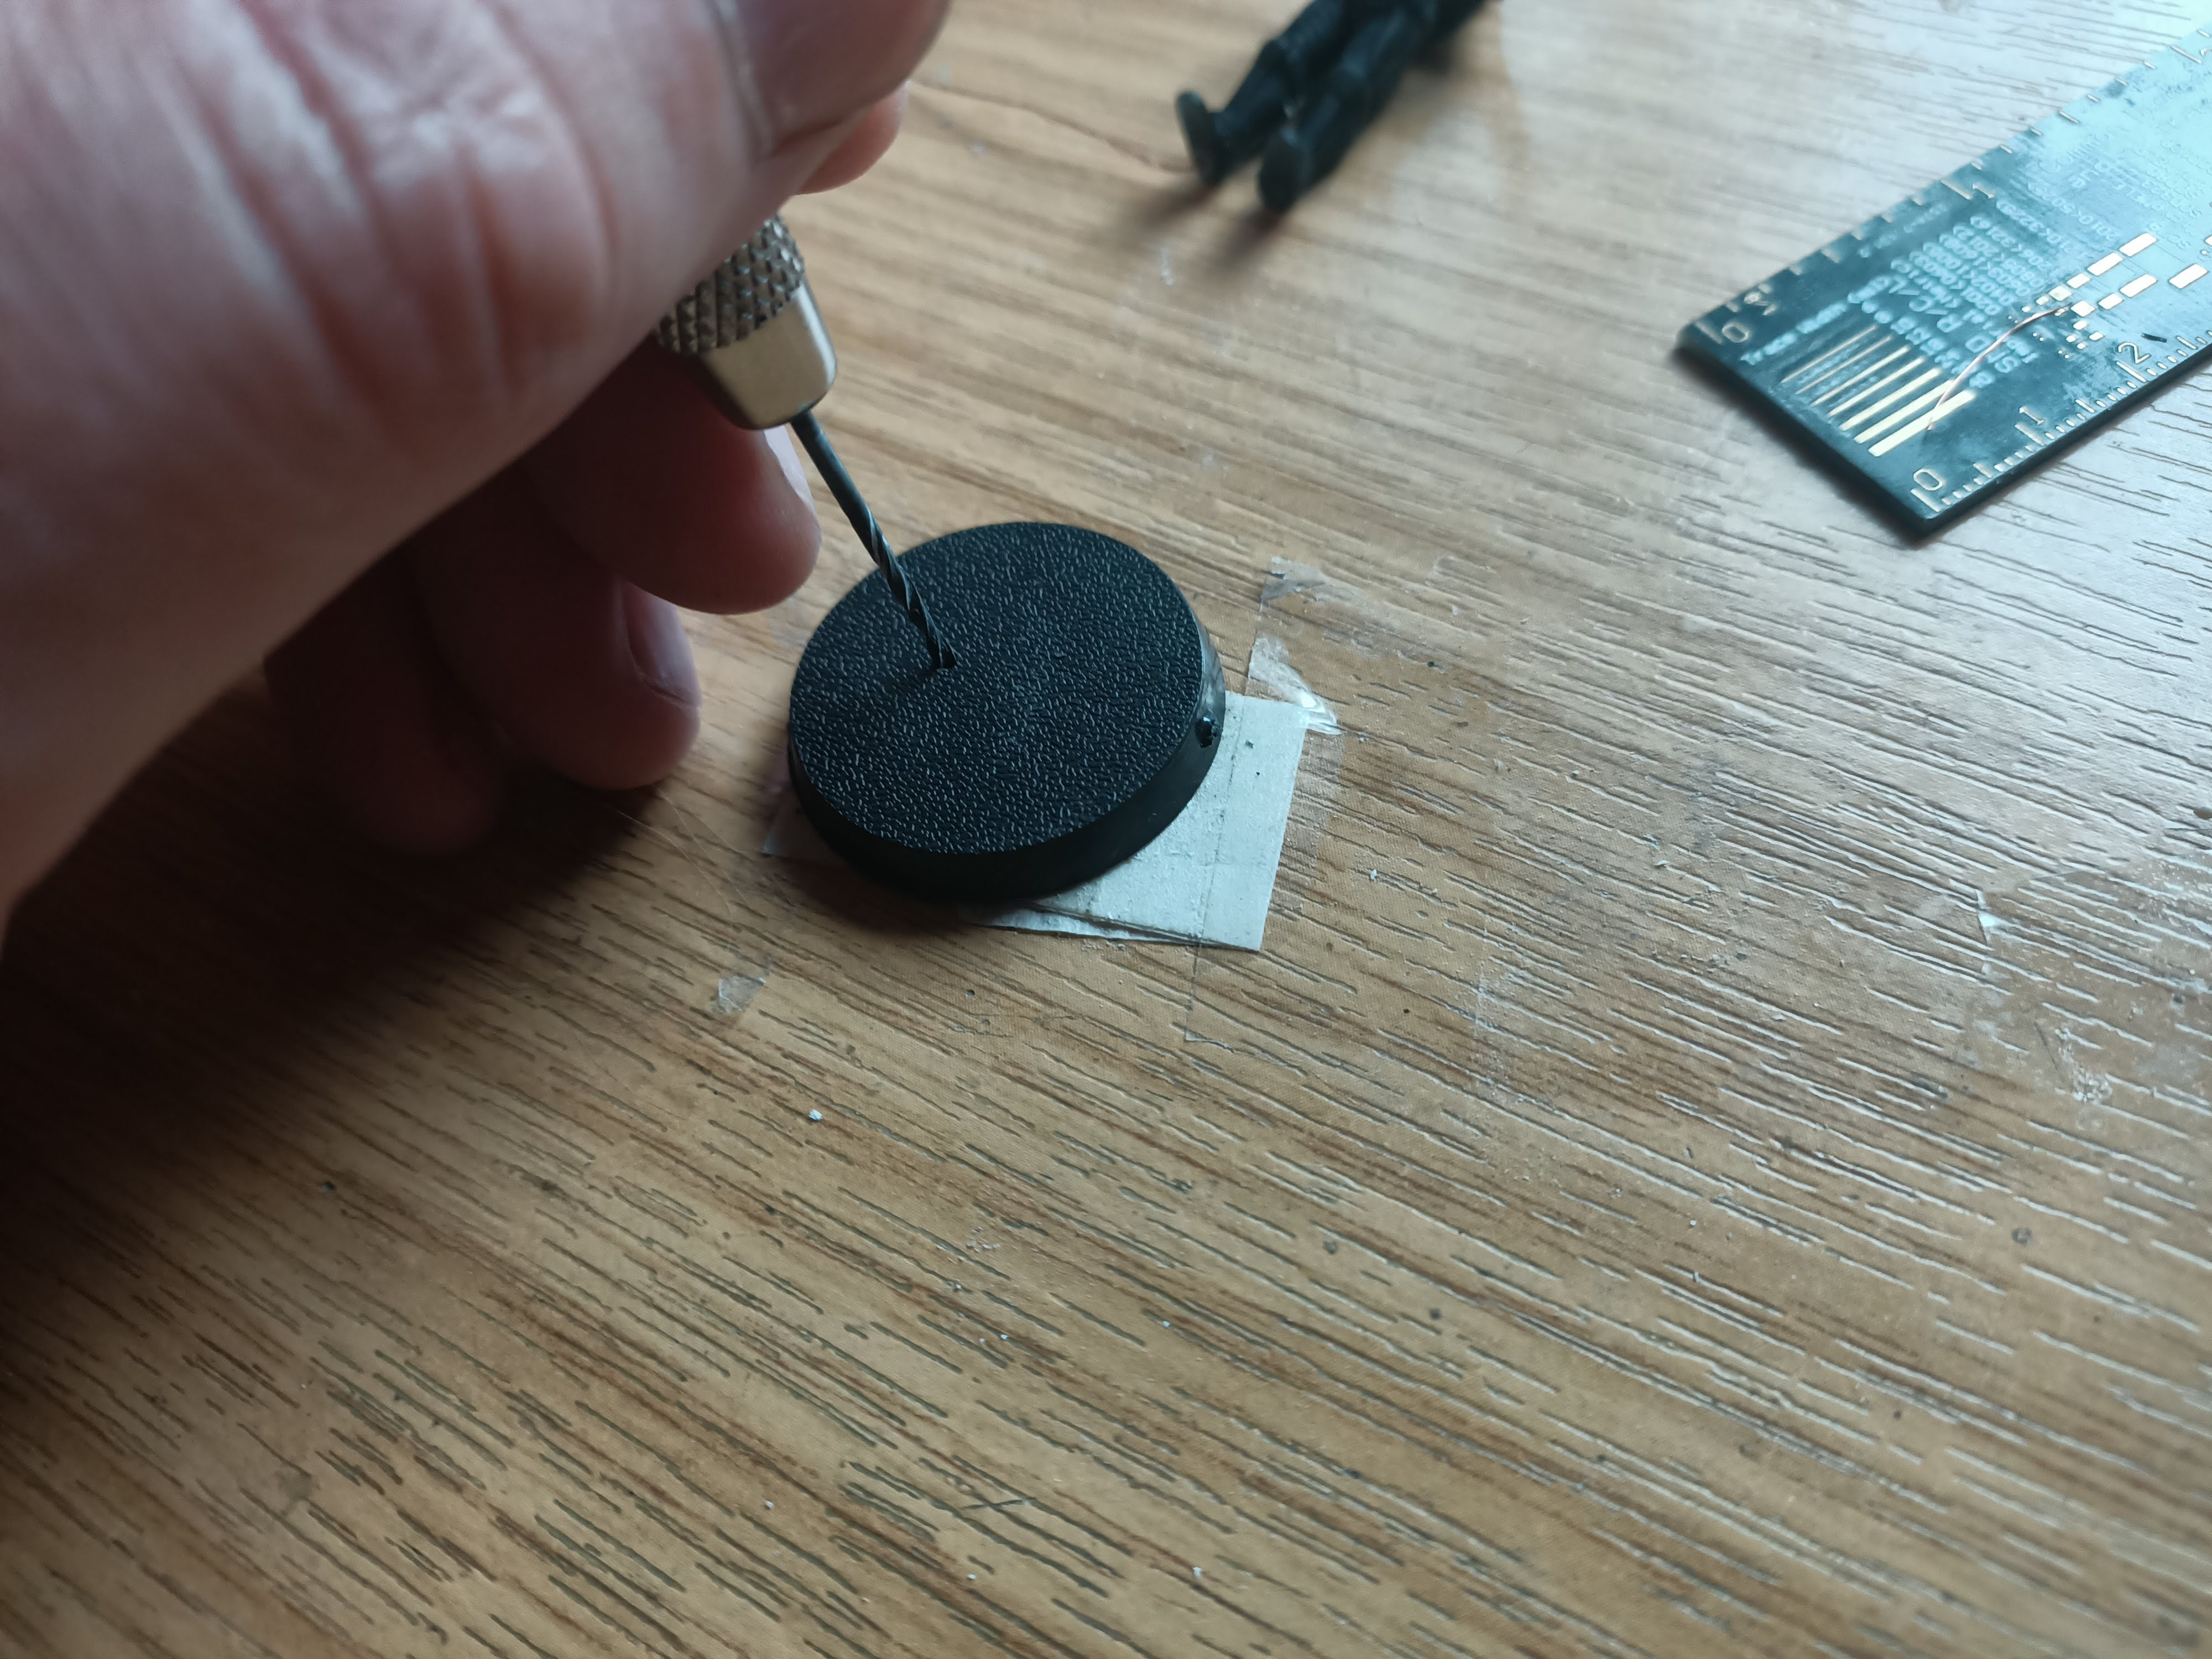
After curing and cleaning the minis, I set about preparing the bases. This involved little more than drilling a 1mm hole in some pre-bought bases.
Usually, when putting a single LED inside a miniature, only two wires are required. With three LEDs soldered together using a common anode (or was it cathode – I forget which is which!) then there are four wires needed to be able to turn each one on and off individually.
It turns out that the channel I’d prepared in my 3d models wasn’t quite wide enough to accommodate all four wires, so I widened the hole using a 1mm drill bit
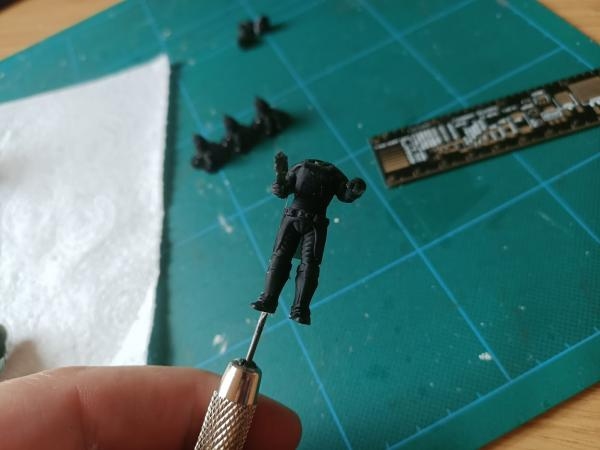
After running the wires through the body of the miniature, it was time to work out which of the wires was connected to which LEDs!
There’s not really enough space here in this project blog to list how to make your own PCBs (though if anyone is interested, I could make a dedicated project!) but in short, I had a PCB with a PIC microcontroller and four contact points for the LED wires. Since there are only three LEDs in these first test pieces, and the PIC is programmed to play a “side-to-side” animation, the most important thing to do is find out which LED is the middle one…
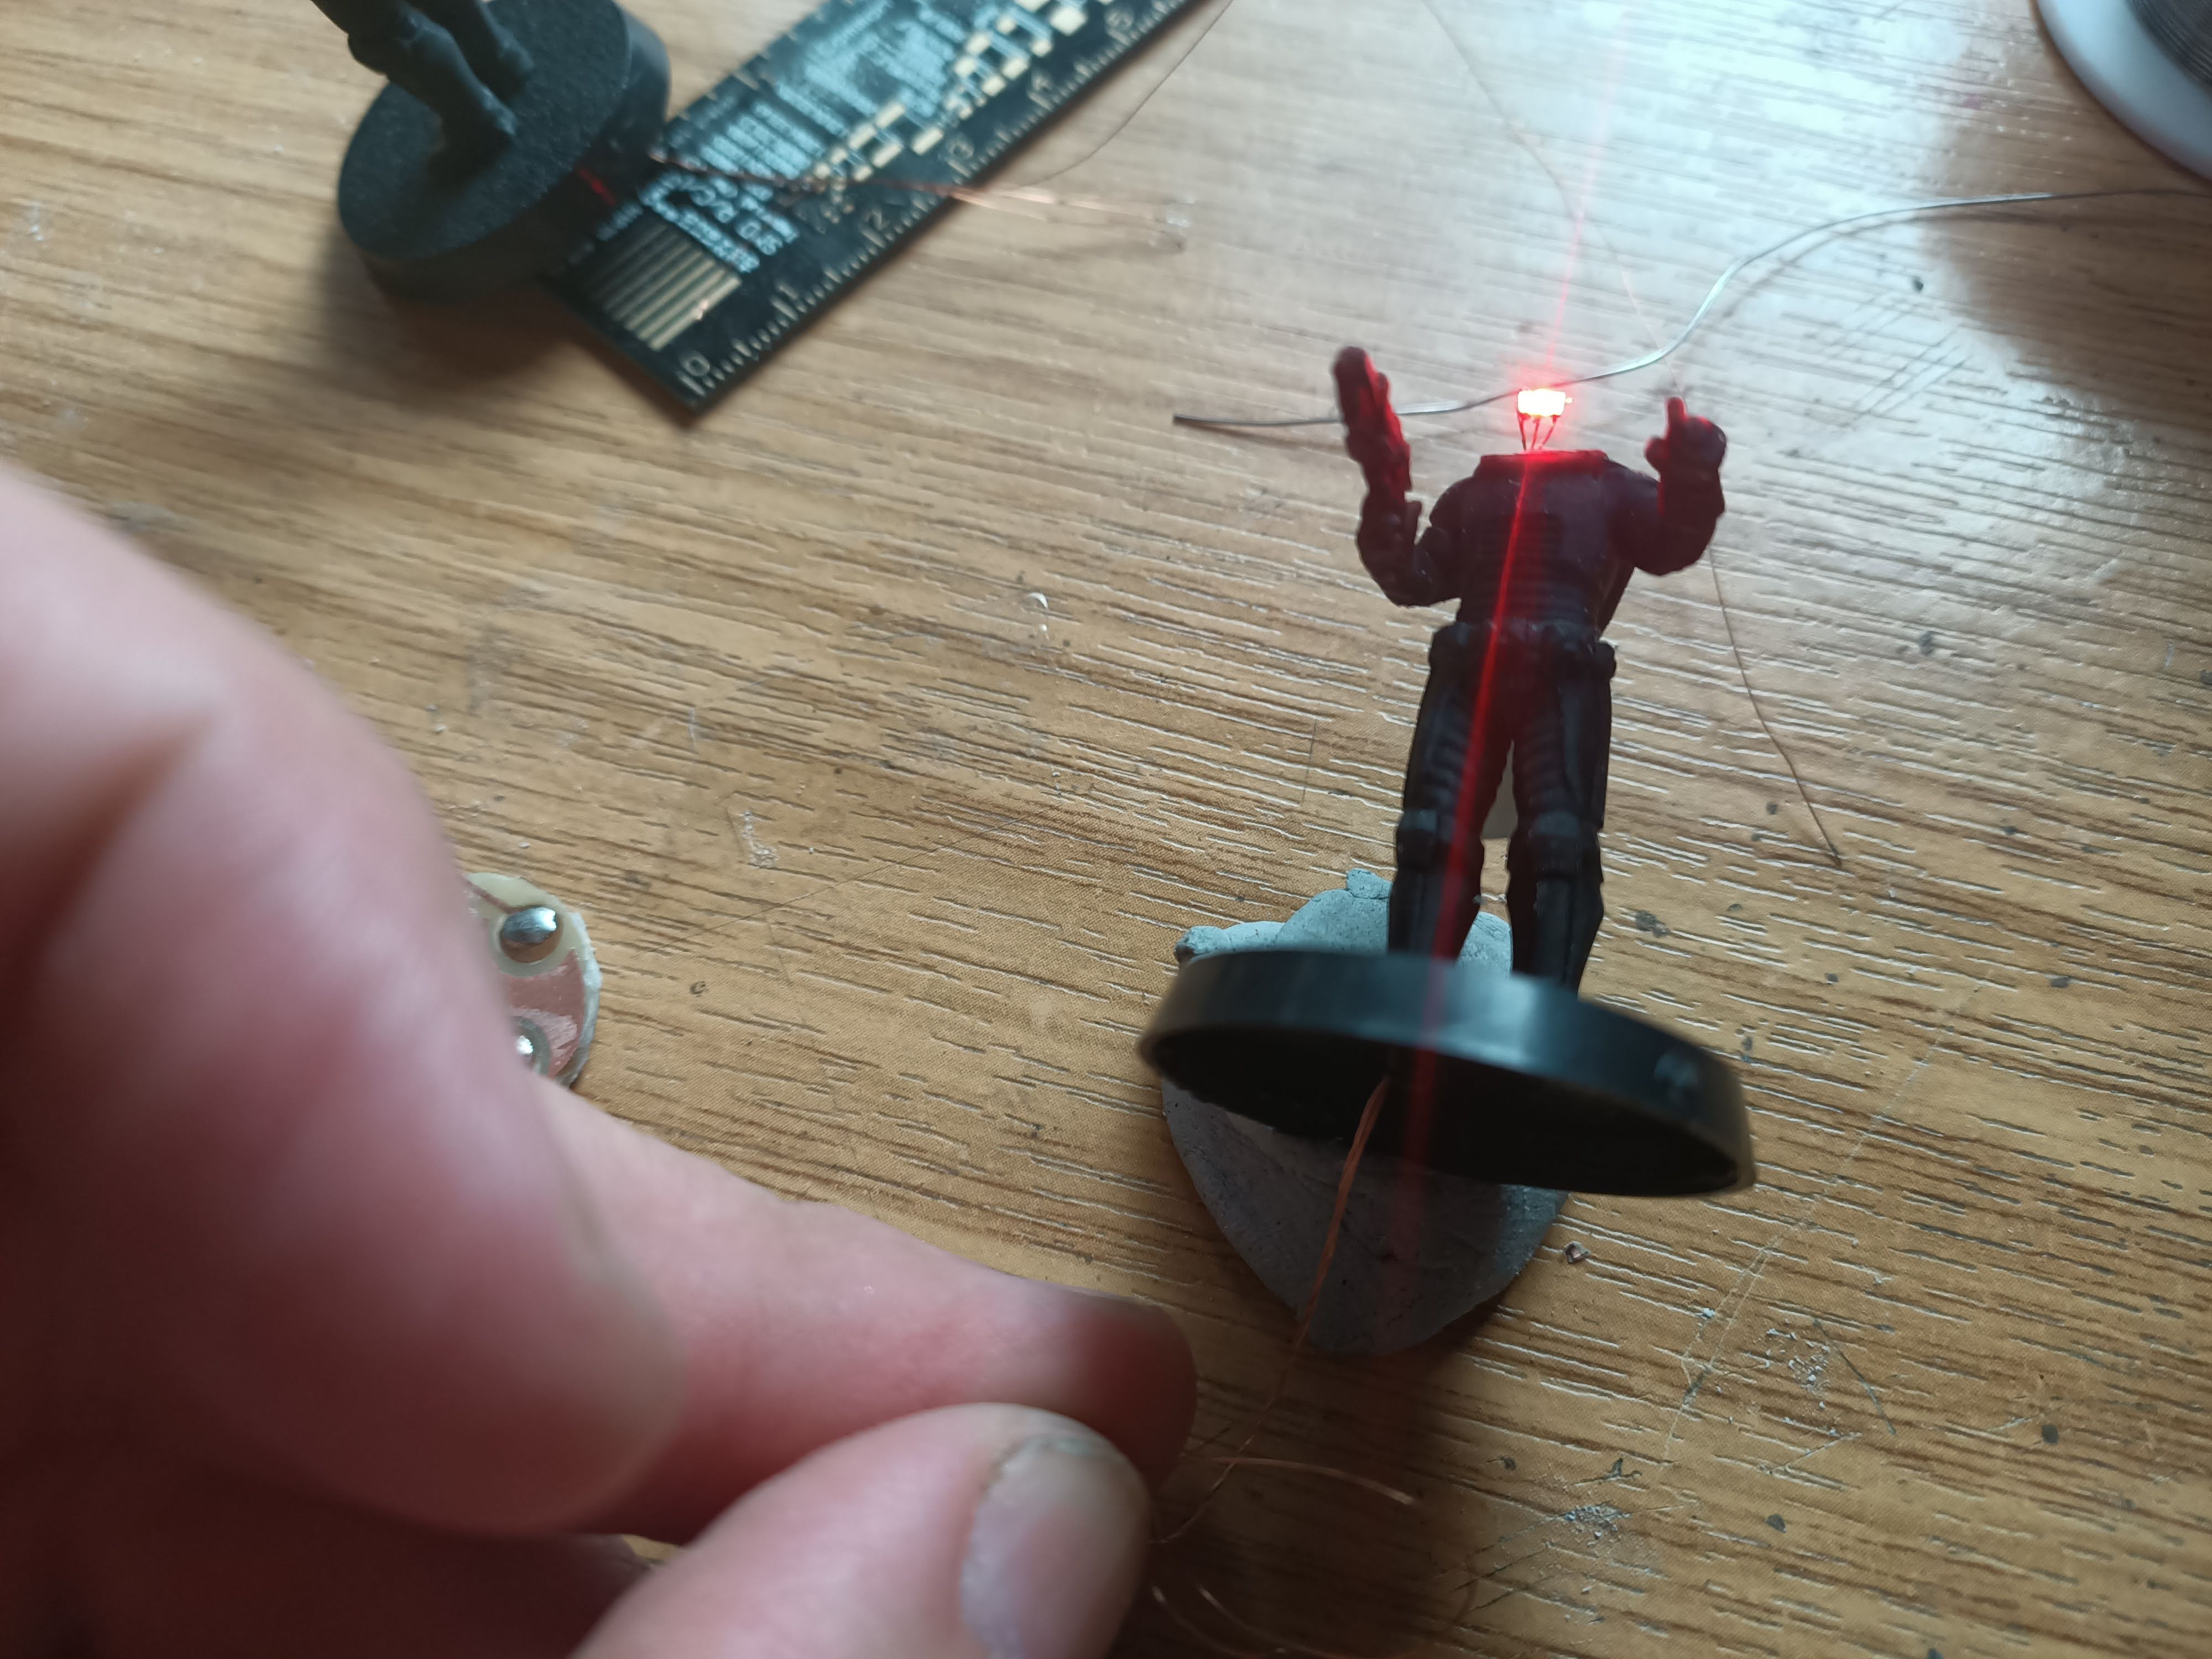
This simply involved touching various wires (they all look the same, after all) to the battery, until LEDs started lighting up! Once the middle LED was lit, I made sure to solder that wire onto the PCB first.
Then it was a matter of connecting the remaining wires and powering up. The moment of truth had arrived…. did it work??!


Leave a Reply