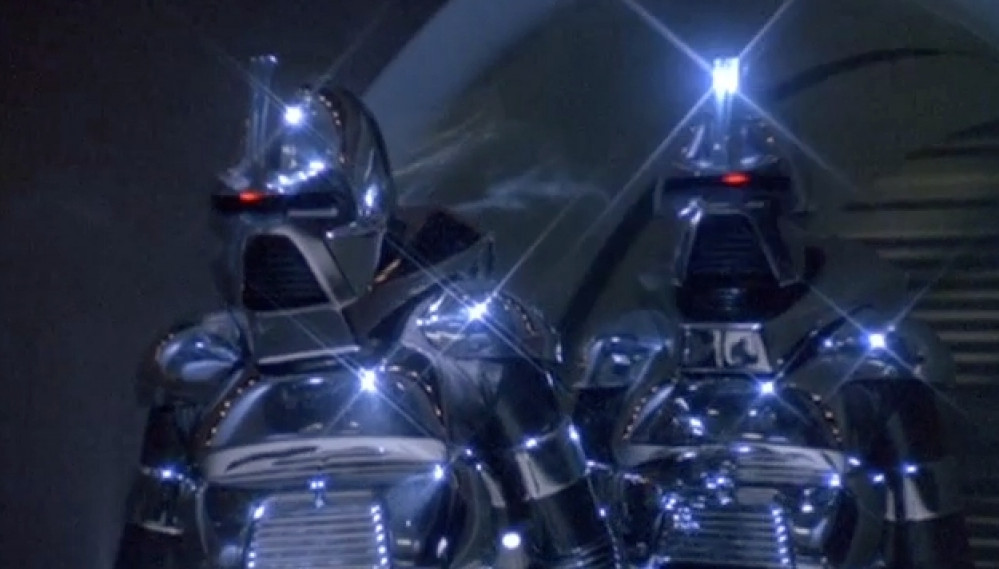
Animated Cylon with LEDs at 32mm
Preparing for 3d printing
Having successfully soldered some LEDs together – ideally I would have liked four or five, but I thought I was pushing my luck with three, so thought I’d start small and work up to more if possible – I wanted to know how much space I actually had to play with.
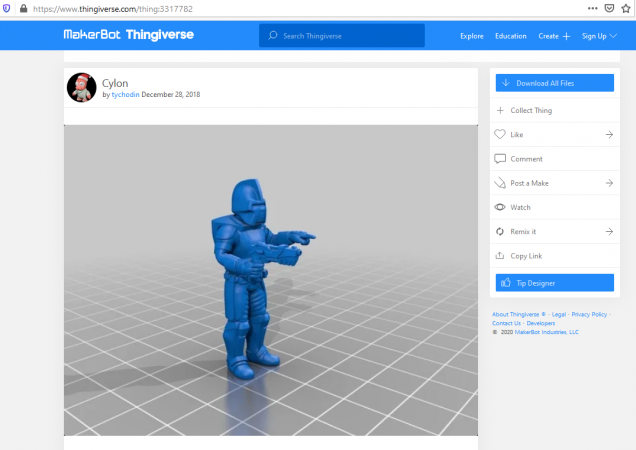
Which meant 3d printing an actual Cylon miniature to get an idea of scale.
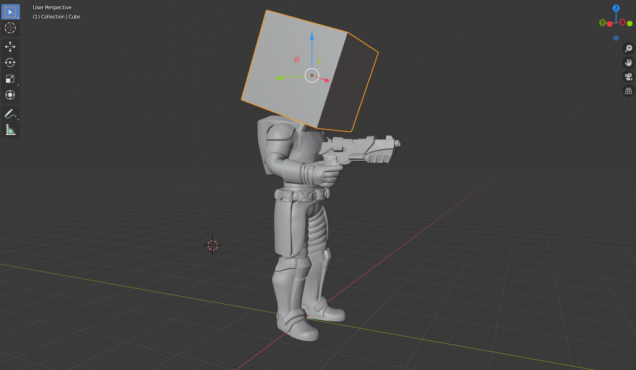
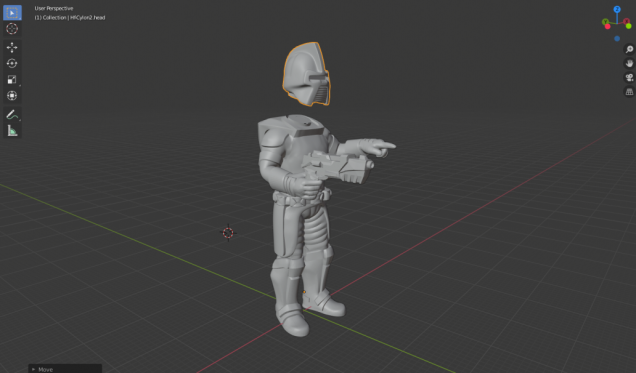
The first job, after importing the STL into Blender, was to separate the head from the body – then create a void inside the head for placing the relatively large LED cluster, and a channel to run the wires through the body into the underside of the base.
My usual process is to clone the original character then make a shape which will be “booleaned” against each; boolean-intersect to isolate just the head, boolean-difference to remove the head from the duplicate copy and leave just the body
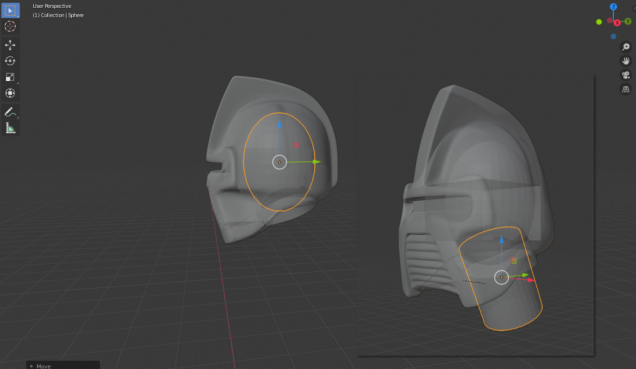
With the head separated from the body, the next job was to hollow out the head. First, by creating a large empty void, so the head is just an empty shell. I did this using the boolean-difference operation on an elongated sphere, then boolean-difference on a rotated cylinder where the neck meets the head.
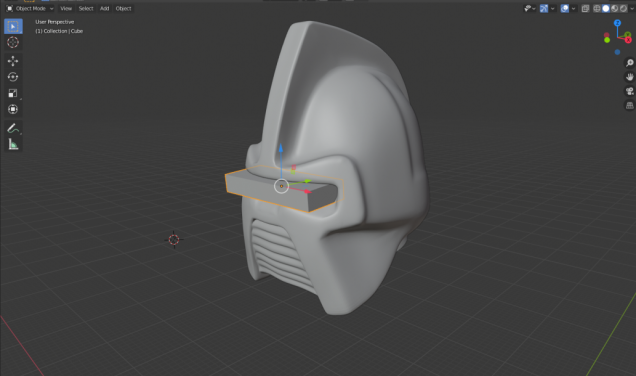
The last operation on the head is to subtract a rectangular block from the visor – this is to create a super-thin section of resin that will allow most of the light from the LED to pass through it (the miniature will be printed using Elegoo black resin which has a slight translucent effect).
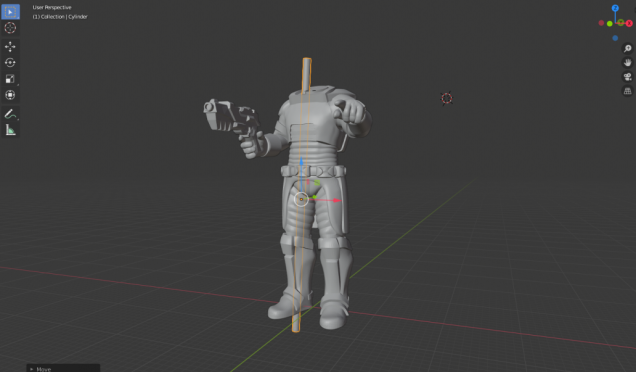
Lastly, with the head prepared to receive the LED(s), the body needs a channel for the wires to run from the head, through to the underside of the base. Luckily this model is standing in a fairly static pose, making it quite easy to simply run one single, solid cylinder through the length of the entire body.


![TerrainFest 2024 Begins! Build Terrain With OnTableTop & Win A £300 Prize! [Extended!]](https://images.beastsofwar.com/2024/10/TerrainFEST-2024-Social-Media-Post-Square-225-127.jpg)




Leave a Reply