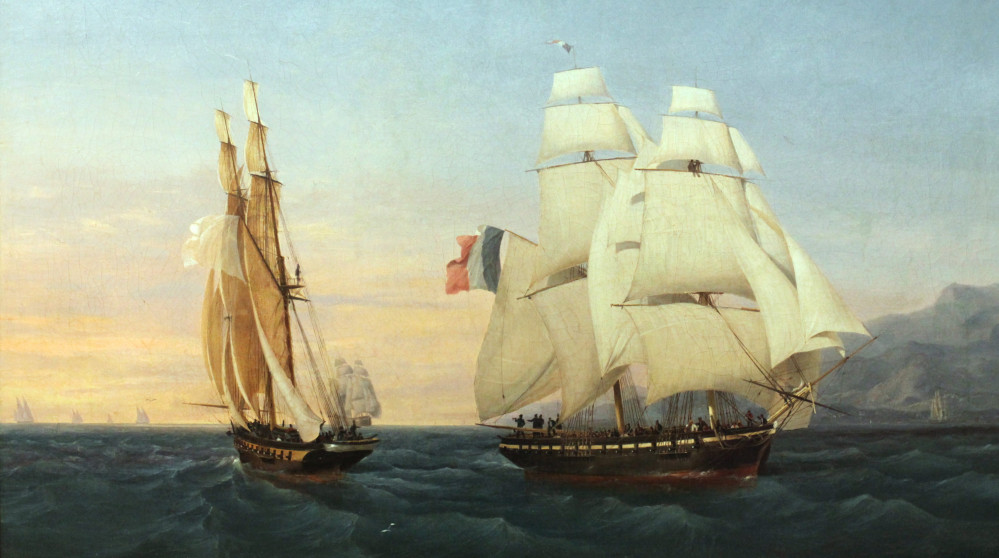
Dipping a Toe into Black Seas
Sail Ho!
With the painting done, it was time for the more modelling side of getting these two brigs seaworthy.
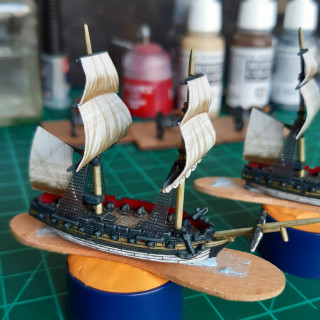
First step was getting the sails and ratlines added. I used the kits sold by Warlord Games. The ratlines are printed on an acetate sheet, with enough for three frigates and six brigs on a sheet. The sails come as a set of ‘light’ and ‘dark’ sails, each sheet with enough for one frigate and two brigs. The dark sails were the best colour match for the furled sails I had painted on the ships, so were the ones I used.
I collected a few tools for the job – a sharp knife, steel ruler, super glue, tweezers and some cocktail sticks.
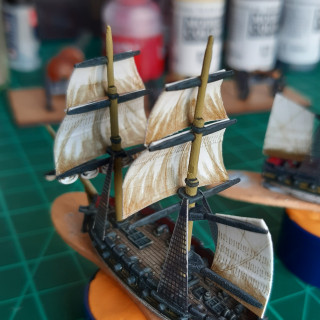
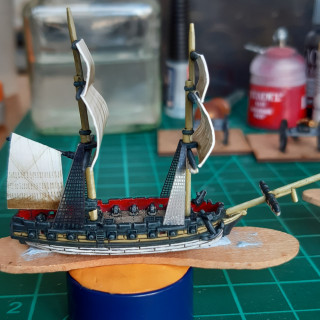
I started with the ratlines, cutting them out with a sharp knife and steel ruler, before dry fitting. I found giving them a very slight bend at the top helped with getting them in place. Then super glue was applied top and bottom, using the cocktail stick to help dab glue in the right places to prevent drowning the pieces with glue. Tweezers were essential to get them onto the models without ending up with tacked together fingers.
After the ratlines, it was time for the sails. The sheets come pre-scored, but still need a little cutting to free the edges. The sails need a little bending to give some shape. Most sailing positions have the wind billowing in the bottom half of the sails, so I tried to replicate that. The easiest way to get a nice curve was to hold the sails within the arms of tweezers and to gently curl them.
I started with the foremast and worked aft, although I don’t think it would make much difference either way. First was the bottom sail on each mast. Each sail was dry fitted to see if it roughly spanned the space between each spar, and that the billowing of the sail looked reasonable. A line of glue was applied to the top edge, and a dab on each bottom corner, before being held in place with the tweezers. The process was then repeated for the next sail, and then the mizzen mast.
All in all, a fairly easy job. You can use PVA rather than super glue if you don’t mind the waiting time; PVA does have the advantage of being more generous if you make a mistake with positioning.
Hindsight again, but I really should have looked at the colours of the printed sails before painting to get a better match with the furled sails.
I should really touch up the edges of the sails to tone down the fresh white colour of the cut card, but the weather is sapping my energy.
The acetate ratlines might not be to everyone’s taste, but I think that they look fairly effective, and I honestly can’t think of a better method that doesn’t involve a lot more hassle.
If I paint more ships in the future, I’ll definitely paint the masts separately to the hulls. I didn’t find adding the sails very hard at all, but it might be potentially easier to add the sails on before gluing the painted masts to the hulls.
Just the rigging left now.


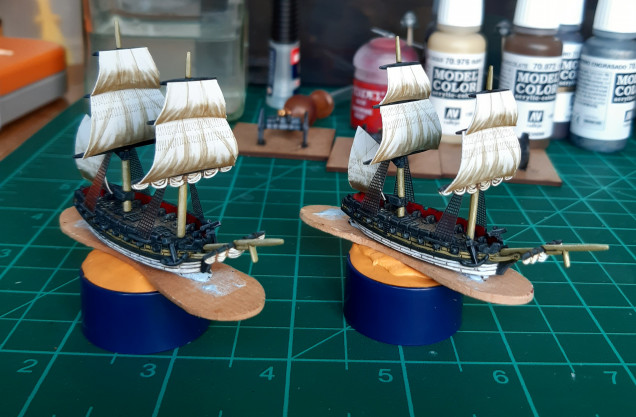


Lovely bit of work. They look impressive in dry dock as I bet they will on the tabletop. Worthy of a golden button ?
Thanks very much. The rigging is hopefully going to finish them off nicely. I expect much cursing like a sailor in the attempt, but it should be worth the effort.
I was just thinking I don’t envy you that rigging work but you know it’s got to be done like you say that rigging is going to be worth the effort and all the salty language. Again lovely work your doing a splendid job on some lovely minis ??