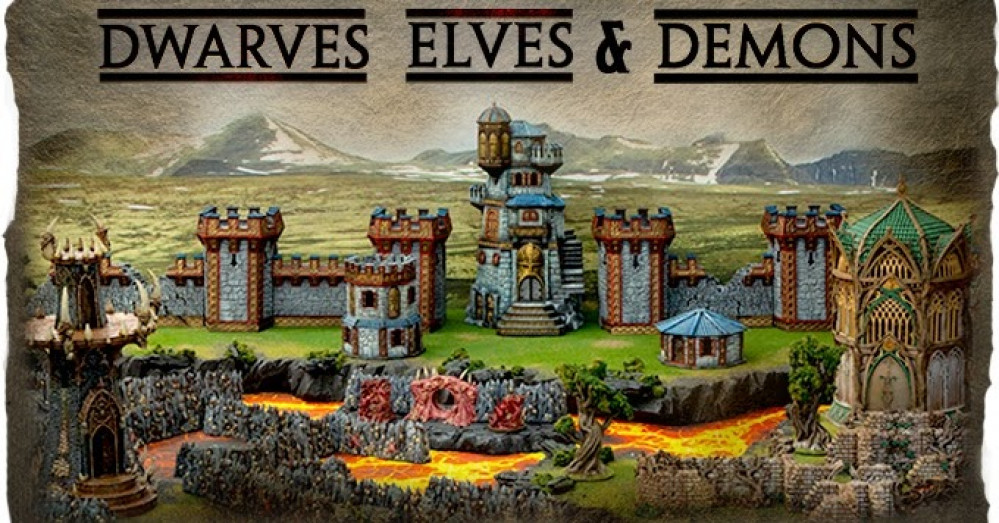
Printable sceneries Gloomwood Eyrie from print to paint and my verdict
And so it begins the print experience
first of all for a budget entry level printer the Ender 3 is a great piece of kit getting great results straight from the box after minimal assembly. Mine cost me £169 and in my humble opinion its well worth that amount and more. Ive built and learnt on a printer kit the Anet A8 costing just over £100 but the machines are worlds apart and my advice every time would be an Ender 3 printer as a starter.
The build quality is excellent and touch wood i have had no issues at all other than a couple of clogged nozzles mainly down to filament quality. The Anet A8 however has been like Triggers broom from only fools and horses, if your unfamiliar with that analogy then lots of spares tinkering and post a fire from dodgy cabling (poor quality from the manufacturer wired incorrectly for the current draw) a complete rewire from scratch.
i would not recommend the Anet A8 with all its pitfalls when the Ender 3 has been a joy.
Now to the model if your not familiar with the company Printable scenery then you must go and look because the files are gorgeous. The creators have assistance with settings, painting and much more on their site and if you are printing for a themed table you can be the envy of your mates as the terrain is as good as any of GW’s displays. the costs are very reasonable but keep an eye open for their kickstarters as you can get access to previous ones at great prices building a lot of options.
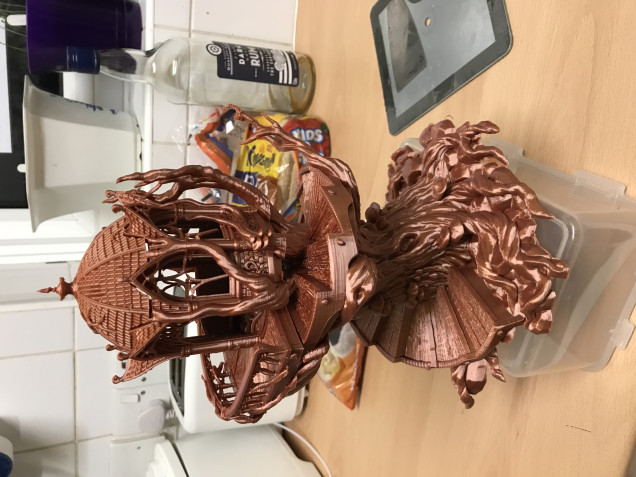
the kit comes in two parts and took about 40hrs ish to print, yes you can go faster but its like sleeping with a woman you rush and you dont get good results, take your time slow things down and hey presto it comes out really good. there were a few wonky balustrades on the balcony but nothing to worry about as they cleaned up with the aid of a pyrography soldering iron and a few shaped bits.
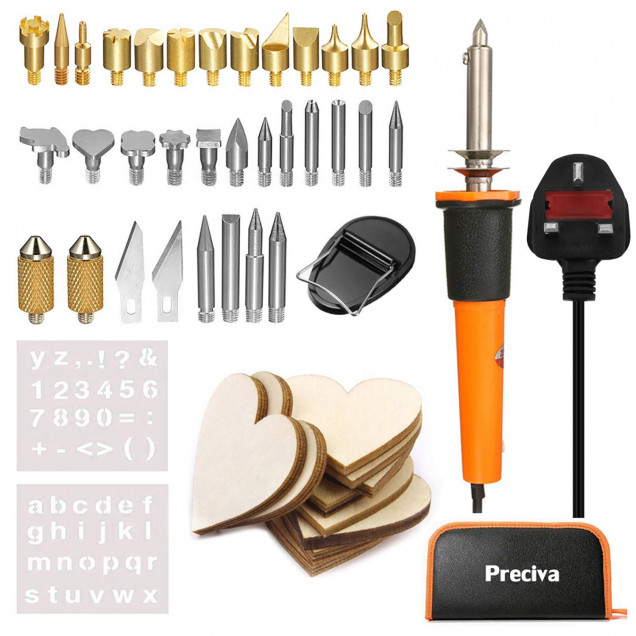
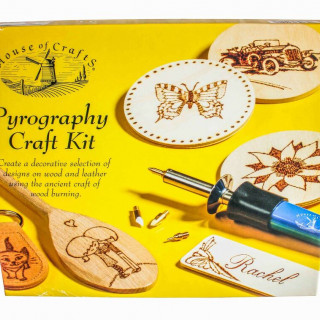
so what is pyrographuy and why get a set like that pictured?
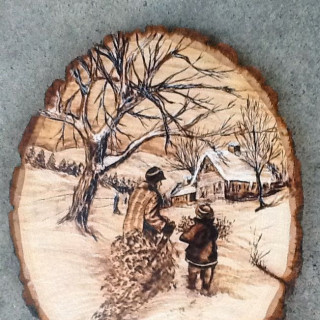
well to put it very simply its the burning of a design or picture into wood and this is a hobby in its own right producing some very impressive images. the kit pictured above with the multiple burning tips is less than £25.
at first it was a kit i inherited but with a little imagination i found out that with interchangeable heads it could be used to smooth join lines on 3D prints tidy up not too clever areas where perhaps theres a misprint and was quite versatile.
In addition it can also be used to carve detail into modelling foam and other plastics there is a couple of examples linked below.
https://www.bing.com/videos/search?q=soldering+iron+foam+sculpting&docid=608022293822112170&mid=B9729D0C87734ED63ACFB9729D0C87734ED63ACF&view=detail&FORM=VIRE
YOUNGER MODELLERS PLEASE NOTE THIS MUST BE DONE IN A WELL VENTILATED ARE AND YOU MUST WEAR A PROPER RESPIRATOR MASK NOT JUST A PAPER ONE. Doing this work whilst easy gives off some nasty fumes which can lead to injury and a very annoyed mum or dad consider yourself warned dont stink the house out.
likewise you have to be very carfull with the iron(the hot bit) as this if not handled carefully can cause burns and easily set your house on fire if not treated with respect. UNDER NO CIRCUMSTANCES LEAVE THE IRON UNATTENDED!






![TerrainFest 2024! Build Terrain With OnTableTop & Win A £300 Prize [Extended!]](https://images.beastsofwar.com/2024/10/TerrainFEST-2024-Social-Media-Post-Square-225-127.jpg)




Leave a Reply