Cyberpunk city mdf buildings
Mrs Blinky to the rescue
While I was initially encouraged by my laser cut buildings – especially when placing quite a few of them on the board – and they were starting to resemble a city block.
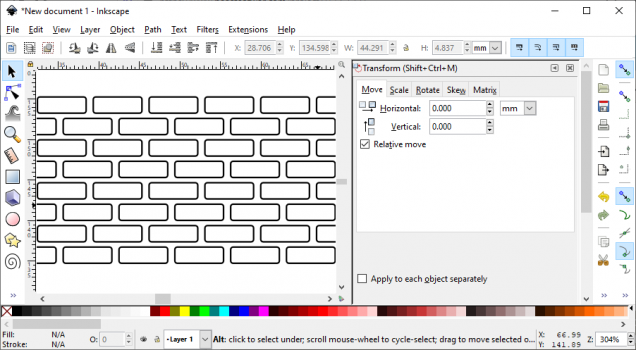
But there was just something bugging me about them. Try as I might, they still just looked like laser-cut boxes, not miniature buildings. So Mrs Blinky stepped up to the plate. She asked me to show her how to use the laser cutter. I explained the difference between cutting and etching and when best to use each. She had a crash course in Inkscape then locked me out of the workshop while she tried out a few ideas (and spent a lot of time turning the air blue!)
Stupidly, I told her that I thought she was crazy, trying to laser cut hundreds (if not thousands) of little tiny bricks in order to stick them onto the sides of the buildings. Plus, of course, the thickness of the laser (it’s focussed to about 0.1mm but even then, there’s a noticeable gap around the top surface of cutouts) would mean the bricks would be almost impossible to work with!
I was suitably chastised and called an idiot and told to bugger off.
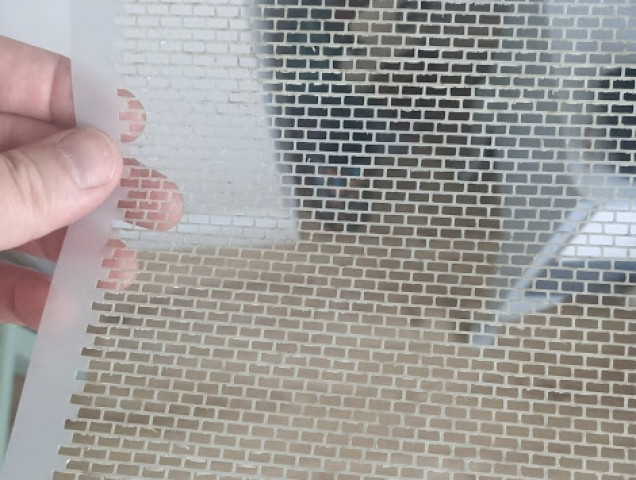
It turns out Mrs Blinky wasn’t trying to cut out the brick shapes in order to stick them on – she was etching the brick shapes out of a sheet of mylar to make a stencil.
(side note – laser cutting mylar stinks. Even worse than pasta. No matter how funny you think it’s going to be to make your own shaped pasta, or etch your own designs onto lasagne sheets – just don’t: it stinks. Really, really stinks. And the stink will linger for days. Mylar smells worse than even this.)
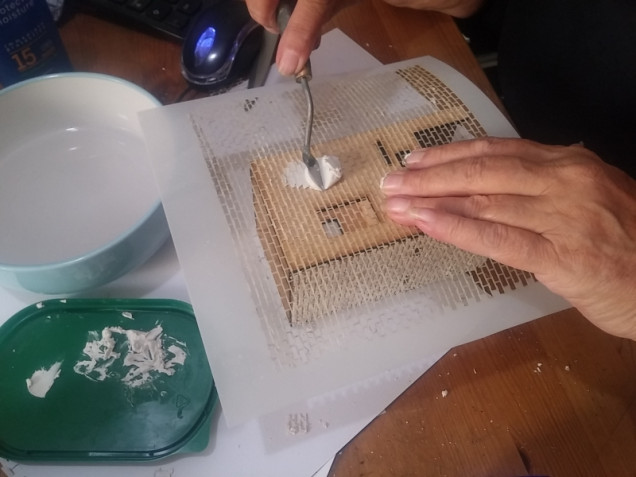
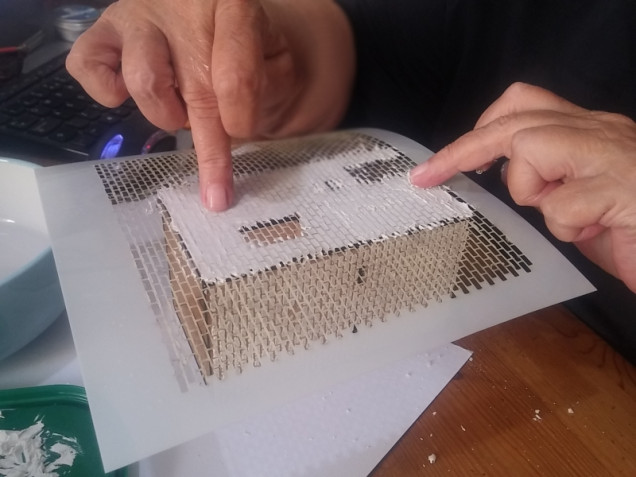
It begins with some ready-mix household filler being smudged all over the stencil. Then smooth it all out with a wet finger.
Leave to dry for about ten minutes or so, just so the filler starts to “firm up” a bit (and can hold it’s shape on it’s own). All the while, smoothing any bumps or voids that might form as it is drying….


Leave a Reply