The Emperor Protects ~ Adepta Sororitas ~ A Sisters of Battle Project
HOLY FLAMING SAWING GOODNESS ~ A PENITENT ENGINE PAINTING GUIDE ~ PART 2
LET’S FINISH THIS BADASSERY
*****
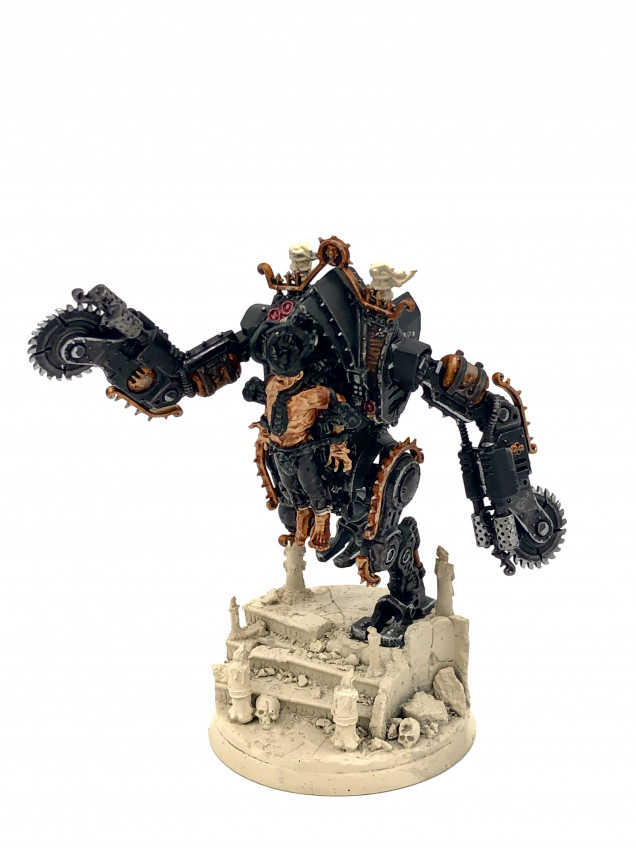
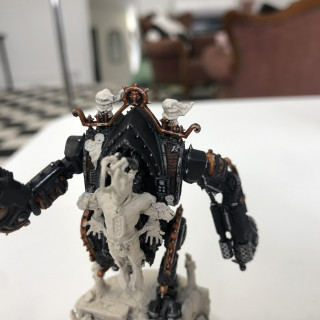
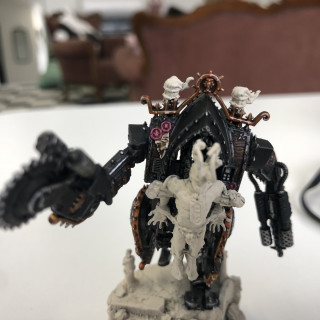
I hit the wood elements & purity seals with a layer of Wraithbone. On the wood I then used two coats of Contrast Snakebite Leather before finishing it off with a Nuln Oil wash. For the parchment I used Agrax Earthshade & on the wax seals Contrast Volupus Pink. I then finished the purity seals with a 005 Black Micron Pen for the text & a final edge highlight of Wraithbone.
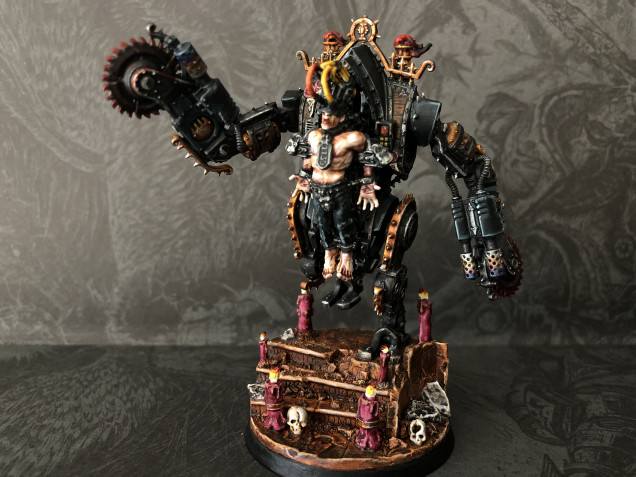
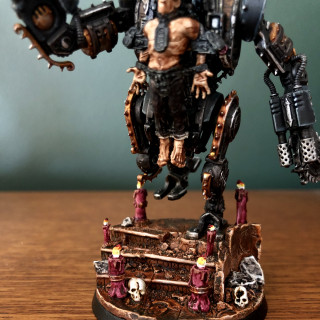
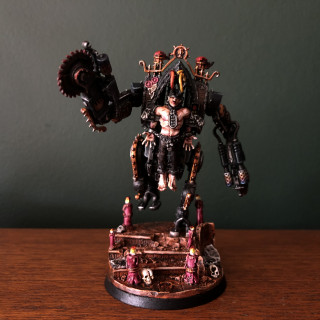
For the skin of the unfortunate soul attached to the Penitent Engine I used Contrast Guilliman Flesh. For his trousers I applied two coats of Basilicanum Grey. I then used Contrast Black Templar on all the chains, Locks, attachments & crazy helmet.
BLACKS
*****
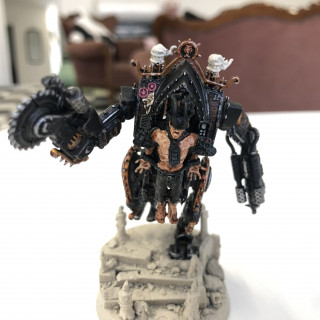
To highlight the black panels from earlier I used my standard black highlighting method. Firstly using Dark Reaper on the edges in thick lines. Afterwards I used Thunderhawk Blue to apply a thinner highlight. Finally I mixed a 1:1 Thunderhawk Blue to White Scar mix and picked out the very edges of the panels. When all the black highlights had dried I made a glaze of 10:1 Contrast Medium & Black Templar & went over all the highlights from the previous steps.
THE BASE
*****
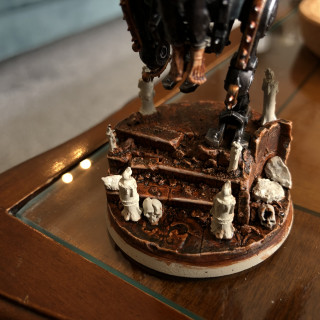
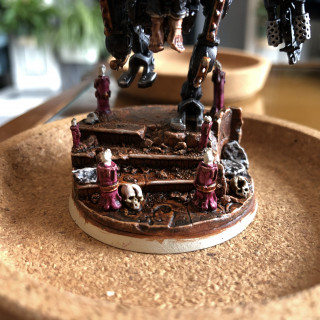
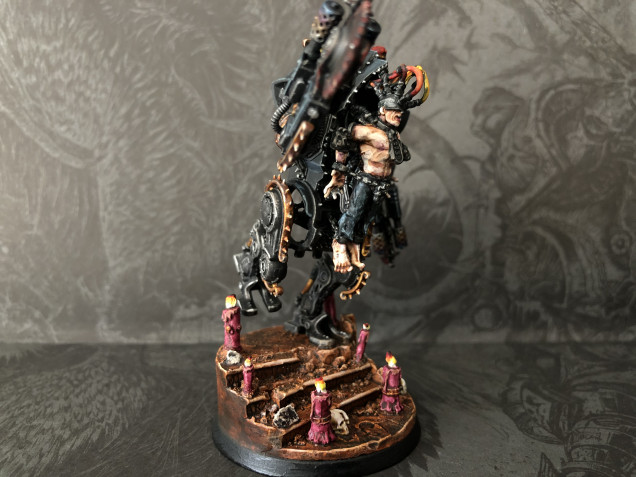
For the base I used Contrast Gore-Grunta fur followed by a Kindleflame drybrush & a Wraithbone edge highlight. I then used a glaze of 10:1 Contrast Medium & Gore-Grunta Fur over all this previous highlights to blend them together. For the rocks I applied Contrast Basilicanum grey & Contrast Skeleton Horde on the skulls. I finished them off with a highlight of Wraithbone.
THE FLAMES
*****
For the candles I applied a single coat of Contrast Volupus Pink followed by a highlight of Bugmans Glow. For the details on the candles I used Liberator Gold with a wash of Guilliman Flesh. On the flames I began with a layer of White Scar, Then added Army Painter Daemonic Yellow, Troll Slayer Orange, Contrast Blood Angels Red, Contrast Flesh Tearers Red & finally a black dot of Abaddon Black. Each consecutive layer leaving a bit of the previous below to create that flaming gradient. I also applied the same effect to the flame stack on top of the Penitent Engine. For the flame stacks I followed up with a wash of Nuln oil to give a more smokey feal. I then used Liberator Gold to Mark out the metallic bits on the stacks and washed them down with Guilliman Flesh.
THE SKIN
*****
For the skin I mixed a 1:1 mix of Army Painter Barbarian Flesh & White Scar & built up the more raised portions of the flesh. I then added more white scar to the mix and picked out the higher points before finishing off with pure white scar for the top most skin like the nose and upper shoulders. I also applied White Scar to the teeth & Volupus Pink to the lips. I then used watered down Army Painter Purple tone to apply bruising around all of the locks & restraints where they dig into the flesh.
HELMET ACTION
*****
For the locks & pipes I used leadbelcher followed by a wash of Nuln Oil. For the topmost pipes going into the helmet I applied a coat of Wraithbone before painting one with Contrast Blood Angels Red & one with Contrast Iyanden Yellow. I highlighted the red one with Troll-Slayer Orange.
HEAT EFFECTS
*****
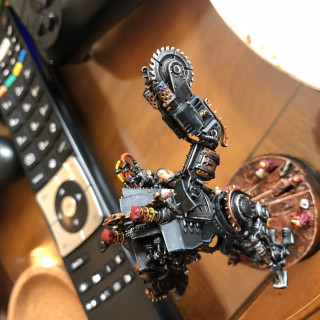
I’ve never tried heat effects before but I’m chuffed with how these came out. On the barrels of the flamers I applied a ring around the middle of each barrel with Army Painter Flesh Wash. I used a stippling technique and built up the colour over three layers. When that had dried I used Army Painter Purple Tone & applied another ring further up the barrel again with three layers to build the colour up. Finally I used Army Painter Blue tone for the very end of the Barrels. You should be left with an awesome heat effect gradient like you see in the pics.
BLOOD
*****
Finally I used Blood for the Blood God on the edges of the circular saws washed down with Agrax Earthshade to give the dry blood effect.
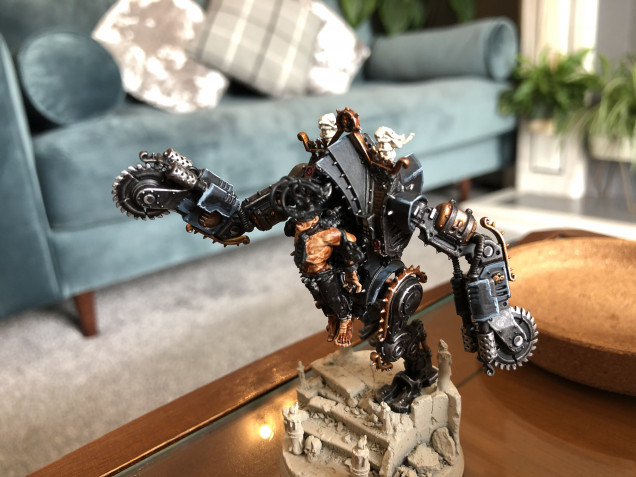
PENITENT ENGINE COMPLETE
*****
Awwwwh yeah put that in your pipe & smoke it. Actually don’t plastic is highly toxic. Man am I chuffed with the results of this bad boy. I’m actually not too far off completing my box set now with just the HQ’s & Seraphim to go. “Proper” pics are of course coming up next along with what’s next on the paint table.
Hope you enjoyed this guide & I’ll see you in the next one.
Much Love
Eternity Gate




Leave a Reply