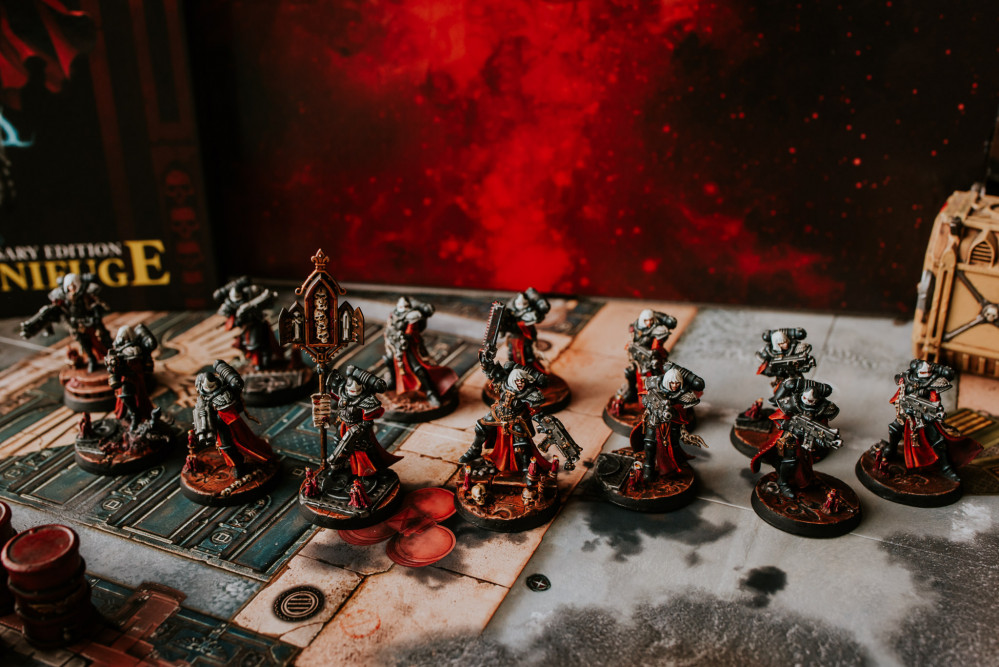
The Emperor Protects ~ Adepta Sororitas ~ A Sisters of Battle Project
EAT. SLEEP. REPENT. REPEAT ~ A GUIDE TO PAINTING REPENTIA ~ PART 2
ALL BLACK EVERYTHING
*****
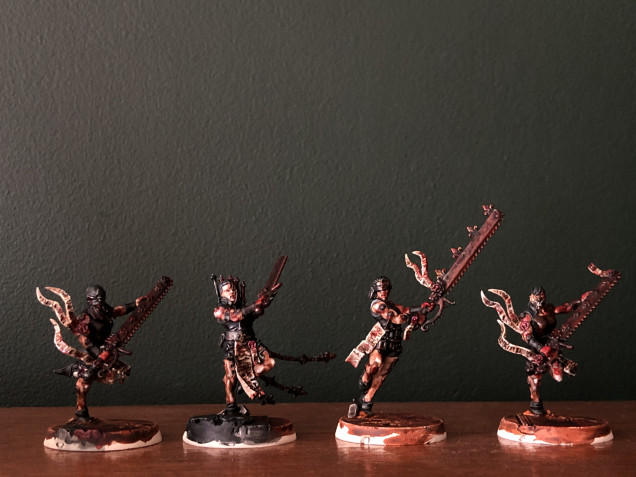
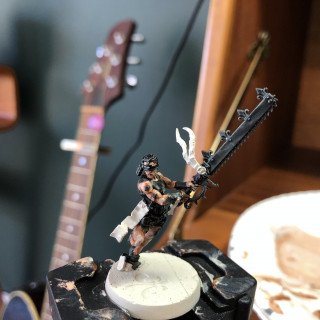
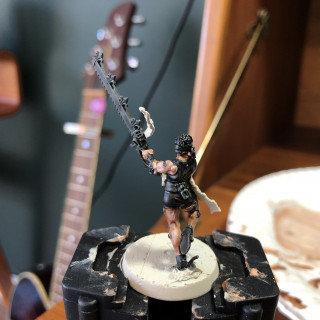
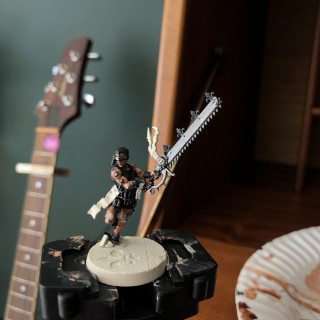
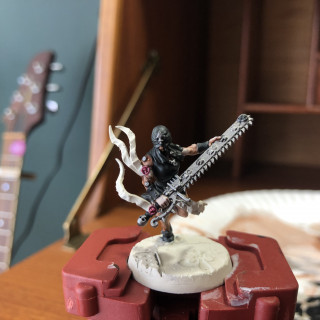
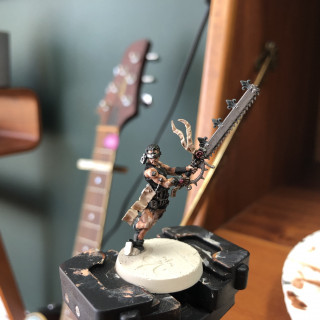
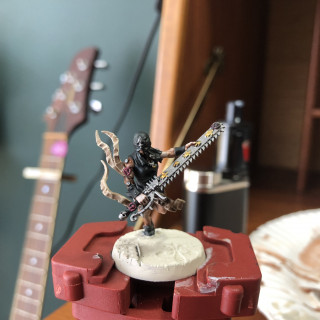
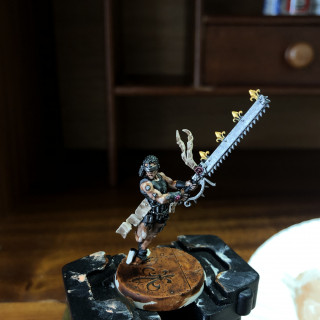
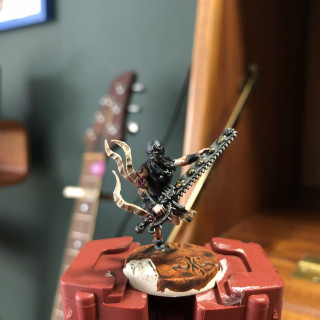
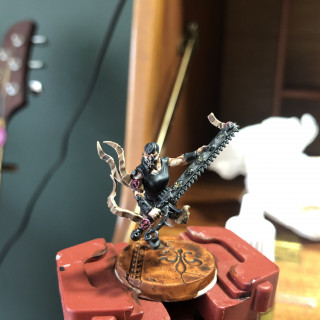
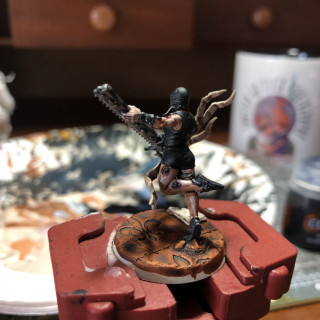
Right no intro this time. For the paint list see my previous post. Let’s just crack on. Yes! I began by applying a layer of Contrast Black Templar to everything that’s metal & cloth. Leaving the parchment & being careful not to get any onto the skin parts of the model.
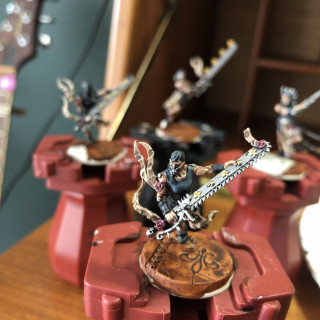
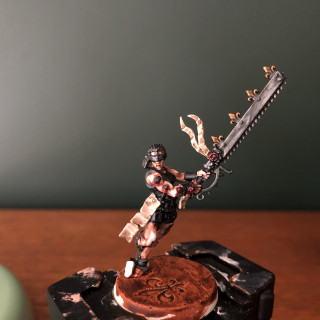
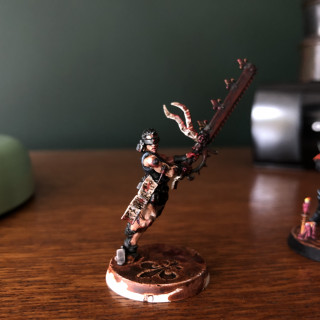
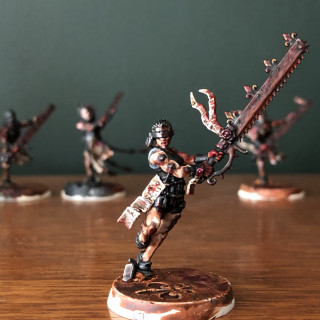
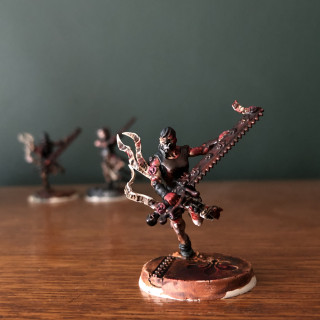
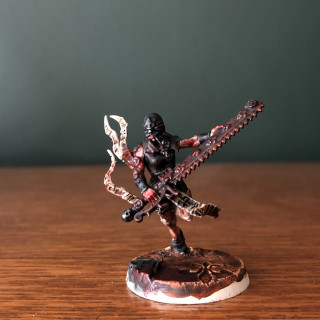
I then applied a layer of Leadbelcher to all of the metallics on the models like the awesome Evicerator Chainsword, Power armour ports & spikes that are driven through flesh (Nice) I then hit the wax of the purity seals with a layer of Volupus Pink & the rest of the parchment with some good old Agrax Earthshade. I finished off the Evicerator details with a layer of Retributor armour & applied a coat of Contrast Gore-Grunta fur to the base.
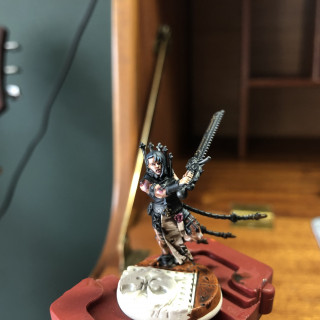
I then hit the black with a highlight of Dark Reaper followed by a further highlight of Thunderhawk Blue before muting them down with a 50:50 mix of Contrast Medium & Contrast Black Templar. I used that same glaze to go over all of the metallics including the gold. I wanted it to be a lot more muted than the bold grandeur of the battle sisters.
Ok let’s get whacky with the washes. I applied a watered down mix of Army Painter purple wash to all of the power armour plugs and tears across the battle sisters flesh to give the skin bruising. I further emphasised this with a 50:50 mix of Contrast Medium to Flesh Tearers Red applied to the same spots as the purple wash but more focused to the skin defect itself.
While this dries I did the eyes (if they had them) with a line of White scar and dot of Abaddon black. I then used Contrast Volupus Pink got the lips. I then used a trusty black 005 Micron pen for all the parchment text & highlighted the parchment edges with Wraithbone.
For the base I applied a dry-brush of Kindleflame followed by an edge highlight of Wraithbone. Then I used a 50:50 glaze of Contrast Medium to Contrast Gore Grunta-Fur to tie the highlights together. For the emblems & grates I used Contrast Black Templar. Then when that was dry I dry brushed the metallics with Leadbelcher & highlighted the black emblems with Dark Reaper & Thunderhawk Blue. I also used Basilicanum Grey on any larger rocks under the feet of the Repentia before highlighting those with Wraithbone. That’s the bases done!
BLOOD FOR THE BLOOD GOD
*****
Yes now it’s time to fully grim darkify these ladies. I began by using Blood for the Bloody God & applying it to the Evicerator. I used a mix of stippling & even wiping off excess with my fingers to create the gory effect. I focused the blood where the giant chainsword would impact & the spatter onto that side of the Repentia’s body.
Those of you who’ve used Blood for the Blood God will know it dries glossy but I wanted more of a matt & dark gritty dried blood effect. Once the coat had dried I applied a glaze over the blood with Agrax Earth Shade & when that had dried applied a final highlight just to the edges of the chainsword using Contrast Blood Angels Red. With that they were done & looking absolutely badass.
REPENT
*****
That concludes my painting guide for the Repentia & like I said before I really enjoyed painting them. I will be hitting these models with a coat of Army Painter Anti Shine too but I’m toying with idea of following that up with a tiny bit of gloss varnish applied to some of the blood like the pools on the floor just to bring a little sheen back.
Hope you guys enjoyed the guide. Badass proper photos coming up next as per usual. Plus of course with an announcement of what’s next to hit the paint table. YES!
Much Love
Eternitygate




Leave a Reply