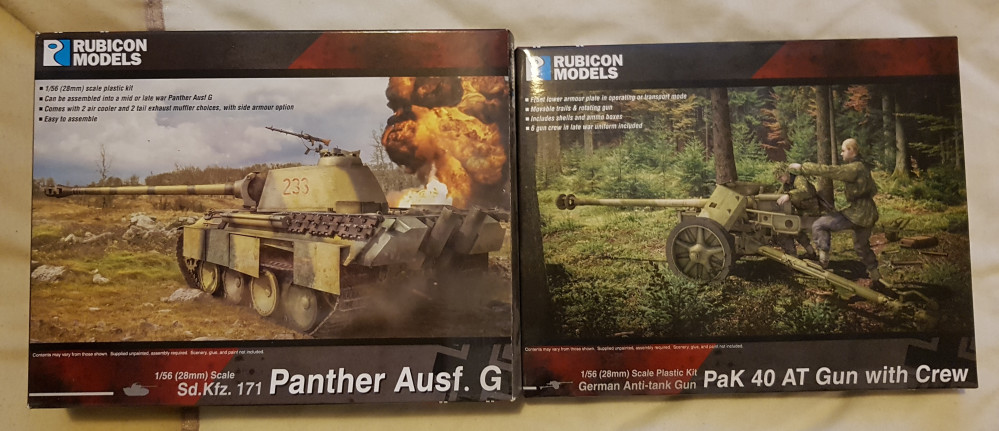
My First Serious Attempt at Weathering a WWII Tank
Mission Statement & Starting Point
As I’ve said in the “About the Project” section, I have painted tanks before but never to any level of detail or effort. This is my chance to learn to do the weathering and open a window in to WWII hobbying. I’ve seen many awesome vehicles go by in WAYPN and I’ve been inspired to see if I can try and achieve results like that, ideally without going too deep and going crazy. I’ve not done much in the way of weathering and all I know about tanks is that you point the barrel towards the enemy.
I’m looking to share my learning experience so other can learn with me and from my mistakes and frustrations, and so others can chip in and offer help and advice. Please speak up. I’ve no idea what I’m doing yet. I’m still in the planning stages. Nothing is built and I’ve a model or two to paint first. By sharing this I hope to guilt/pressure myself in to actually starting work on this soon.
So what do I have to paint?
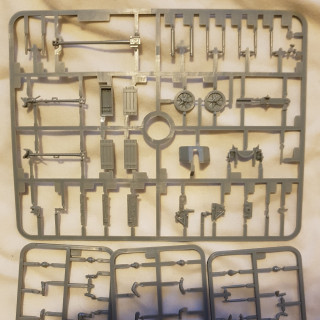
I’m not yet sure what they will look like assembled. I’ve a good idea. A tank is a tank. I’m not quite sure how the men connect with the PAK 40. Will I want separate bases for some of them? Should I be seeking out a square of MDF to sit the whole thing on? Has anyone reading this built this particular kit and got any opinions or advice?
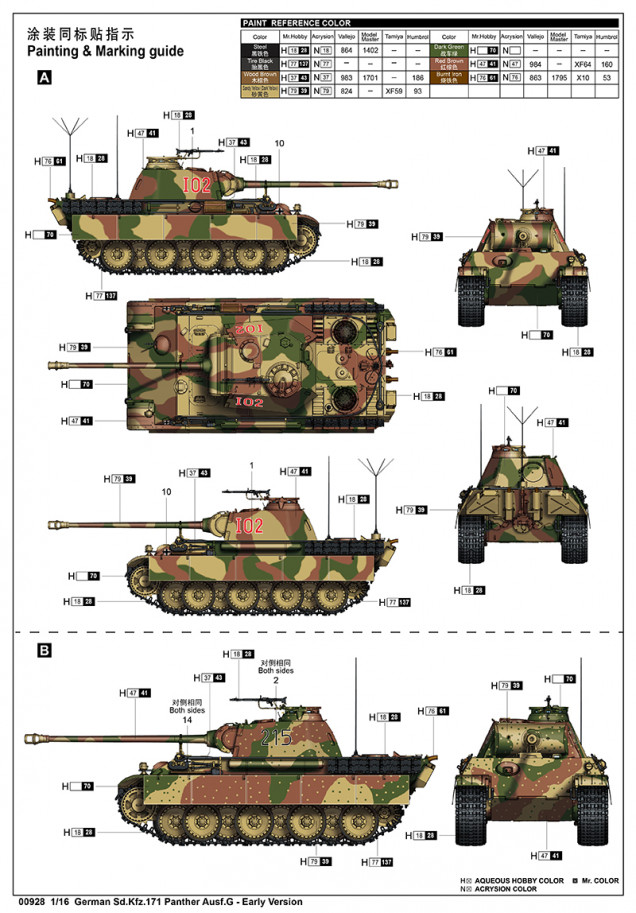
As for camo scheme, I know very little about this sort of thing. Googling has led me to currently aim for something this. Does this scheme have a name, so I can google that to see if there are rules/guidelines for how it is applied? I’ve also found this video I’m currently thinking of roughly following, although I’ll be using what paints I have to hand. If anyone has any guides or tutorials they think I’d find useful please share some links with me.
The tank says it has the options to build either mid war or late war variants. Whats the difference (I’m yet to study the instructions) and if I want to approach realism would this affect my choice of camo, IE I’m looking at a mid war scheme and that wouldn’t be on a late war variant?
I’m assuming whatever I choose to paint the tank would also be on a PAK 40 in the same army? What uniform would I be looking at for the crew? I don’t yet know enough to figure out what I’d be typing in to google for this sort of stuff.
So looking at the instructions I can see what appear to be the only variant parts, denoted by the black and white circle with arrows inside them. It does not make it clear why they are optional and what those options mean. Can anyone explain which is mid and which is late war, and if that has any kind of meaning? I always like building with playing in mind and if I field this I expect it’ll be under Bolt Action and I’ve no idea if they have different stats for the different periods, benefiting from correct representation in the sculpt.


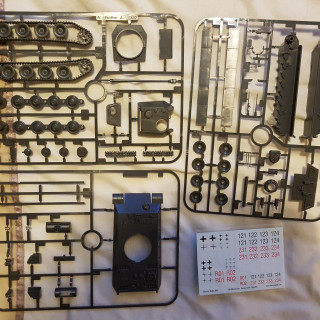
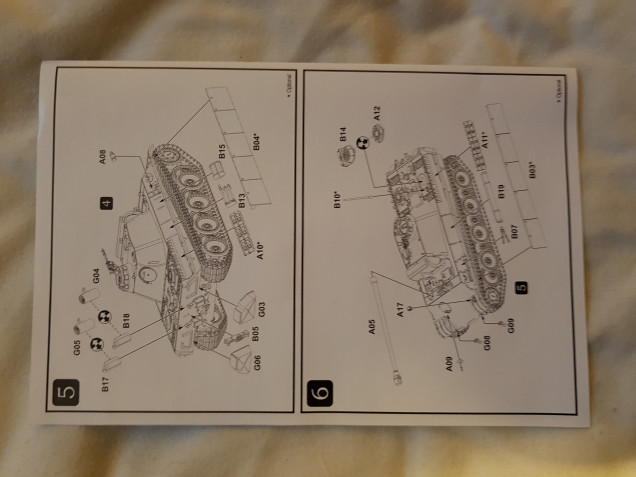


okay a bit to unpack here, let’s start with the tank. G04 is a flame eliminator system for the mufflers to stop them glowing cherry red in the dark and firing off flames like a wide boy and his souped up Toyota. They were only added from Dec 44 onwards. Likewise, the B14 extractor fan is a later modification if you’re building for mid-(the Ausf G only started production in early 44 so not sure why they think that’s mid, but whatever)-war stick with A12 and leave off G04. Camo was extensive, mostly factory applied but then added to in… Read more »
Thank you. Some days it feels like you need a history degree to even start gluing stuff together.
poke me if you need anything.
Cheers.
Great work @lawnor on the tank and gun position.