Operation Change The FEP
So how did we do?
I just wanted a quick test print, to make sure the prints were sticking to the bed and that I wasn’t going to get problems with bed adhesion – as so many other people have reported after changing their FEP.
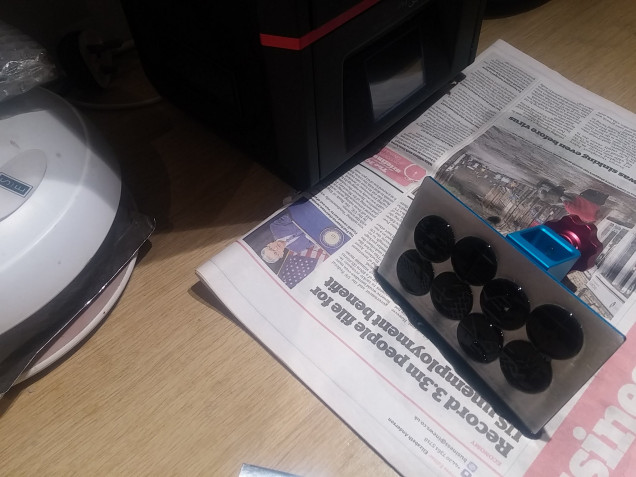
So I ran a quick “base topper” print through and after twenty minutes held my breath as I took the print head off the printer….
Success! First time as well.
Now I look back, I don’t think I even re-levelled the bed; after all, I use the “paper” method, where I make the bed level to the screen without using the actual vat/FEP film (unlike the Flint-Reed method which some people swear by and some people curse at!)
But I was very impressed that something I was so nervous about doing turned out to be not very difficult at all. So I whacked a few minis onto the USB stick and left it printing overnight.
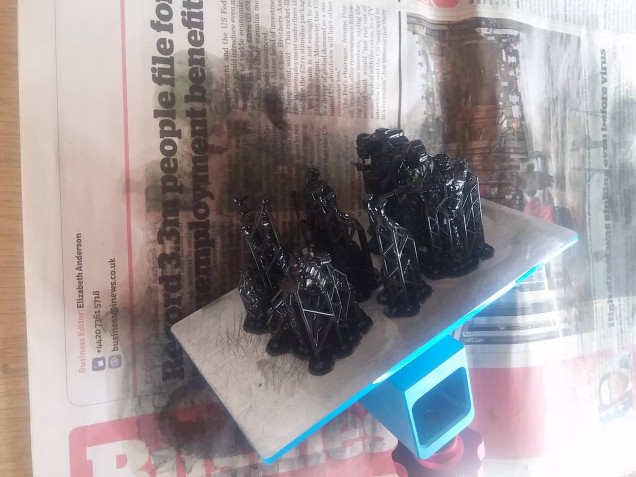
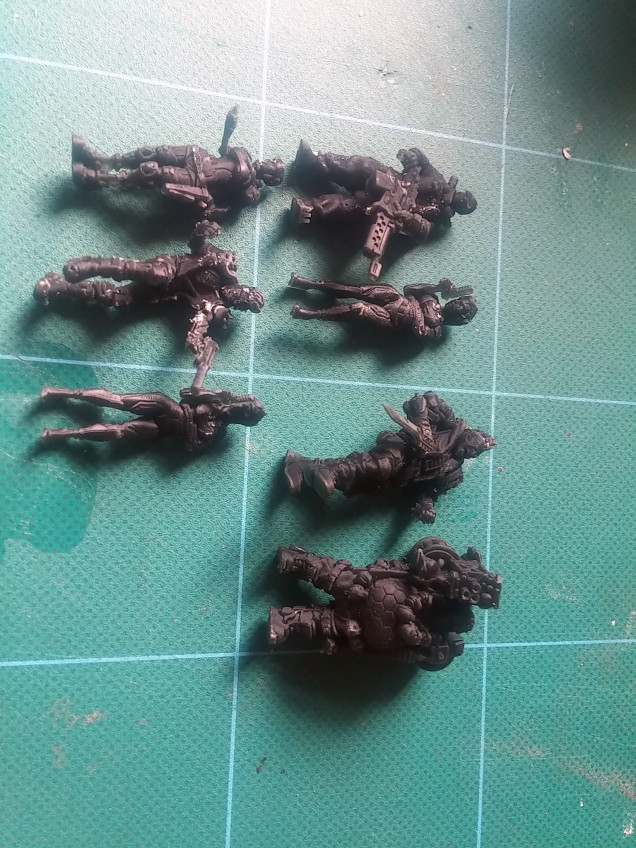
This morning, I was delighted to see seven freshly printed minis (from the Unit9 cyberpunk Patreon since you ask) waiting on the print plate.
Now I should really have only changed one thing at a time – maybe I should have kept the last few dribbles of the grey resin I’d been using, and tried to print a set of minis I’d already printed, to compare.
But I had a fresh bottle of black resin and some new minis from Unit9 downloaded, and I couldn’t resist trying them out.
The quality has come out amazingly well.
I don’t know if it’s the quality of the sculpt, the fresh FEP or that black resin just works better at 9sec/layer than grey – but the details on these little characters is just stunning.
Once again, I’m a happy bunny. And next time I need to fix something on the printer, I won’t be such a scaredy-cat about dismantling parts of it, incase it never works again.
These Anycubic Photon printers are incredible little machines. It almost makes me feel guilty for wanting to try out the mono-screened Phrozen Mini!


Leave a Reply