Operation Change The FEP
Changing the FEP
After emptying and cleaning the VAT it was time to dig out the allen keys get stuck in. Just as there are hundreds of different Youtube videos about how to level your print plate – each with a different method, and each with the same number of people swearing it’s the only way to do it/it always leads to failed prints – there are plenty of different videos each claiming to show the best way to add a new FEP to your vat.
After watching numerous Youtube videos about it, I decided to stick to the official Anycubic method (after all, their method for levelling the bed using a piece of paper has never let me down, and they did design and build these machines after all, so why not use the methods they themselves employ at the factory?)
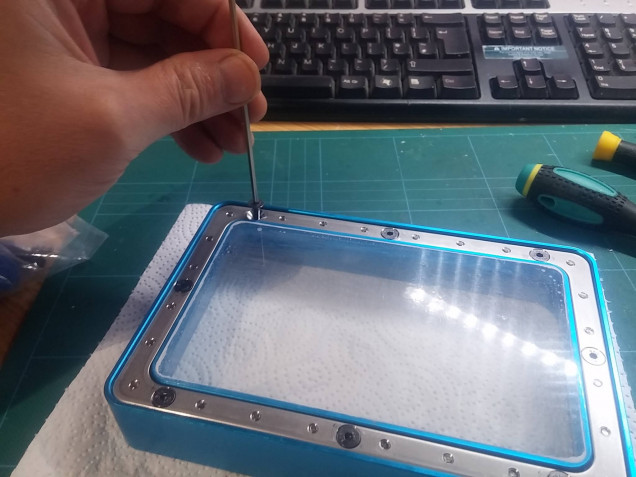
After taking the FEP holding frame off the bottom of the VAT, I had to flip it over, and remove the screws holding the two halves together. There are a lot of screws!
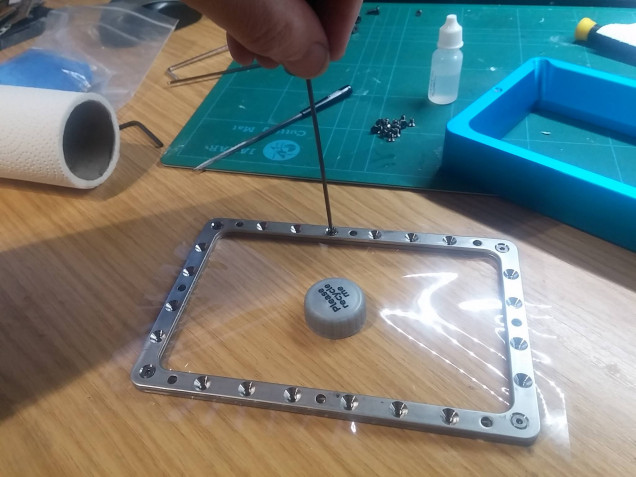
After wiping everything down with alcohol and mopping up the odd drip of resin here and there, it was simply a matter of placing the new FEP sheet between the two frame halves and tightening up all those screws again.
Except, of course, it’s not that simple. When the bottom of the VAT is screwed back on, the FEP is tightened further, so it’s important that the film has a little bit of slack in it before assembly.
The official Anycubic video guide uses a Coke bottle top as a spacer to introduce just the right amount of slack to the film. So – following their instructions to the letter – I went out and bought a bottle of Coke (the keen eyed amongst you will have noticed it’s the grey bottle cap from a Diet Coke bottle; I wasn’t prepared to just tip the drink down the drain, but at the same time, couldn’t stomach the idea of gulping down so much sugar from the “full fat” version).
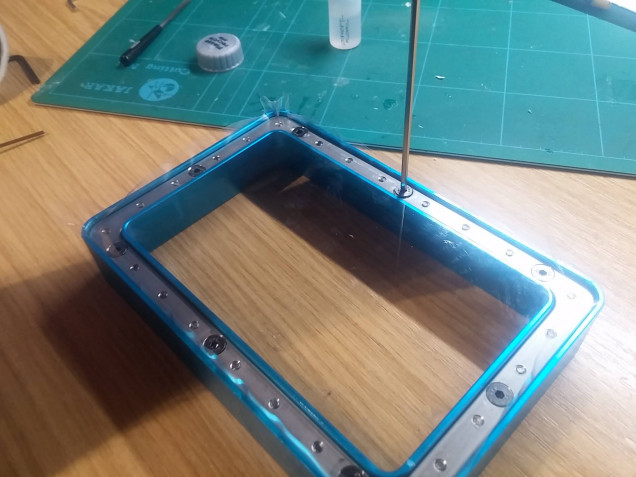
With the film in the frame, it was just a matter of flipping it over and fixing once again to the bottom of the vat. I screwed each screw about half-way, tightening in a diagonal pattern (bottom left, top right, top left, bottom right, side, side, top, bottom).
After tightening up all the screws, the film made a reassuring “taught drumskin” sound. This wasn’t so scary after all….
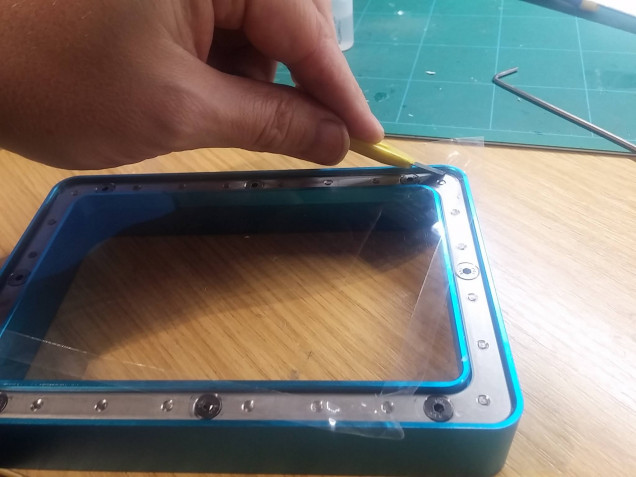
All that remained was to trim the film from around the base, reinstall the vat and try it out!


Leave a Reply