
Infinity
Kaldstrom! Kaldstrom! Kaldstrom! Bases
So happy to get started on this. Still seems daunting but as I write this I am half way through and very much enjoying it. So you should see a few updates in quick succession.
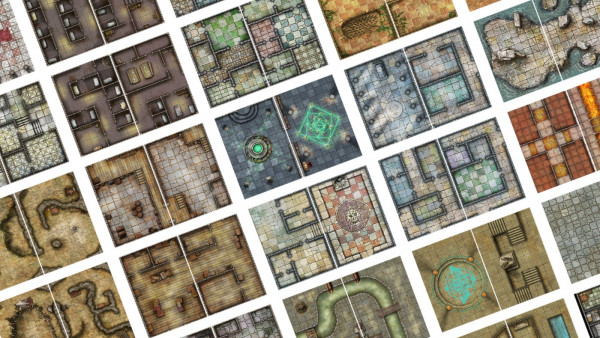
Thought I would break my normal just showing what’s done with a kind of tutorial on how I do my bases sometime I look and I am inspired by things, this time it was direct from the included play mat. This is to just give you an idea of the process. I particularly like these ones as they fit on the map so you can play jigsaw with them when done.
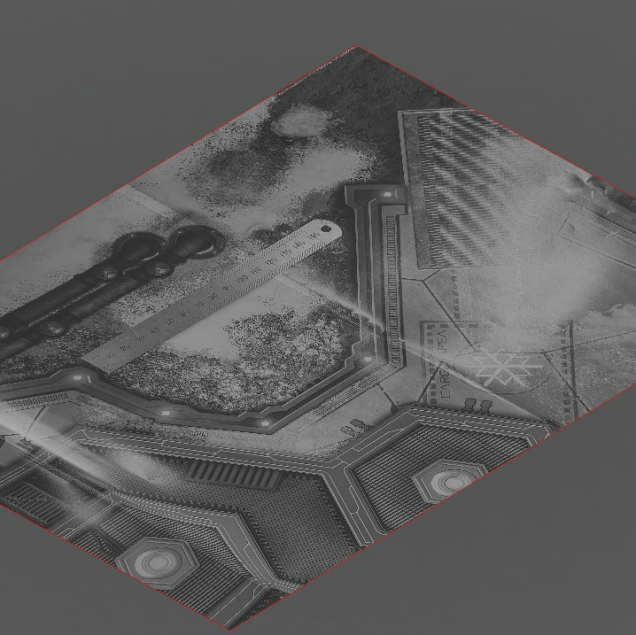 Take a photo with a ruler or something to scale on it from a top down perspective with a minimum amount of glare. You can then import this into a 3D program I use Fusion 360.
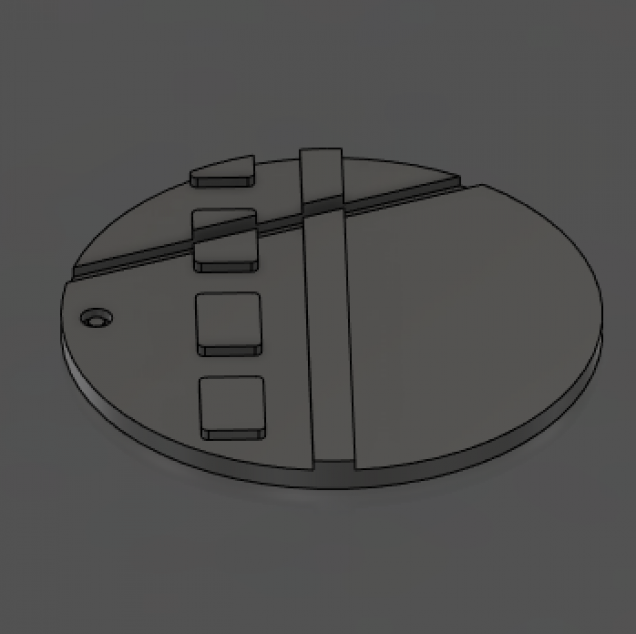
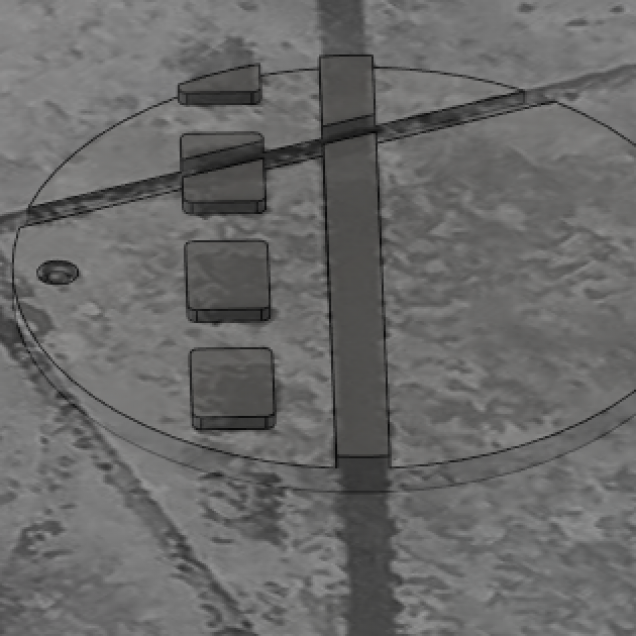 Scale the artwork, I used a 10mm line and 10mm ruler when they matched up it was to scale. I then traced the design and then made this 3d in the program.
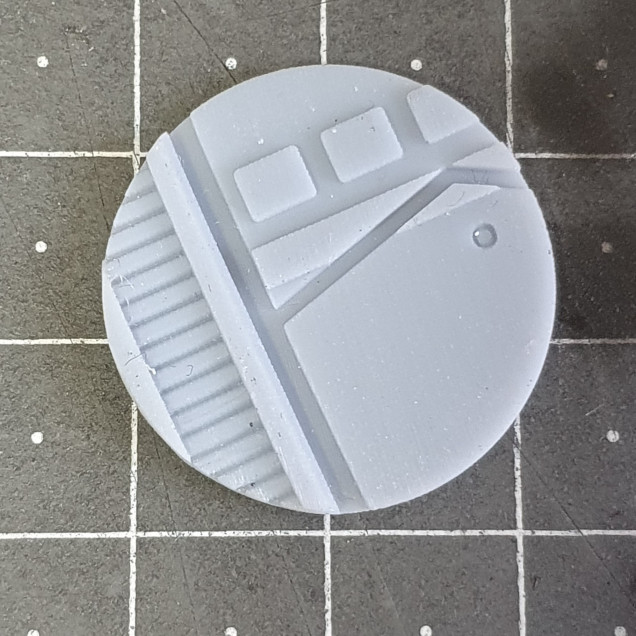 Slice in whatever you wish and 3D print. I have found in most cases printing with the rim facing the base is the best bet, I print vertically and use a Anycubic Photon slicer and printer. It takes more time but you can fit more on the base.
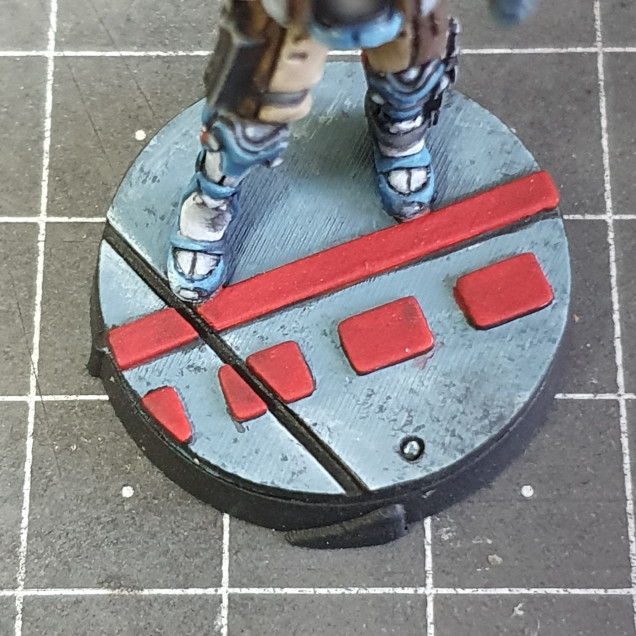 I glue the base topper to the original base I then pin through this to mount the model and paint as you wish.
That’s the main part of the basing. I also chose to change the “rocks” that models stand on to something more in keeping with the bases. The more elaborate the angles though, the more you need to think of how the model would be in that pose. I ended up with a section of solar panels on one of my bases as this was on some of the scenery parts of the kit and fitted in.
That’s how I do it, and you can do it to if you wished. Warning though If you can be happy with a few base types do that. I cant I am addicted and every model from here on out will have a unique base. I do find this faster than making each base individual as I done before and I think they looked ok but not as good as this.
More to come.





















Leave a Reply