Crazyredcoat's Crazy Compendium of Collected Creativity
"I wasn't there to see, but it's said the beast killed four men and ripped apart a dozen horses."
So after a week-long delay due to postage issues, progress on Grey Wind can start/finish! I was so excited to finally get him done that I finished him in one night. Almost finished his movement tray, too! More on that later.
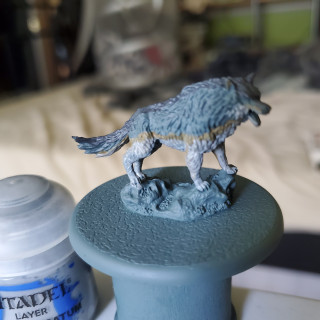
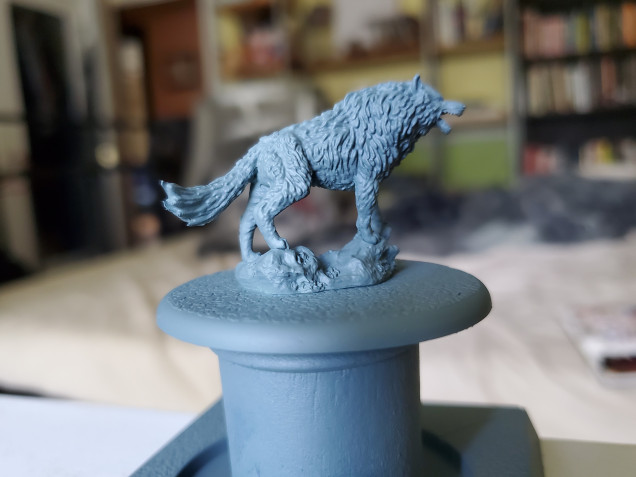 As is typical for most of my paintjobs; I started with a spray prime of GW's Mechanicus Standard Grey. Seemed to make sense for a direwolf called Grey Wind...
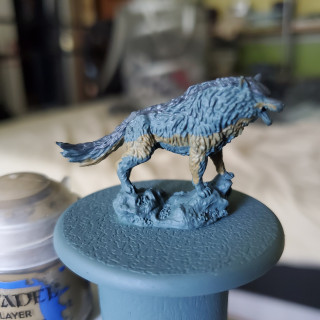
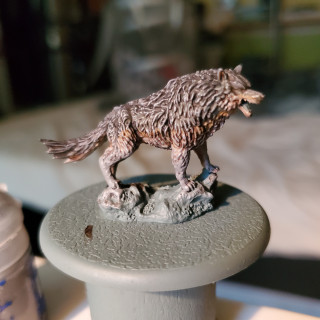
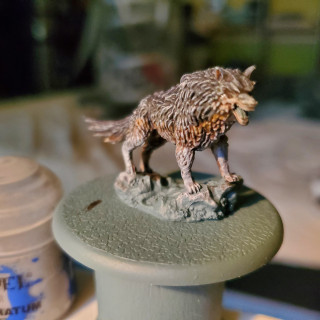
Next process was to block in certain colours. I was going for a slightly darker grey on top than is maybe usual in ‘real life’, so I began with a strip of Eshin Grey along the upper portions of the wolf, including the head and tail. After that I was going to use the primer colour for the next ‘band’ so I painted a brown band using Tallarn Sand. After that I needed the brighter undercarriage of the wolf so I switched to Adminstratum Grey for that part. With both the Tallarn Sand and the Administratum Grey I used a single coat of paint to allow some grey to show through. I also use and older brush and applied the paint with a stabbing motion to give the patches a more random look.
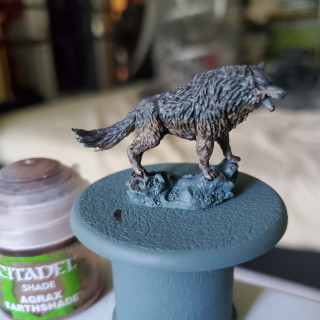
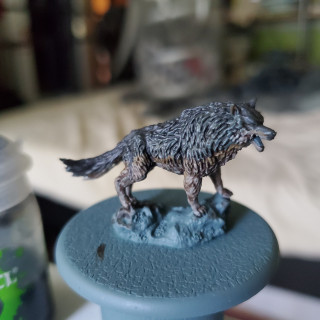
Next I needed to tie the colours together and the fastest way to get that started is with shade paints. Normally for greys you would use a black shade, but I first used Agrax Earthshade as the slight brown hues in the recesses looks a little more like natural fur, though once this first coat was dried I did apply some Nuln Oil along the top to darken it down further and into some deeper recesses to emphasise them.
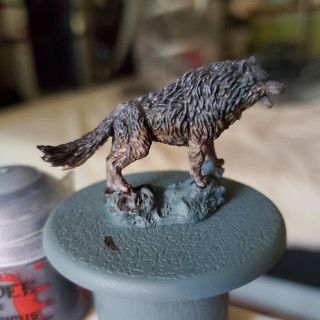
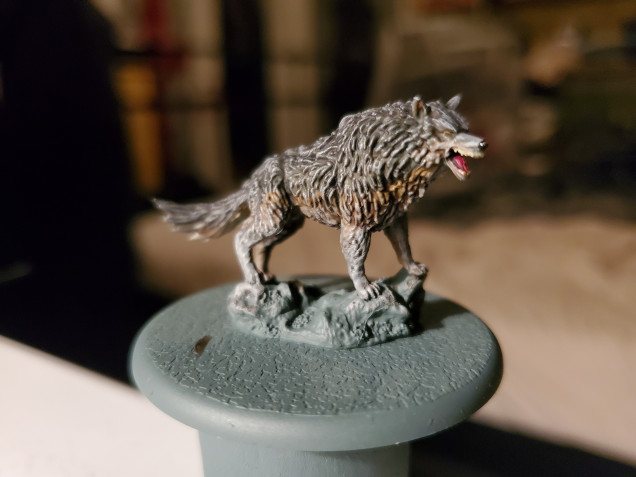
Now onto some highlights! I chose drybrushing for this part due to the ease and randomness that it gives the finish. It also helps that the sculpting on the fur of the mini is very welcoming to the technique. Starting with Mechanicus Standard Grey, again, I focused it on to the darker grey fur on the top but allowed it to slip onto the brown ‘line’ to give it an even more random and natural feel to it. I added no drybrush to the brown so that it sat more in the recesses than bright to make it look like less of a line. After that the lower portions were dryburshed with Dawnstone (with a touch of this going up into the darker greys) and then a lighter highlight of Administratum Grey on the lower portions and a touch on some sharper upper edges, though just a touch.
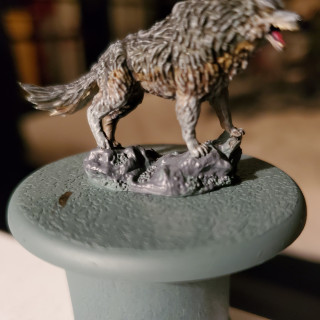
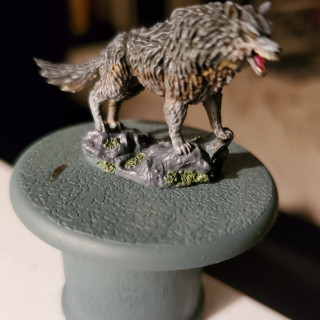
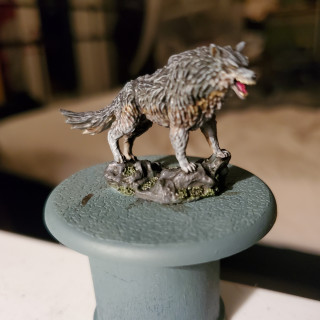
After the fur, a few minor details were done such as the tongue, teeth, eyes and nose were done. The eyes were filled with yellow with a black dot added. Originally it looked very off, so I added a shade of Nuln Oil to tidy up the whole thing; it worked ok, I think. The tongue was painted with Screamer Pink, shaded with Nuln Oil and then highlighted with some Pink Horror while the teeth were picked out in Tallarn Sand and highlighted with Screaming Skull. Finally the nose was picked out in black, highlighted with Eshin Grey, then given a coat of ‘Ardcoat Gloss Varnish to give it a little shine. After all that, he looked like this.
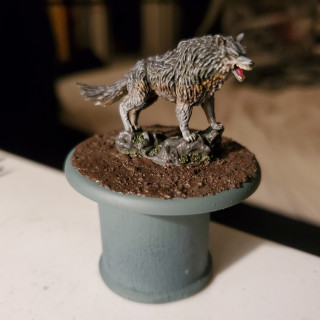
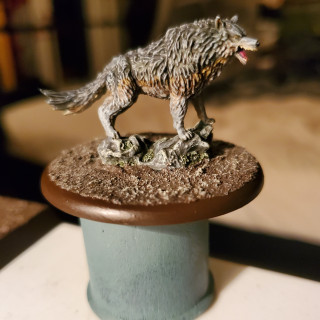
First thing would be to ‘clean up’ the rock with Mechanicus Standard Grey. It was a bit patchy, but that worked fine. As a Geology student, I know that rocks are not always uniform in colour. After that we needed to pick out the moss. Any green would do here, I chose Loren Forest. Next the rock was shaded with Agrax Earthshade, Athonian Camoshade, and Nuln Oil in patches that were allowed to mix freely. This helped give a natural feel, though the Nuln Oil may have been too strong and overpowering in places. After that, the texture paint was added (Stirland Battlemire in this case) as the drybrush highlight for it and the rock were the same. That drybrush Screaming Skull and the edge of the base was trimmed in Rhinox Hide to finish it off.






Leave a Reply