
Red Rocket 3D Printed
Support your local windows
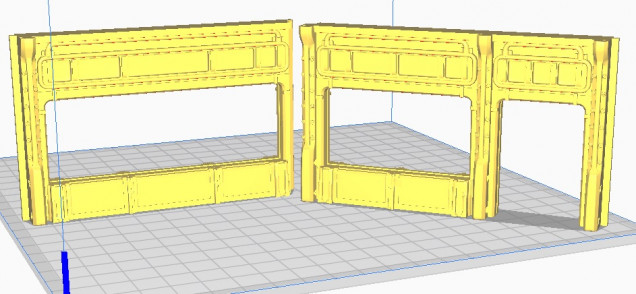
These are the first of the parts that will require Supports.
I have previously created a Cube file that I use to create my custom supports.
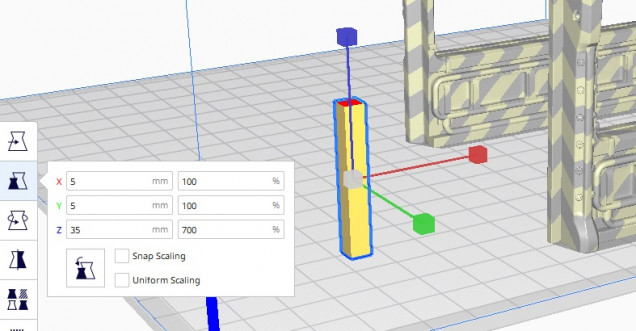
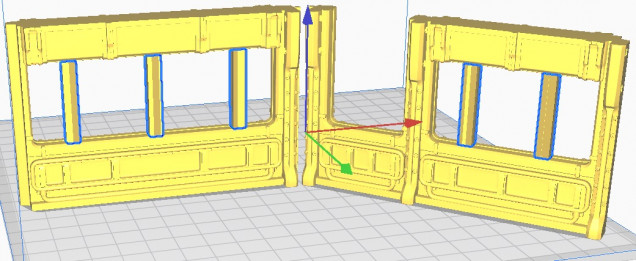
Loading the cube, the first stage is to alter the cube size so it will fill the window voids.
Select the ‘resize’ tool from the left hand lower menu and ensure both the Uniform & Snap Scaling boxes are unticked (as I only wish to resize the Z axis of this model). Then change the Z axis to 35mm.
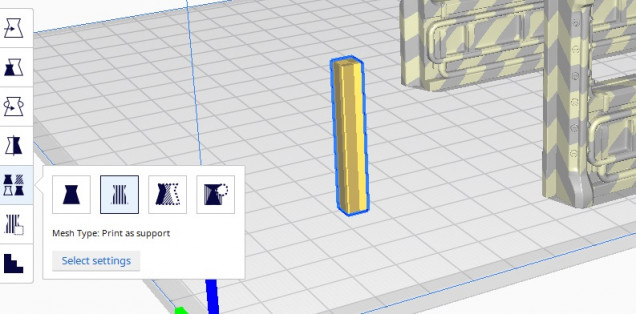
Now I need to change the model type from an ‘Object’ to a ‘Support’.
Select the ‘Mesh type’ tool from the left hand lower menu and click on the second box. And now we have a support.
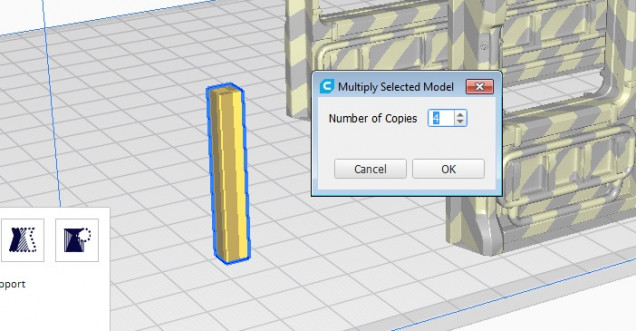
In order to fully support this print I will need 5 of these supports.
As with a previous print you will need to make copies (albeit a support not an object as last time.
Right click on the Support and select Multiply Selected Model. Now alter the Number of copies to 4.
The final stage for this print is to move the supports into position.
It is important to note that the void does not have to be filled completely and the print will be fine.
Just a quick amendment, I could not get the supports to correctly position in the vertical direction (they kept snapping back down to the build base). So I increased the Supports Z axis to 70mm. If any one knows how to stop the supports from snapping back down please let me know and I’ll pass it on here with credit to whoever tells me.


























Leave a Reply