


The Great Grey Massacre.


Interior Design.
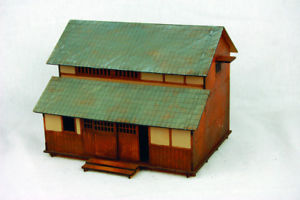
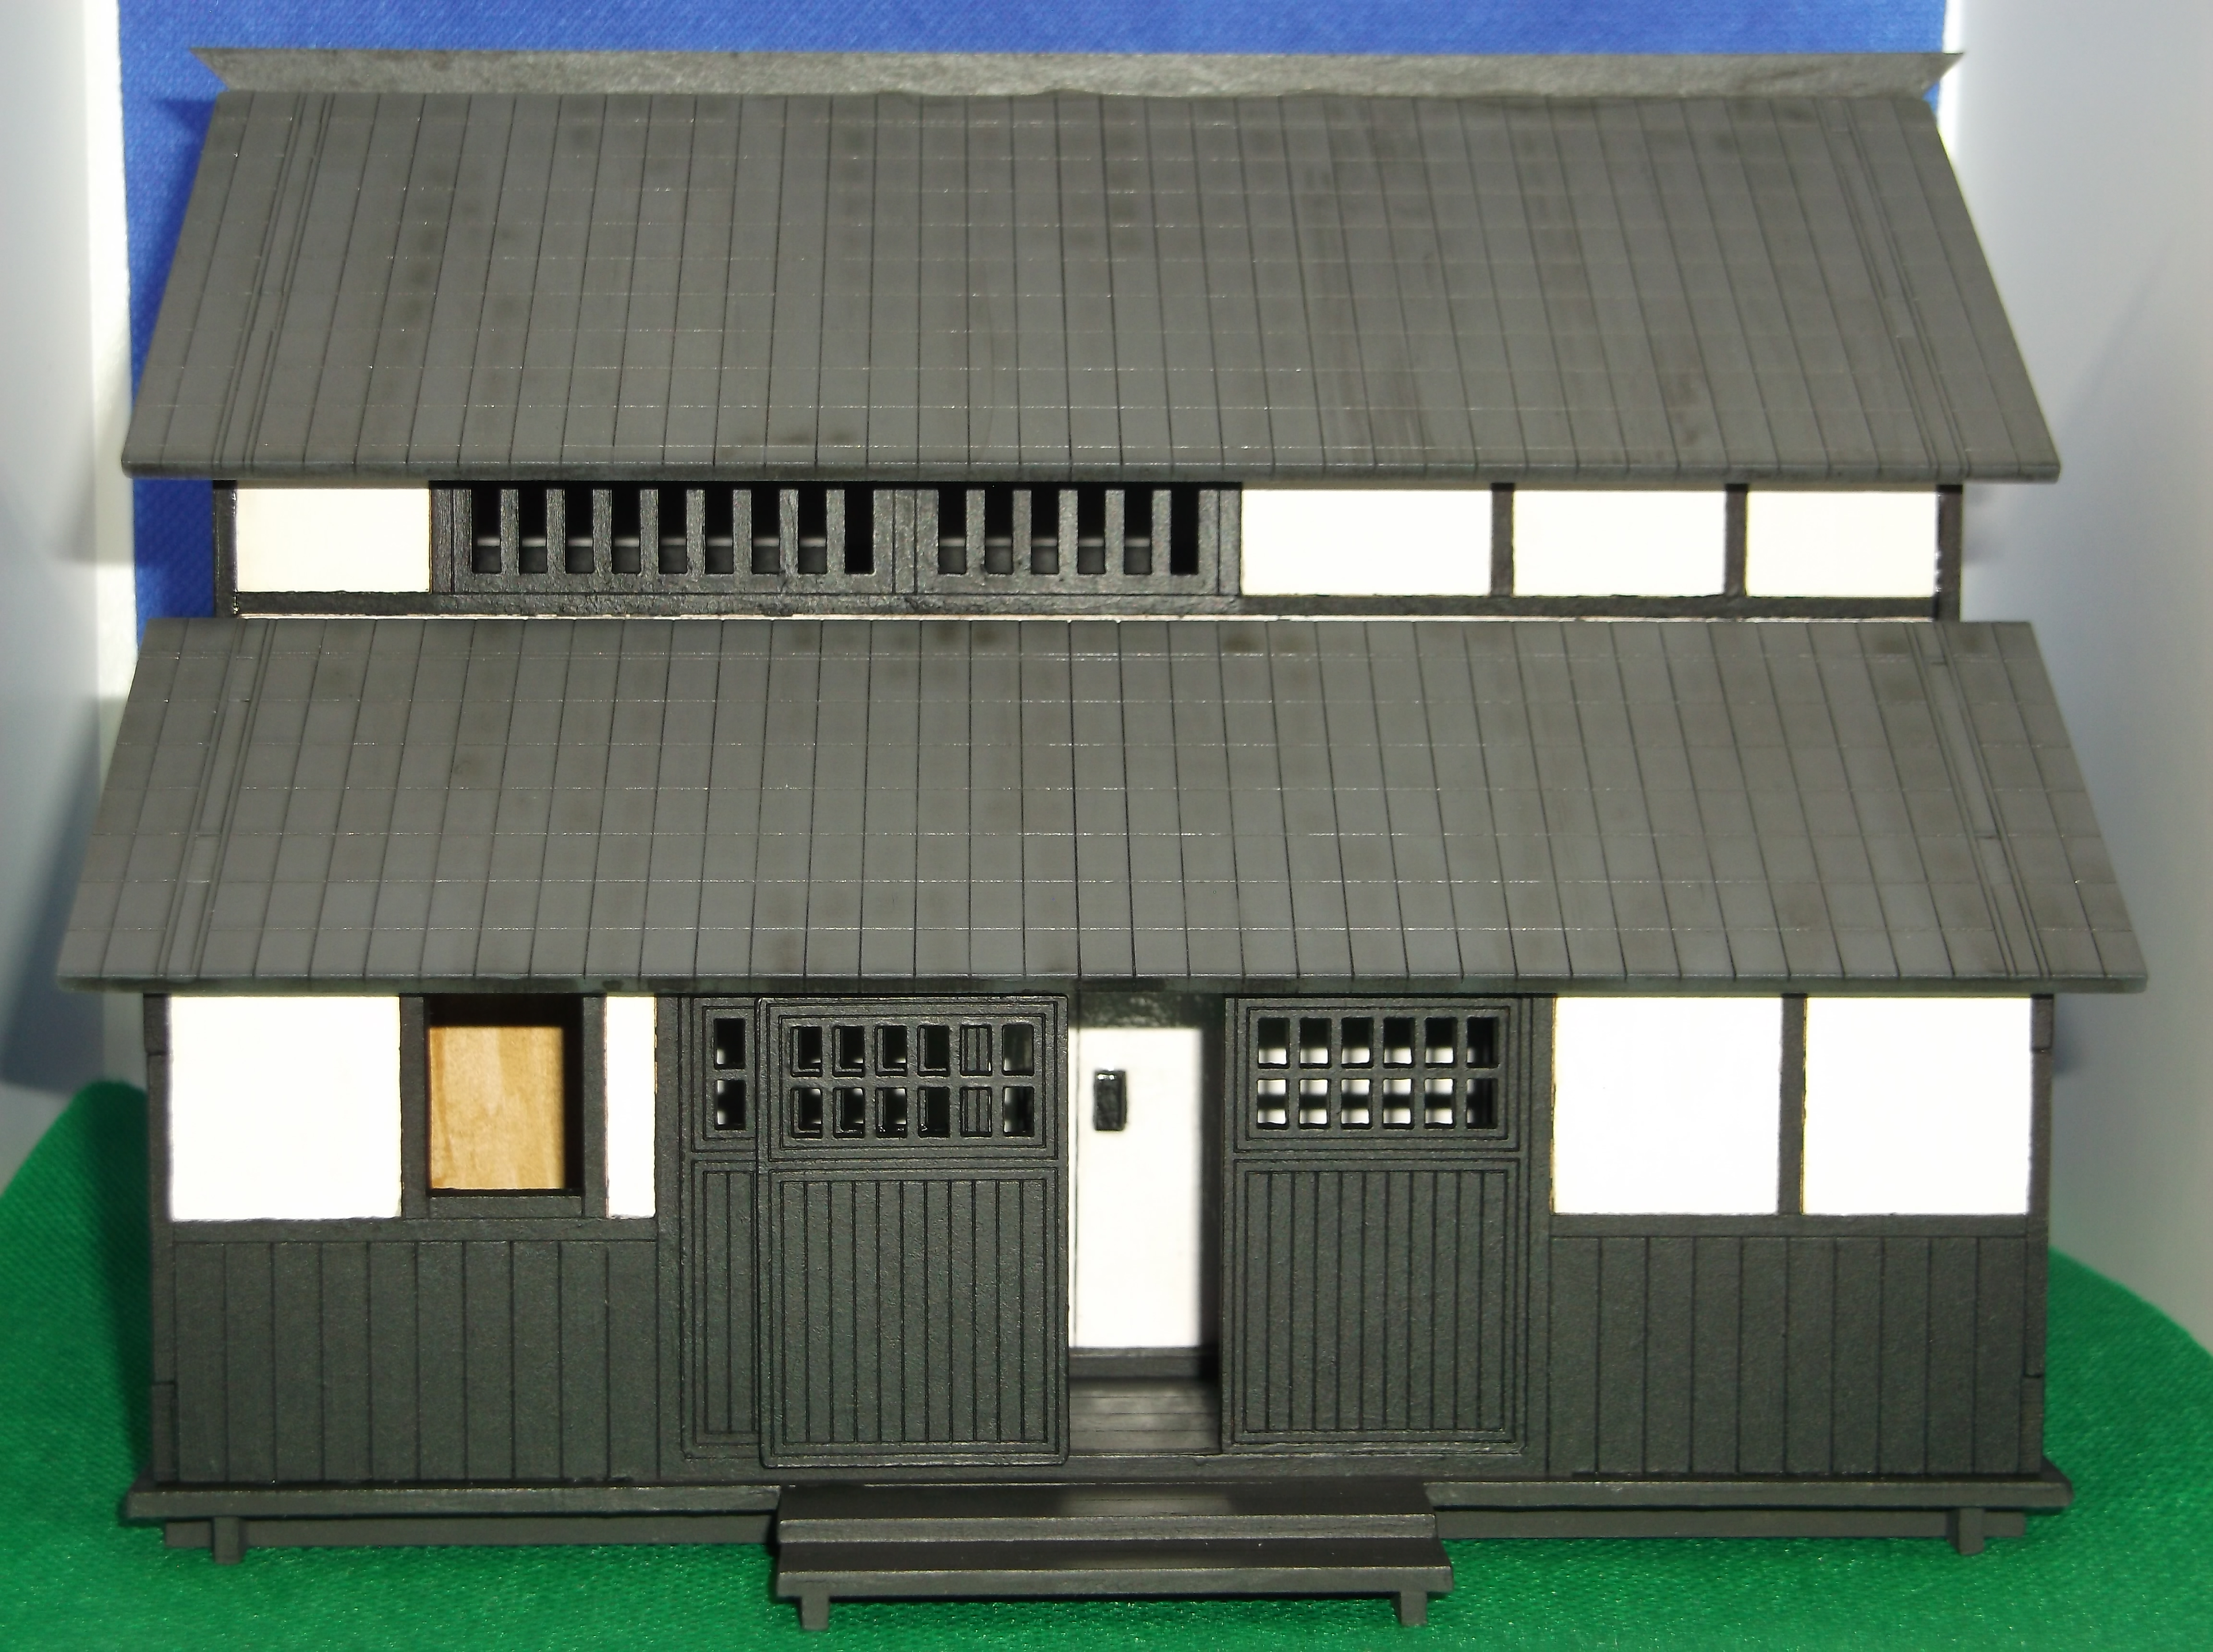
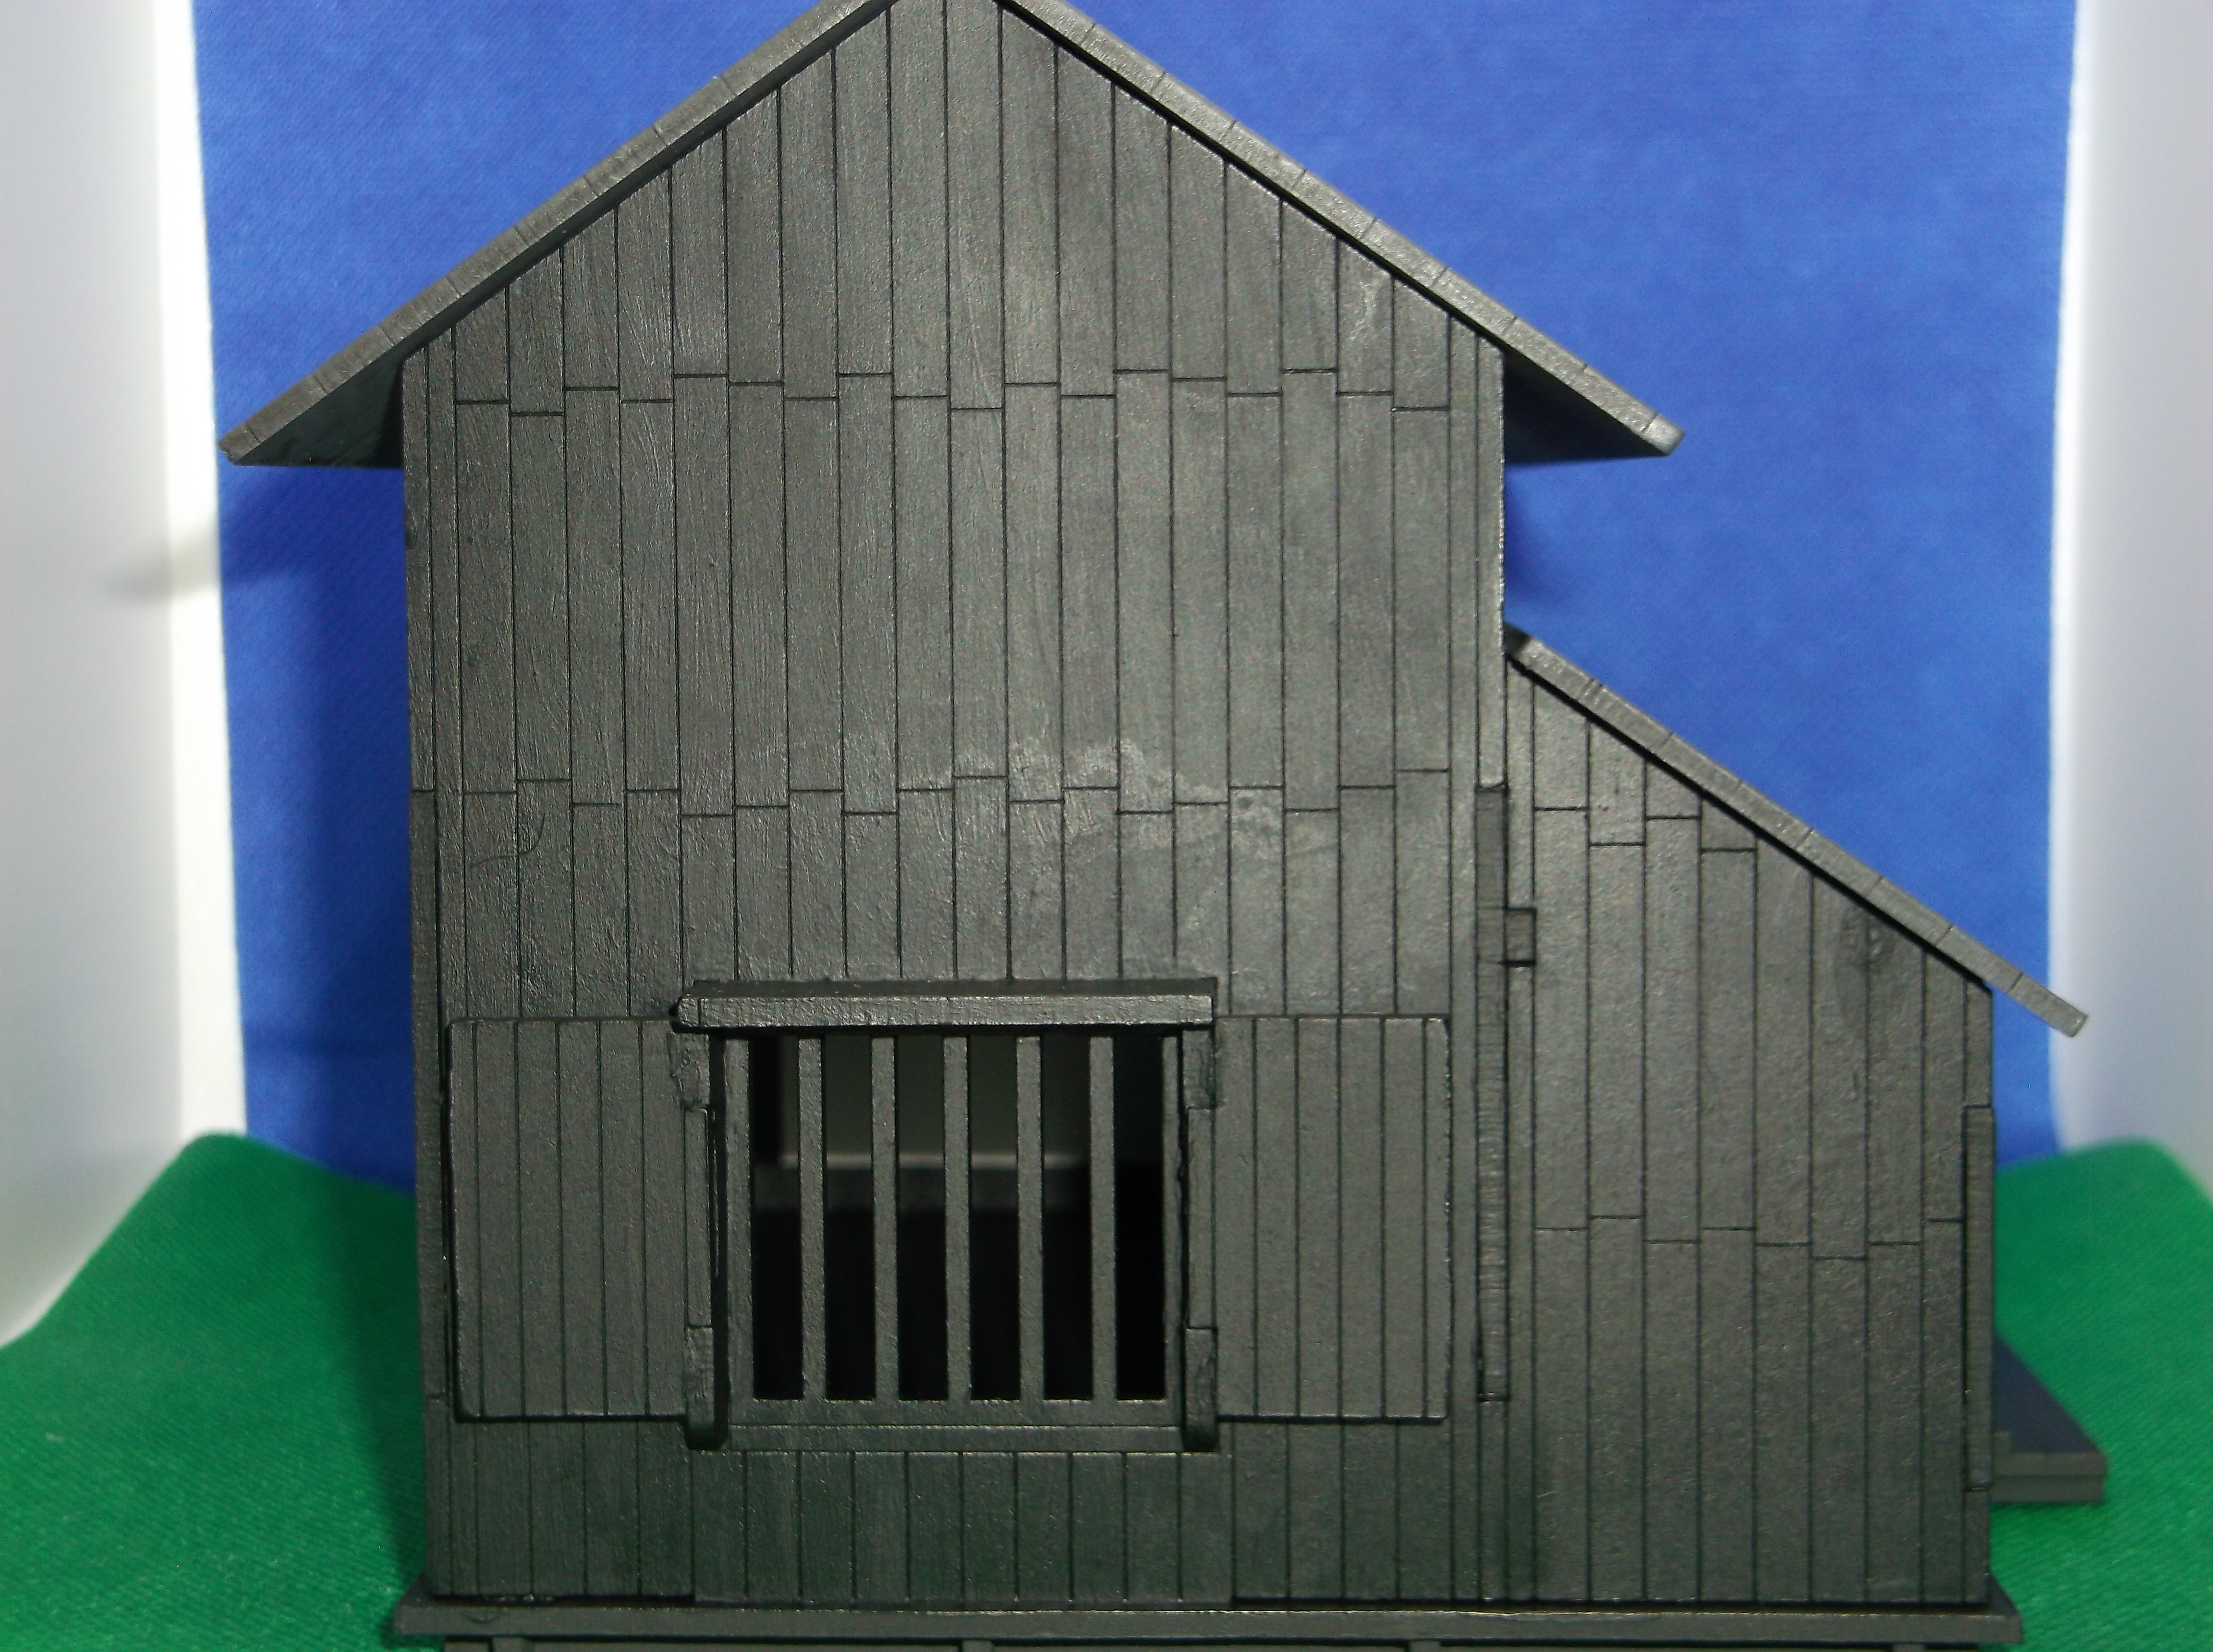
This was intended to be series of step by step posts as I constructed Sarissa Precision’s Japanese Townhouse/Shop. I bought their Dragon House in October and it has sat unopened on the pile of shame as I realised that would be the first Laser Cut MDF or HDF building I have made and that perhaps it would be prudent to build something slightly less ambitious to begin with.
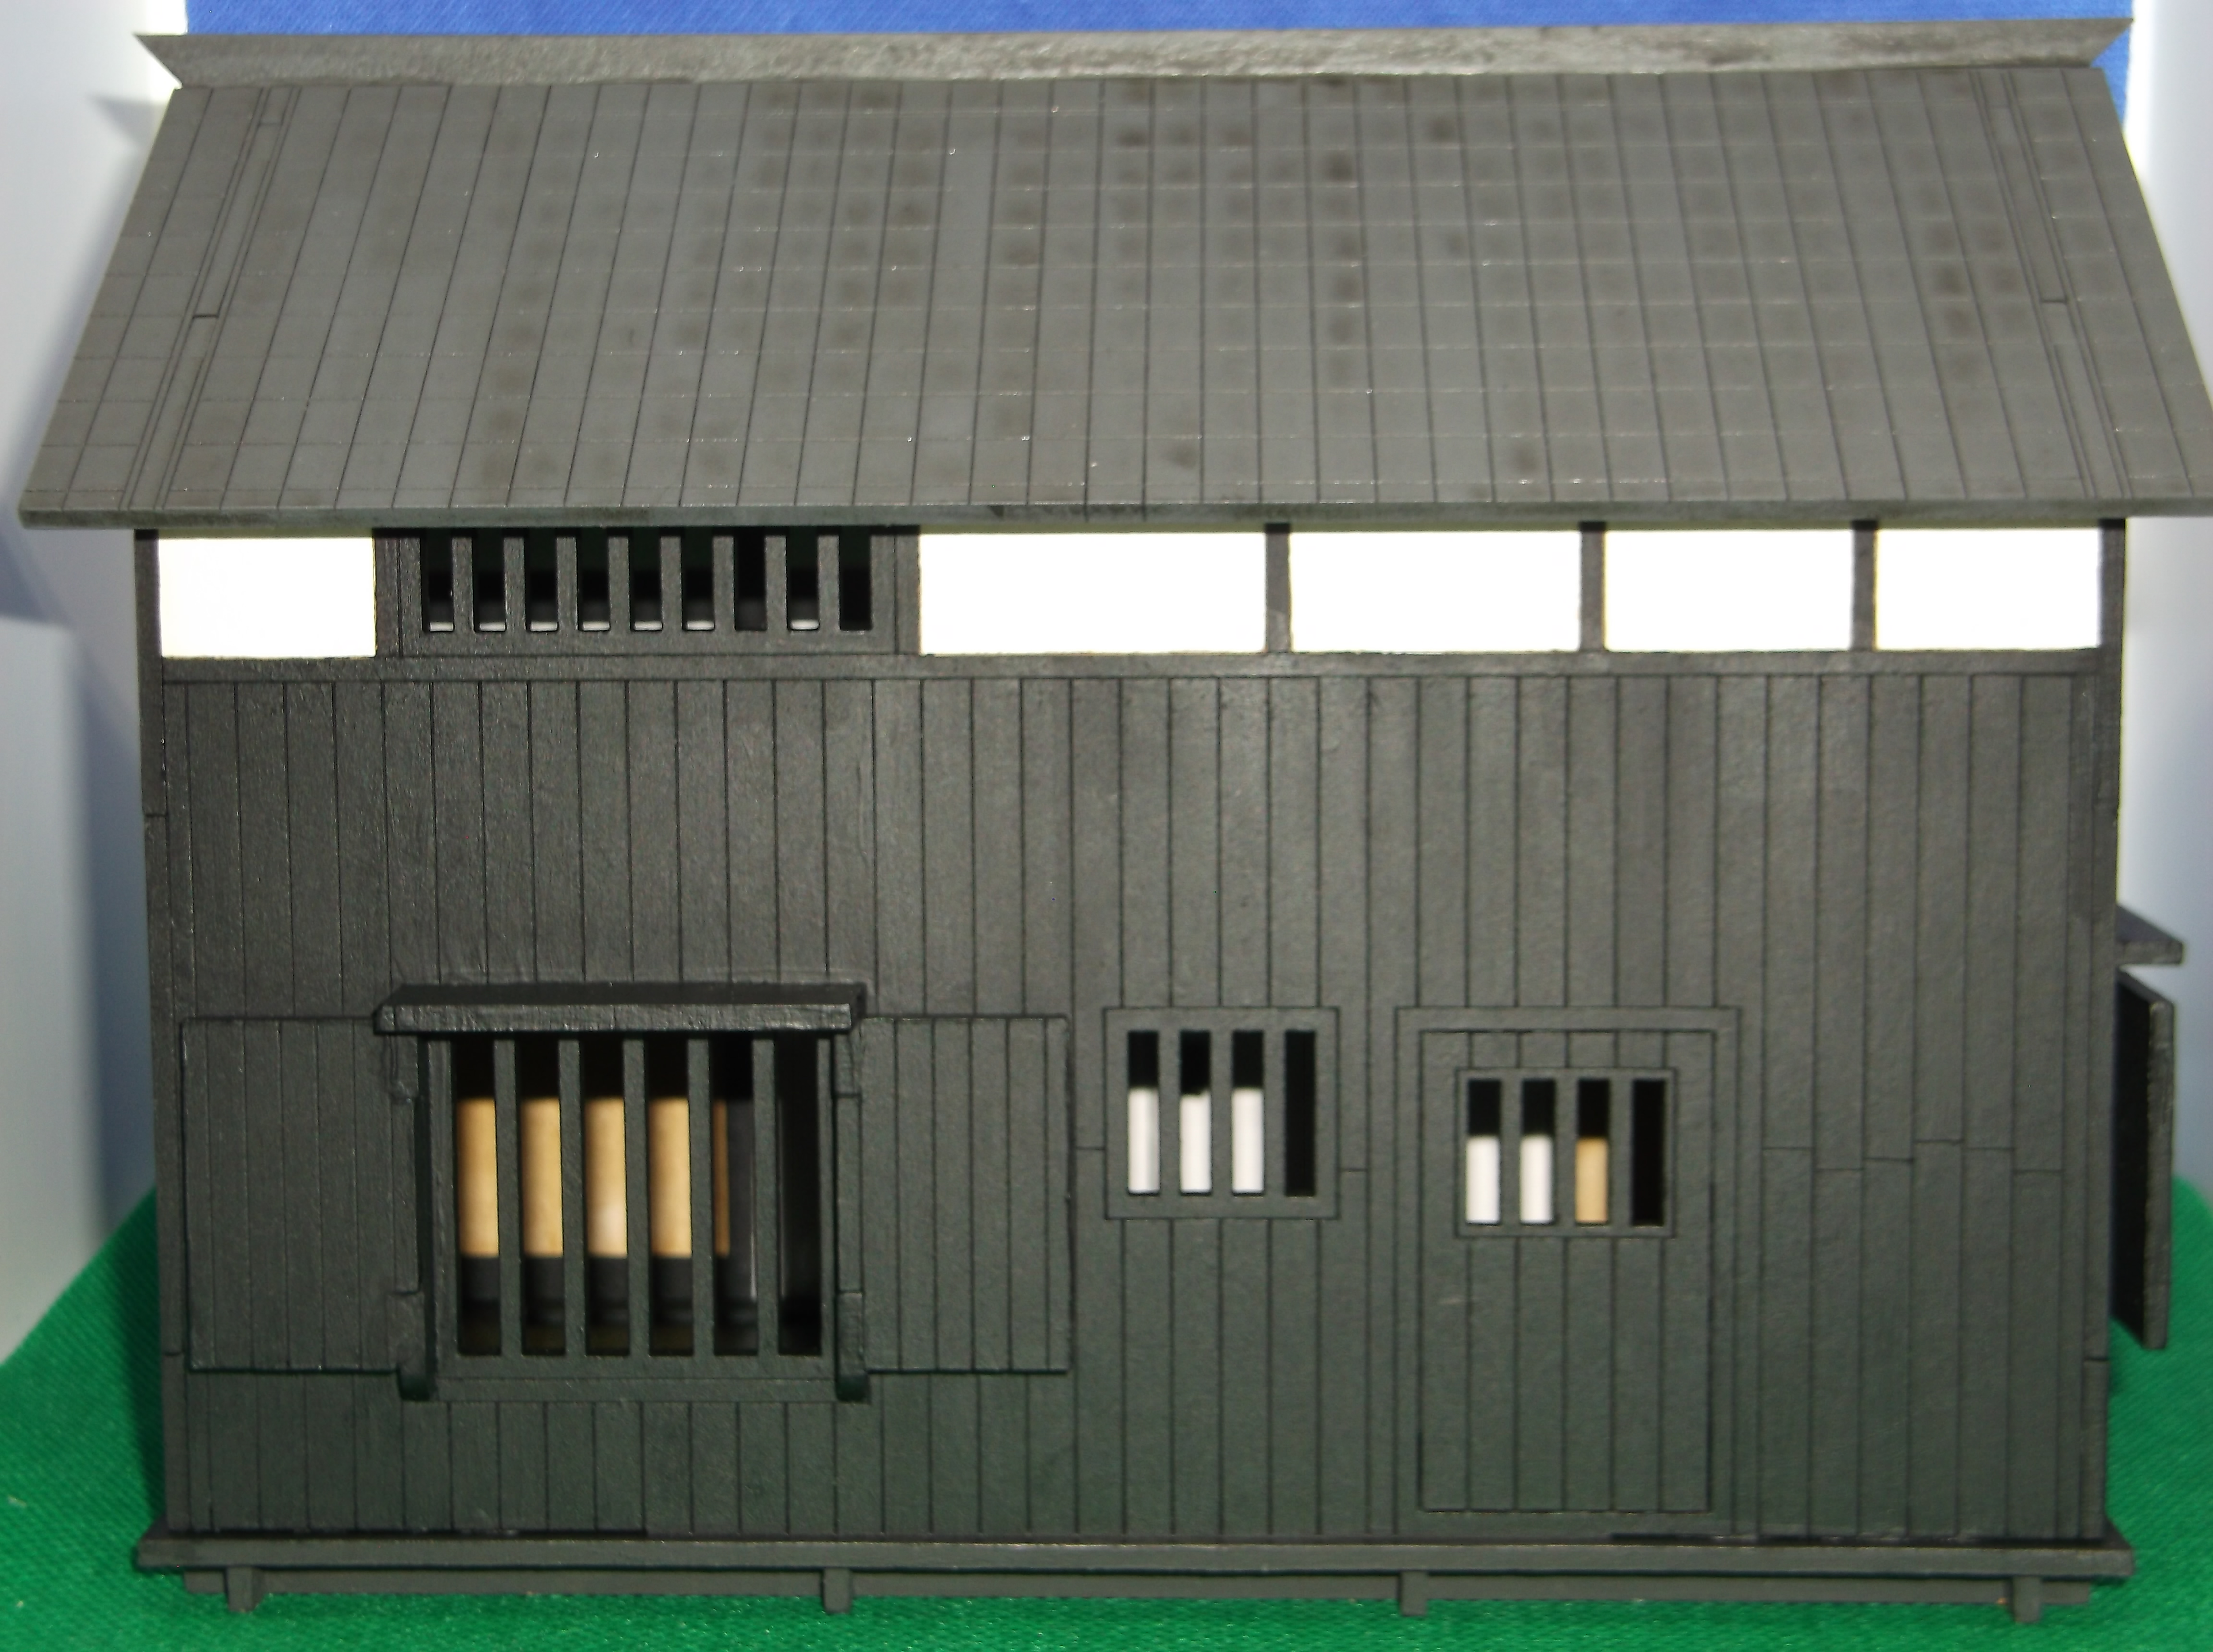
I also wanted a more basic level of building in order to give me a better idea of Feudal Japanese architecture. Whilst it is similar in many respects to the medieval structures in Europe there are key differences. The shape and construction of the roofs. The layout and style of wooden slats and the wattle and daub panels. The shapes depicted in the wooden frames, the positioning windows and the nature of shutters are all subtly different.
Having grown up in Warwick surrounded by Tudor architecture it is easy to grab some card and PVA and scratch build an authentic looking building in short order and perhaps somewhat immodestly to a pretty good standard. However I was unsure quite where to start with Japanese buildings of the same period. Google searched images whilst a useful starting point do not give you a complete view of what you are building and it is so much easier to scratch build something if you have a full innate three dimensional understanding of what you are trying to achieve. Especially if you want to create accessible interiors.
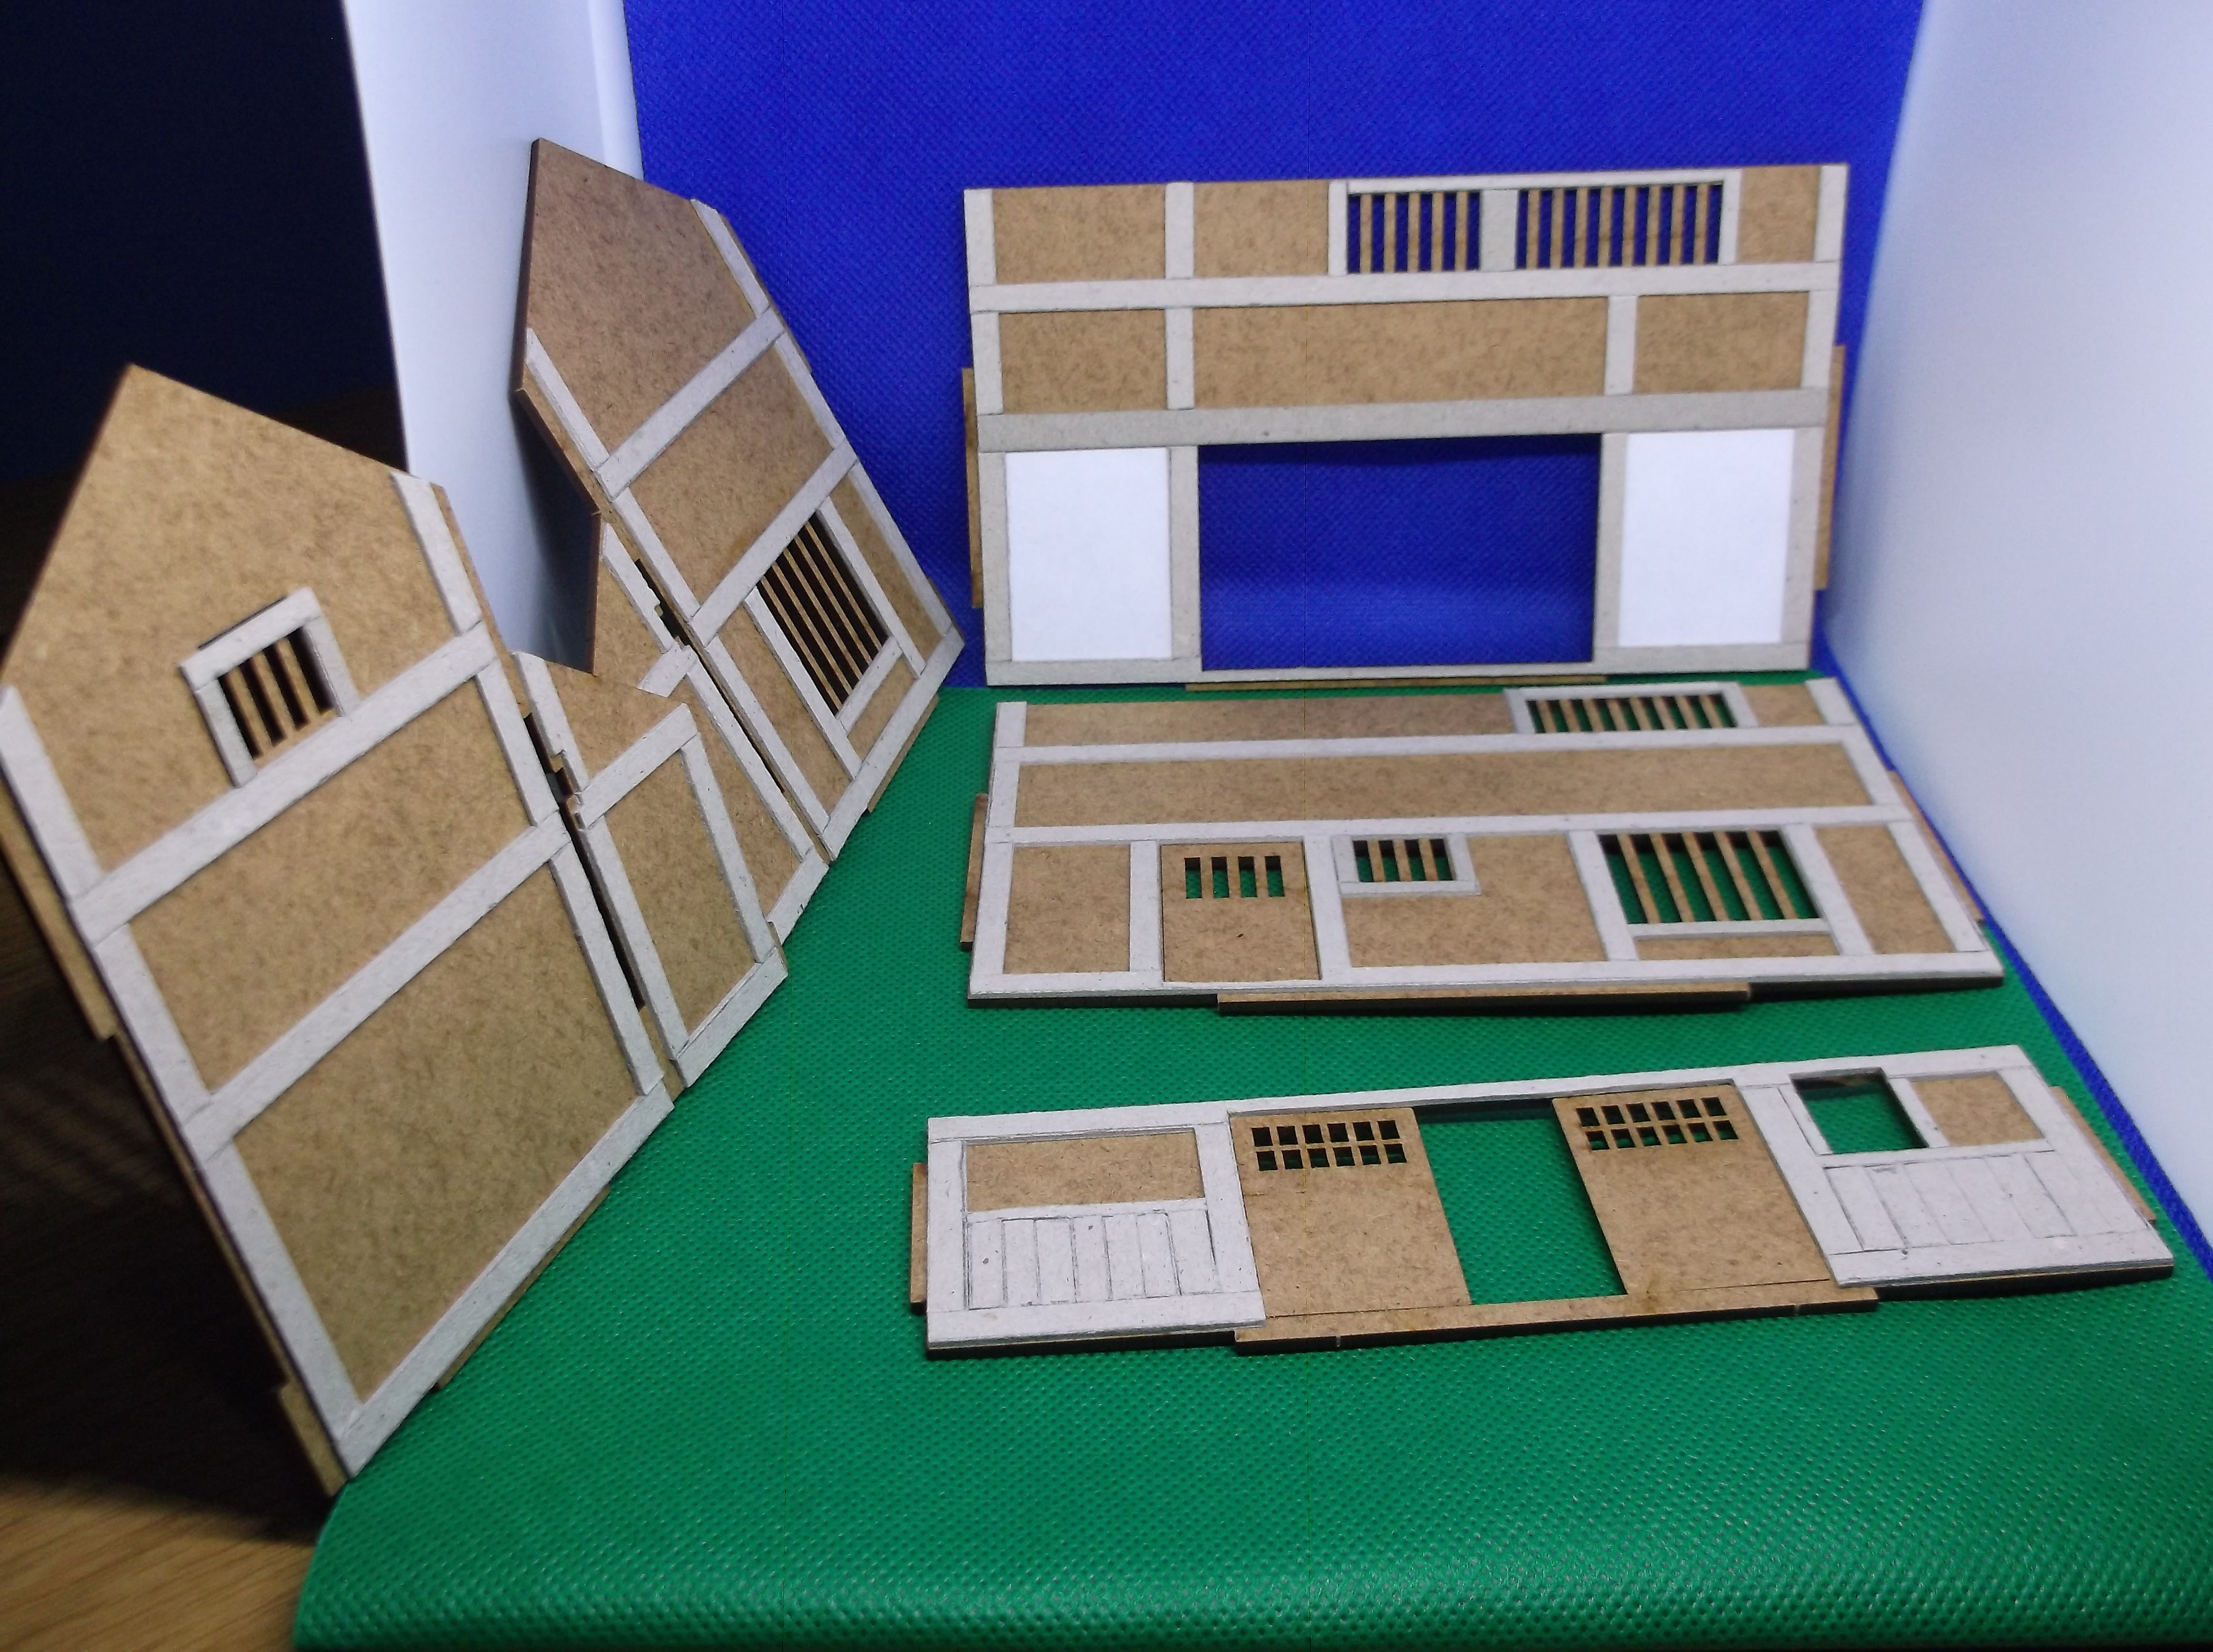
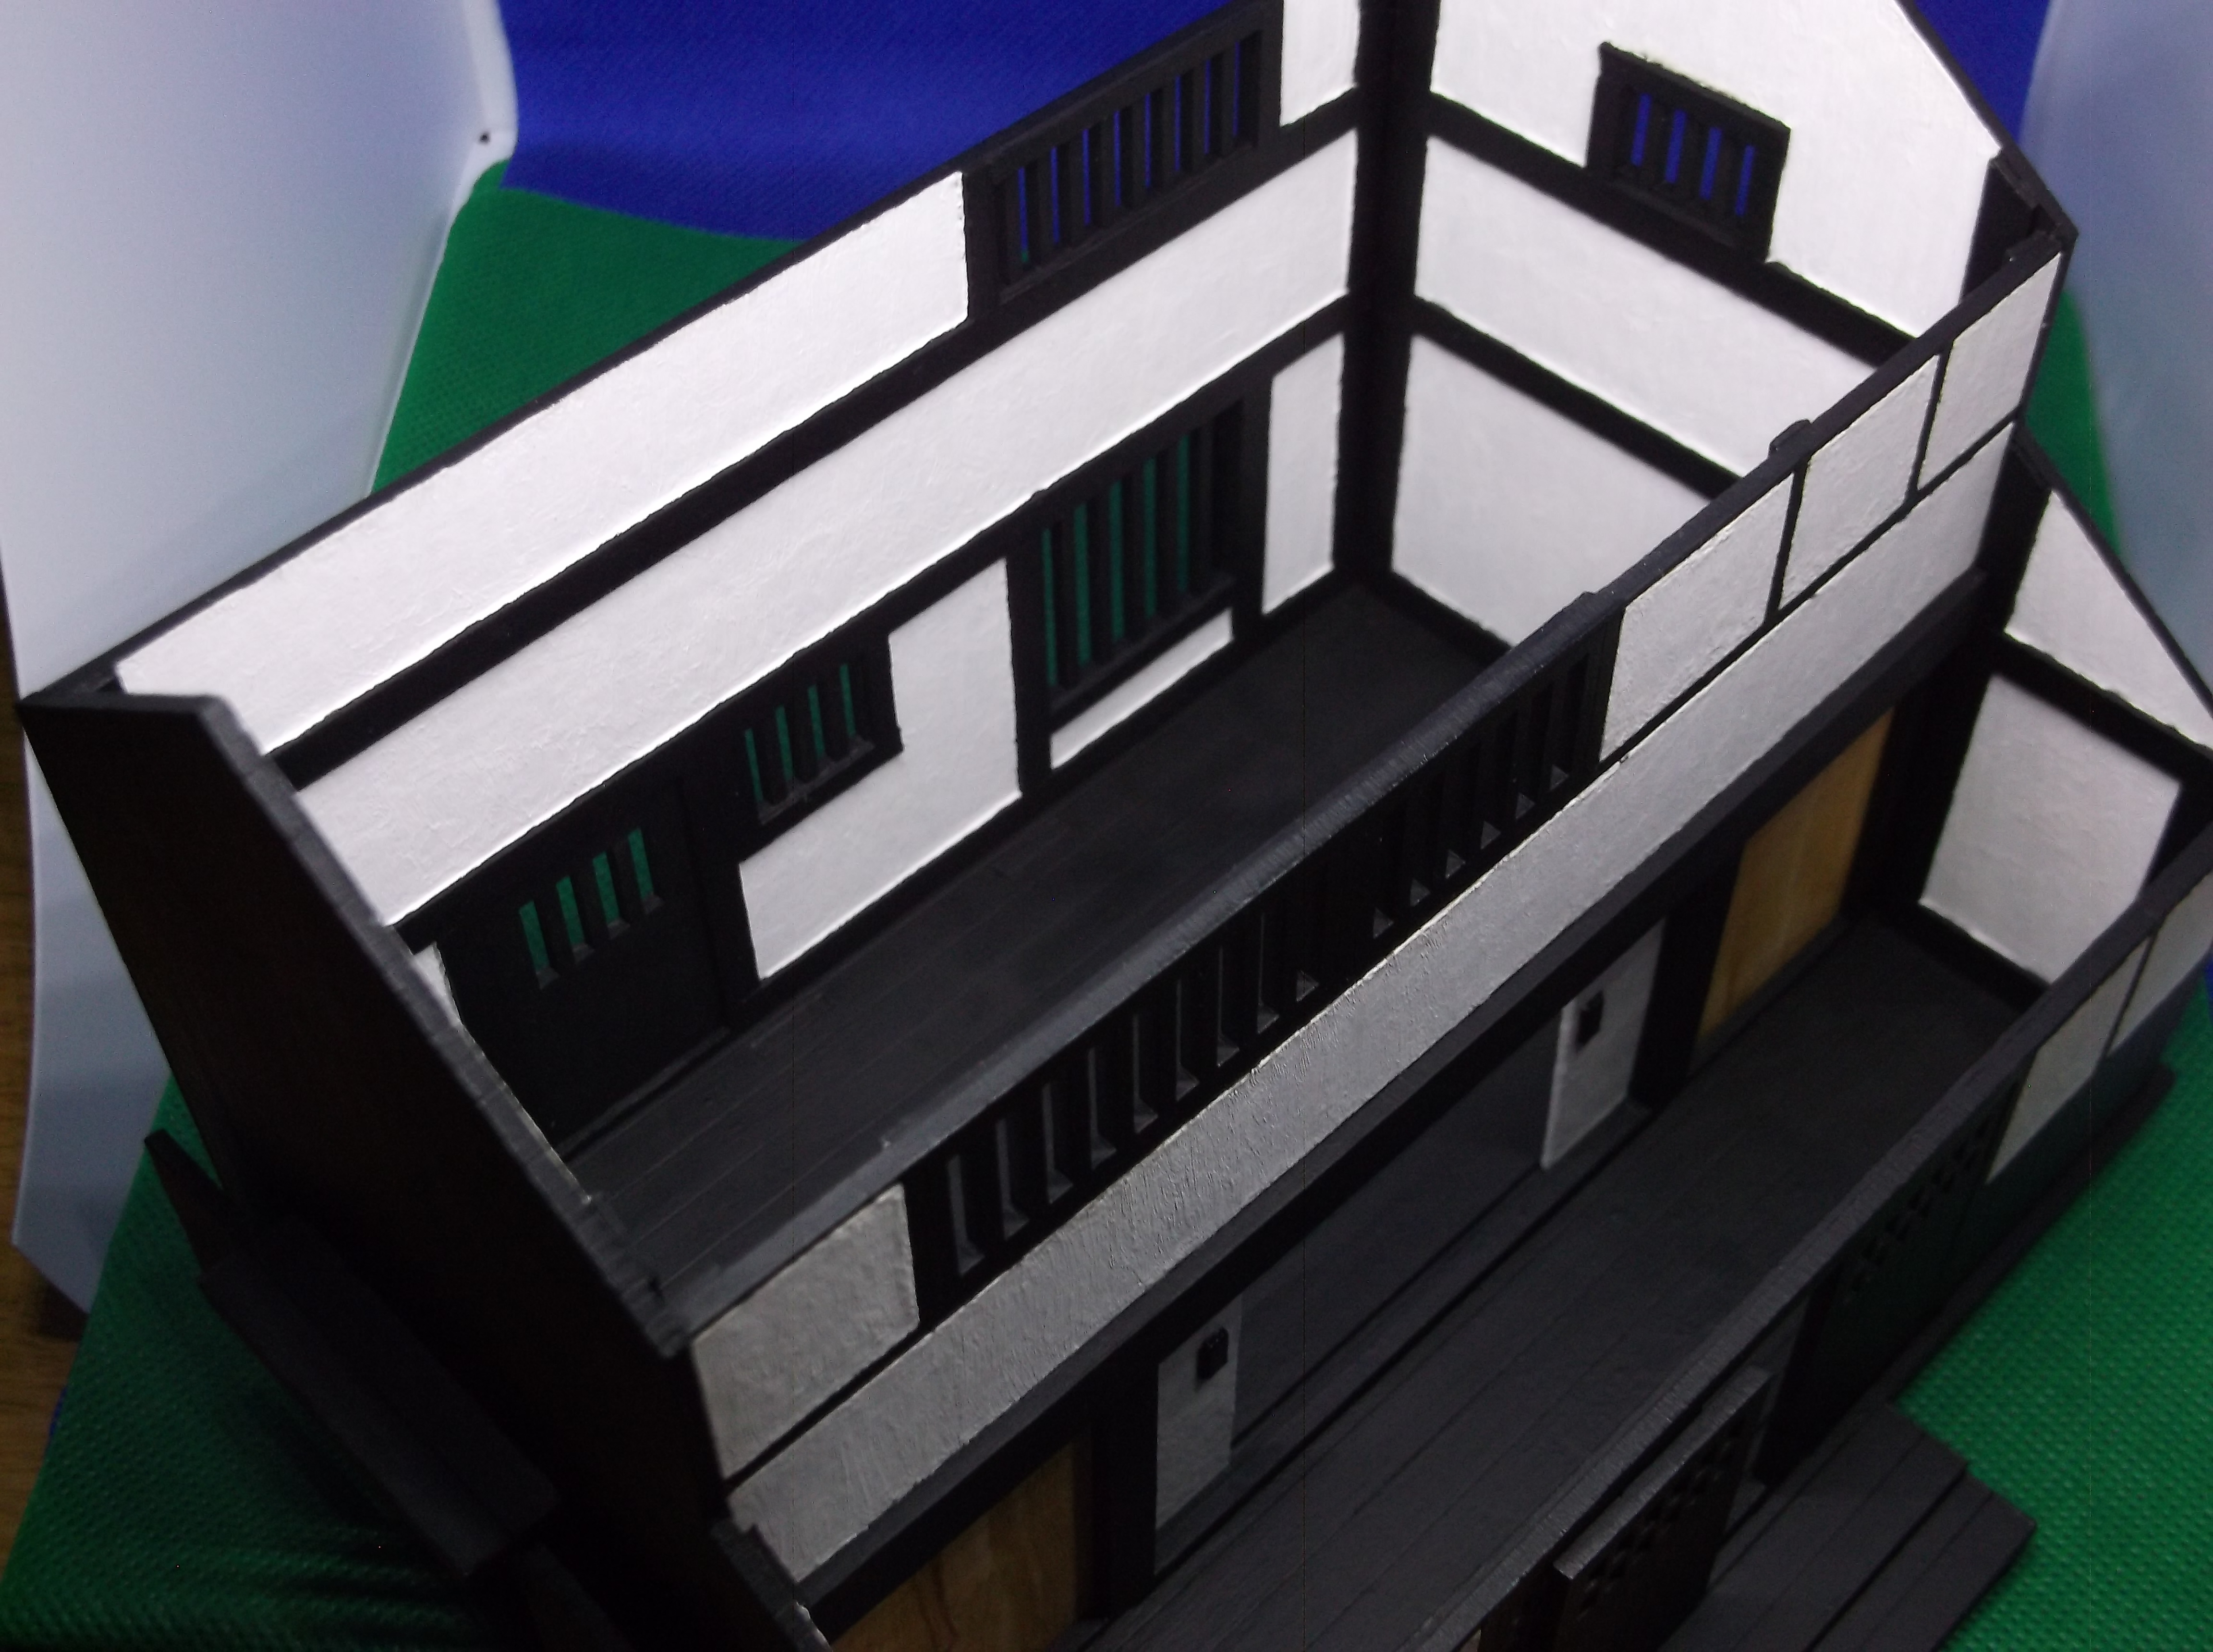
So I purchased the Townhouse/Shop and went to have crack at it. First of all my OCD was uncomfortable with an accessible interior that was just flat MDF. I appreciate that this is an unavoidable consequence of those sorts of kits yet I felt something needed to be done.
In March when I ordered the kit in preparation for the increase in free time the current period entails I was also reading a fascinating book called Warriors of Medieval Japan by Stephen Turnbull. There are some great photos and illustrations of building interiors which gave me an idea.
 Warriors of Medieval Japan by Stephen Turnbull. A fascinating source of inspiration for both buildings and the Samurai minis.
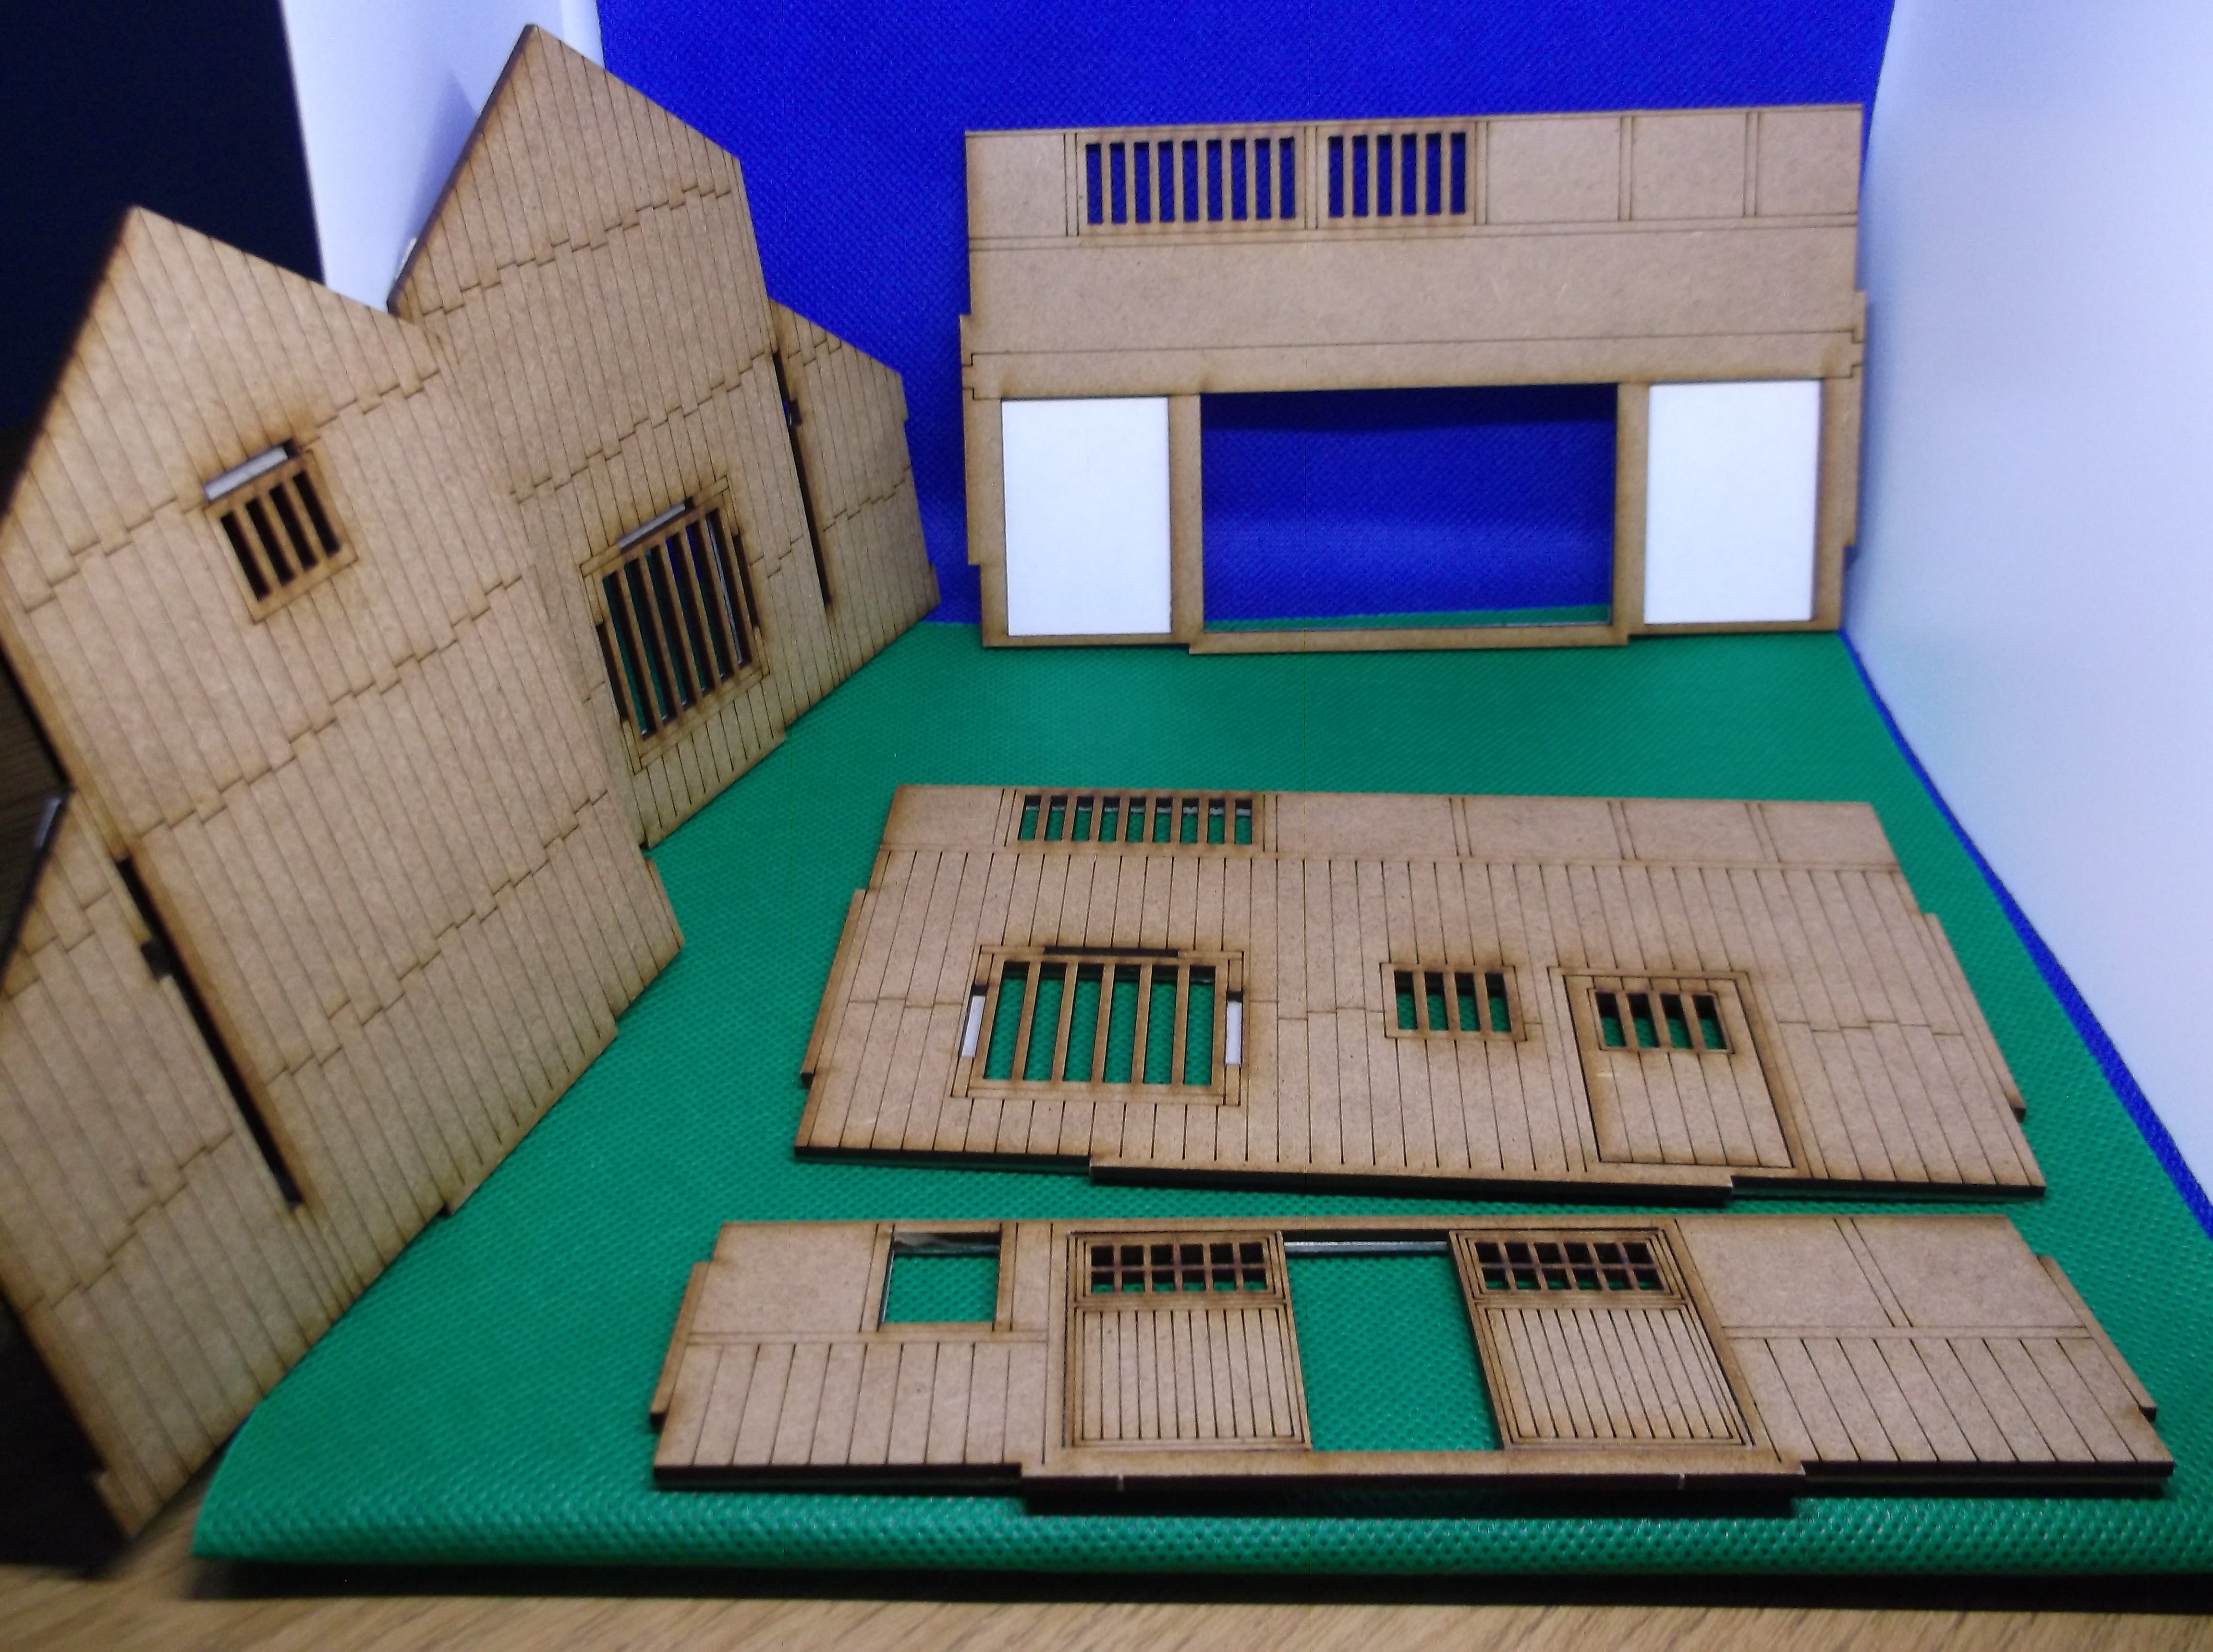
When scratch building Tudor buildings I use strips of card to detail the timber frames. That would quite easily work on the interior as well. So that is what I did. This was supposed to be a series of entries charting my progress however I had delays waiting for some paint not to turn up and then sourcing some from the works instead who sadly used Hermes who faffed me about for another week. Plus apparently living in the last days of Sodom an Gomorrah judging by most of my neighbours behaviour nearly made me go under.
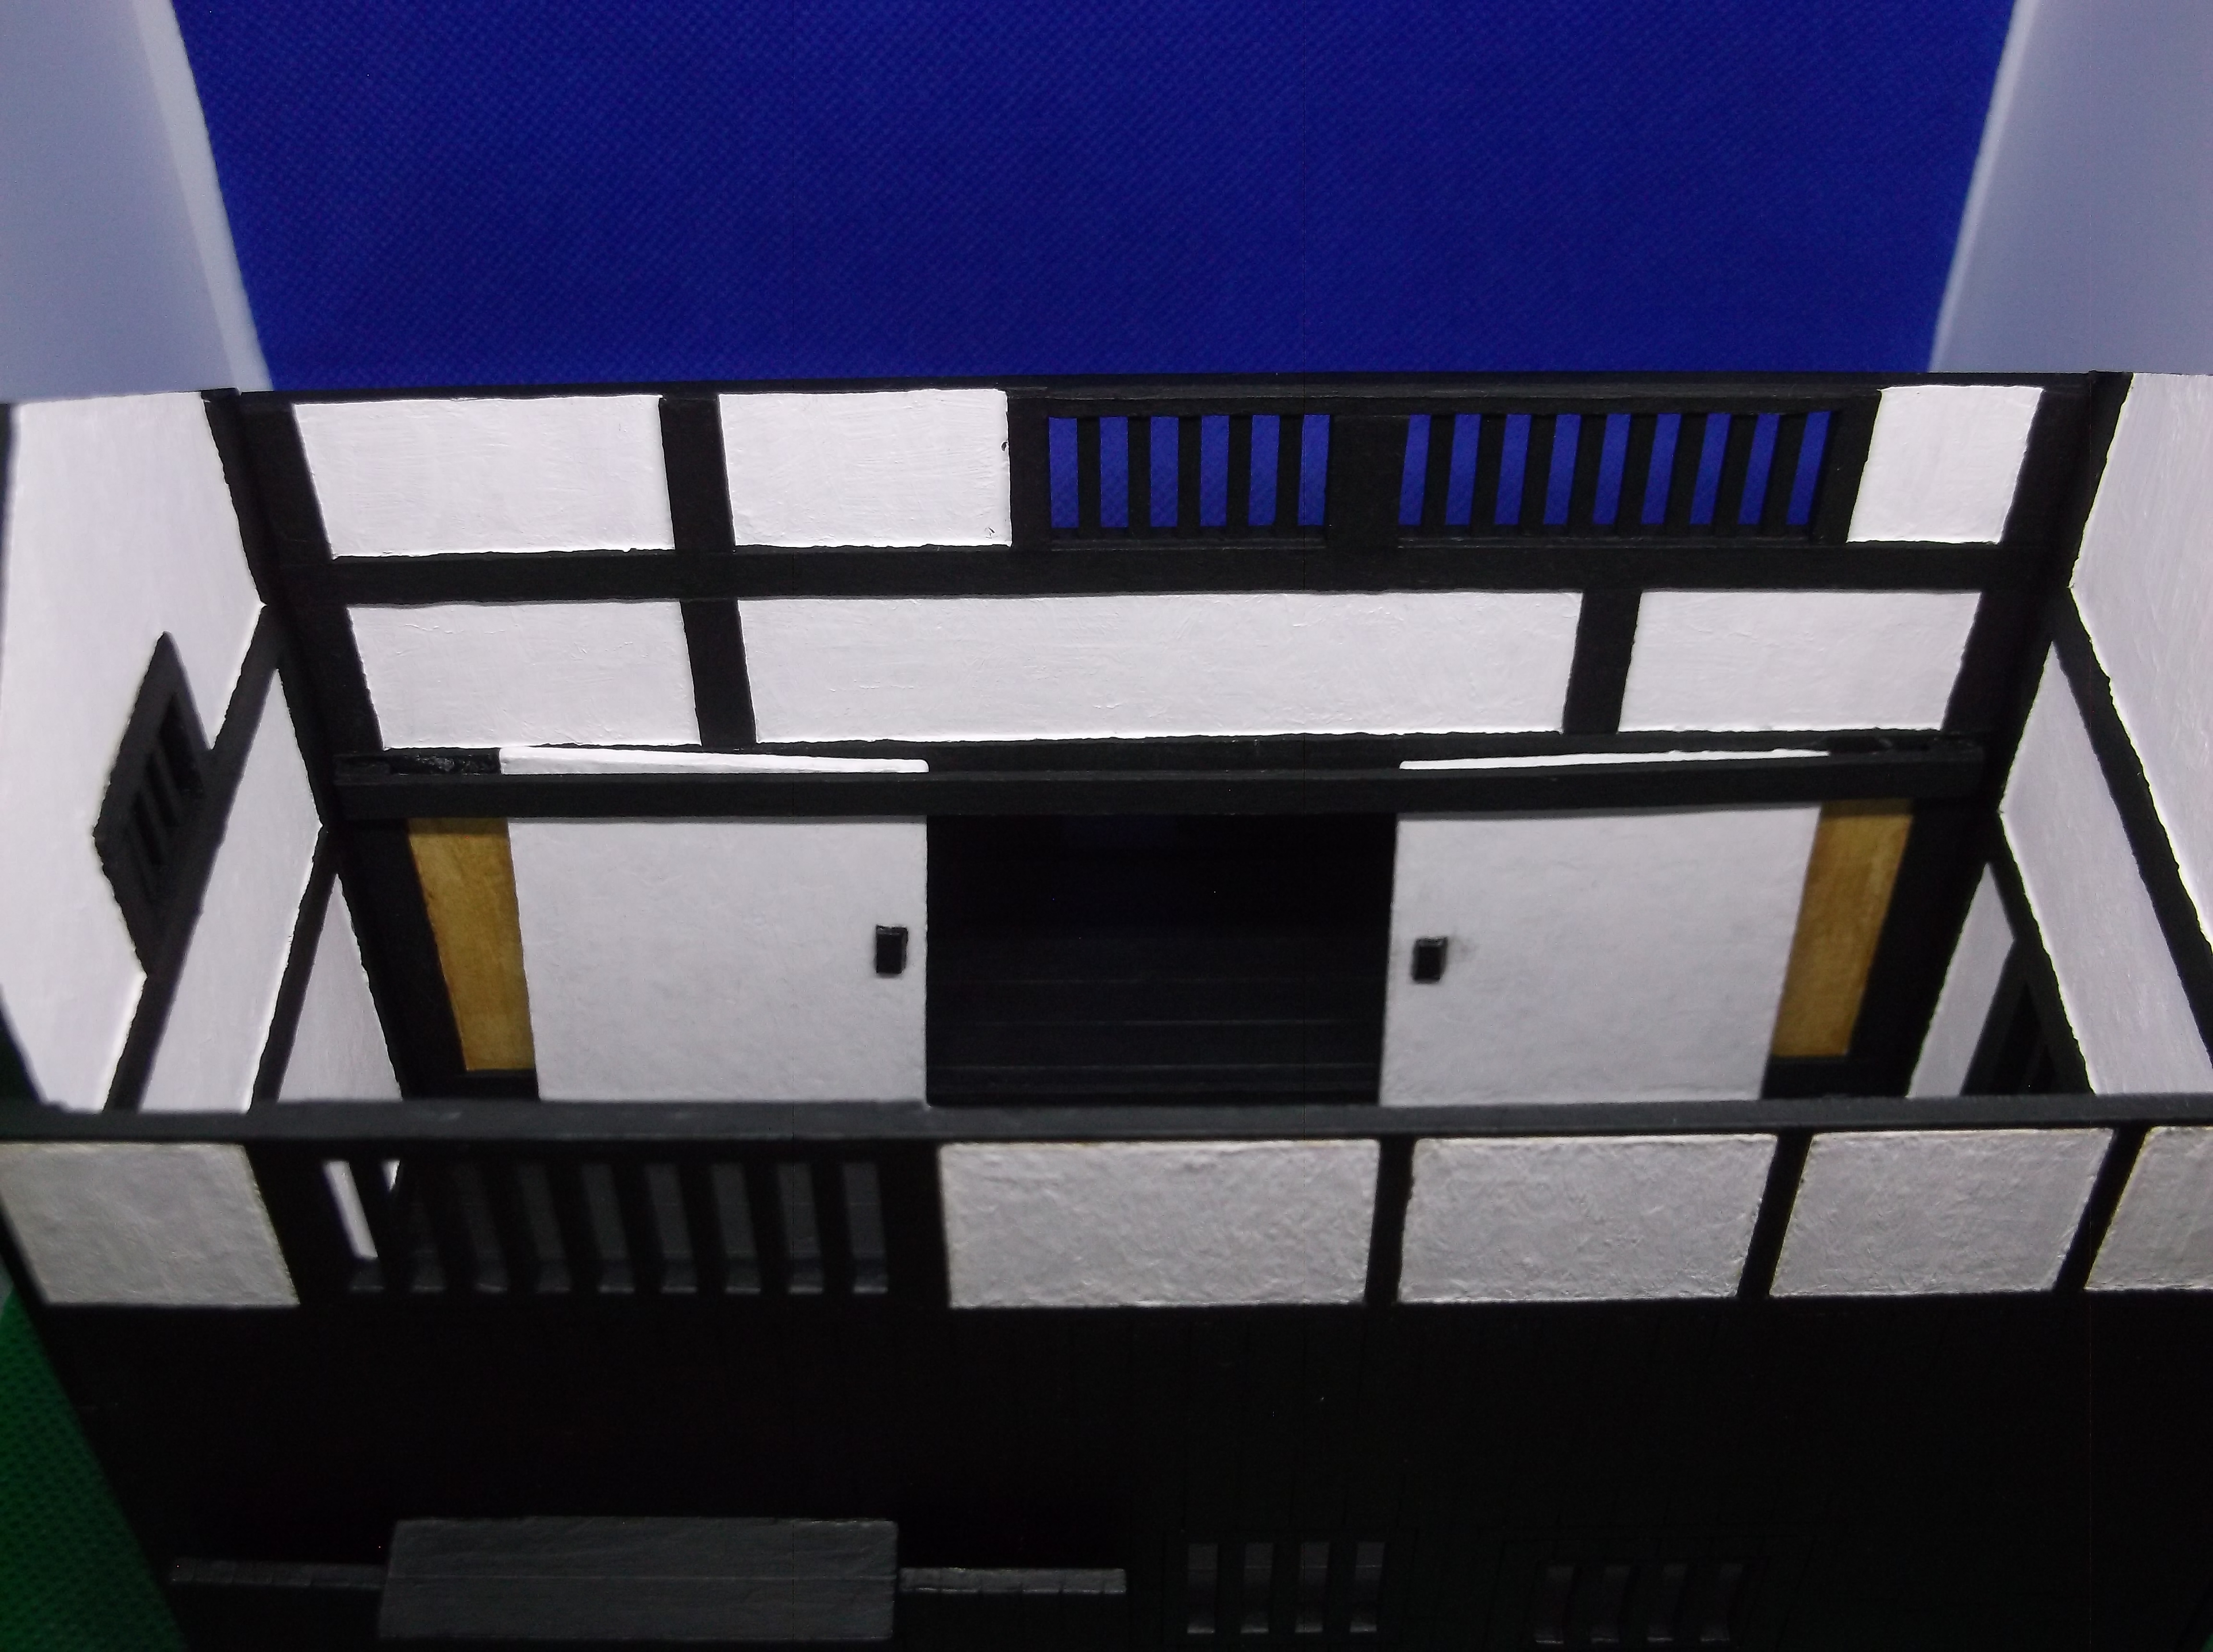
That aside I first constructed and painted the floor. From there I lined all the walls with card strips. The trick is to mark out where the wall pieces touch each other then place the strips accordingly then you have to mark where the card strips meet the other walls as well.
Perhaps a tad over ambitious and perhaps a tad overly pedantic, I felt that the internal partitions looked a bit pointless just as empty holes. So I used paper to make the paper/card interior partitions that seemed common to me in Japanese buildings. I had originally intended to use baking parchment. As it turns out and I am perhaps a bit stupid for not knowing this however nothing seems to stick to it not even grip adhesive. This is a shame as it seemed an ideal colour and opacity/translucency and was planning on using it on the windows as well. The paper was stuck over the gaps and then card strips covered the edges.
I then Painted the interior. A cheap White craft acrylic (from Amazon and the seller failed to send the black paint I ordered, after making me wait two months) that had a chalky finish and a brilliant Boldmere Black from the Works. The Black areas were then given two heavy washes of Nuln Oil Citadel wash.
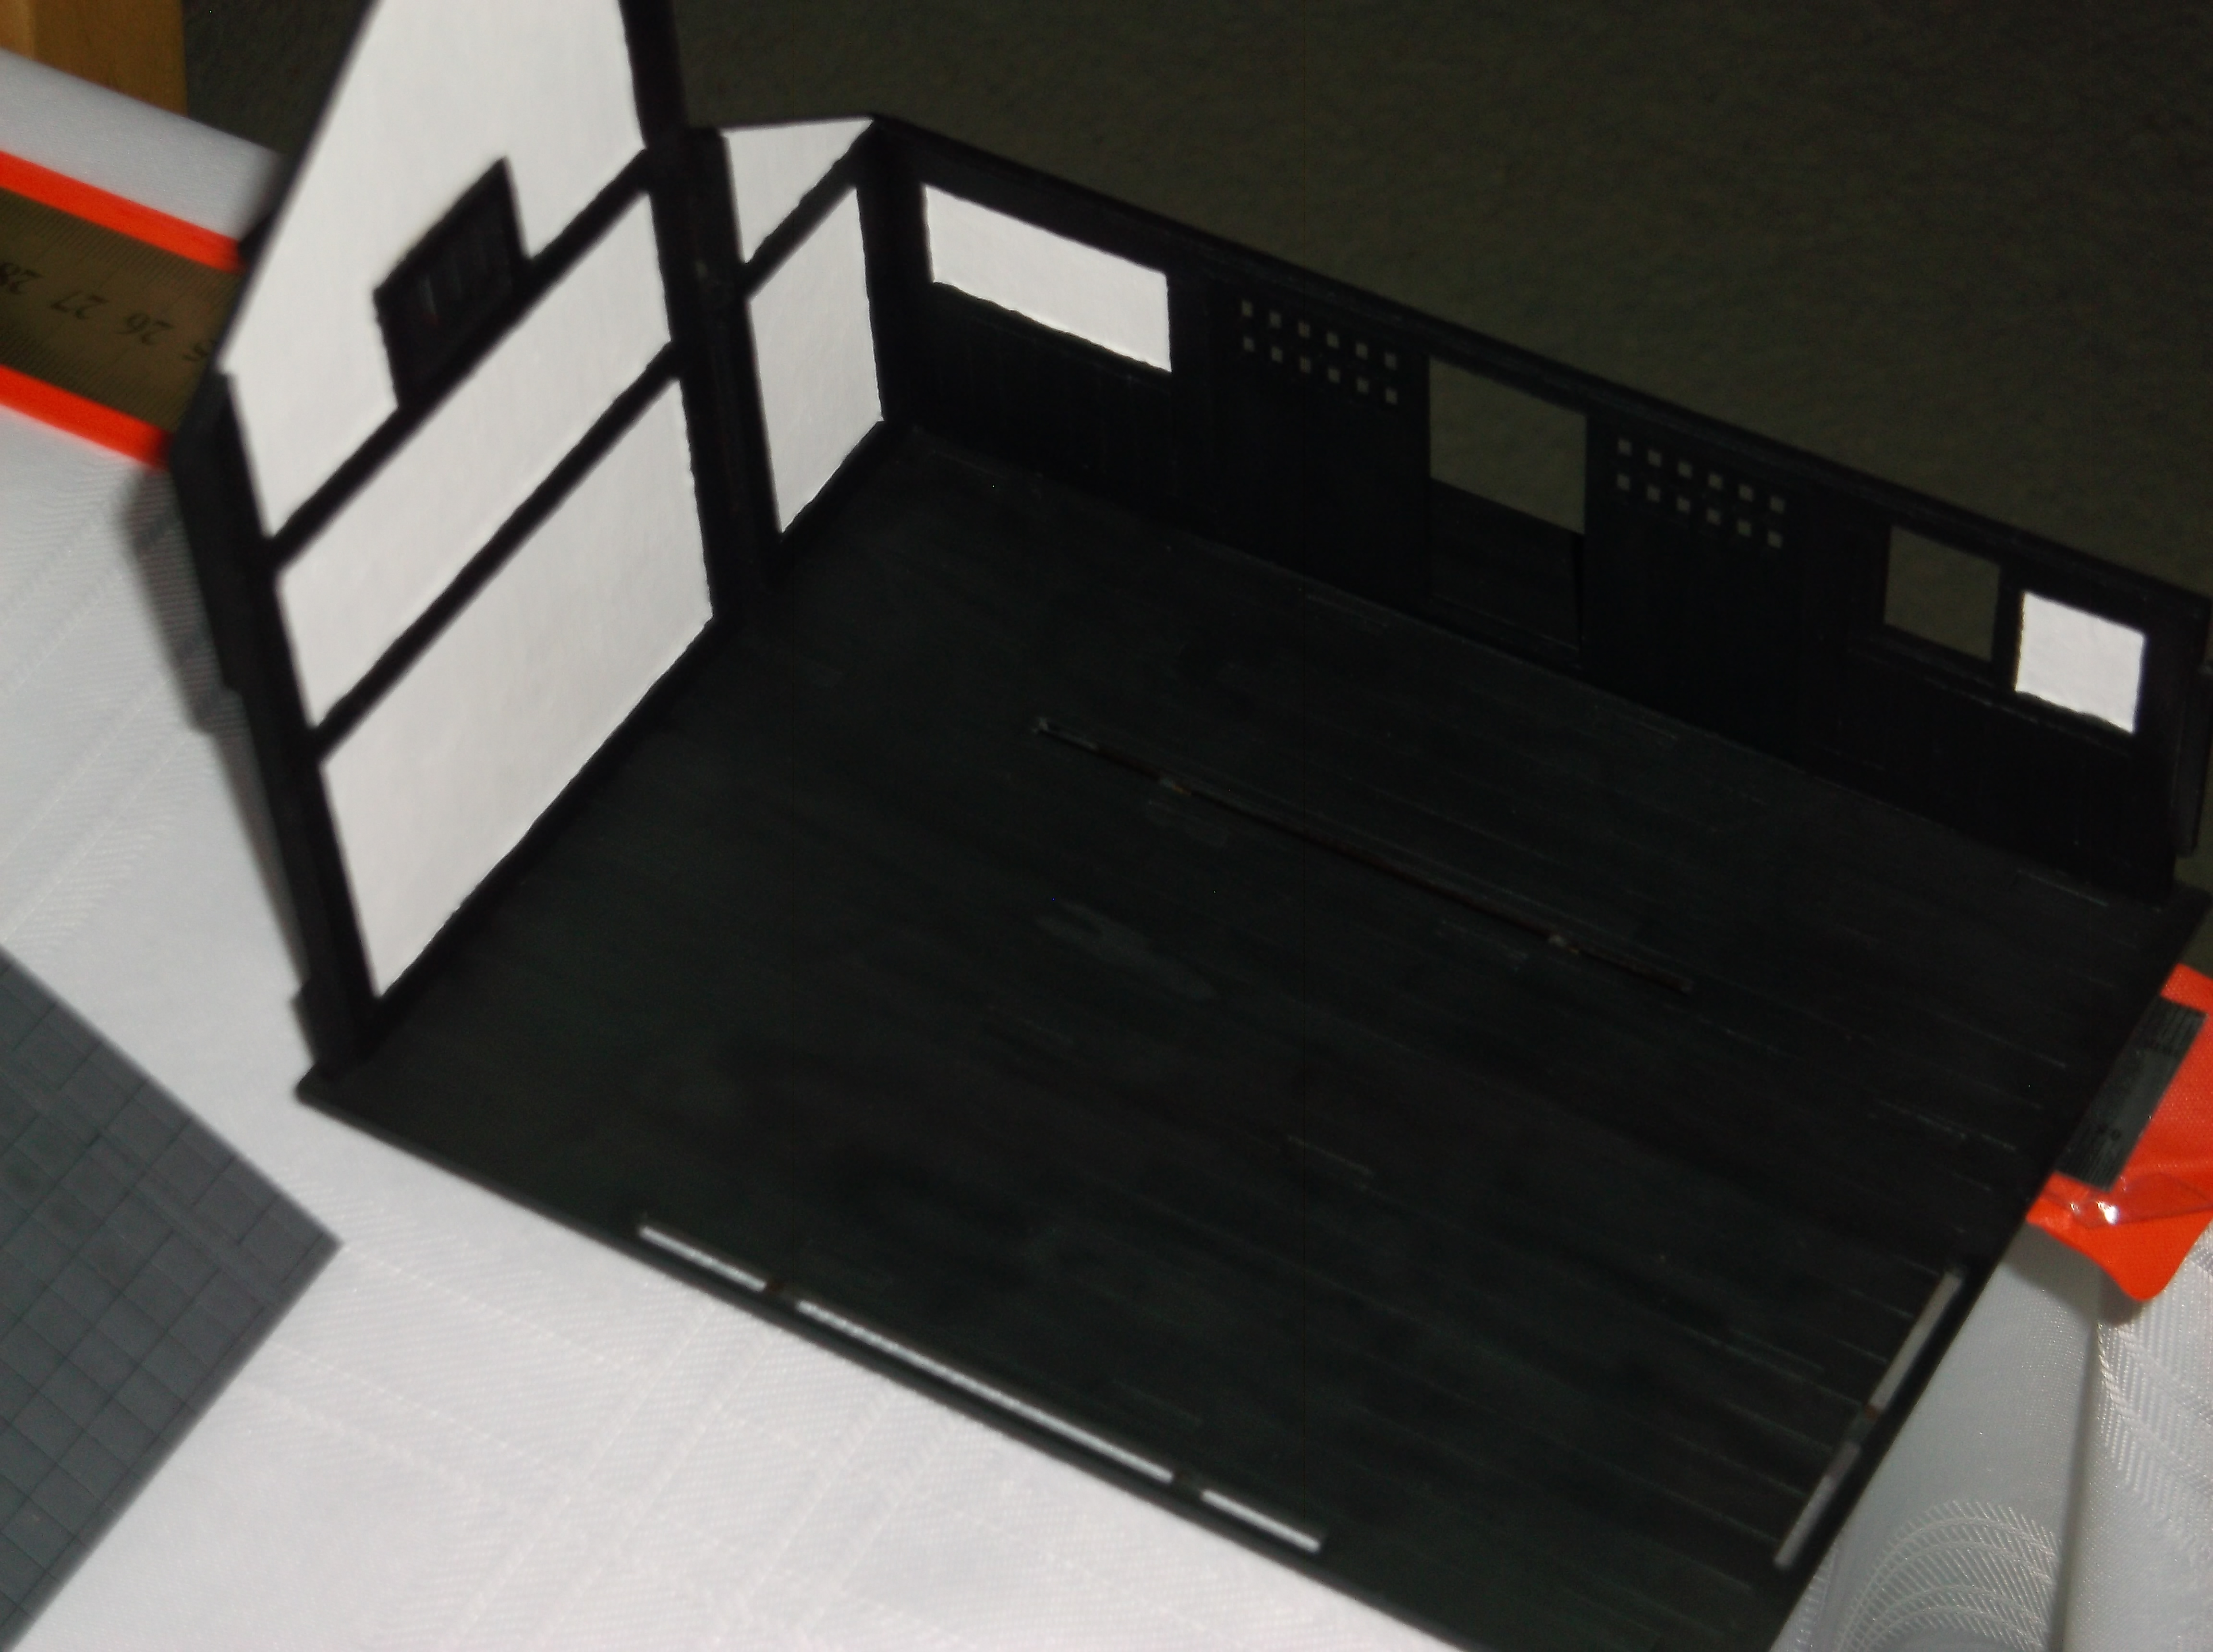
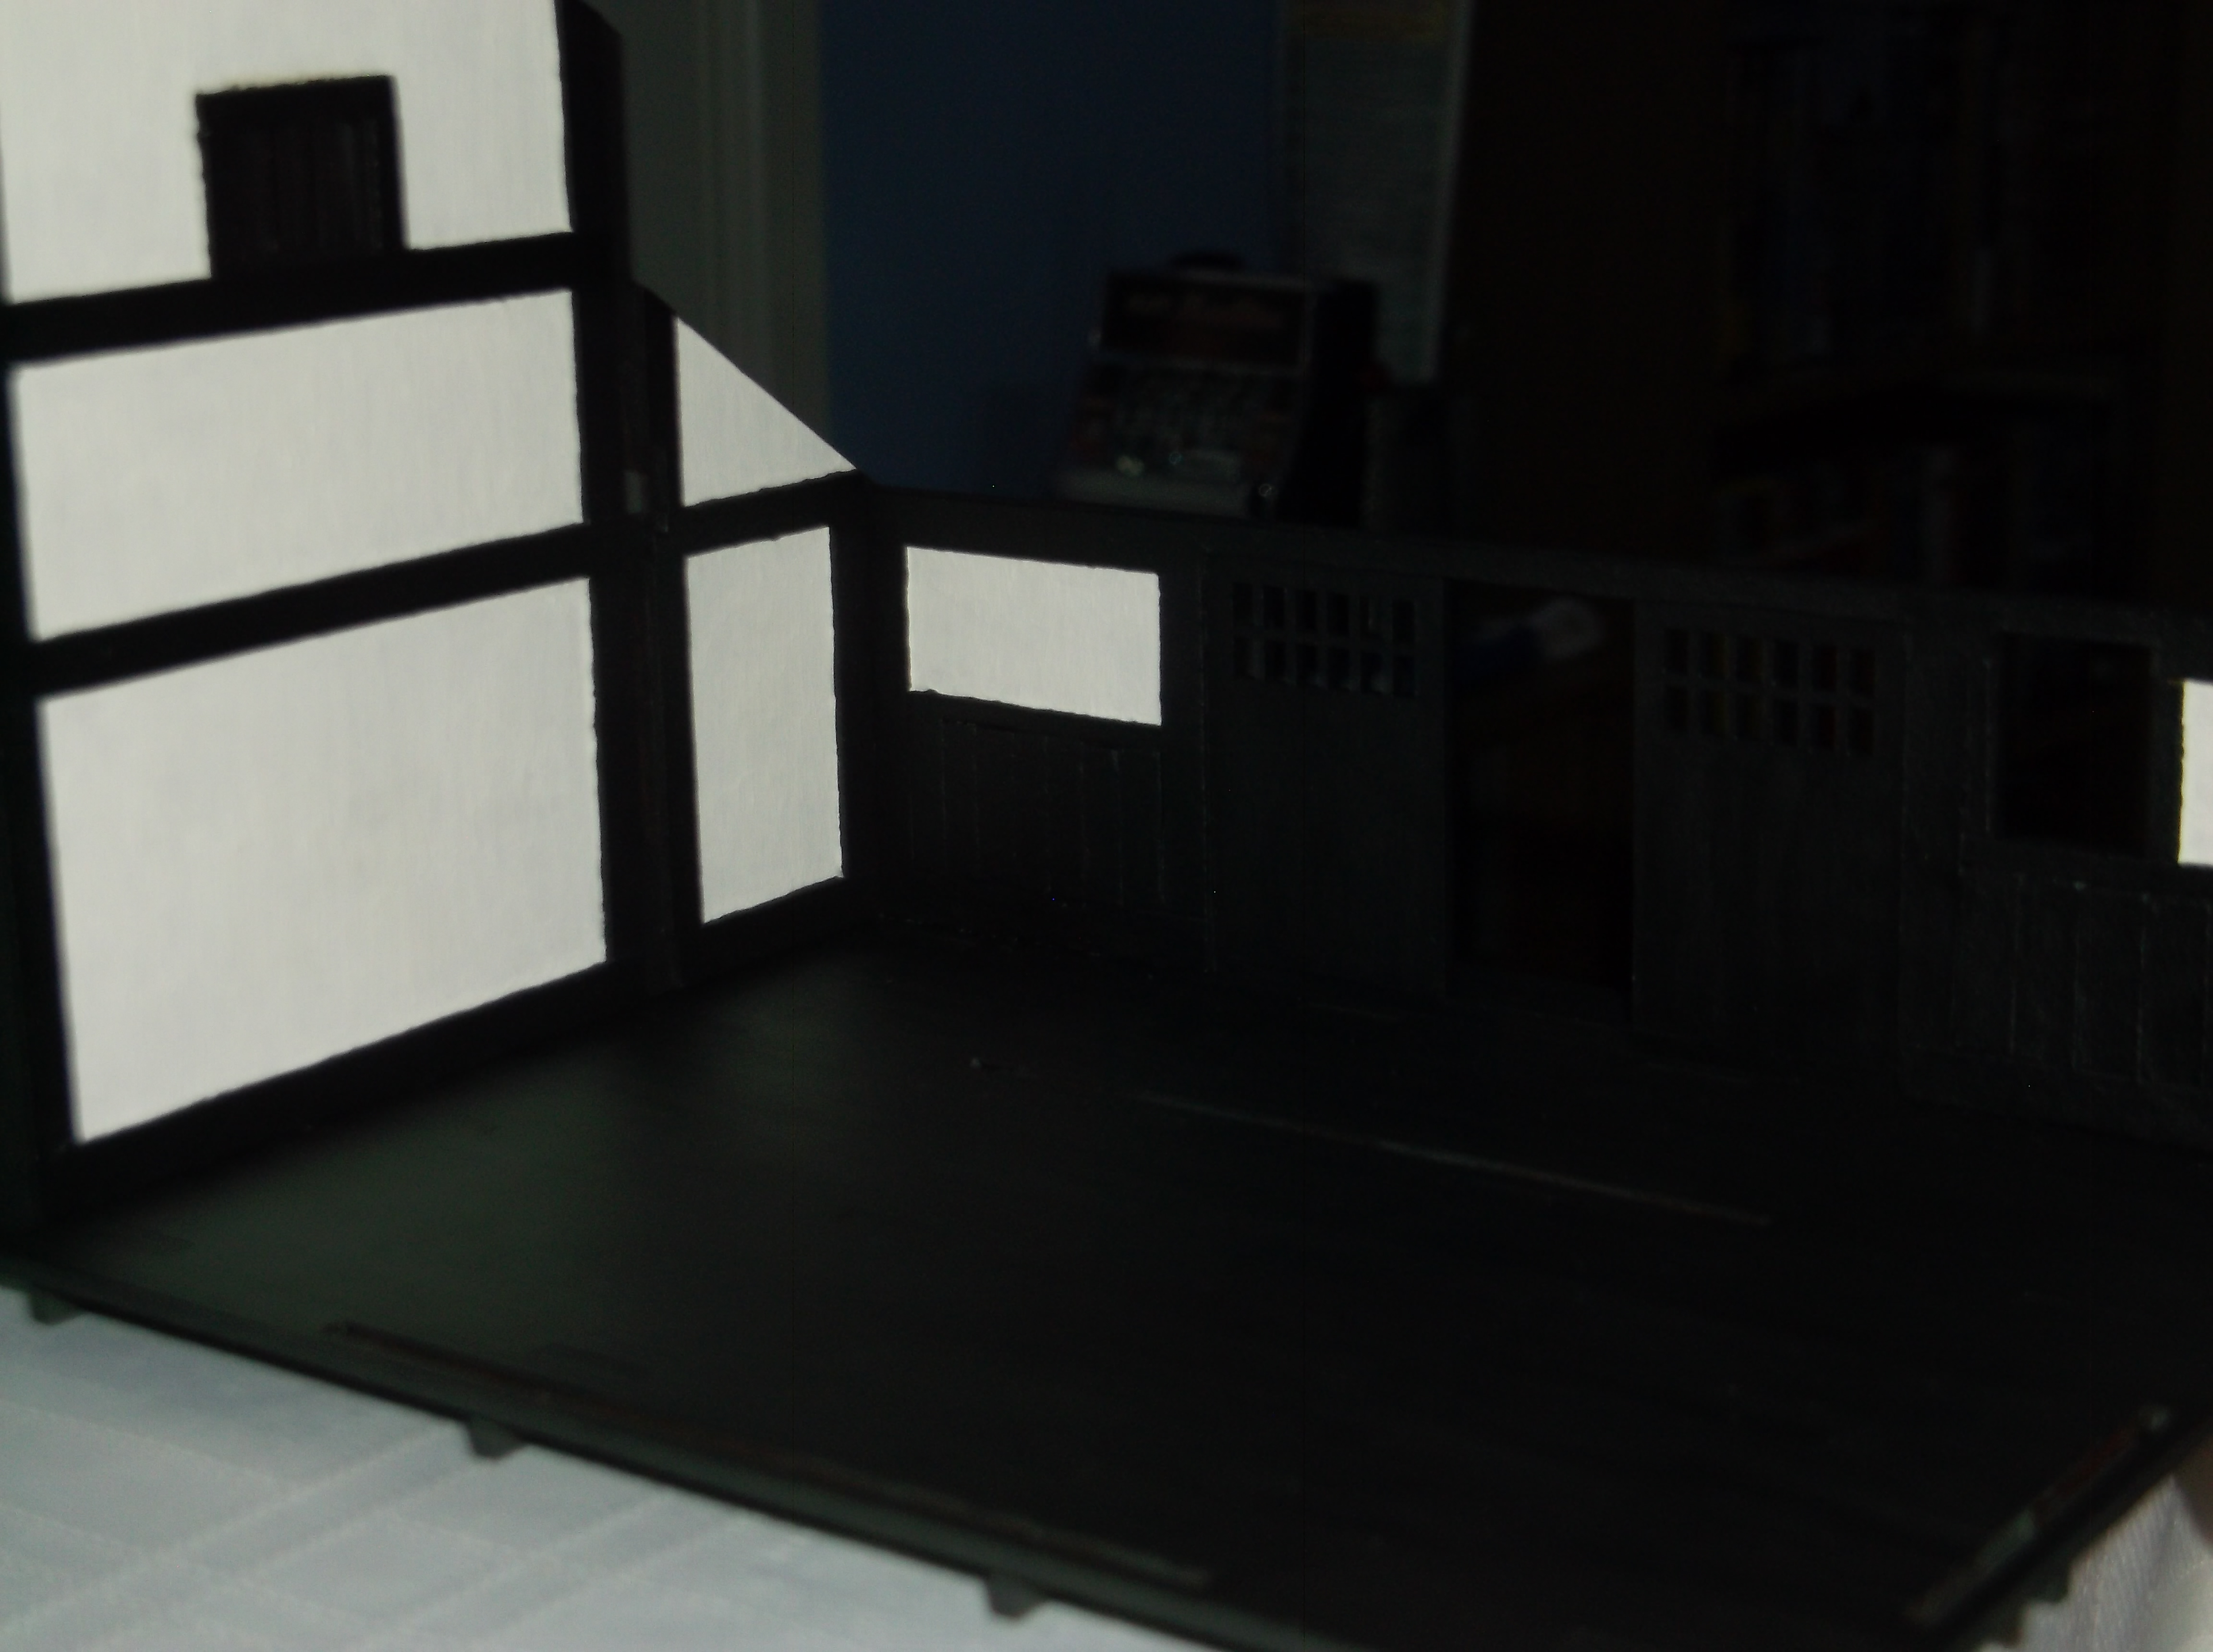
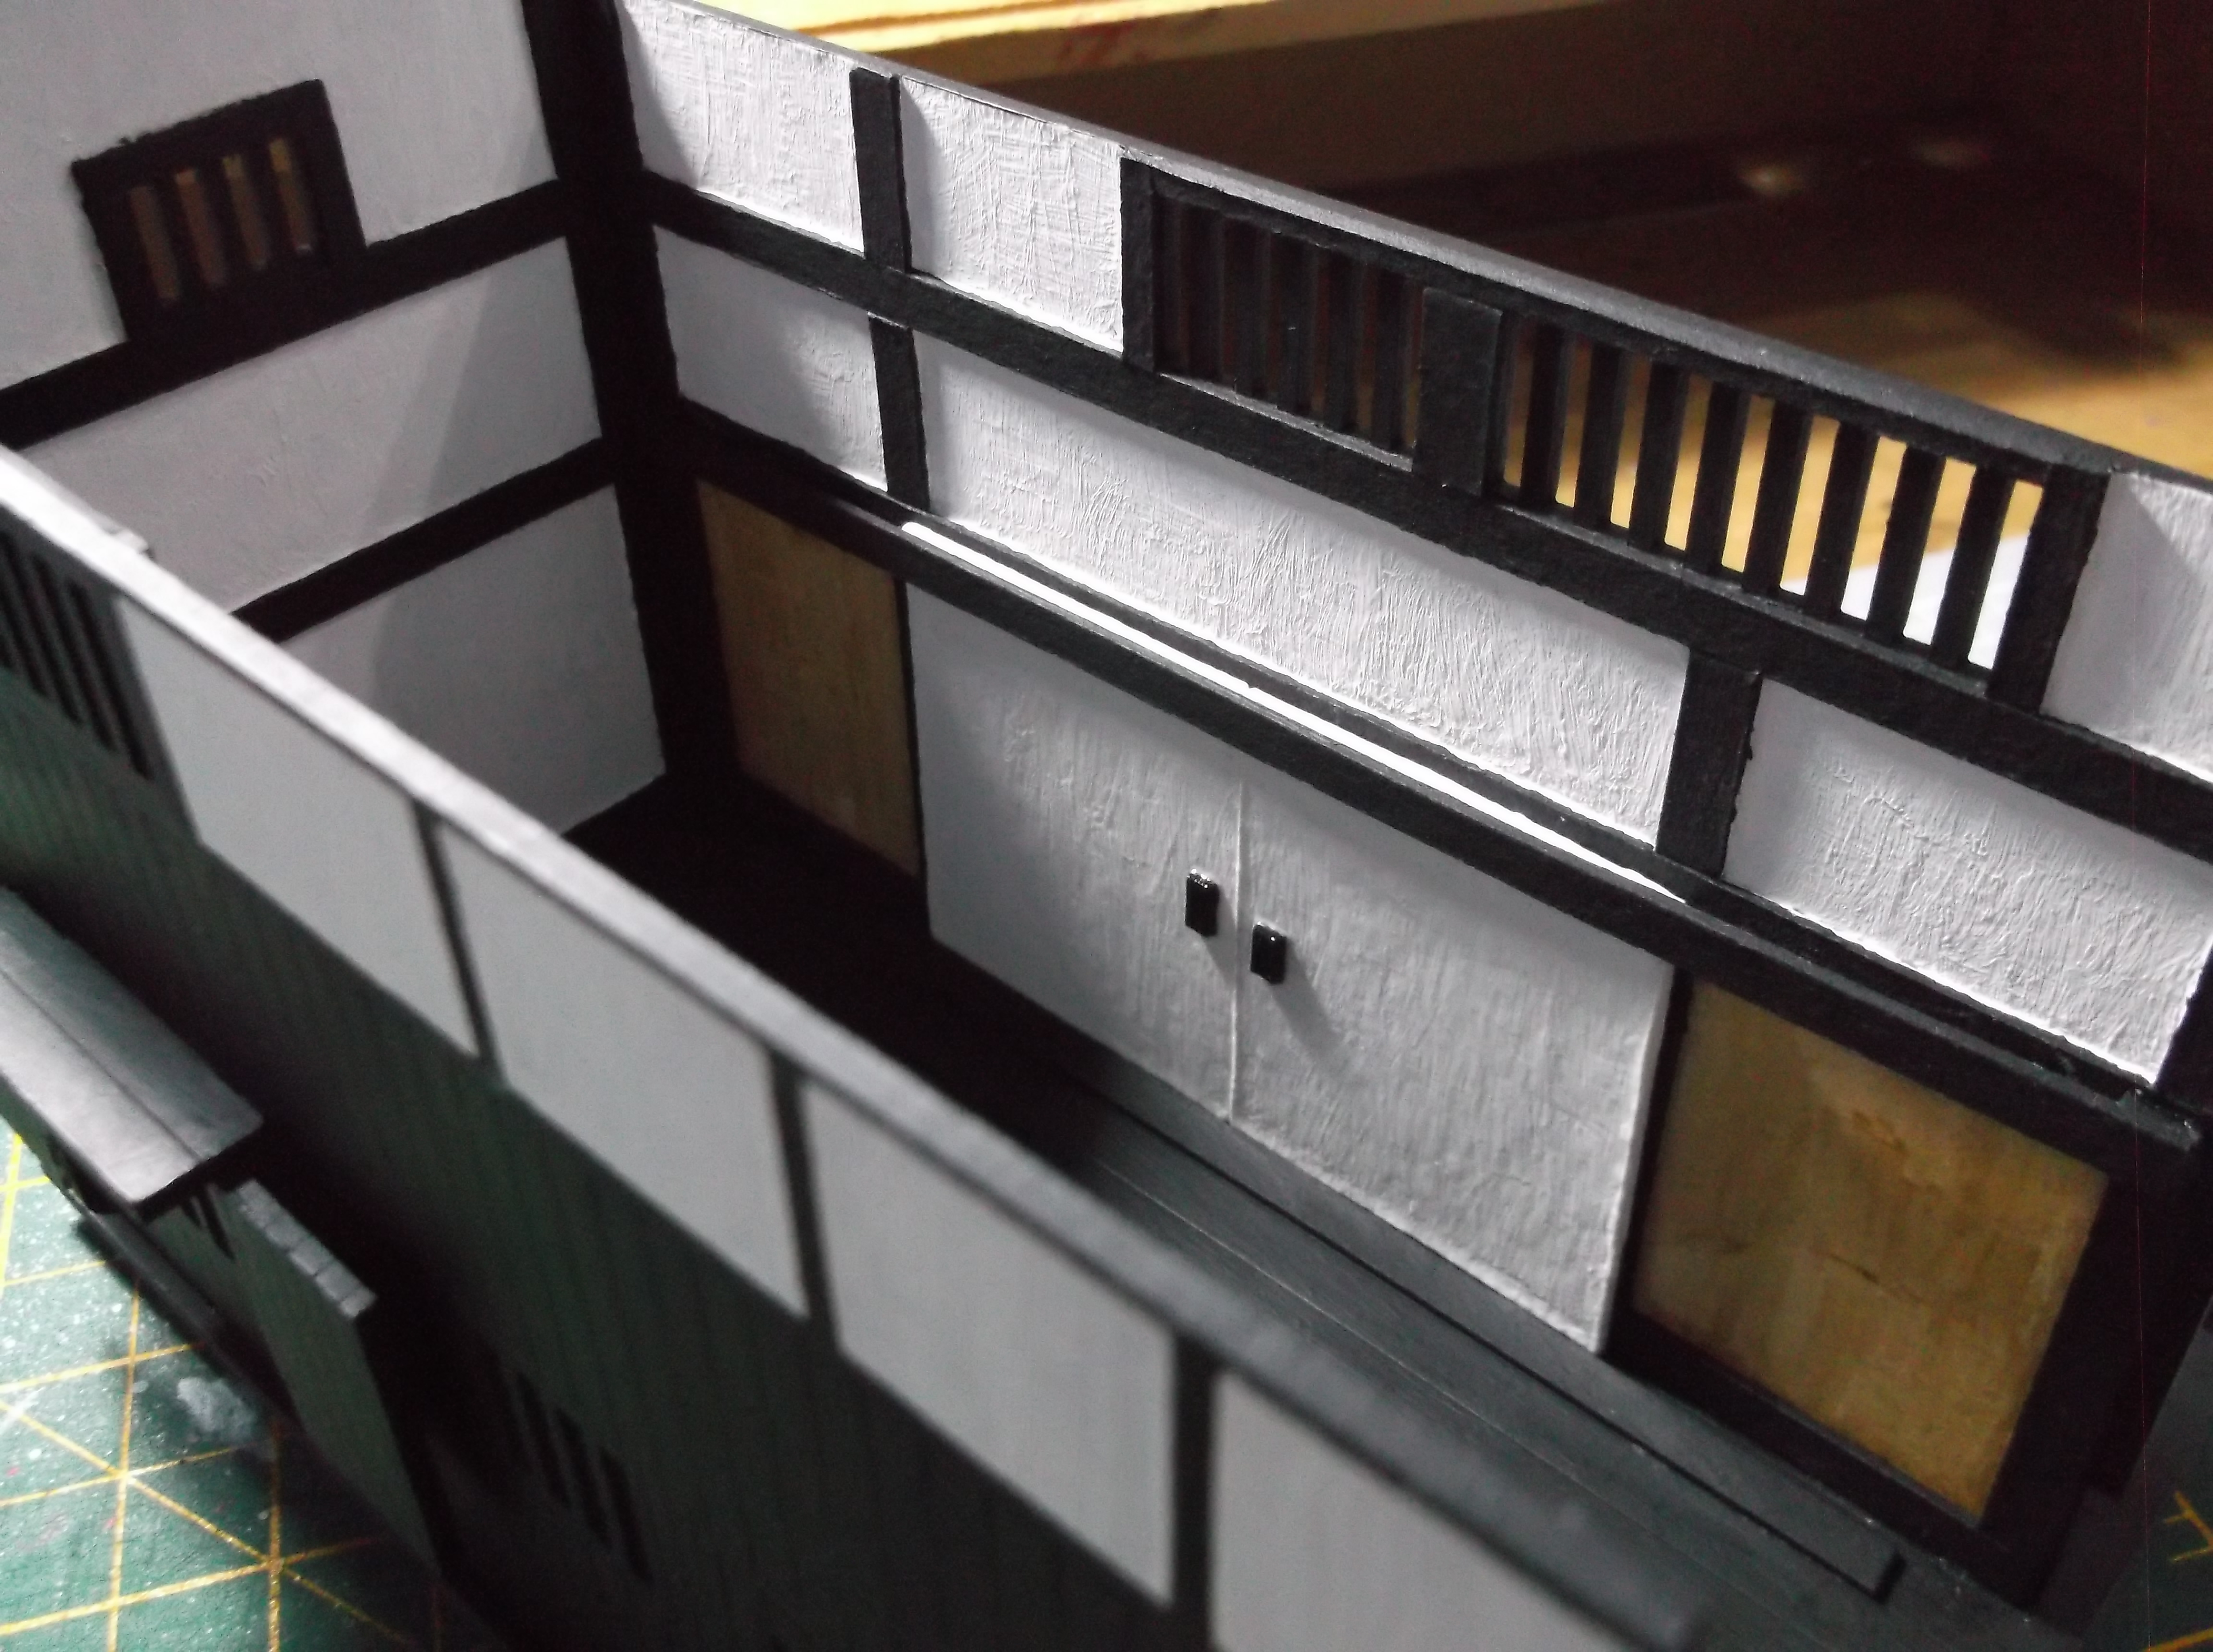
The partitions were pained on both sides with Skeleton Horde Citadel Contrast. I then started assembling the walls in order to add the final detail I had envisaged alongside the partitions. The ubiquitous sliding doors!
So first I used thick card to work out how wide the runner need to be. Then I stuck a strip of thick card along the floor.
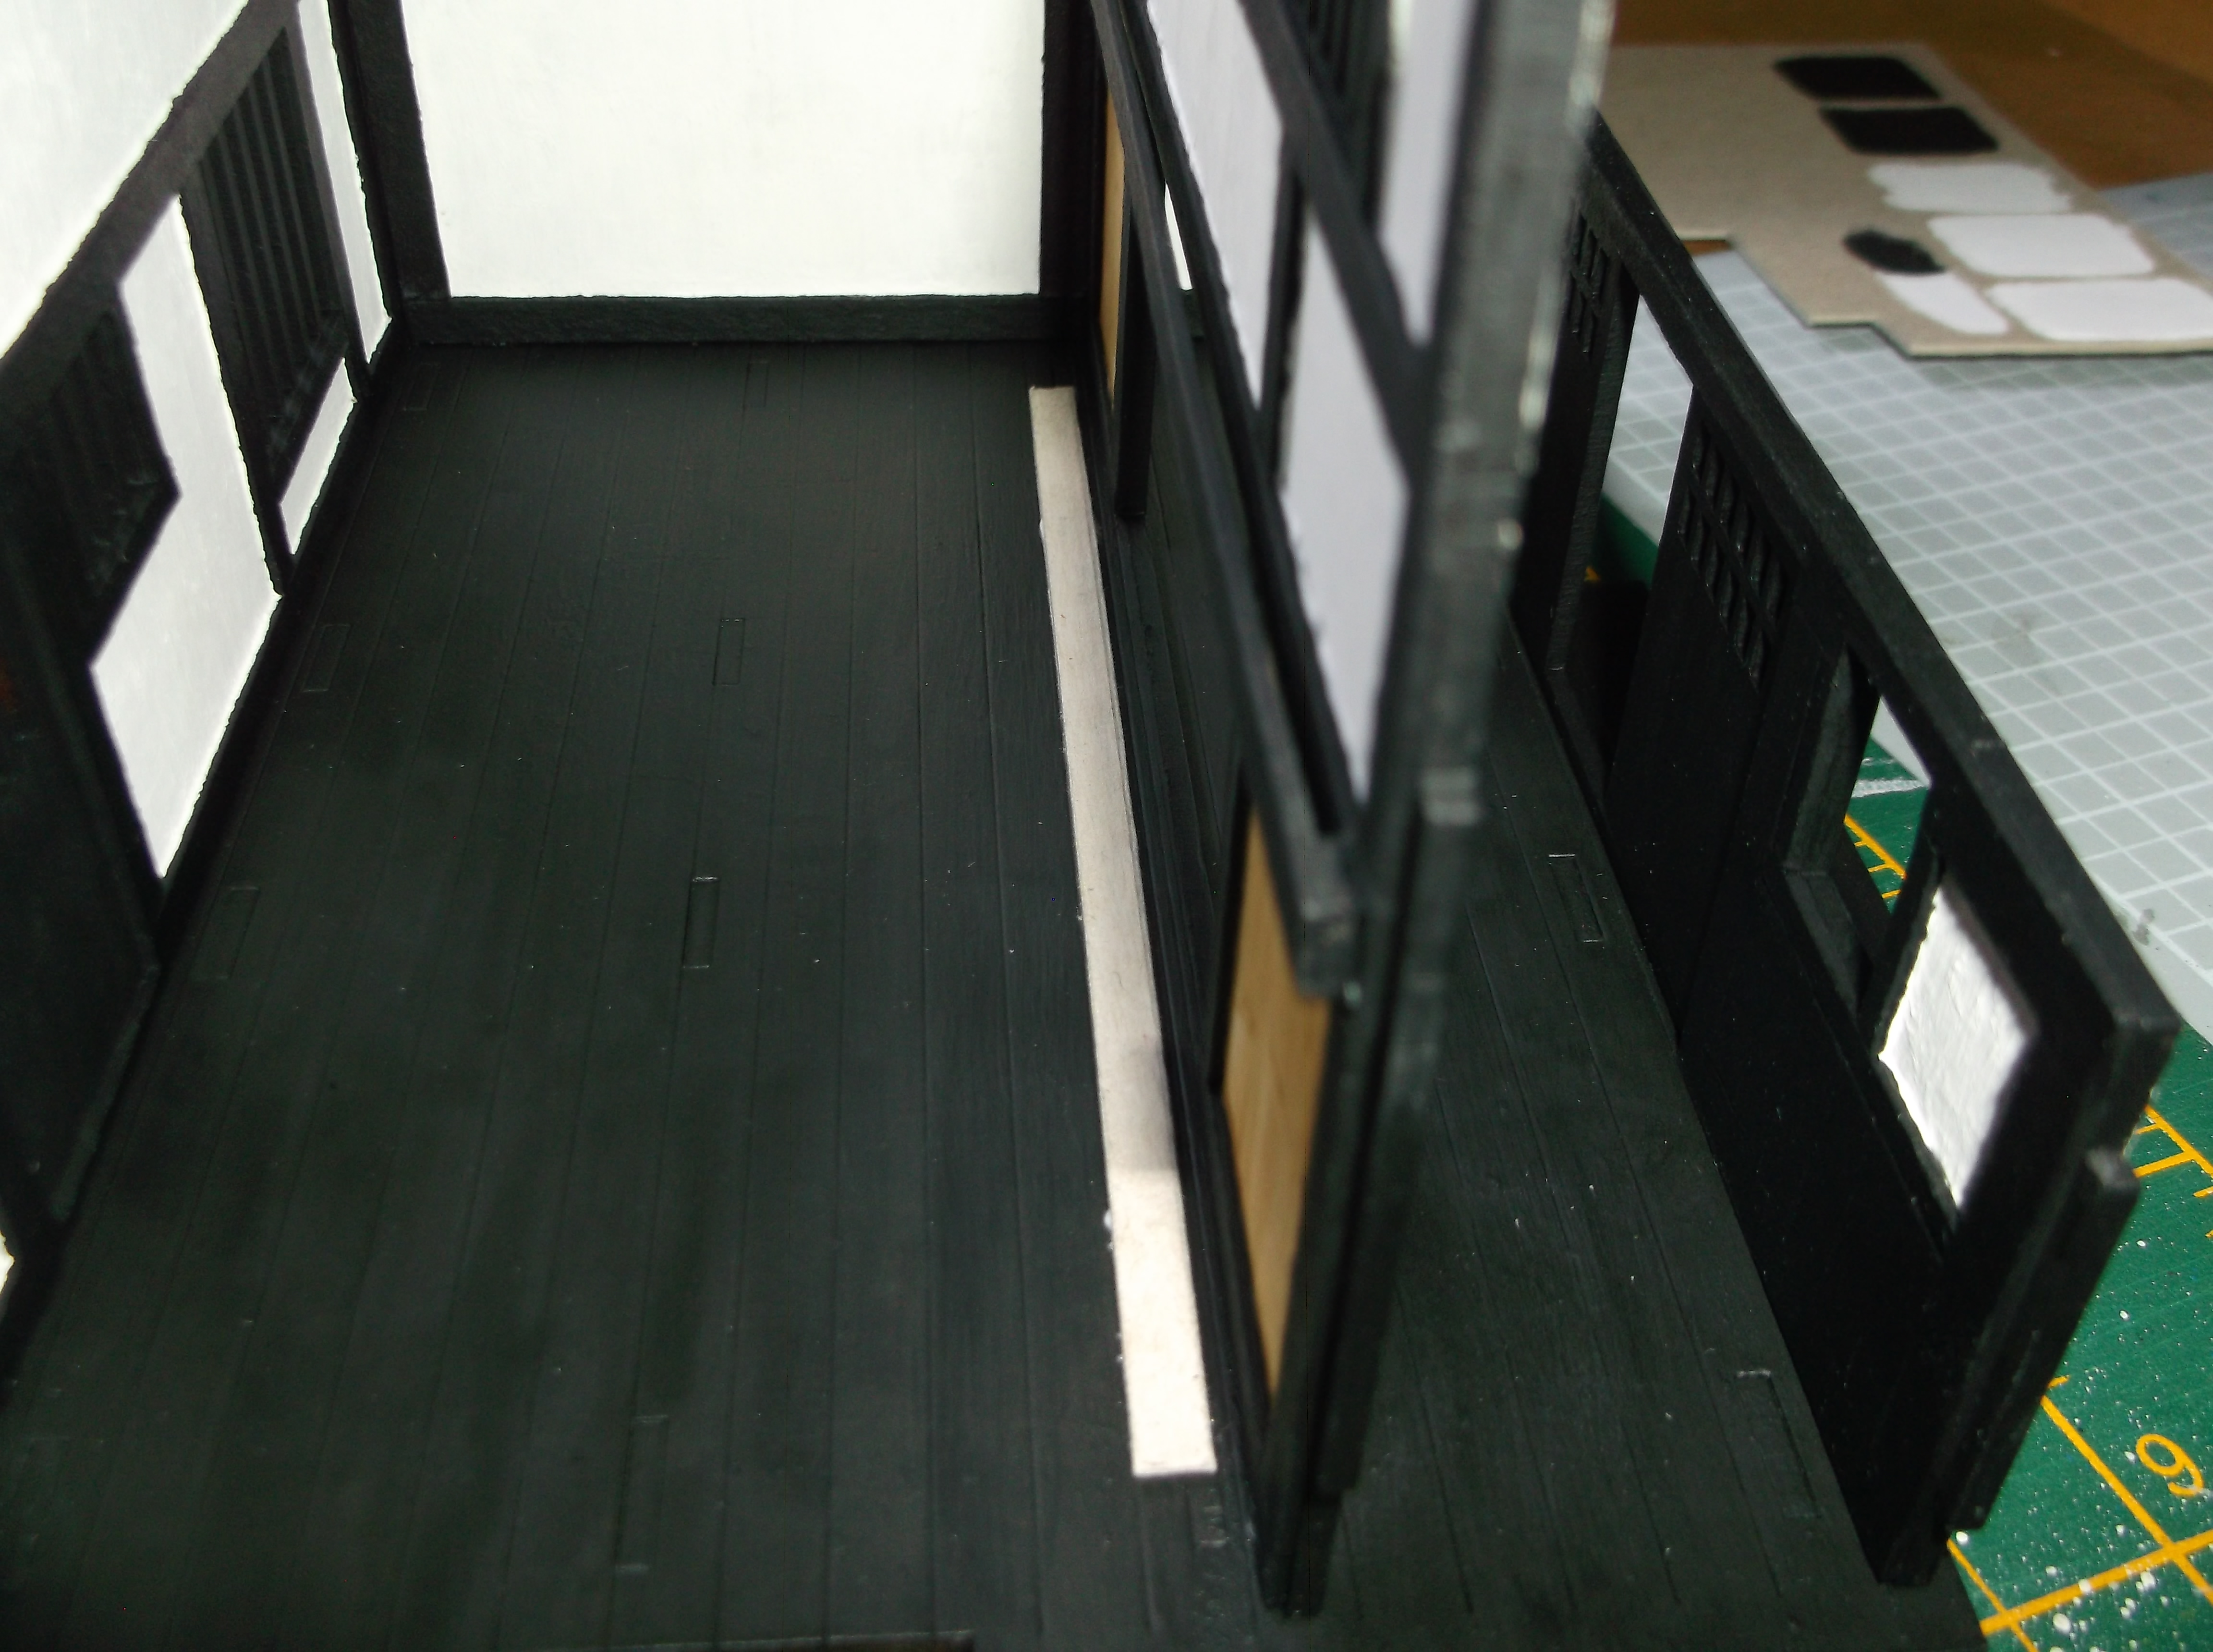
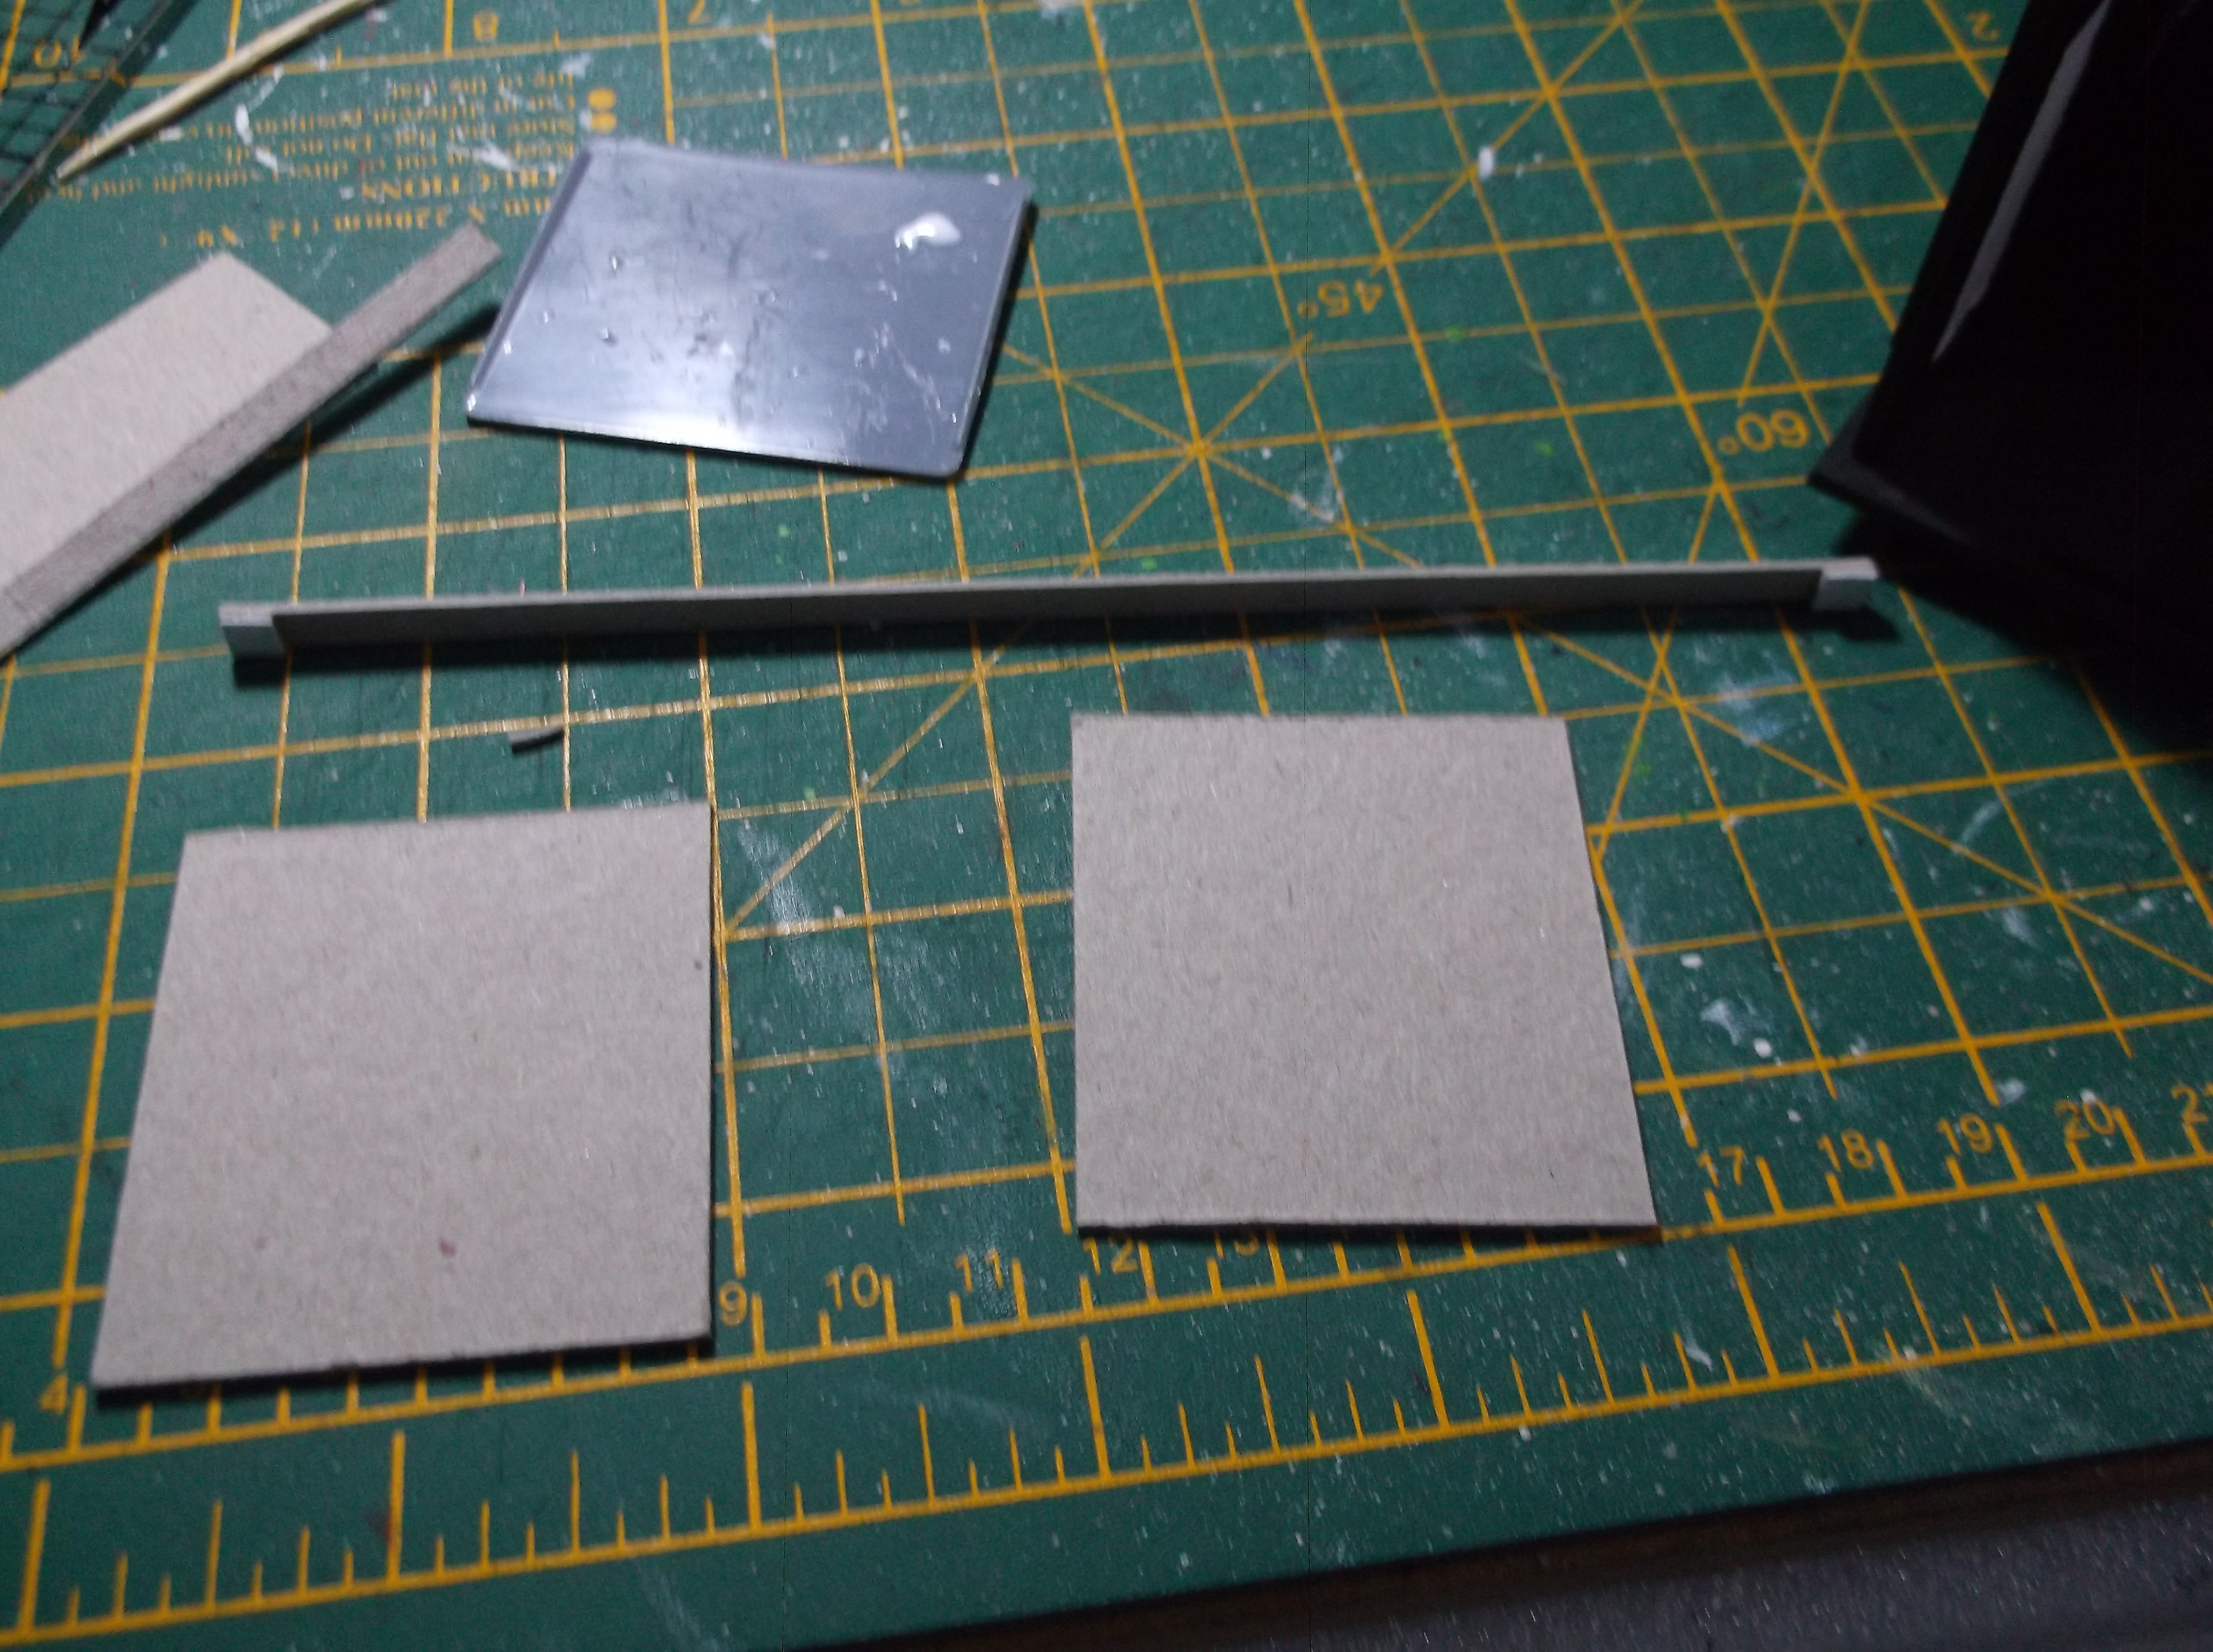
I used another strip of card for the top runner. Some small squares of card were stuck at both ends to protude it out from the wall. I then checked to make sure it was wide enough and then painted it black. The upper runner was then stuck onto the partition wall. I chose to leave the top open as it would make it easier to replace the doors if they are damaged or wear out.
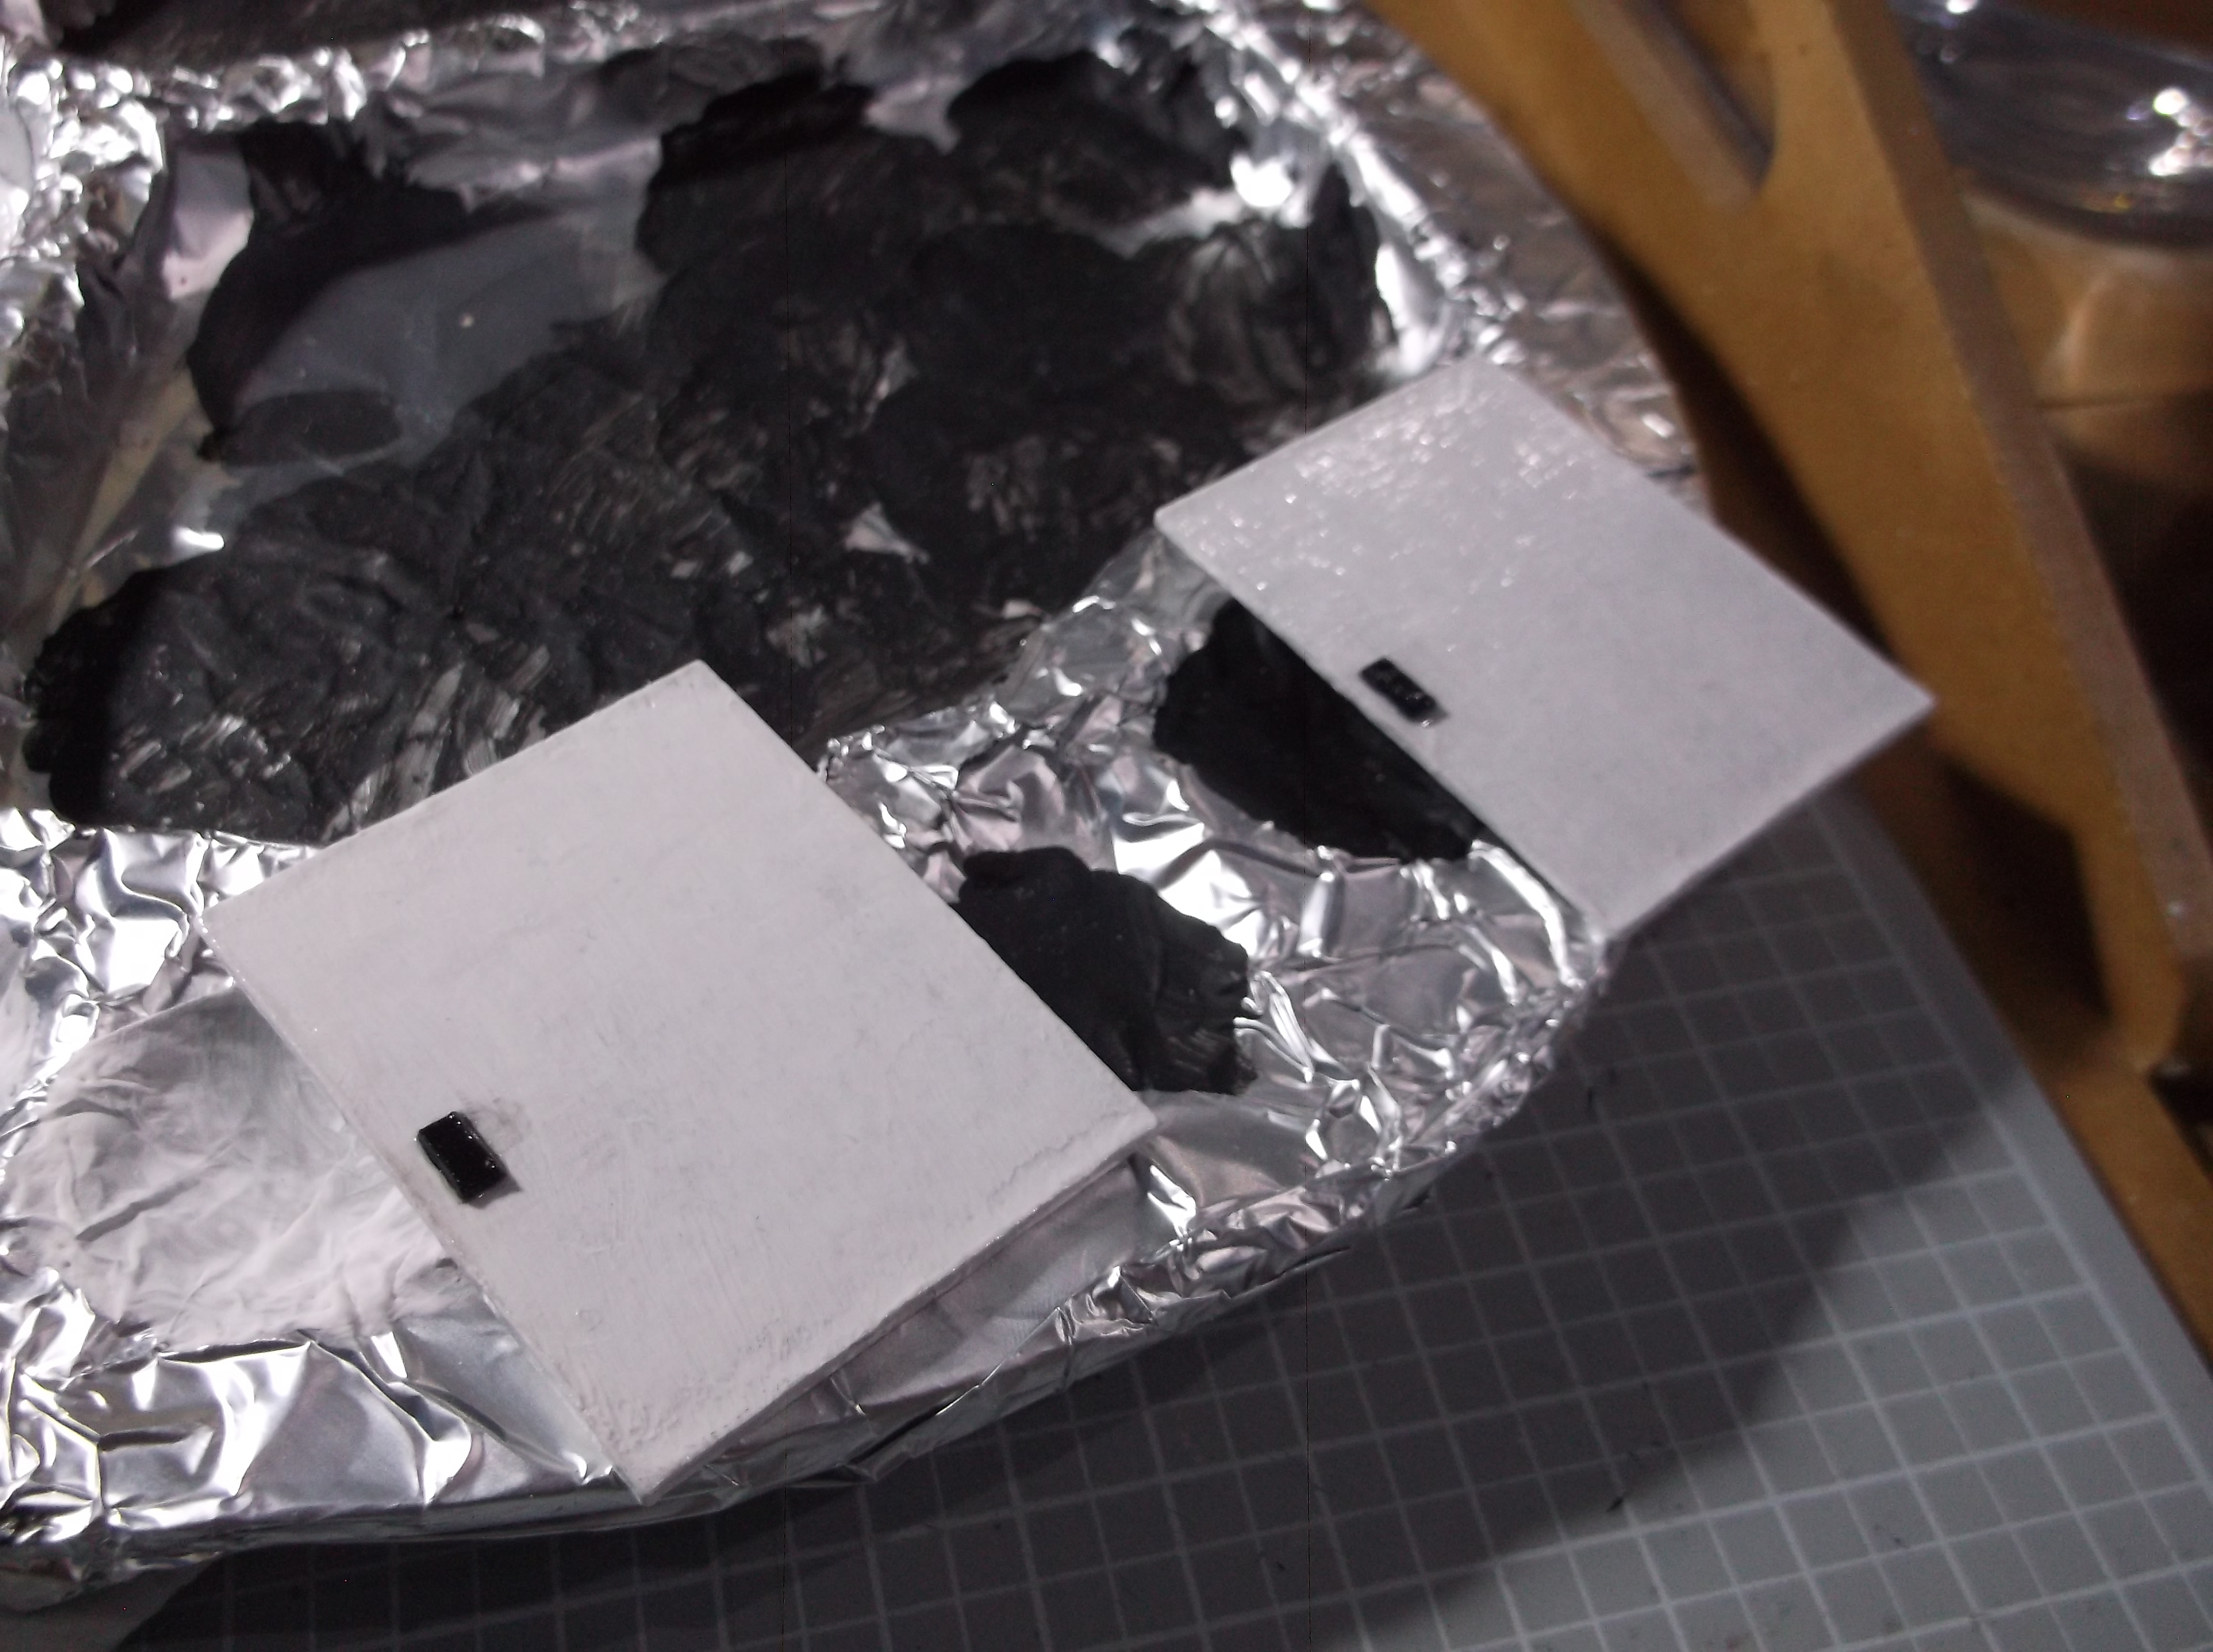
The doors themselves were more of the thick card measured to cover the gap and part of the side when closed. The handles were just tiny slivers of card and then painted black. The doors were painted white and then given a three layers of Coat d’Arms Gloss varnish.
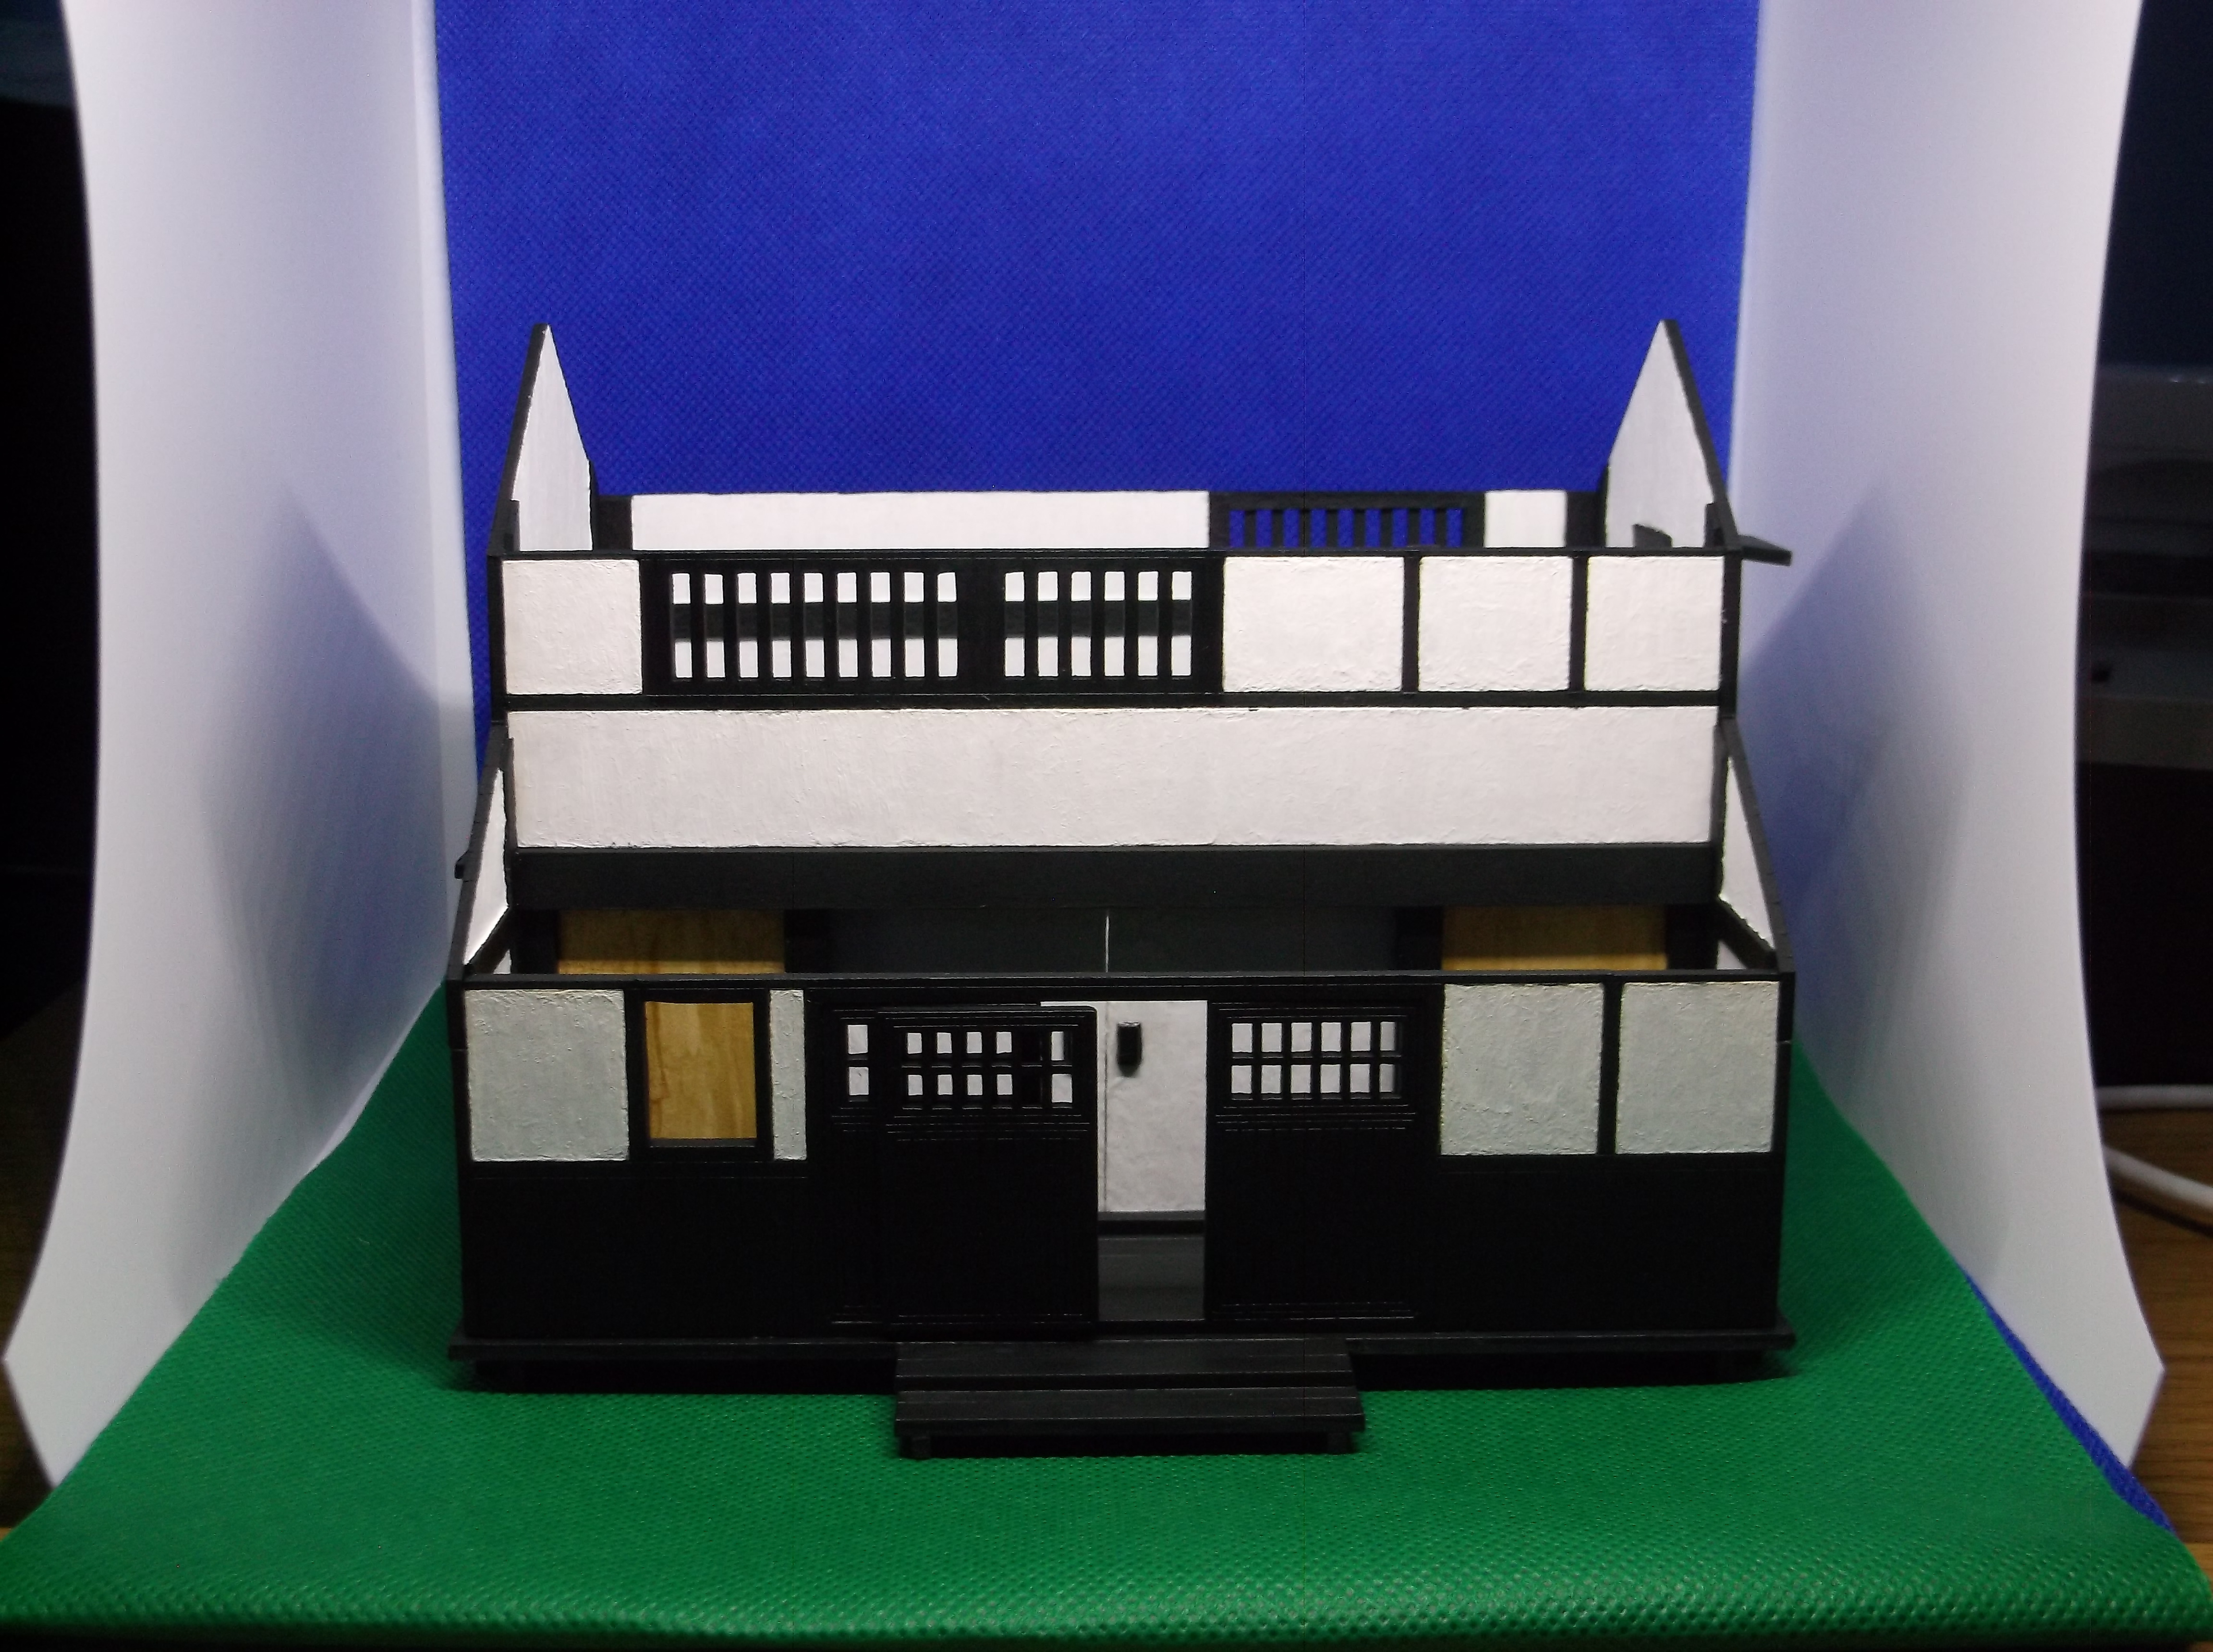
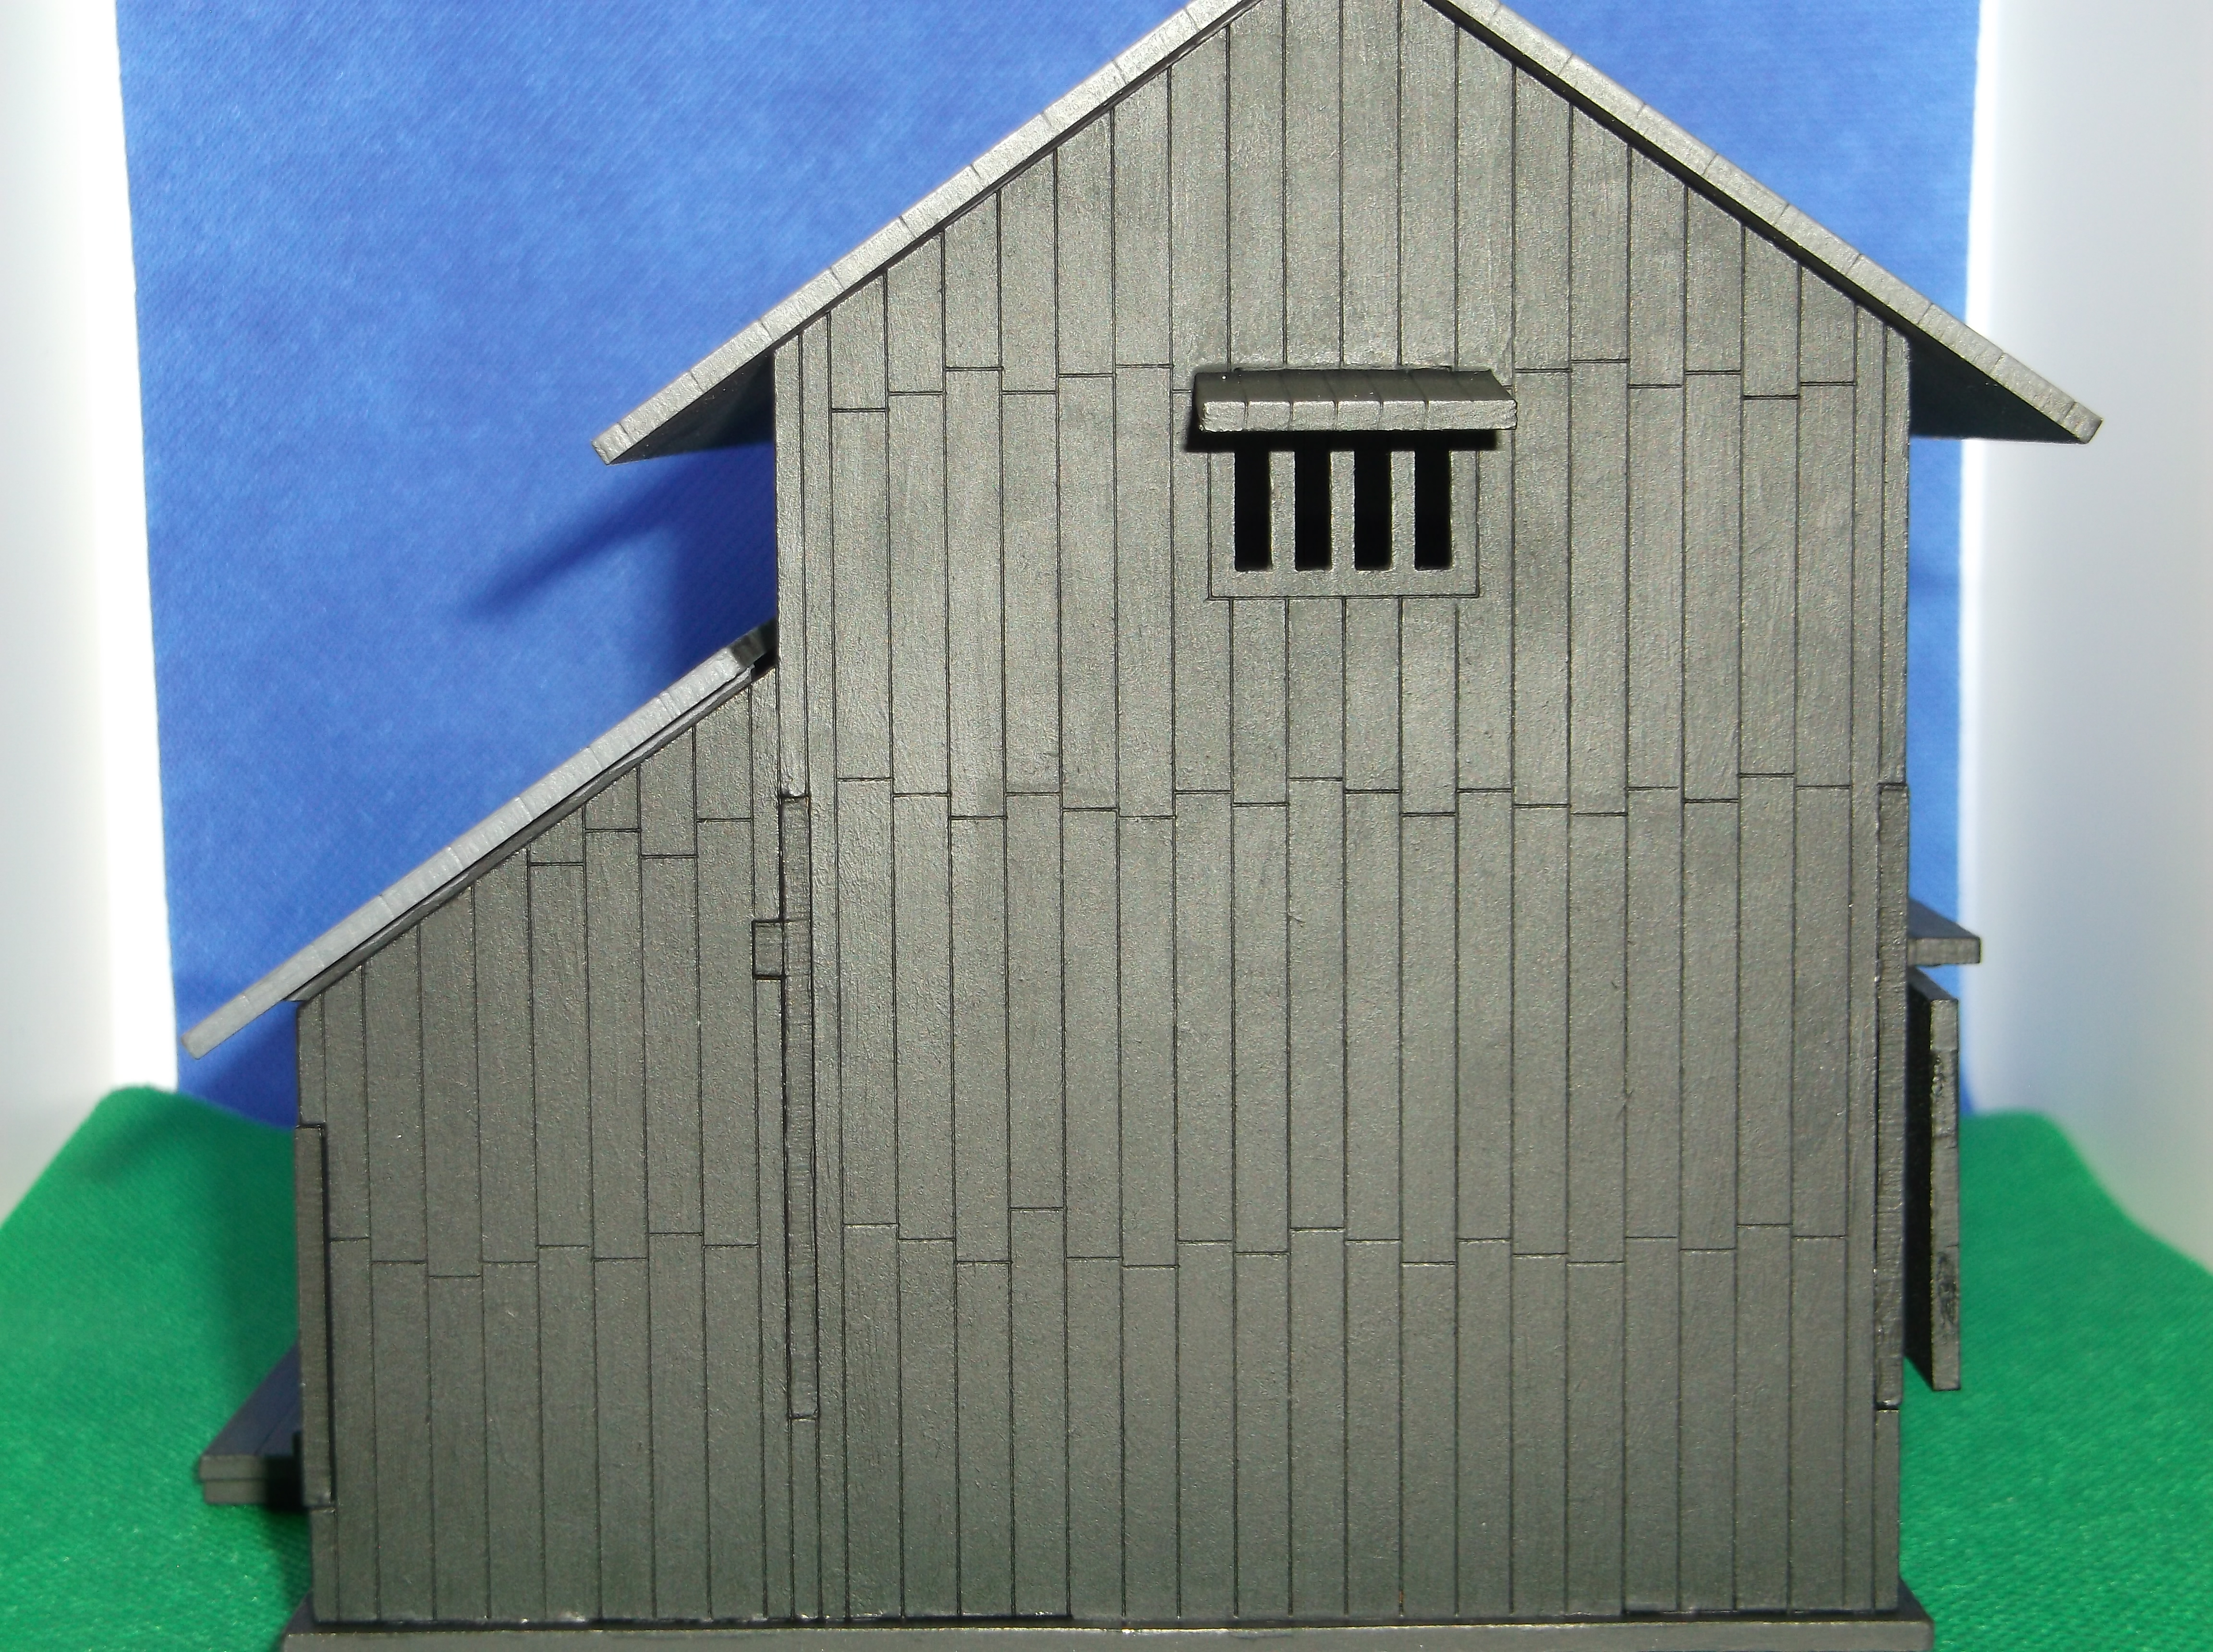
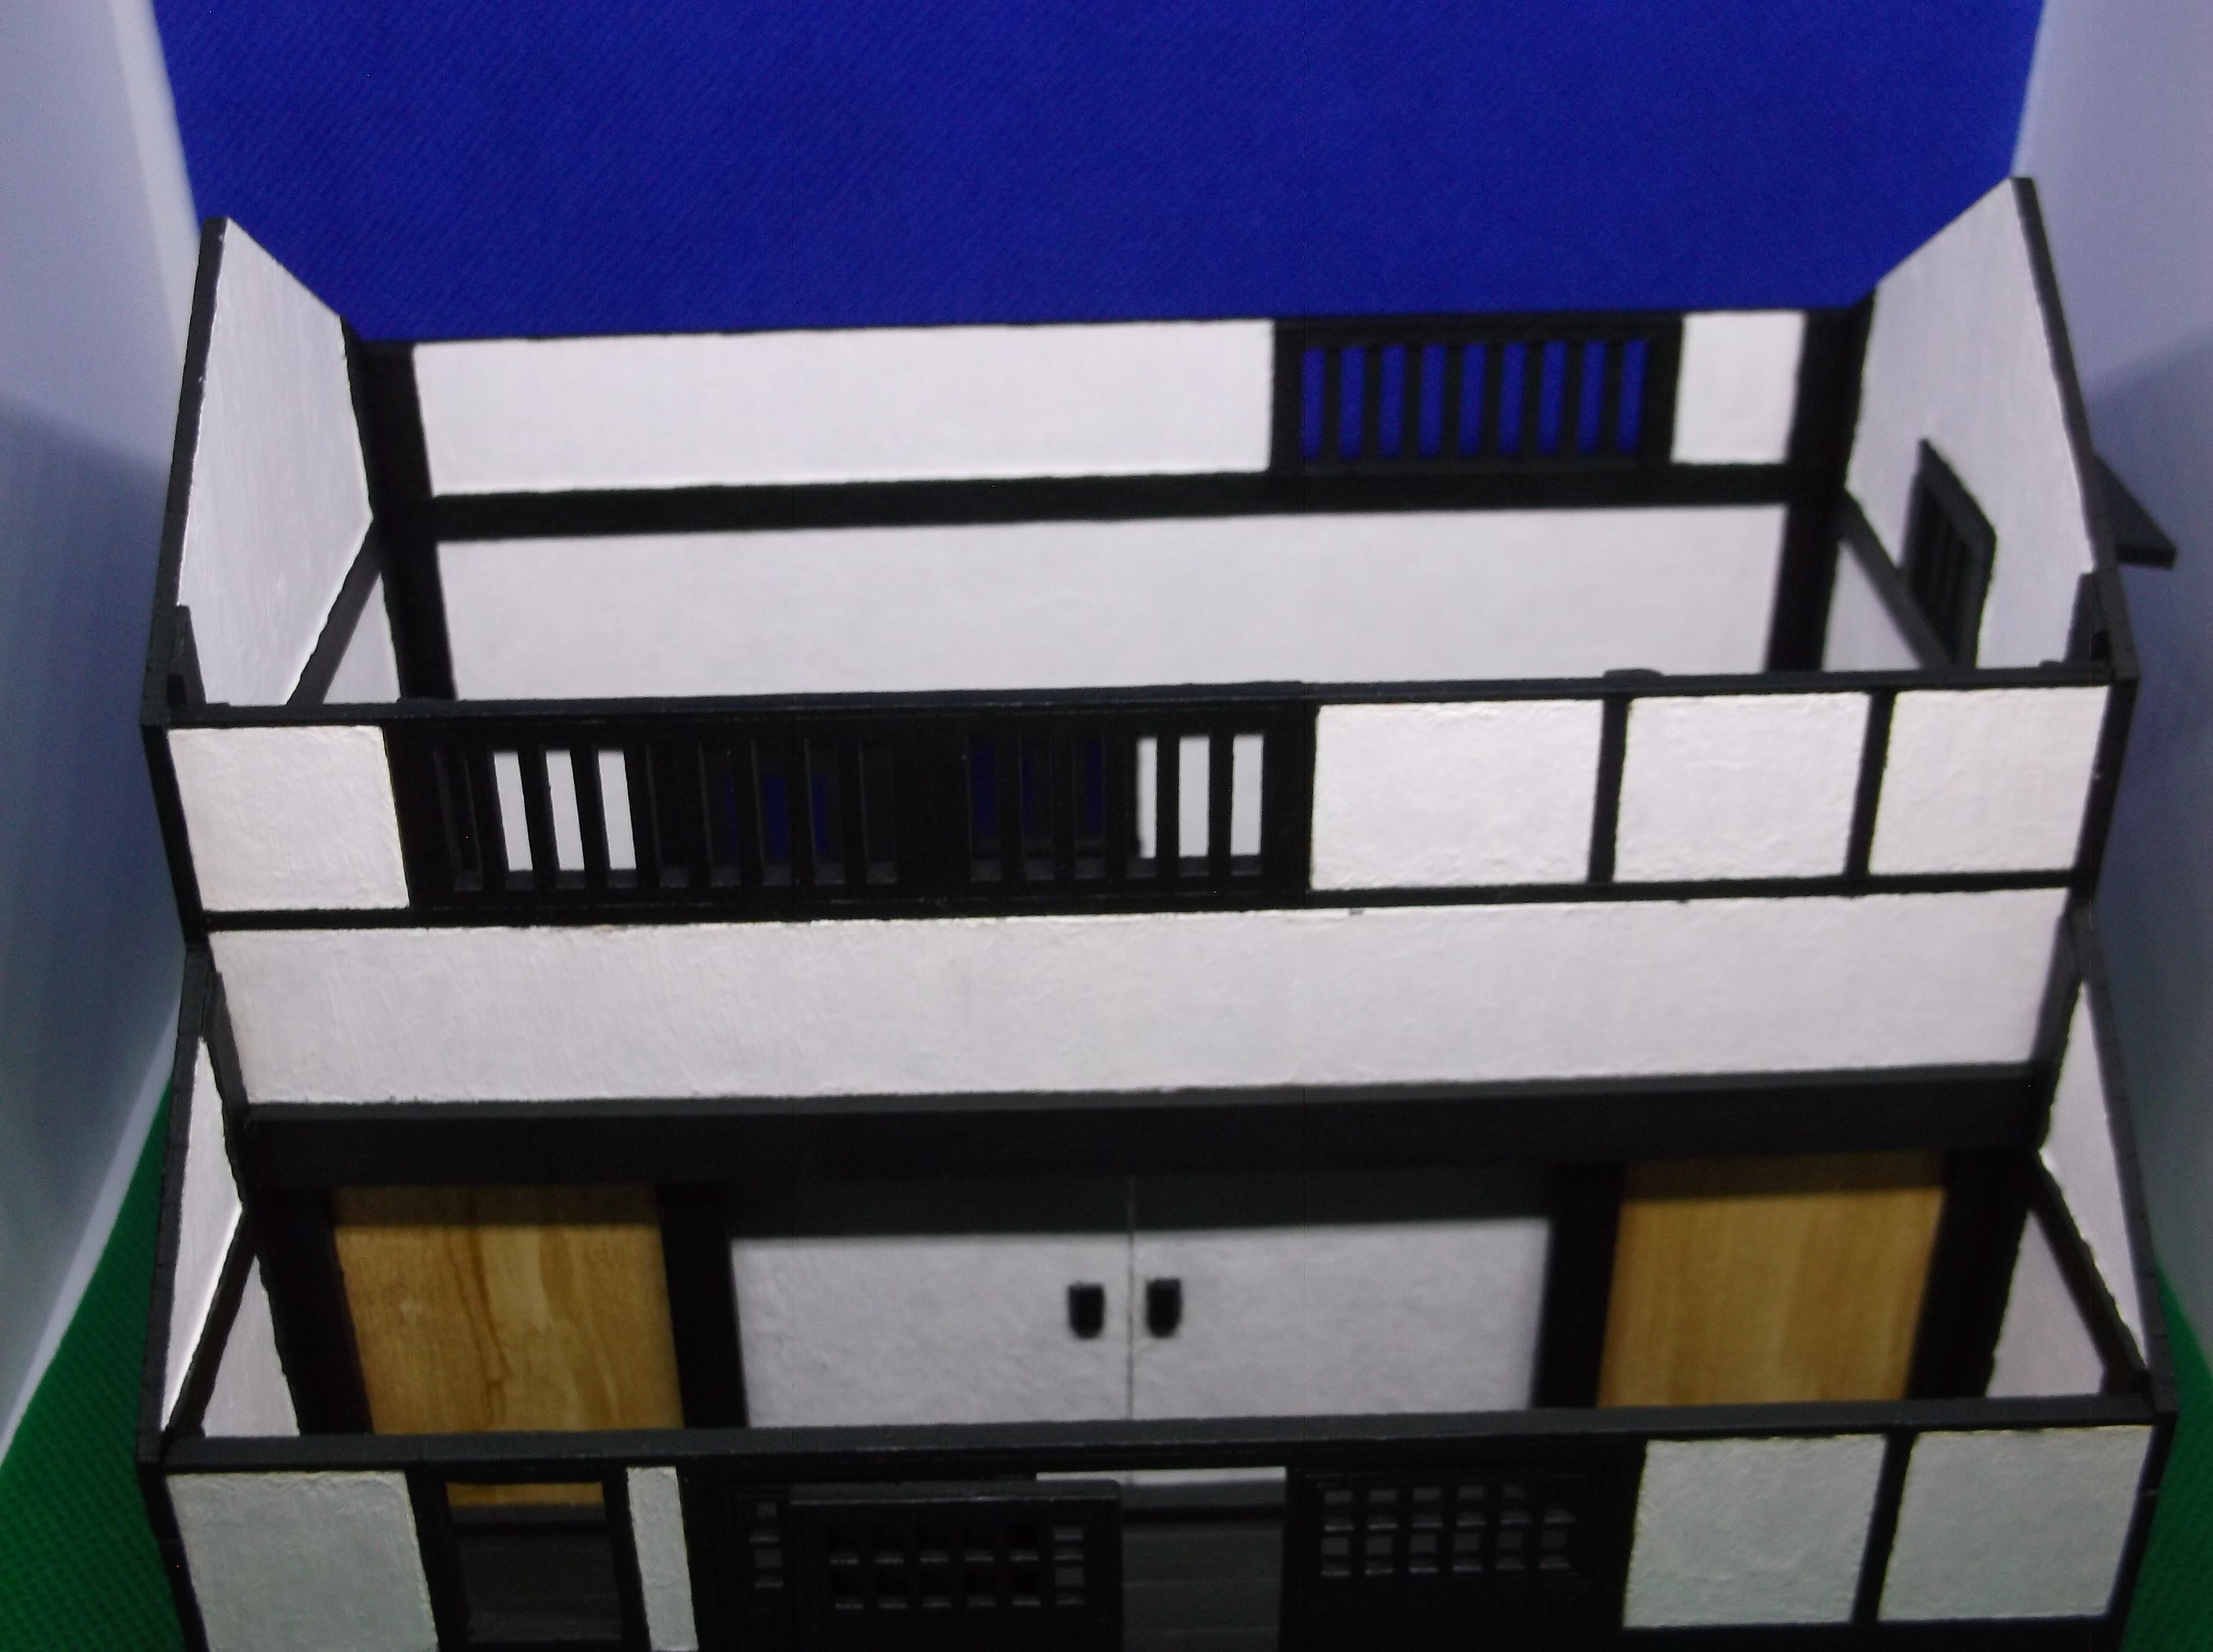
With the doors completed I assembled the remaining walls. This was a bit tricky as the card detailing and paint had made them a much tighter fit. However with a bit of brute force which resulted in me having to reattach the window shutters and a quick touch up on the paintwork it was done.
I am very proud of how this turned out.


Leave a Reply