3D Printed Columns
Texturing the Columns
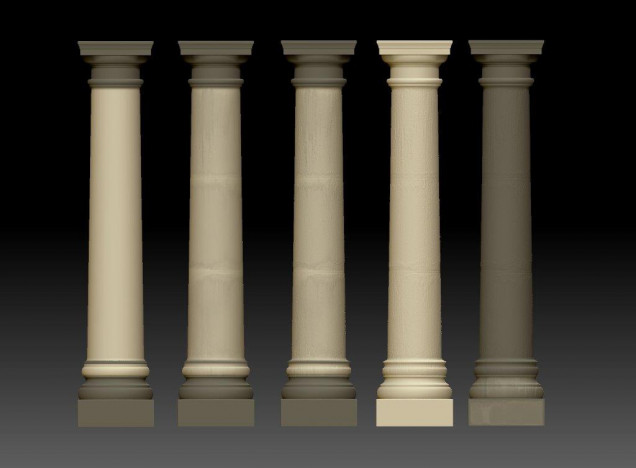
Taking the files back into Zbrush I tried a few texturing techniques to add some more detail to the models. The image below shows five stages of masking and texturing the column model.
Reading left to right, the first column shows the base and cap of the column masked off. This temporarily prevents any changes to the masked areas.
the next model has a texture mask placed over it and in the third image I’ve applied a -3% Inflation (deflation), to the model. With the masks removed you can see the effect on the column in the fourth image. The final image shows the entire model masked, save for the base which now has a texture mask. I repeated the same process on the base and cap but with a little more care to work around the hard edges of these components.
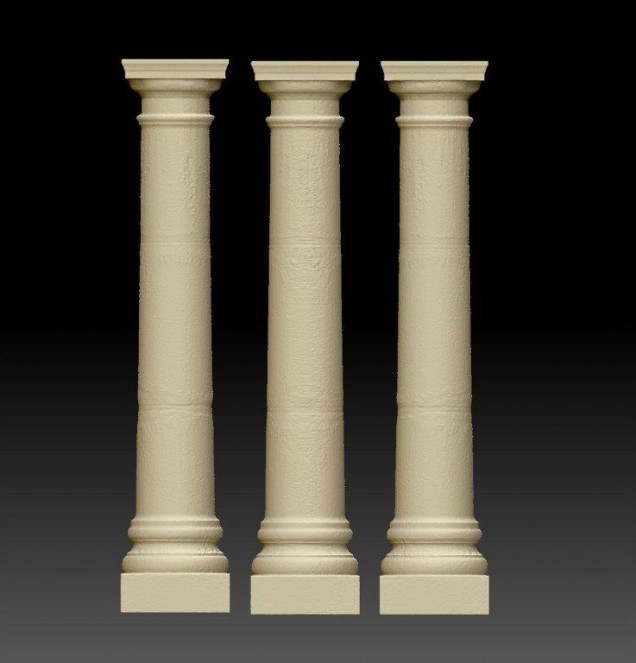
This is the same column from different angles, showing the effect of the texture. I had an idea how I could create the impression of flaking off render revealing the internal brick structure of the column.
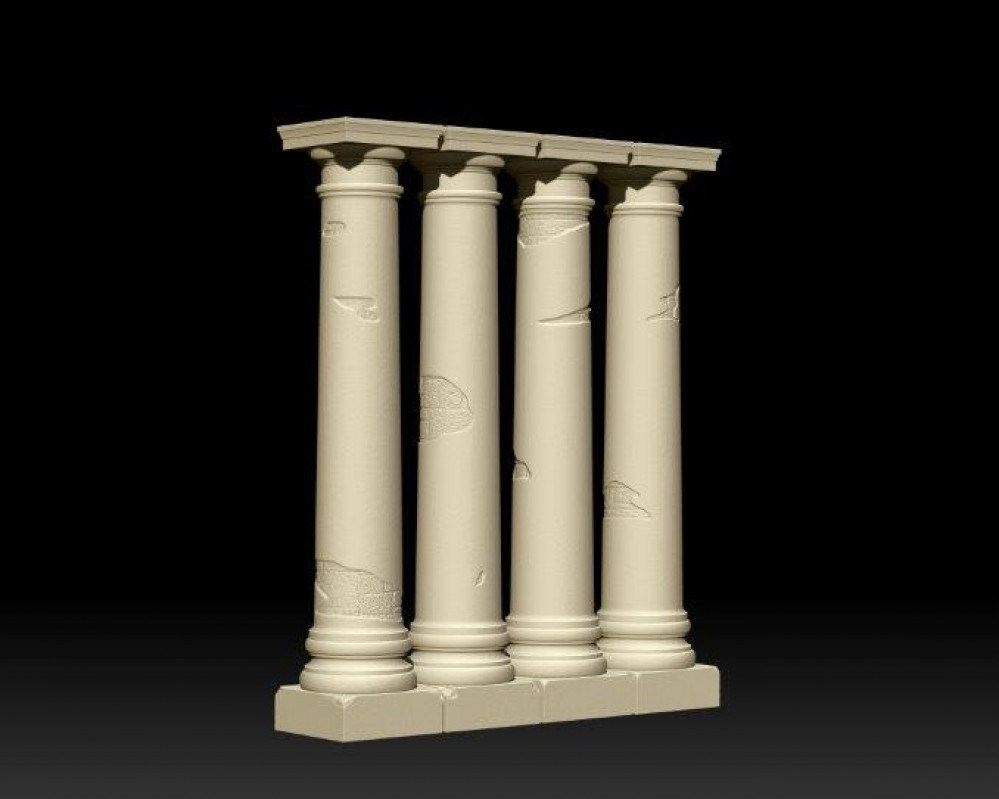
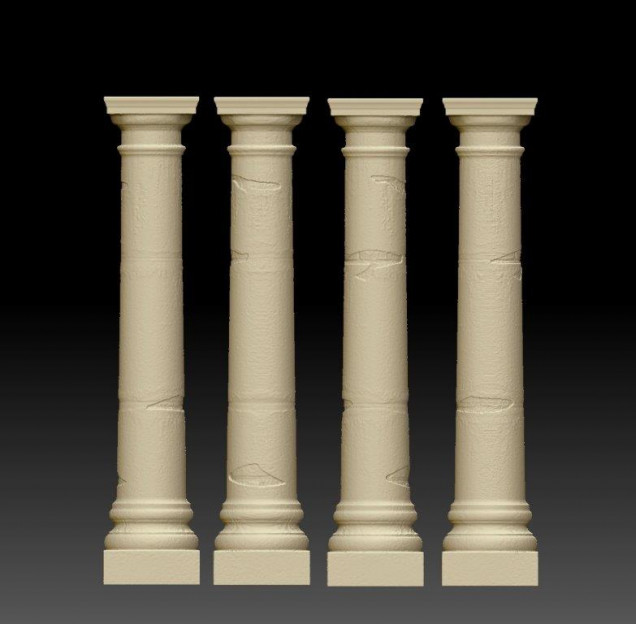
In the above model (shown from four aspects), I have used the same technique described above to add texture to a few specific places. The effect is quite good and I’m going to run a test print to see if the texture is pronounced enough to print with the desired level of detail.


Leave a Reply