24 Hour Paintathon for a Seraphon / Lizardmen Start Collecting box
The Stream starts! Or the first Miniature to paint and why I chose that one.
So before I started the stream, I had a plan on my mind which colours and techniques I wanted to use. And also about in which order I wanted to paint the minis. The bases where to be done in between, to allow me to let the minis settle and cure, and also as a treat in between. Did I mention I love doing bases and tend to turn them into mini dioramas and even develop small stories in my head about them?
But I digress, I wanted to talk about selecting the first mini to be painted and why, and which order to do them.
So on this topic, I know that a lot of people do test minis and start with small and mass minis because they re to be done quickly, fast and you can strip or overpaint them (don’t do that, always strip, for those delicious thin layers 😉 ). My thought process for this is different, a character or centrepiece defines the army, it stands out and draws the eye, so all other parts of that army should support this, and into so especially with paint schemes etc. we need to know precisely how it will look. So I *always* start with the centrepiece, you can just as easily strip that, if necessary. If you know a bit about colour theory, it is quite easy to select colours that correlate and work well together or contrast well to each other, so that is not a real danger unless you make it one. If you don’t, there are apps that can help you select colours matching or contrasting well together.
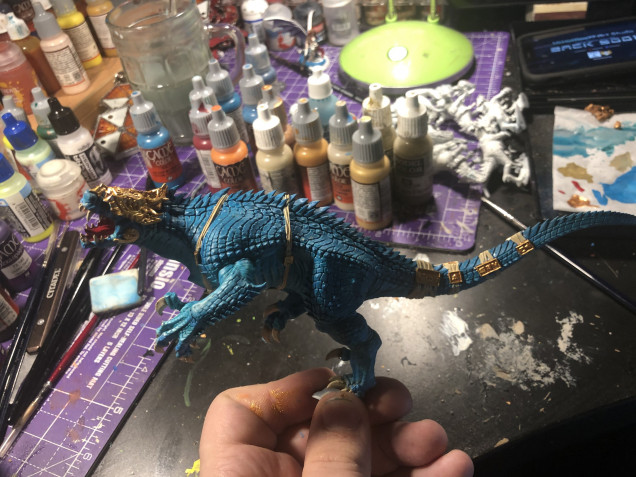
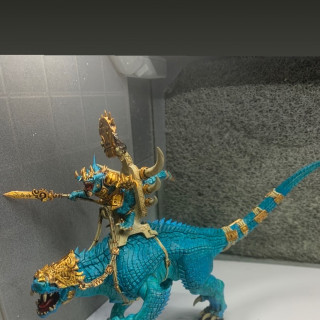
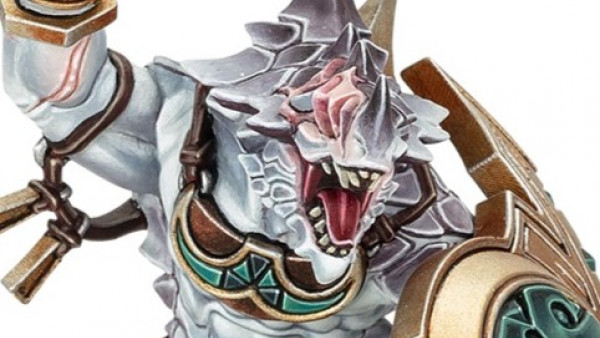
So my decision was obvious to start with the Carnosaur.
So my initial plan was to use the airbrush, makes smooth overlays and layering easy to do…
I then noticed, I did not have a third camera, and my face cam could not reach this far with its short cable.
Well crap. So this was not going to work, and if I wanted to stream this whole shebang, I needed to hand paint all those layers and smooth transitions.
Which is exactly what I started to do:
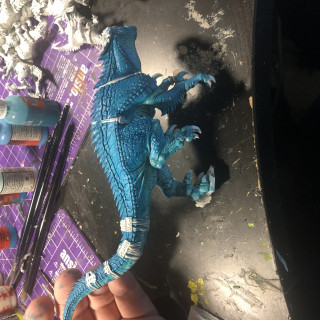
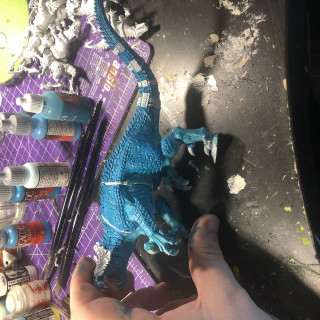
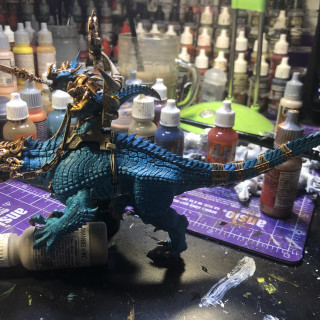
I started with Vallejos Game Color Hawk Turquoise (@ store.ontabletop.com, please start selling me Vallejo products !) which I brightened up with Lightning blue/electric blue and painted onto the scales. This was working out. Great, but to do the smooth blend to the belly I was planning to do in a beige skin tone was not going to work. So to get a blend and to get the belly at least done in some colour, and quickly, I decided to get out Games Workshops Citadel Contrast paints. I do love those paints, I don’t use them as intended, but I do refill them into dripper bottles, use the medium to get the paint out of the pots and add a small glass ball for shaking though!
So this worked it took much longer to do, but it worked! We were on our way!
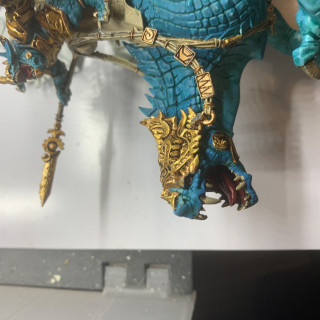
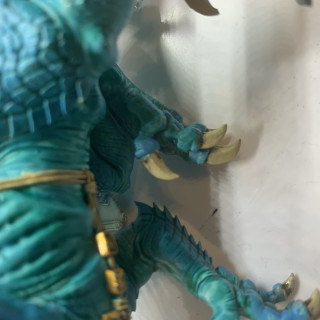
So the next step was layering up the gold, the mouth, the claws and the belts.
All of those were done with a base layer of various paints form Vallejos High Opaque range which then was layered up with normal paints from the Game Color, Mecha Color and Modell Color range.
They each then got a wash with Agrax earthshade as a red-brown wash was needed.
They all got between 4-6 layers of brighter tones on top of dark tones. This gave them depth and the shade did blend and smoothed the paints over into each other. A classic and time tested method.
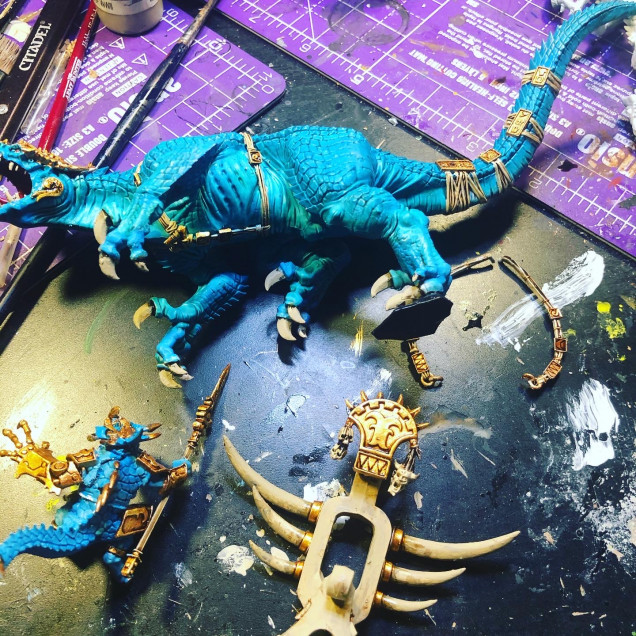
I then painted the rider and the throne with the same methods and once finished glued them together.
I am happy with the result, and although it is different from what I intended, both in method and outcome, I am pleased with it, and I was ready to continue working on the minis that would surround him and support him as a centrepiece.
But as I said I was doing the bases in between, and the next post will deal with those as they are the other part of the Project that got finished as far as possible due to the curing times involved when using Water effects.


















Leave a Reply