Finally Finishing an Army
The Great Aggressor Oddesey
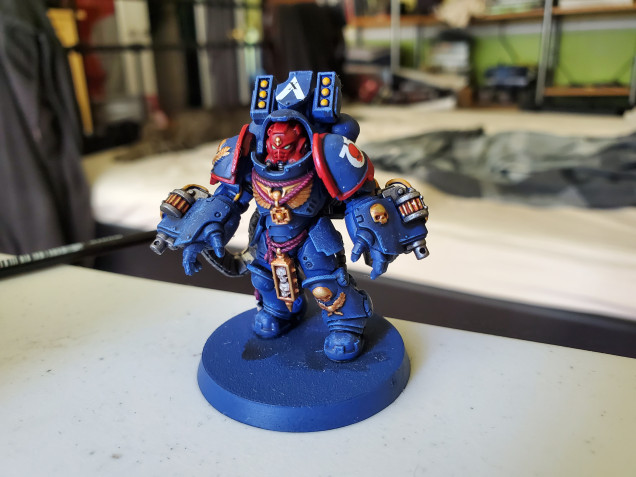
This update has taken a little longer than anticipated, but my Aggressors are finally done (minus bases but more on that later). I thought I’d do a full step-by-step guide for these guys, so here we go! I started from a Macragge Blue spray undercoat and used the GW range of paints to paint these guys up.
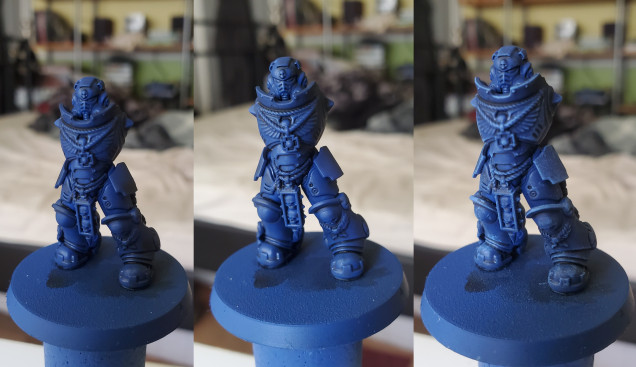 First the model wash shaded with an all-over coat of Nuln Oil, followed by a heavy drybrush of Macragge Blue, then finally a drybrush of Calgar blue to define the edges.
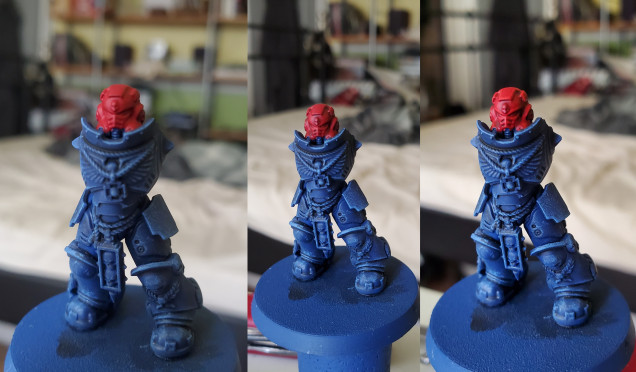 Next, the red details. These were also applied to the shoulder trims (I'm painting 3rd Coy.) and were started with a nice solid basecoat of Mephiston Red. This was followed by a recess shade of Agrax Earthshade (mainly to save paint) and then edge highlighted with Evil Sun's Scarlet.
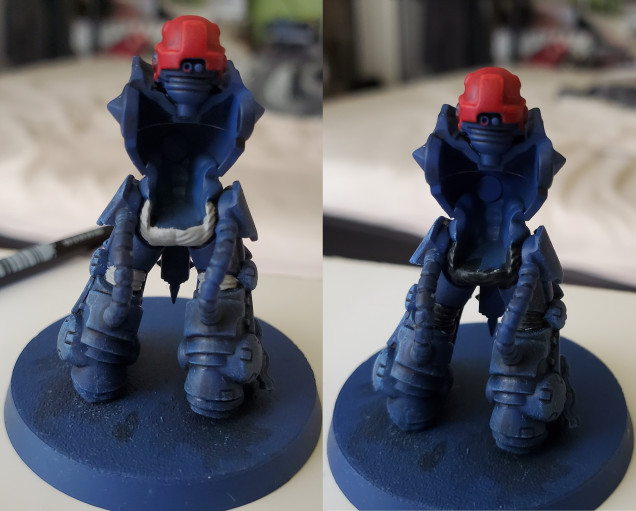 The black details dotted around the mini were probably the simplest to do. CONTRAST! Grey Seer base (make sure it's a good solid colour) then Black Templar Contrast over top of it. On larger, flatter surfaces it could be a bit patchy, do a second coat if this happens.
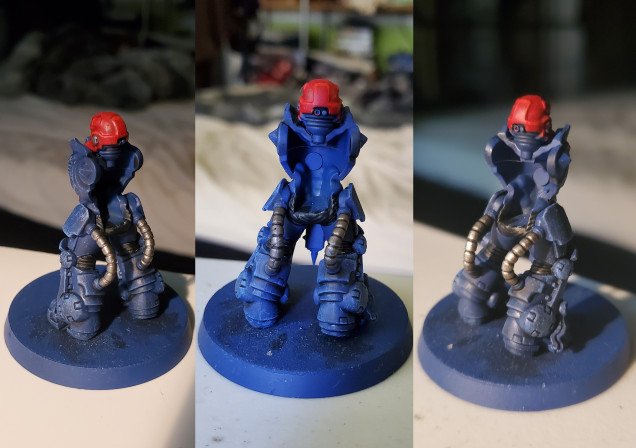 Metal. I think we can all do this in our sleep by now, but it's the simple recipe of Leadbelcher (I believe the similar paint in the Army Painter range is Gun Metal) shaded with Nuln Oil, then drybrushed (carefully in this case) with Runefang Steel, though any bright silver would suffice.
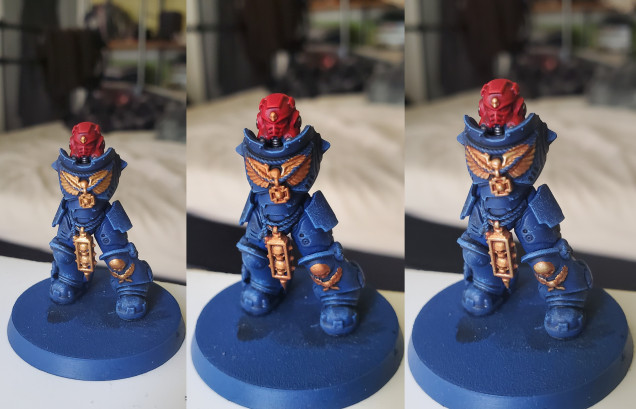 Next up are gold details. Start with a basecoat of Retributor Armour, followed by a shade of Reikland Fleshshade. Some people recommend mixing 50/50 with the glass version of the paint, but I prefer the slightly muted regular shade. After that is an edge highlight of Liberator Gold. I also have no idea how I managed to perfectly set up these images to be bigger and bigger. Magic, I guess.
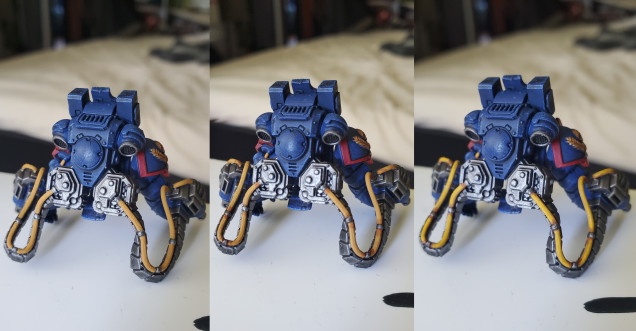 So all minis need a bit of a spot colour. It can be anything. Someting simple. Something bright. Or yellow. Yellow is a pain in the proverbials to paint, but I am rather proud of how this turned out. Basecoat is Averland Sunset. Use. Thin. Coats. This needs to be a nice solid colour without clogging details. After you have that, recess shade with Reikland Fleshshade where necessary. After that edge highlight with Yriel Yellow to really bring it out. This worked rather well for me. Also, I seem to have done the zoom thing again...
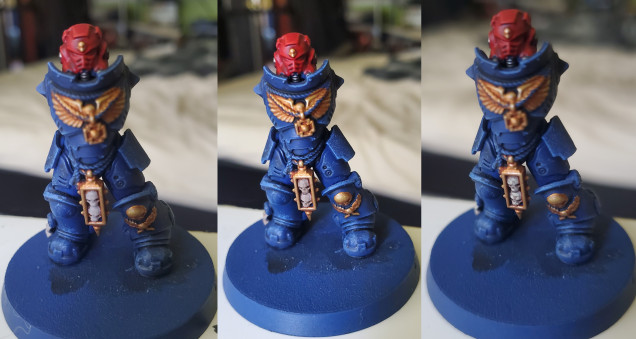 For simplicity, I used the same colours for parchment and bone on these minis, but if you have overlap of the two different things you might want to mix it up a bit (I'm just really low on Zandri Dust that I usually use for bone). Basecoat is a nice solid coat of Rakarth Flesh, shaded with Agrax Earthshade before being followed by and edge highlight of Screaming Skull.
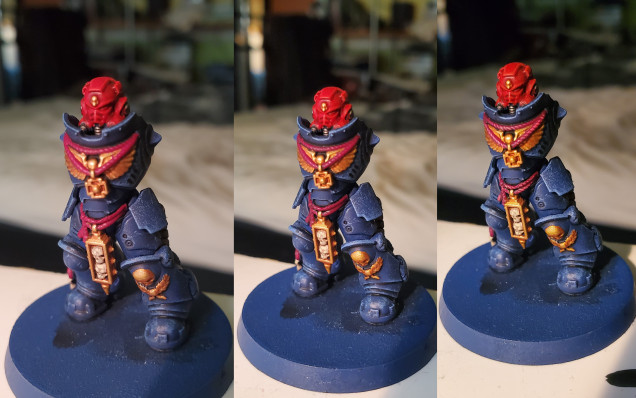 Rope details and Purity Seals were all done in a nice burgandy colour that I am rather fond of. Starting with a basecoat of Screamer Pink, the areas were then shaded with Nuln Oil and edge highlighted with Pink Horror. Simple, but really adds a bit of regal flair to the minis.
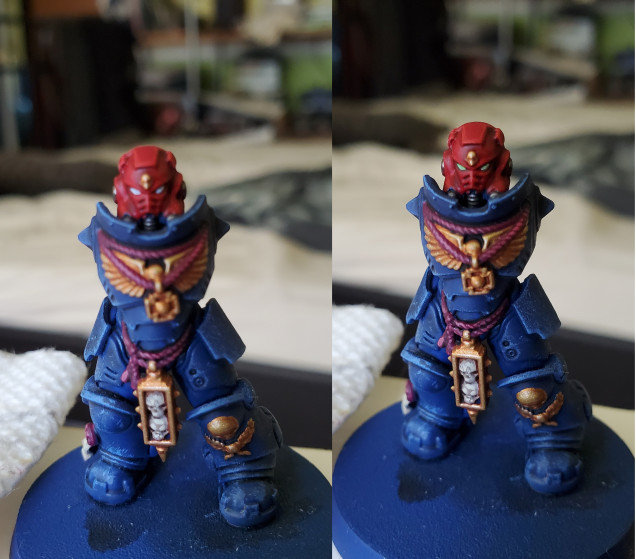 The eyes really bring out a mini, as we all know, but can often by a pain to do. This is a trick I learned a while ago for Marine eye lenses. Simply paint a line as best you can in the eye with white, then add a glaze colour over the top of it. Add some extra coats once it's dry if you want a more vibrant colour. Here I used Waywatcher Green for my Sergeant, but the regular Marines were given a coat of Bloodletter.






















Leave a Reply