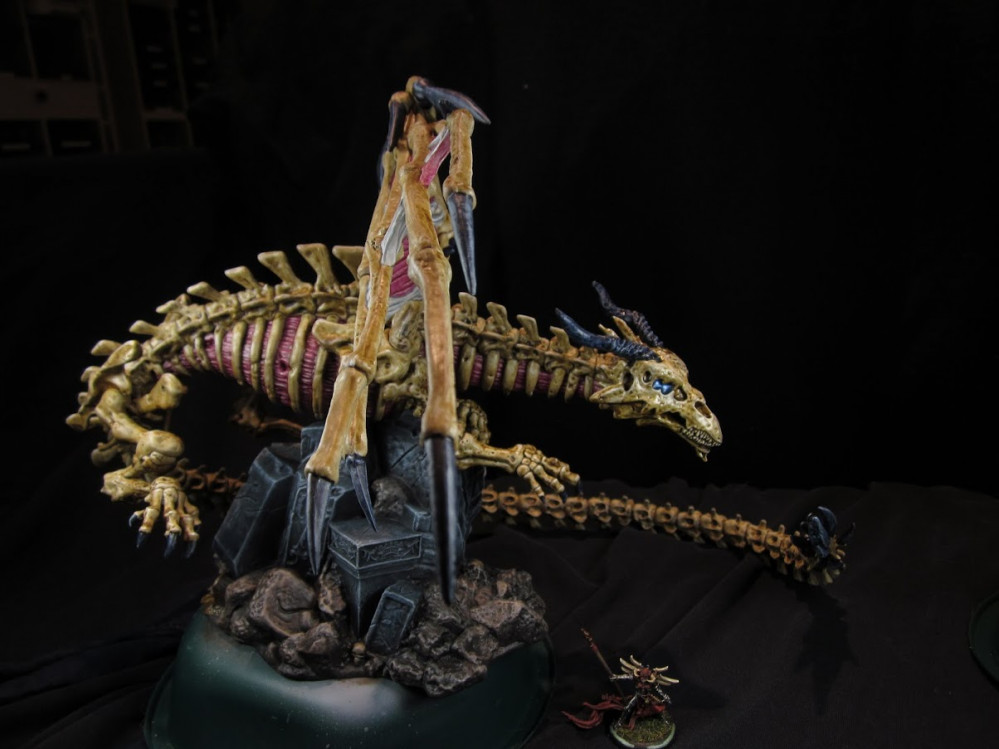
I like big bones and I cannot lie....Kaladrax
2020-05-18 Detailing the Wings
My next goal was to test out shades and highlights on the wings. If I could find a scheme I liked on this smaller part, I could then push through and replicate across the rest of the project.
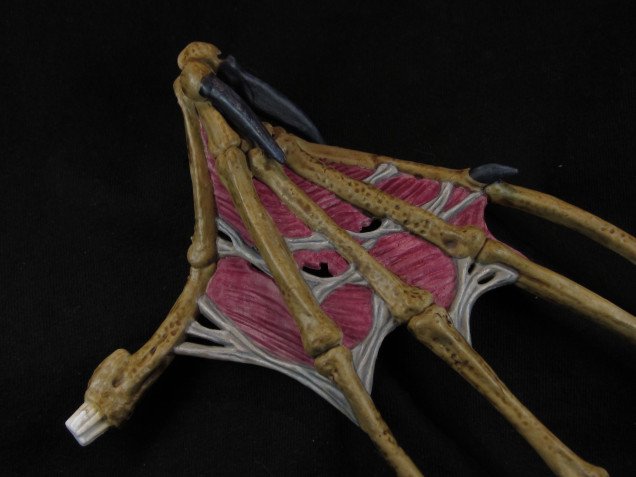
I started small, with the sinew, first. Surprisingly, I couldn’t find a close match to the apothecary white shade to build from in the GW line – Celestra gray was too light, and a touch lighter than the base color I had ended up with. Experimenting, I decided to do a first shade with Reaper’s Tempest Gray 9438. For a deeper second shade, I went with P3’s Greatcoat gray, and gave my artificer layer medium brush a first spin. It performed well, and I was pretty happy with the outlining I was able to give the sinew. My goal here was to provide separation and depth of color instead of clean blends – contrast is very important, especially on a big model, but I knew I’d go crazy if I tried to smooth all the blends on a model this big.
For the highlight, I poked around with options and settled on Scale75’s Purity White, from their fantasy line. And then, wow, was I impressed at how it performed for fine lines. Usually I find the need to add either flow improver or airbrush thinner when painting light highlights, and constantly struggle with a drying tip. This was not at all the case with Purity White, which flowed nicely just thinned in the wet pallette and without any additional additives. I was super happy with the result.
You may have also noticed I skipped mention of some drybrushing I had been playing with on the horn parts in the last update’s ending photo. I began with a drybrush of P3 Gravedigger Denim, and then followed with a light drybrush of Reaper Moonstone Blue. This had gotten messy in a few places, though, and I wanted to add some sharper, distinct final highlights. Heartened by the used of Purity White, I tested out one of Scale75’s normal colors, Arctic Blue. Unlike Purity White, this needed quite a bit of thinning, and I ended up adding some Vallejo airbrush thinner to get enough control. Definitely not the behavior I had hoped for, but I think the end result was solid.
The next step was deciding how to deal with the meat. I decided to try lining the deepest shade with another Scale75 fantasy color, Tindalos Red, and it performed just as well as Purity White on the fine linework. Unfortunately, I didn’t have a bright enough highlight in the fantasy line paints on hand, so I returned to my previous mainstay in bright highlights on Volupus pink: P3 Carnal Pink. This needs a drop of airbrush thinner to really highlight with well, but had the hue I was looking for. The lines aren’t as clean, but I think the overall effect worked well.
The final part to experiment on was the bone proper. I started out by lining deepest shadows and manually adding separating shadows with Umbral Umber in places the skeleton horde had not shaded in the first step. Given the issues with the molding, there was a decent amount of this to worry about. Then, I played around with drybrushing different bone shades, as I wanted to avoid manual highlights given the volume of bone on the model.
I settled on Screaming Skull as the drybrush highlight. Interestingly, Zandri Dust was a close match for the base color after Skeleton Horde.
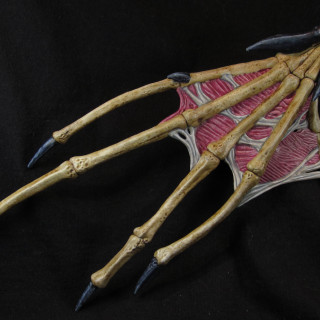
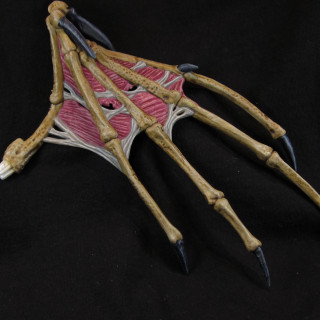
Anyways, I was super happy to finish both of these wings and have an exemplar of what I was looking for on the rest of the model!
I did take breaks during this week slowly working on the basecoat of other parts – there was so much surface area, I didn’t want to try to burn out doing the entire base coat in one push.
The other win with finishing even one of these wings now: something motivational to look on when times would get tough. I could look back at these and say, yes, the end result of all that linework IS going to be worth it.


Leave a Reply