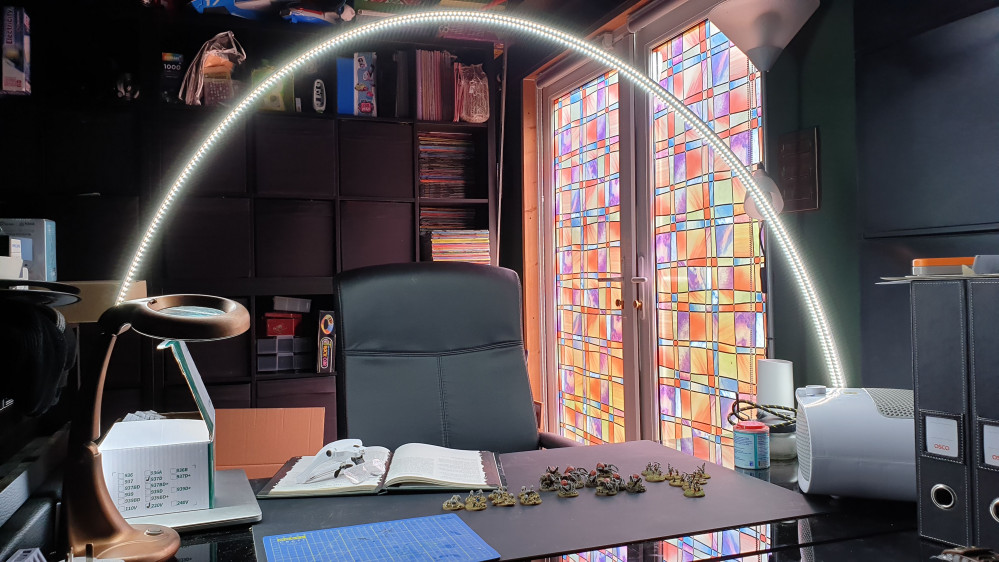
Build an LED Arch Hobby Light
Disaster Strikes!
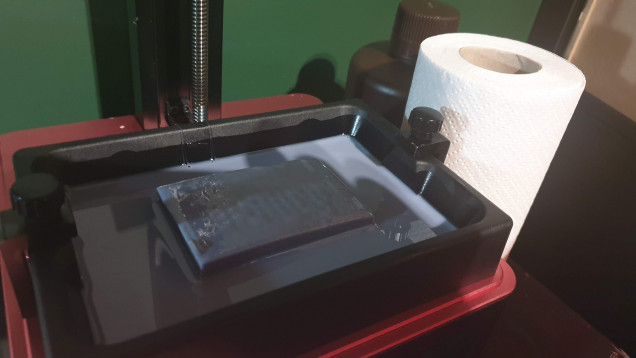
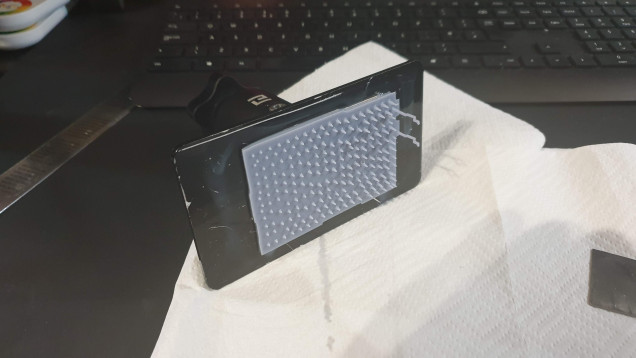 Broke from the supports - I reckon that over the course of the print the surface area connected to the fep film exterted too much pressure onto the supports and they weakened as the print progressed.
These things happen…
But in the words of Bob Ross they may always turn out to be happy little accidents. So I washed off what printed of the component to get a look at what it was turning out like.
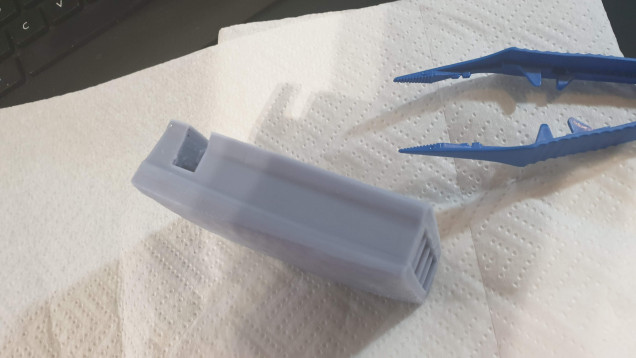 First thing to notice is the strange distortion is still present in the print so that's gonna require some more deeper research.
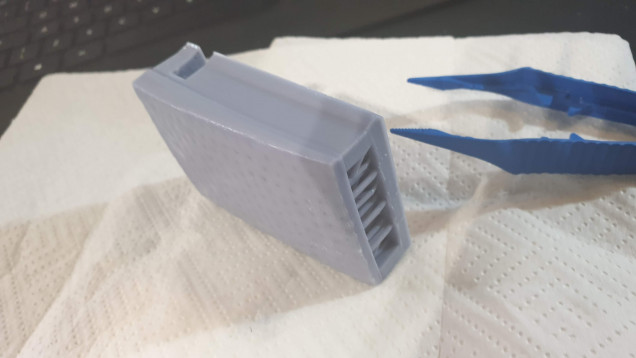 You can also see some warping to the back of the component where it attached to the supports that attach to the build plate. This is quite common in larger prints I have attempted, and again is going to require some research into how to reduce it.
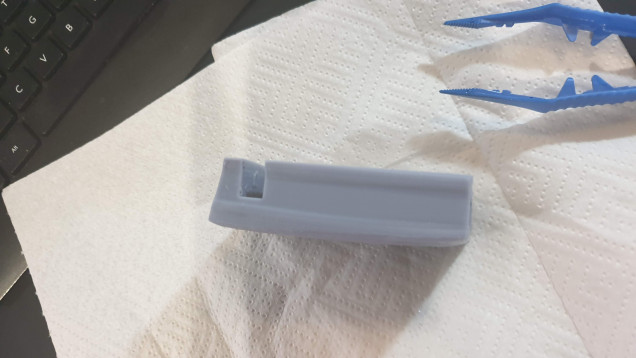 Interestingly enough of the component has printed to make me want to see if it might work like this. It would be much lower profile than my design and I'm keen to see if it fits to the glass table.
So I set to work with a mini rasp to clean out and expand the arch slot a bit to accommodate the thicker wires that will feed into it.
The glass table slot just required a tiny bit of filing to remove a slight burr.
I then drilled and filed out a hole in the back of the component to feed the wires out through as the much lower profile of the table slot means I need to keep as much of it clear as possible – so moving the cable exit to the back makes some sense…


![TerrainFest 2024 Begins! Build Terrain With OnTableTop & Win A £300 Prize! [Extended!]](https://images.beastsofwar.com/2024/10/TerrainFEST-2024-Social-Media-Post-Square-225-127.jpg)




Leave a Reply