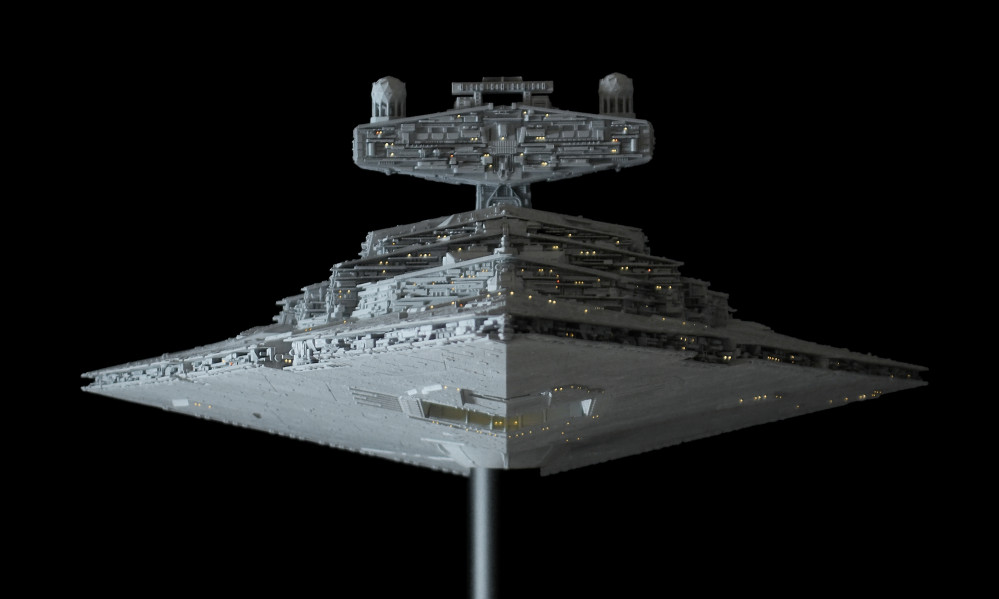
Corona Self-Isolation made me build a STAR DESTROYER
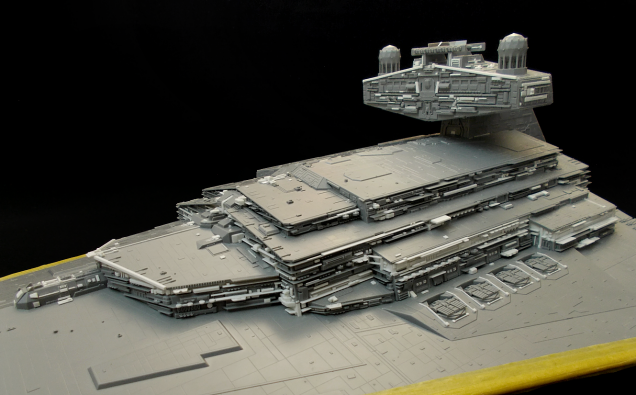
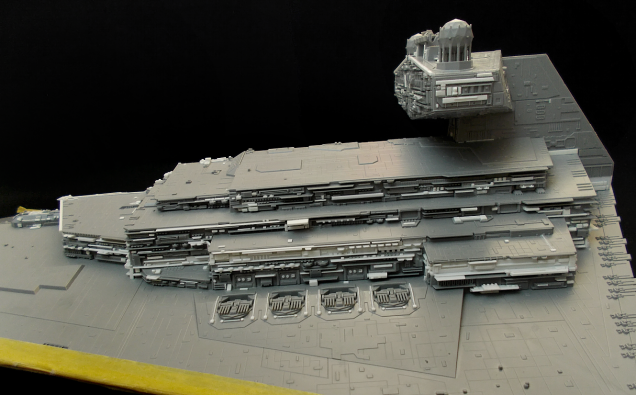
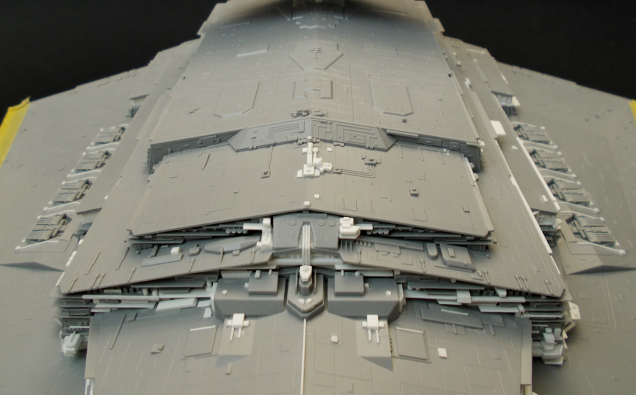
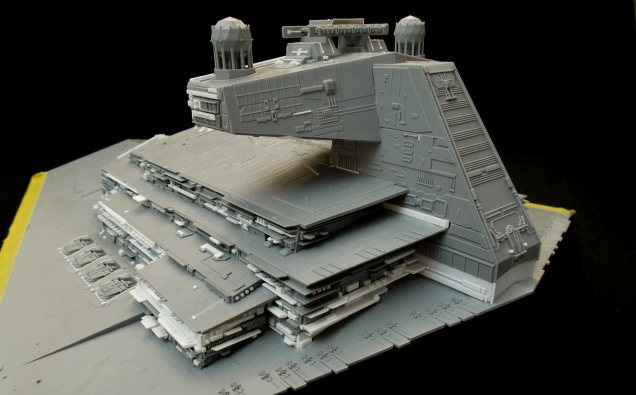
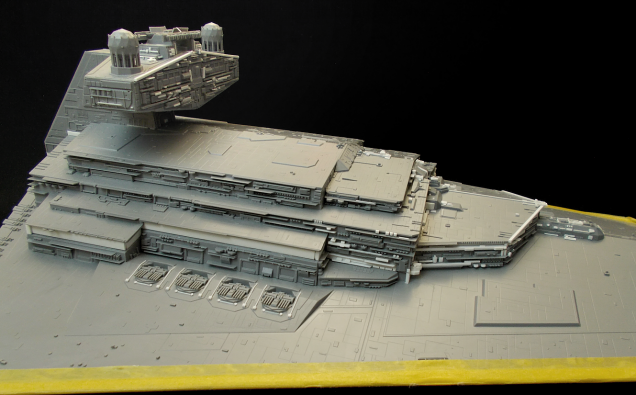
The bridge-section, custom detail, more custom detail, and much more custom detail
Let’s say it as follows: I had a very steep learning-curve when it comes to working with plastic card. So much plastic card. But while the process of building and attaching so many custom details seems tedious and boring, I found it to be fun and exciting. I got to know the original studio model very well in the process!
It’s a good idea to start with larger, defining structures like the ‘shelves’, and work from there, adding smaller details and tiny details last. The bridge-section of the kit is pretty accurate as it comes, only that everything is mirrored. So I had to remove certain elements from one side or the other and replace it with detail like on the studio model.
Before I did all that, however, I had to correct the angle of the bridge-section and the ‘neck’ on which it sits. Out of the box, both are along a line with the side trenches of the hull, but they should be along a line with the super structure as they are on the studio-model. I simply cut a thin triangle from the bottom edges of the ‘neck’ until it fit on the hull and superstructure at the correct angle. This was made easier by the detail and panel lines on the ‘neck’, since they could be used as markers as to which angle would be parallel to that of the superstructure.


![TerrainFest 2024! Build Terrain With OnTableTop & Win A £300 Prize [Extended!]](https://images.beastsofwar.com/2024/10/TerrainFEST-2024-Social-Media-Post-Square-225-127.jpg)




Leave a Reply