Ork Expansion
An Overdue Update
Progress has been made with both the Stompa and the Grots. Unfortunately, in my excitement and haste I forgot to take as many pictures as intended but a lot of what I did during those steps was repetition of work done on other areas and so is already documented.
The work on the Stompa is as follows:-
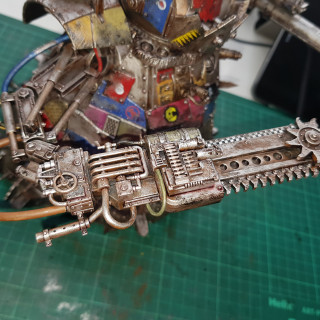
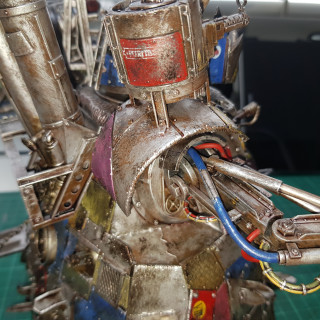
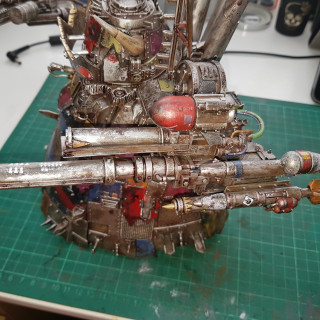
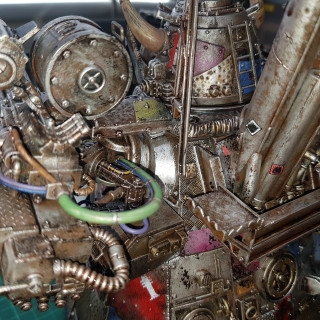
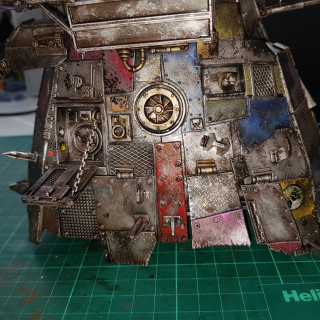
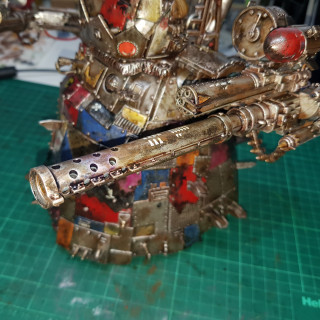
- The arms/weapons were given a similar treatment to the body in terms of picking out areas in colour and then weathering the metal with a sponge. Given that there are less armour panels on these pieces the colour was added to the cabling and missiles, etc.;
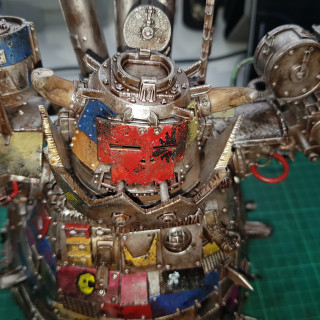
- Ork specific decals were added to various parts of the Stompa. I’ve been quite sparing with these, there are a few largish ones but the majority are smaller ones; I like to think of them as graffiti and notes that the Grots have added, hence they tend to be near entrances, walkways and the Grot hatches as well as kill tallies on the large guns;
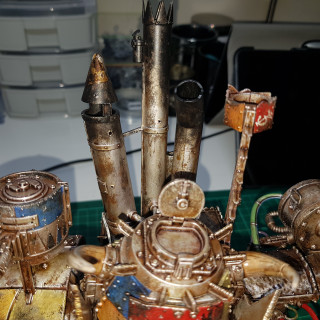
- The horns on the head were painted. This was with various shades of brown with the lightest at the tip;
- Black was added to the tops of the chimney stacks. This was solid colour at the top and stippled further down;
- Heat damage was added to the tip of the main gun. This was done with blue, purple and sepia washes. This was a very quick job to give a bit of an effect/interest but isn’t particularly bright; and
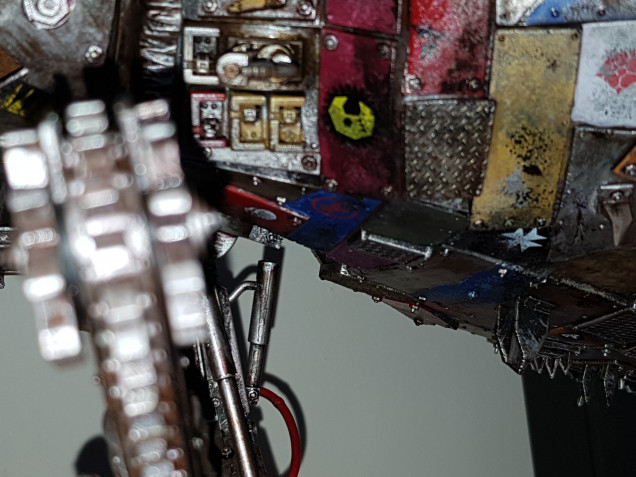
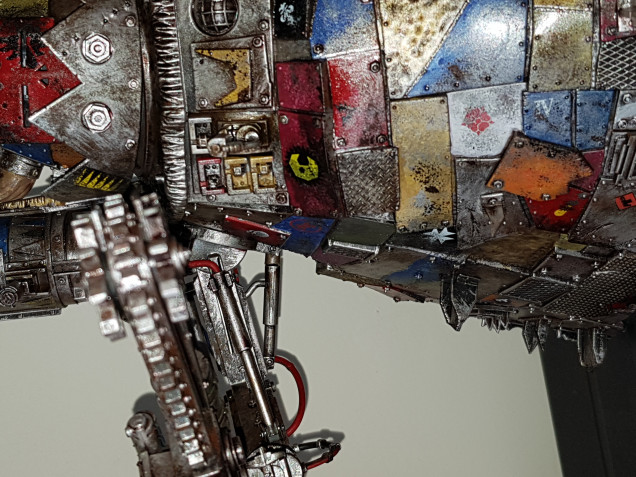
- The majority of the pieces were assembled. The main pieces to be left off were the feet (to assist with work still to be done), the rear ladder (as this cannot be attached without the feet) and the Grots (as they’re still to be finished). When assembling I found that there are a number of bits that I’d intended to use which cannot fit. These will come in handy for future projects. As I said in one of my earliest posts, I’d heard that some of the parts can be a pain to stick together. With this in mind, when attaching some of the larger parts I used both plastic and superglue to get a good bond. This worked really well. Despite dry fitting the arms a couple of times, I somehow managed to attached the choppa arm in an unintended position. This isn’t too problematic other than the way the arm had been assembled meant that one of the piston type parts was too short. This likely wouldn’t have been noticeable but in the position the arm is in it’s really obvious. I solved this using the really technical solution of cutting the bottom off a suitable diameter paintbrush, painting it and inserting it into the gap. The before and after can be seen in two of the pictures below. There’s still a slight gap but this will be rectified later.
In terms of the Grots:-
- The teeth and a few other areas were picked out in an off white;
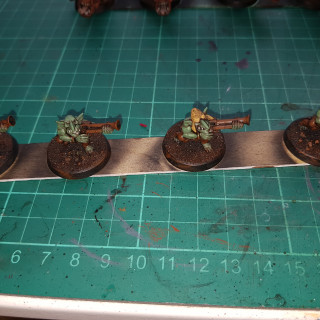
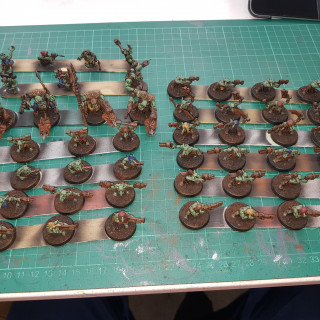
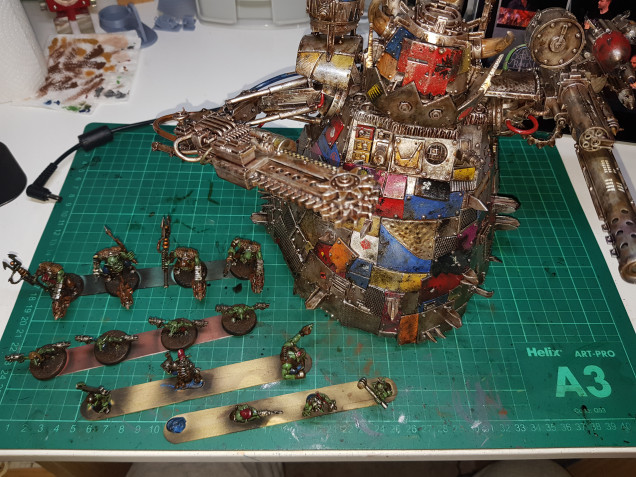
- In order to differentiate between the squads, colours were added to various minis. Each of the sticks that the Grots are stuck to contain four minis of the same pose. On each stick one mini had a detail painted red, one blue and one yellow with one remaining predominantly brown. The same was also done with the Runtherds;
- The additional details on the Runtherds were also picked out in suitable colours; and
- The crew for the Stompa were painted to this stage using exactly the same steps.
Once this was done, all of the areas of the Grots now had at least a basecoat in place.
Once all of the above had been completed it meant that both the Stompa and the Grots were now ready for the same next stage.
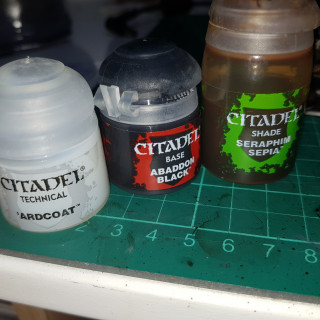
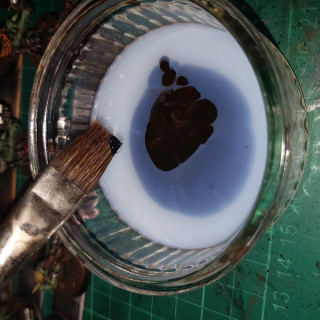
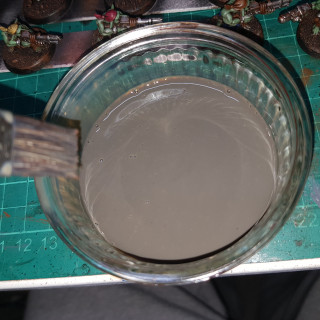
This is a method that I have used on all of my Orks which is relatively quick, provides some overall shading and also dirties everything down. This is a wash made up of three products, ‘Ardcoat, Seraphim Sepia and Chaos Black, as a rough guesstimate, this is five parts ‘Ardcoat, one part Seraphim Sepia and a tiny spot of black. In the pictures below you can see the amount initially added but I added another spot before mixing this together. In hindsight, I could have added even more black for a darker effect. This was applied over all of the Grots and the Stompa. As with any wash you need to be careful to avoid pooling but on the Stompa itself this is less of an issue as any pooling and dripping add to the grimy effect.
With that done I’m getting closer to the final few touches before this can be called complete.










Leave a Reply