


Getting in to 3D Printing in the April 2020 Lockdown


My First Printing Experiences
The resin arrived early last week and I’ve ran a few prints since then. First thing I had to do was set up the printer and level the bed. I read the 2 sides of A5 “manual” that came with mine and it told me how to do the paper levelling test (Watch this video for more info. I didn’t until later.). I did what it said and then tried to print two bases figuring they should be quick and shouldn’t need much resin.
I ran them through and a few hours later when I returned to the machine the print bed was empty and I couldn’t see anything in the transparent green resin bath. After checking in on the OTT discord I ran the scraper along the bottom of the bath and I could feel 2 patches stuck down there. It appears that even with transparent resin your sculpts with be invisible when submerged. I was able to remove one of the failed prints without removing the bath, but I had to drain down to remove the other. Putting a little pressure on the underside of the bath popped it up enough for the scraper to remove it. No chemicals were used.
WARNING: The paper funnels they give you are rubbish. My machine came with 10 paper cones that have a filter at their point. They also have 2 C shaped holes with filters around and a little above this. Sounds great. However, when you sit the cone in the opening of the bottle the 2 C areas rest above the bottle so resin that passes through them ends up everywhere and it does this at the speed of gloop so theres no splash, no wide spray, no big movement so it’s easy to not notice. Use them for their filter but put them inside a real funnel or pay the price. I will be investing in a funnel and a tea strainer when I get the chance.
WARNING: The scraper they give you is fine enough, but over the course of the past week it has given me cause for concern. When a print is stubbornly sticking to the print bed and the scraper won’t go under it there are times it tries to bend. I suspect that if it bend’s past a certain point it will snap and have sharp edges and will end up in my other hand before I can react, or at the least scratch up and damage my printer. Be careful with your scraper, and maybe invest in something more resilient? I’ve had wallpaper scrapers suggested, but they can scratch up the print bed.
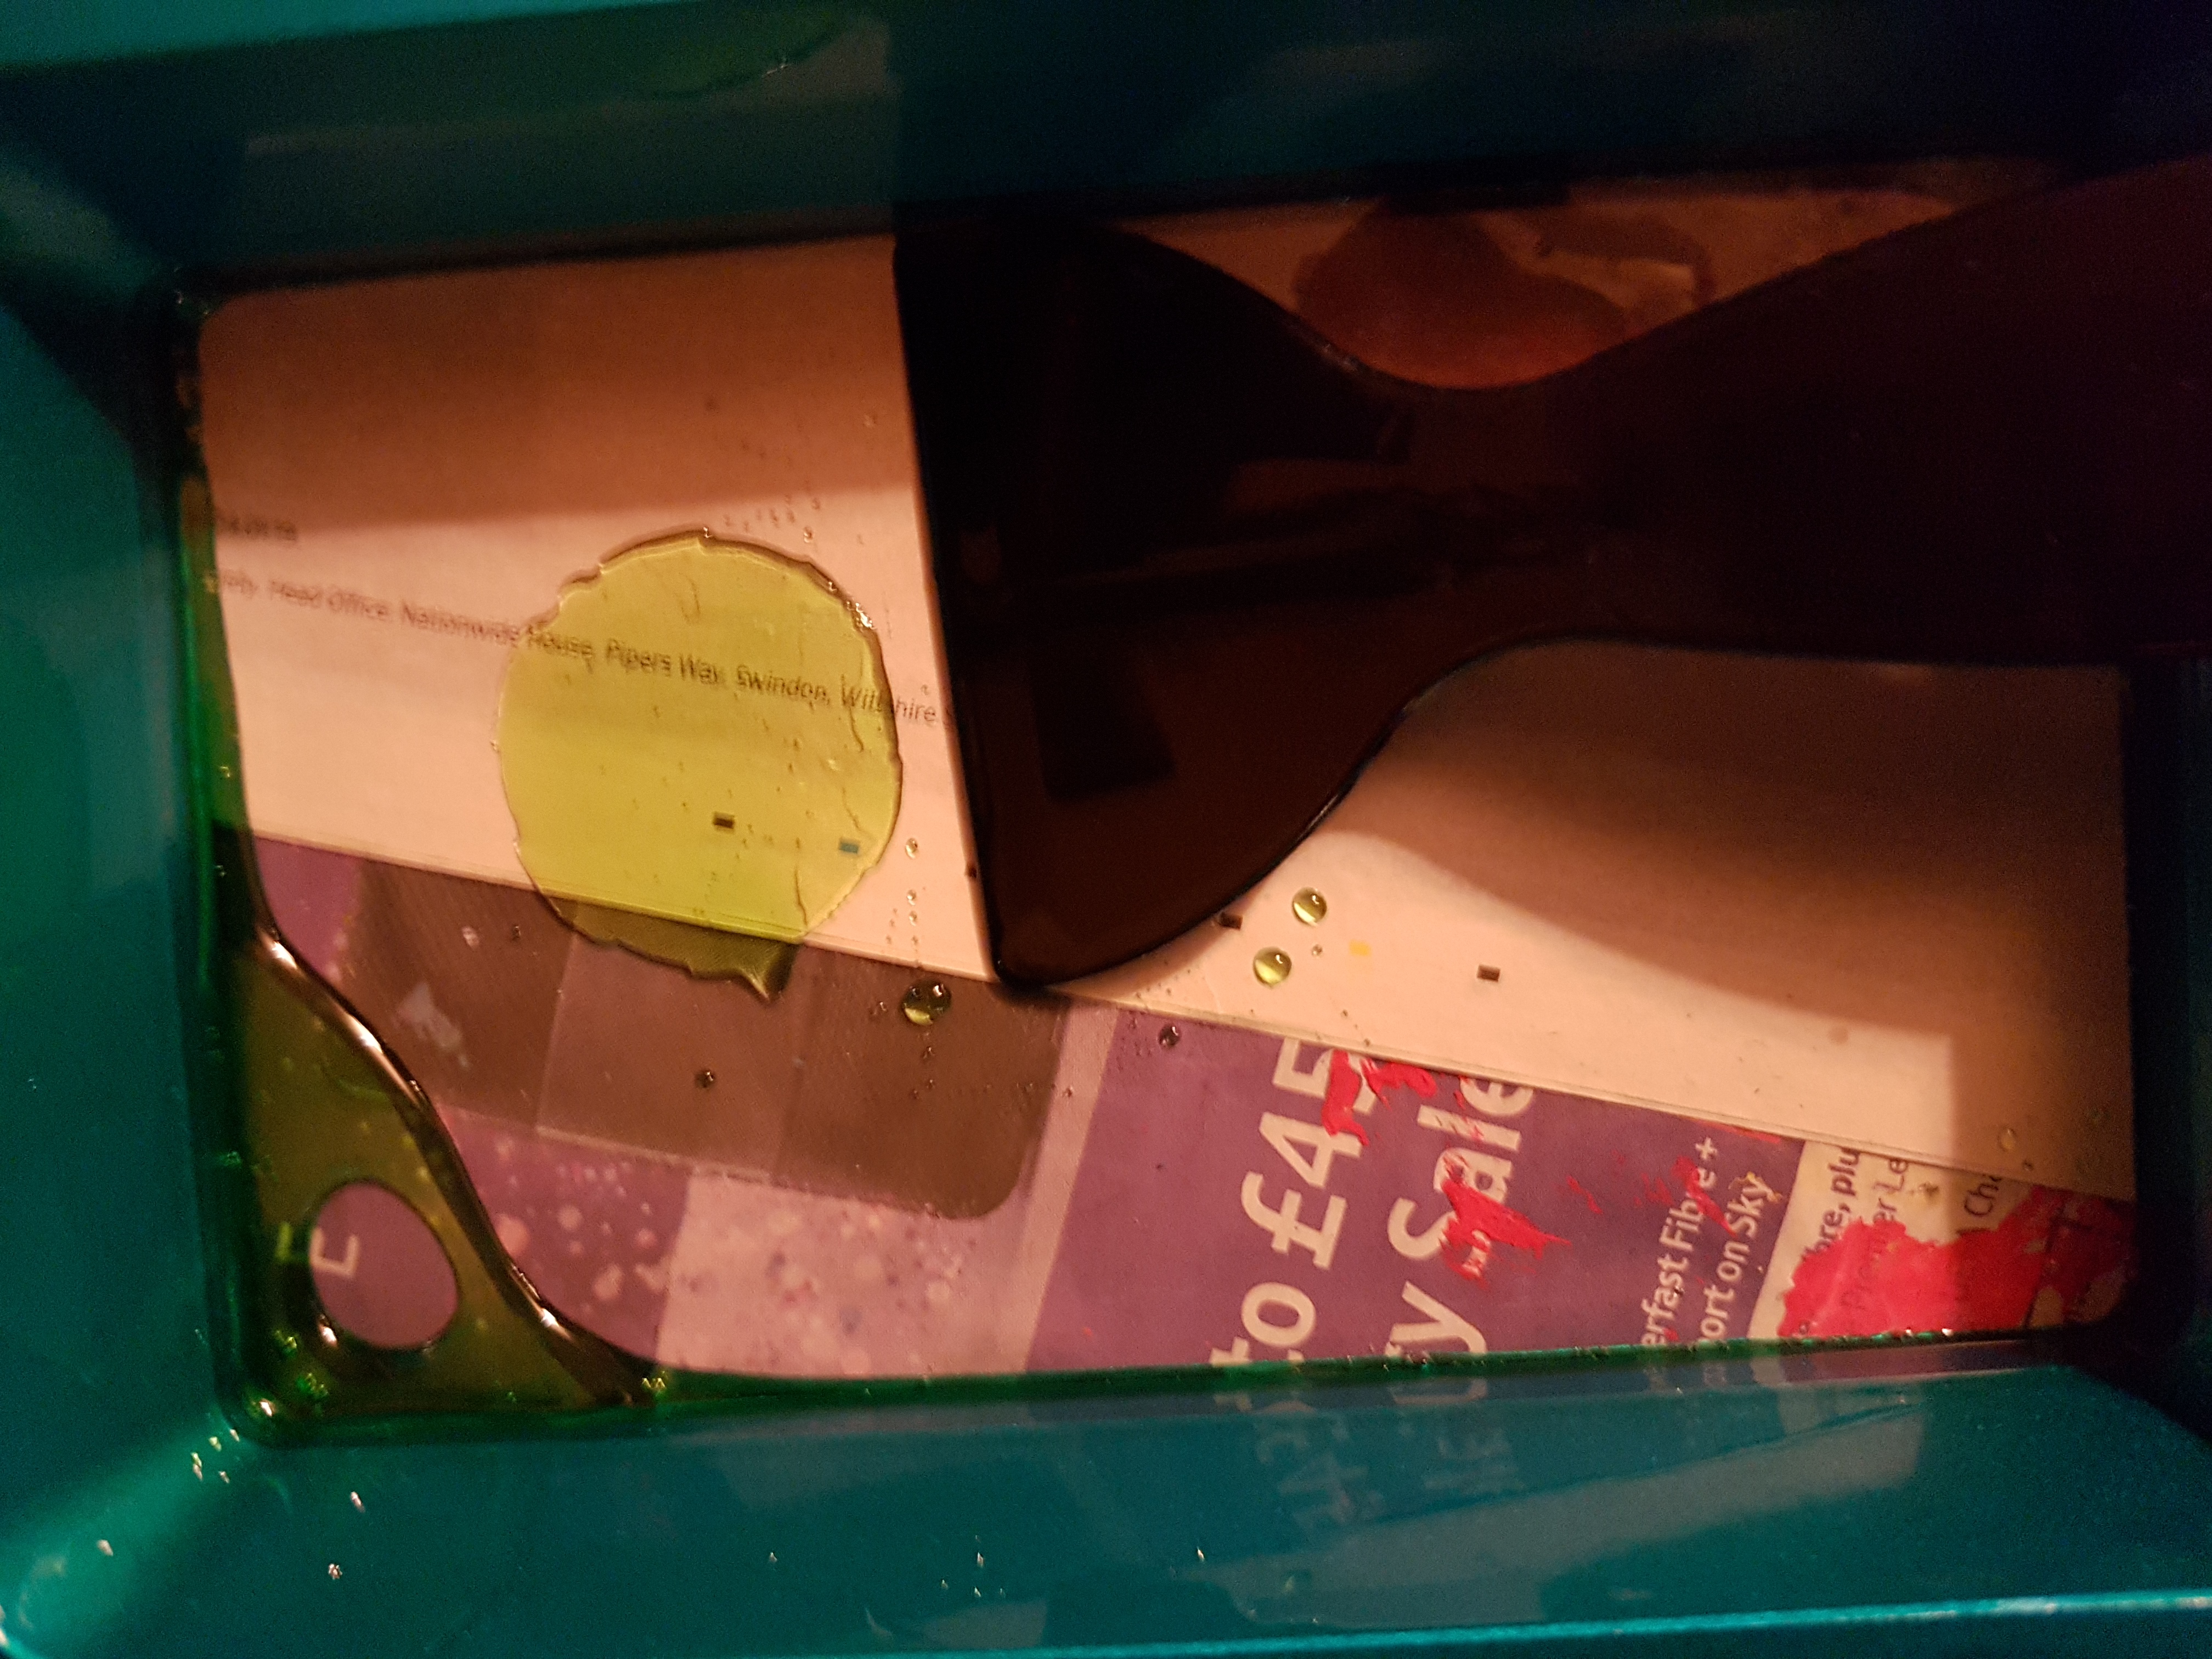 A failed 25mm base stuck to the bottom of the bath
I had a further chat on the OTT discord. It was almost bed time and I wanted to set another print going overnight. It was pointed out to me there should be a test file on the provided USB stick. If I print that then my ability to provide supports or tweak settings would be removed as a possible reason for failure. I ran it through and the next morning I was in the same situation. I had some suspicions so I went away and googled more about levelling the bed properly. My manual just said to get it to where there was “resistance” to the paper pulling, but I was never too clear on what they meant by that. My paper was gripped, but was slightly looser on my left side.
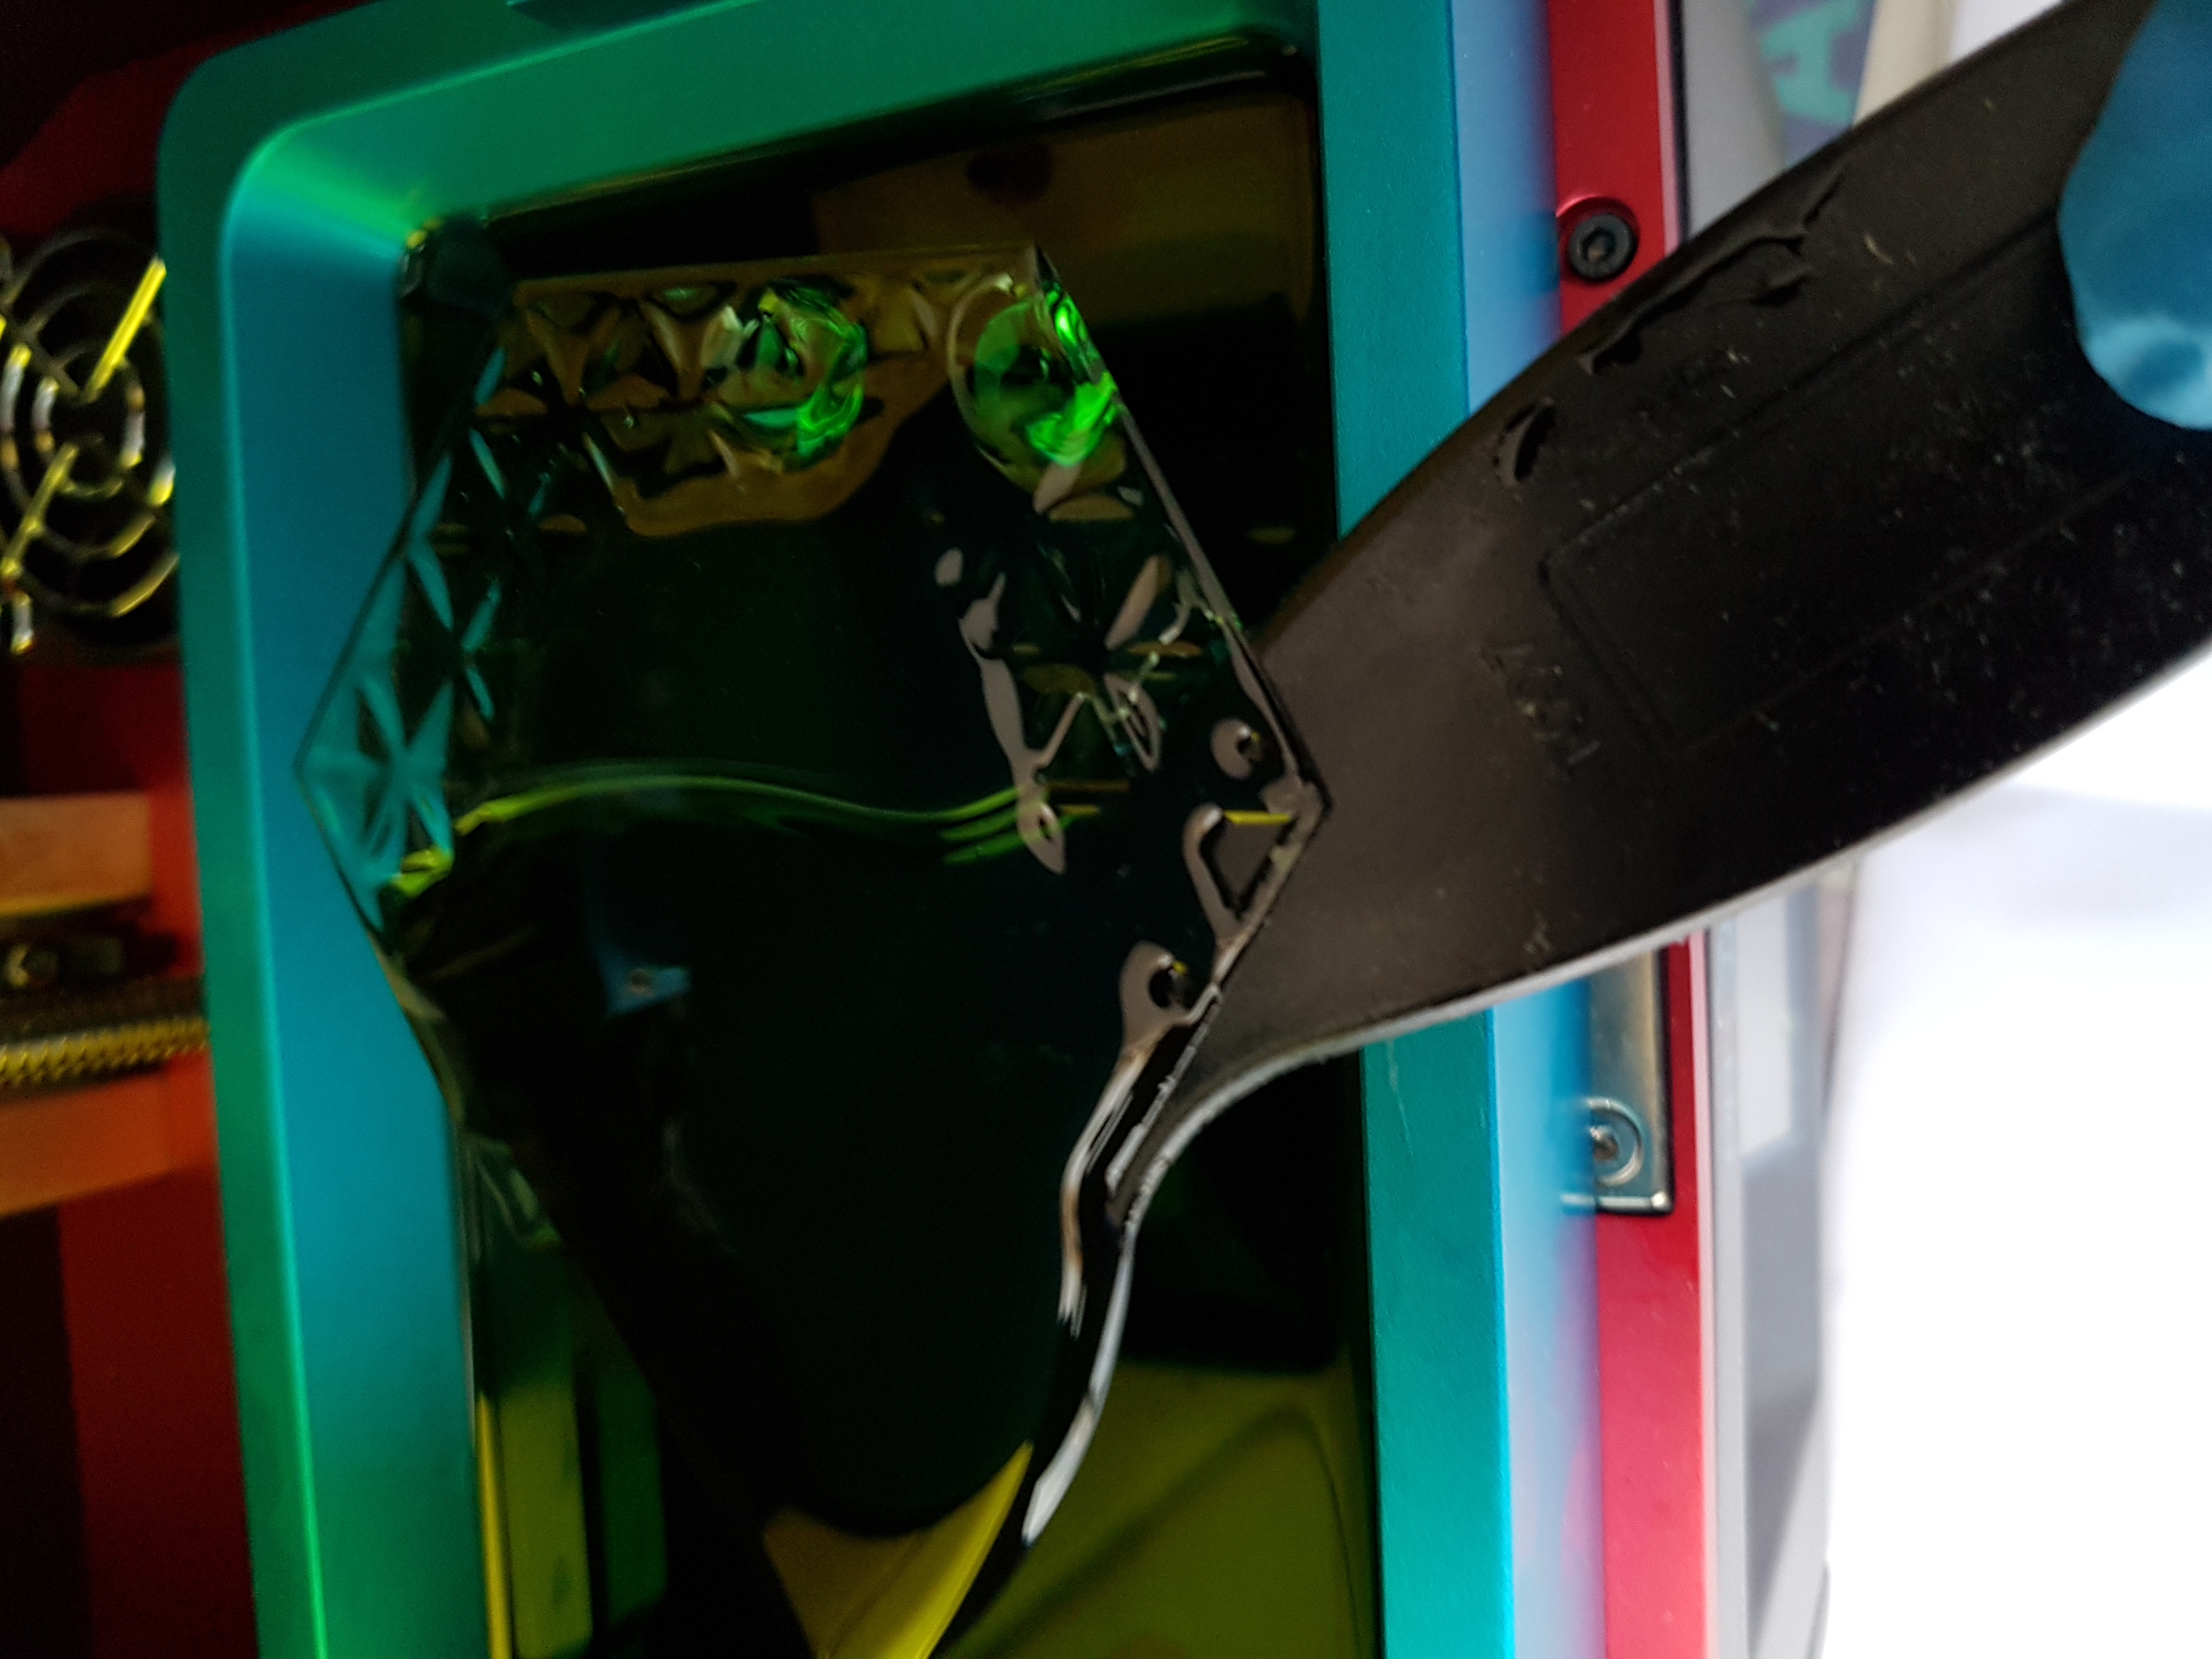 My failed print of the test file. At least its more interesting than the previous round-ish blob
I found this video and he took us through the whole process and included an extra step not in my manual. He loosened a grub screw that let the plate wobble on a ball joint, lowered the whole thing down and held the plate flat against the bottom before tightening the screw again. He also defined “resistance” as when the paper is gripped enough to stop you pushing the paper back in but not so much you can’t pull it back out again. I fully re-levelled the bed after this and tried the test file once more. Success! My plate had been off kilter a smidge.
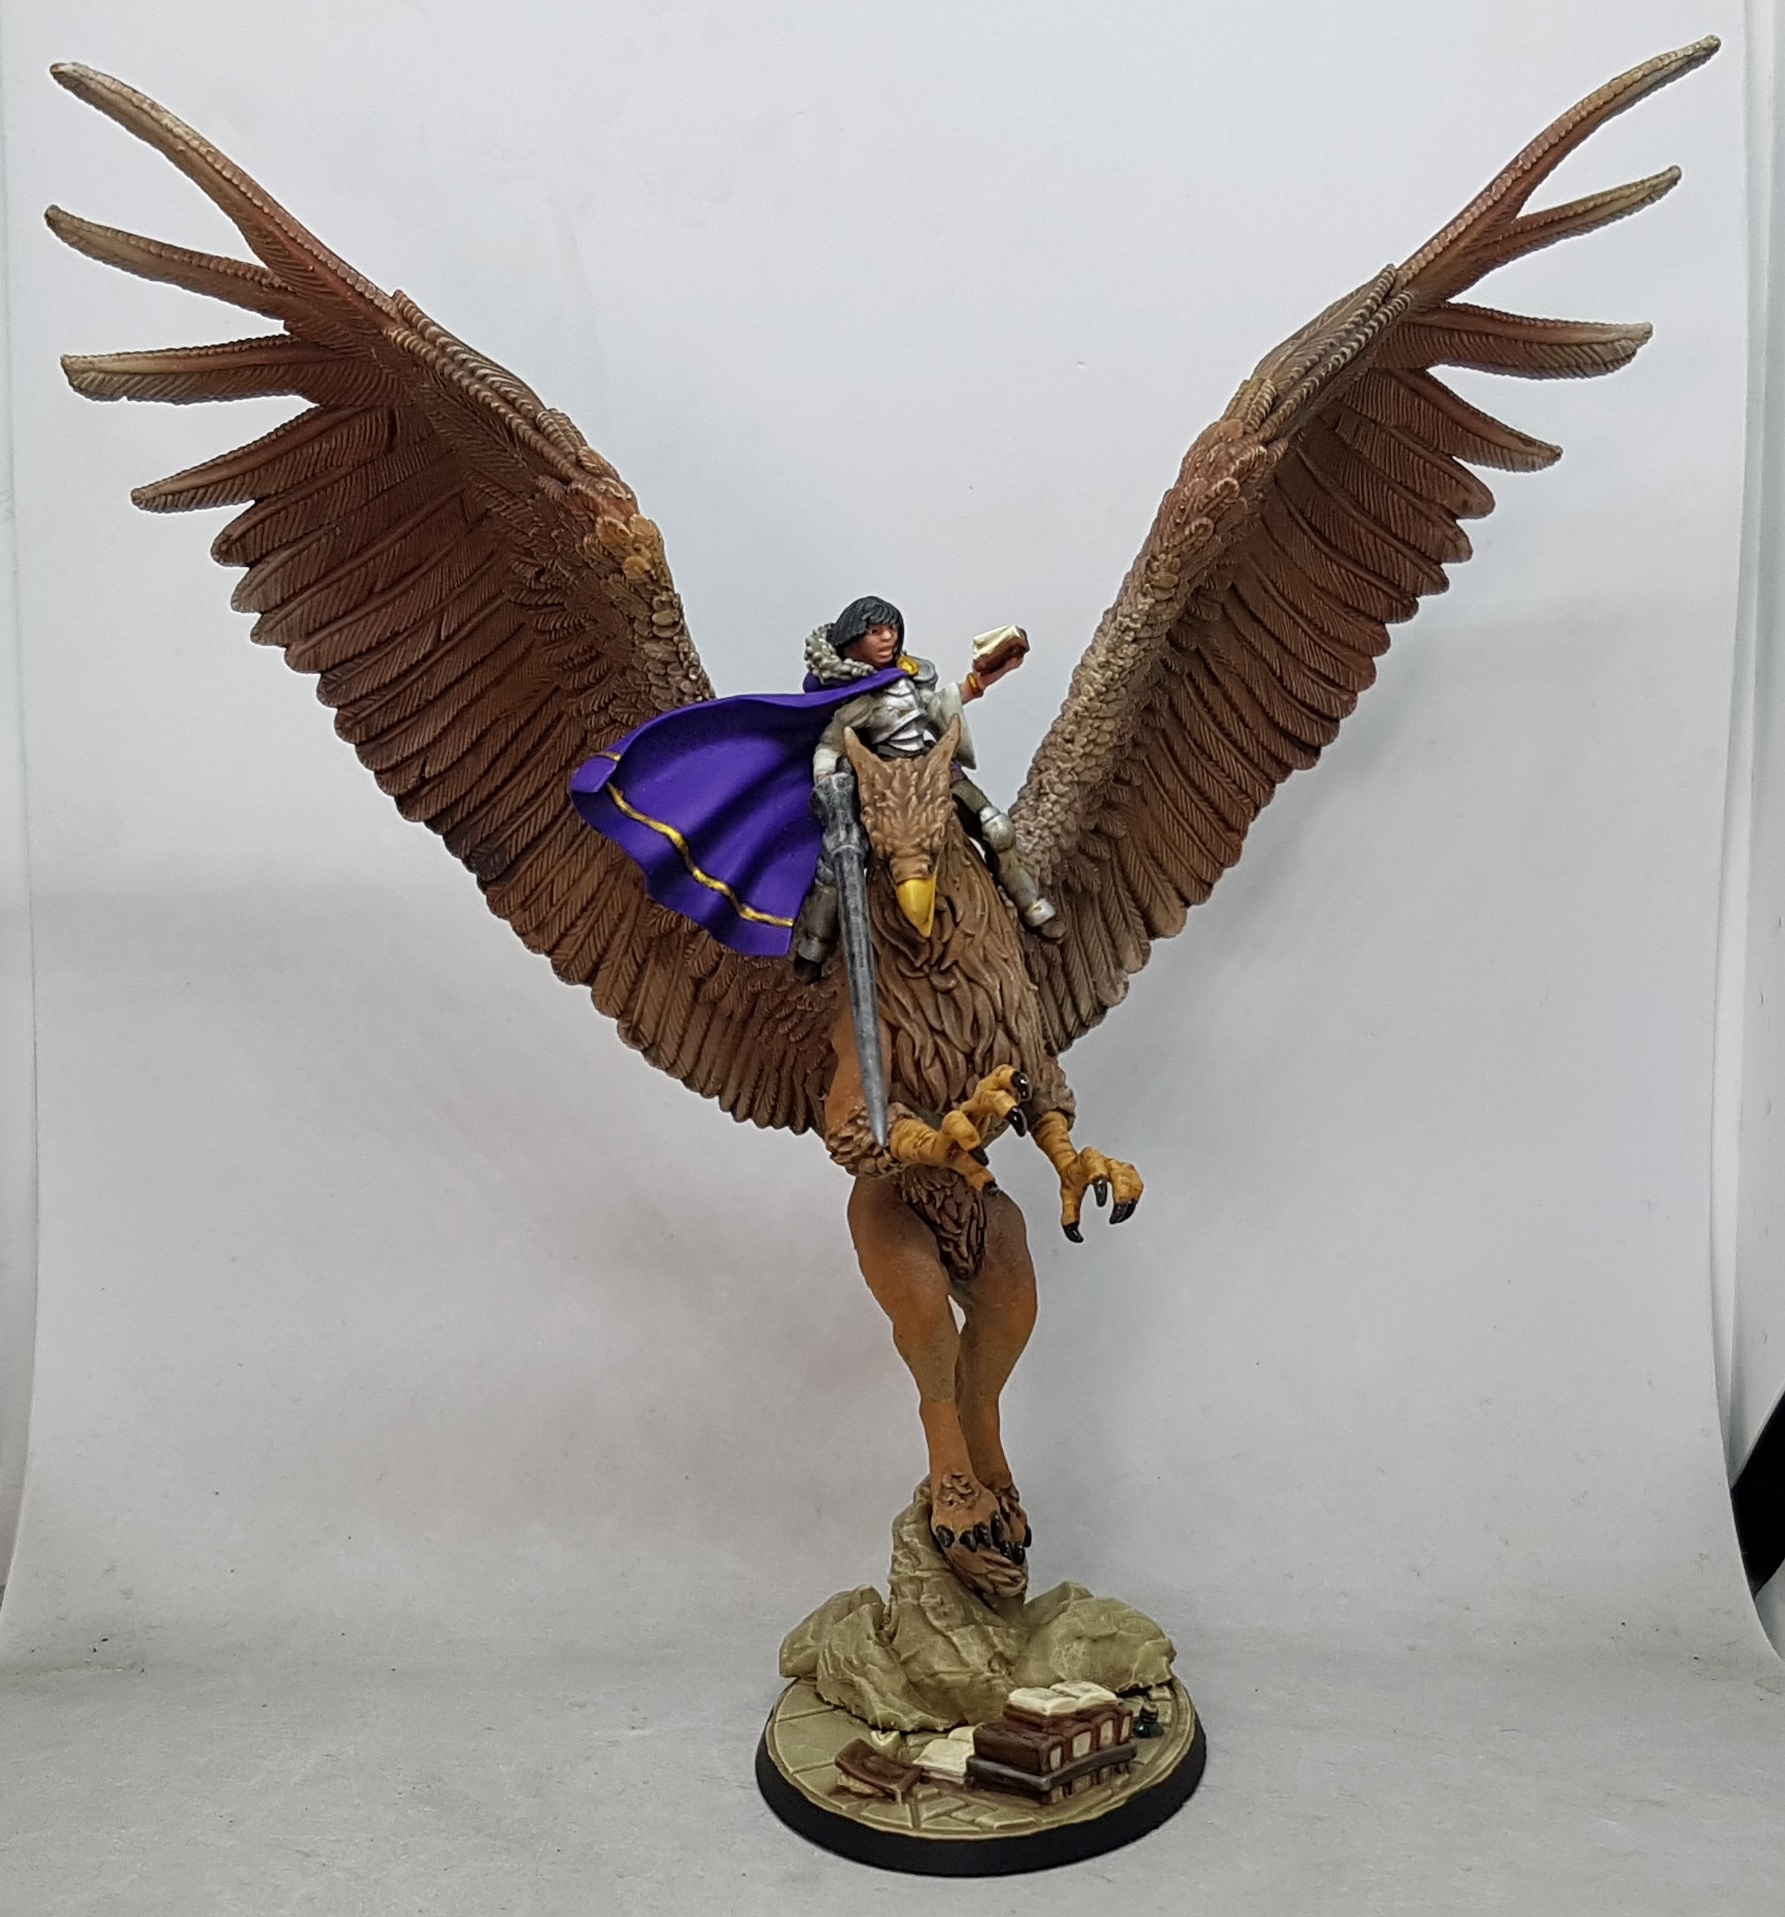
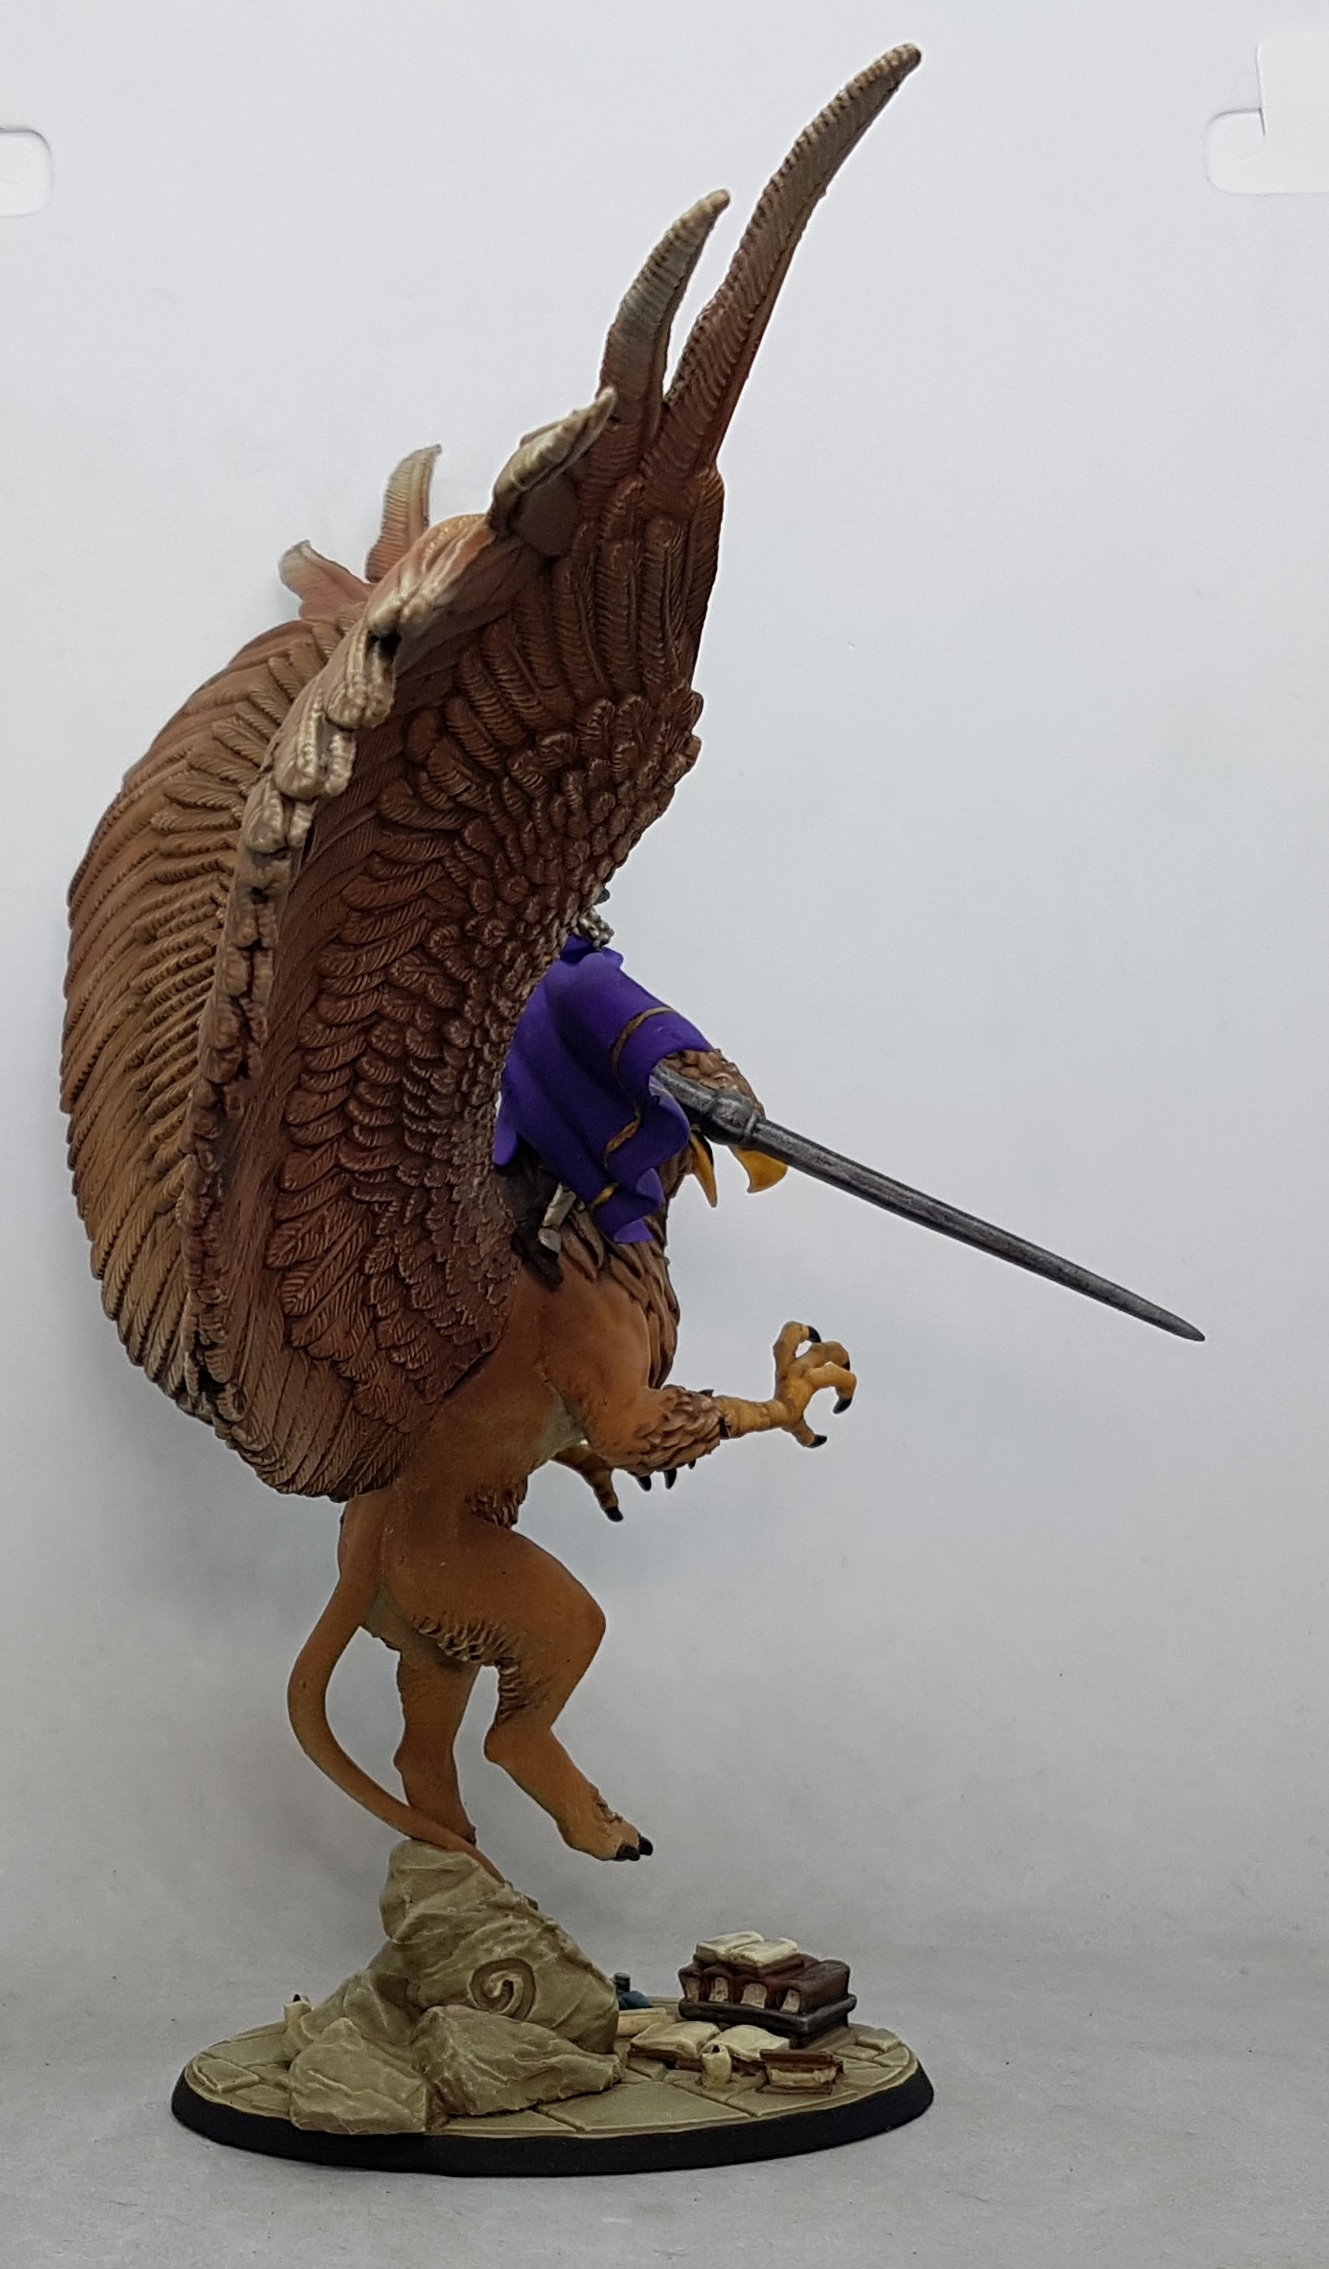
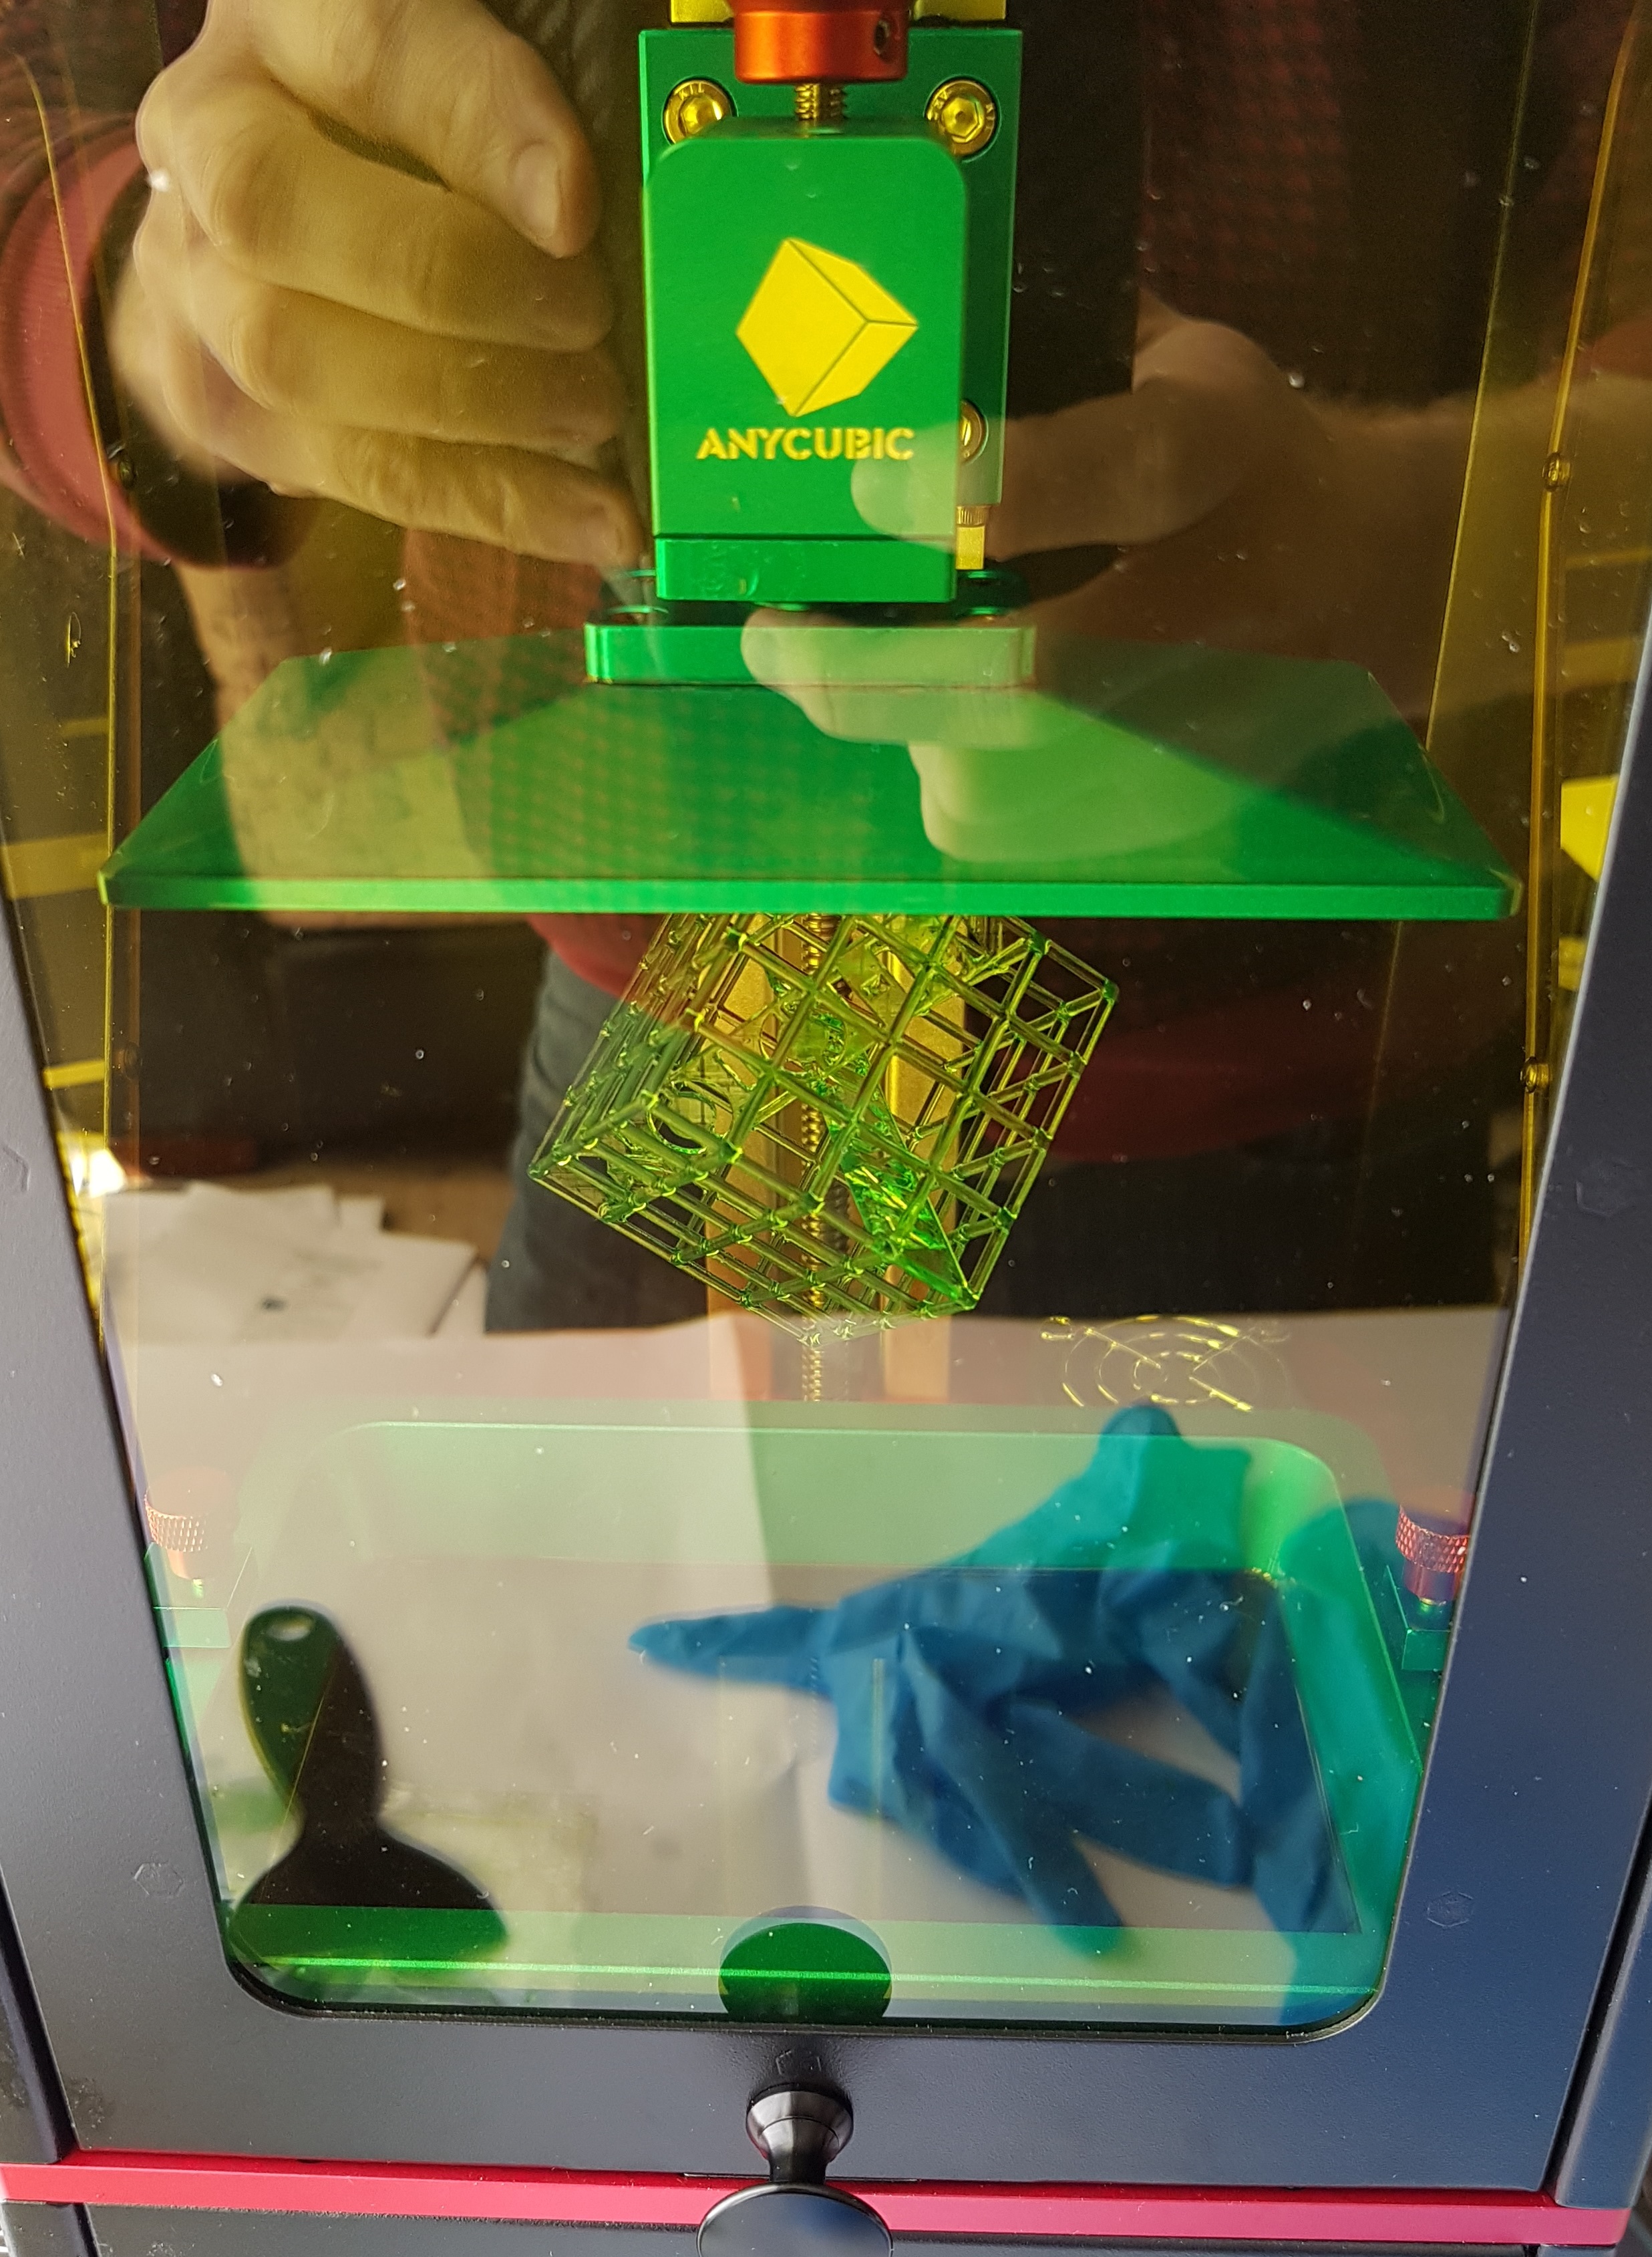 A successfully printed up side down thingumabob. Maybe paint it iron and use it as a modern art sculpture in Dropzone Commander?
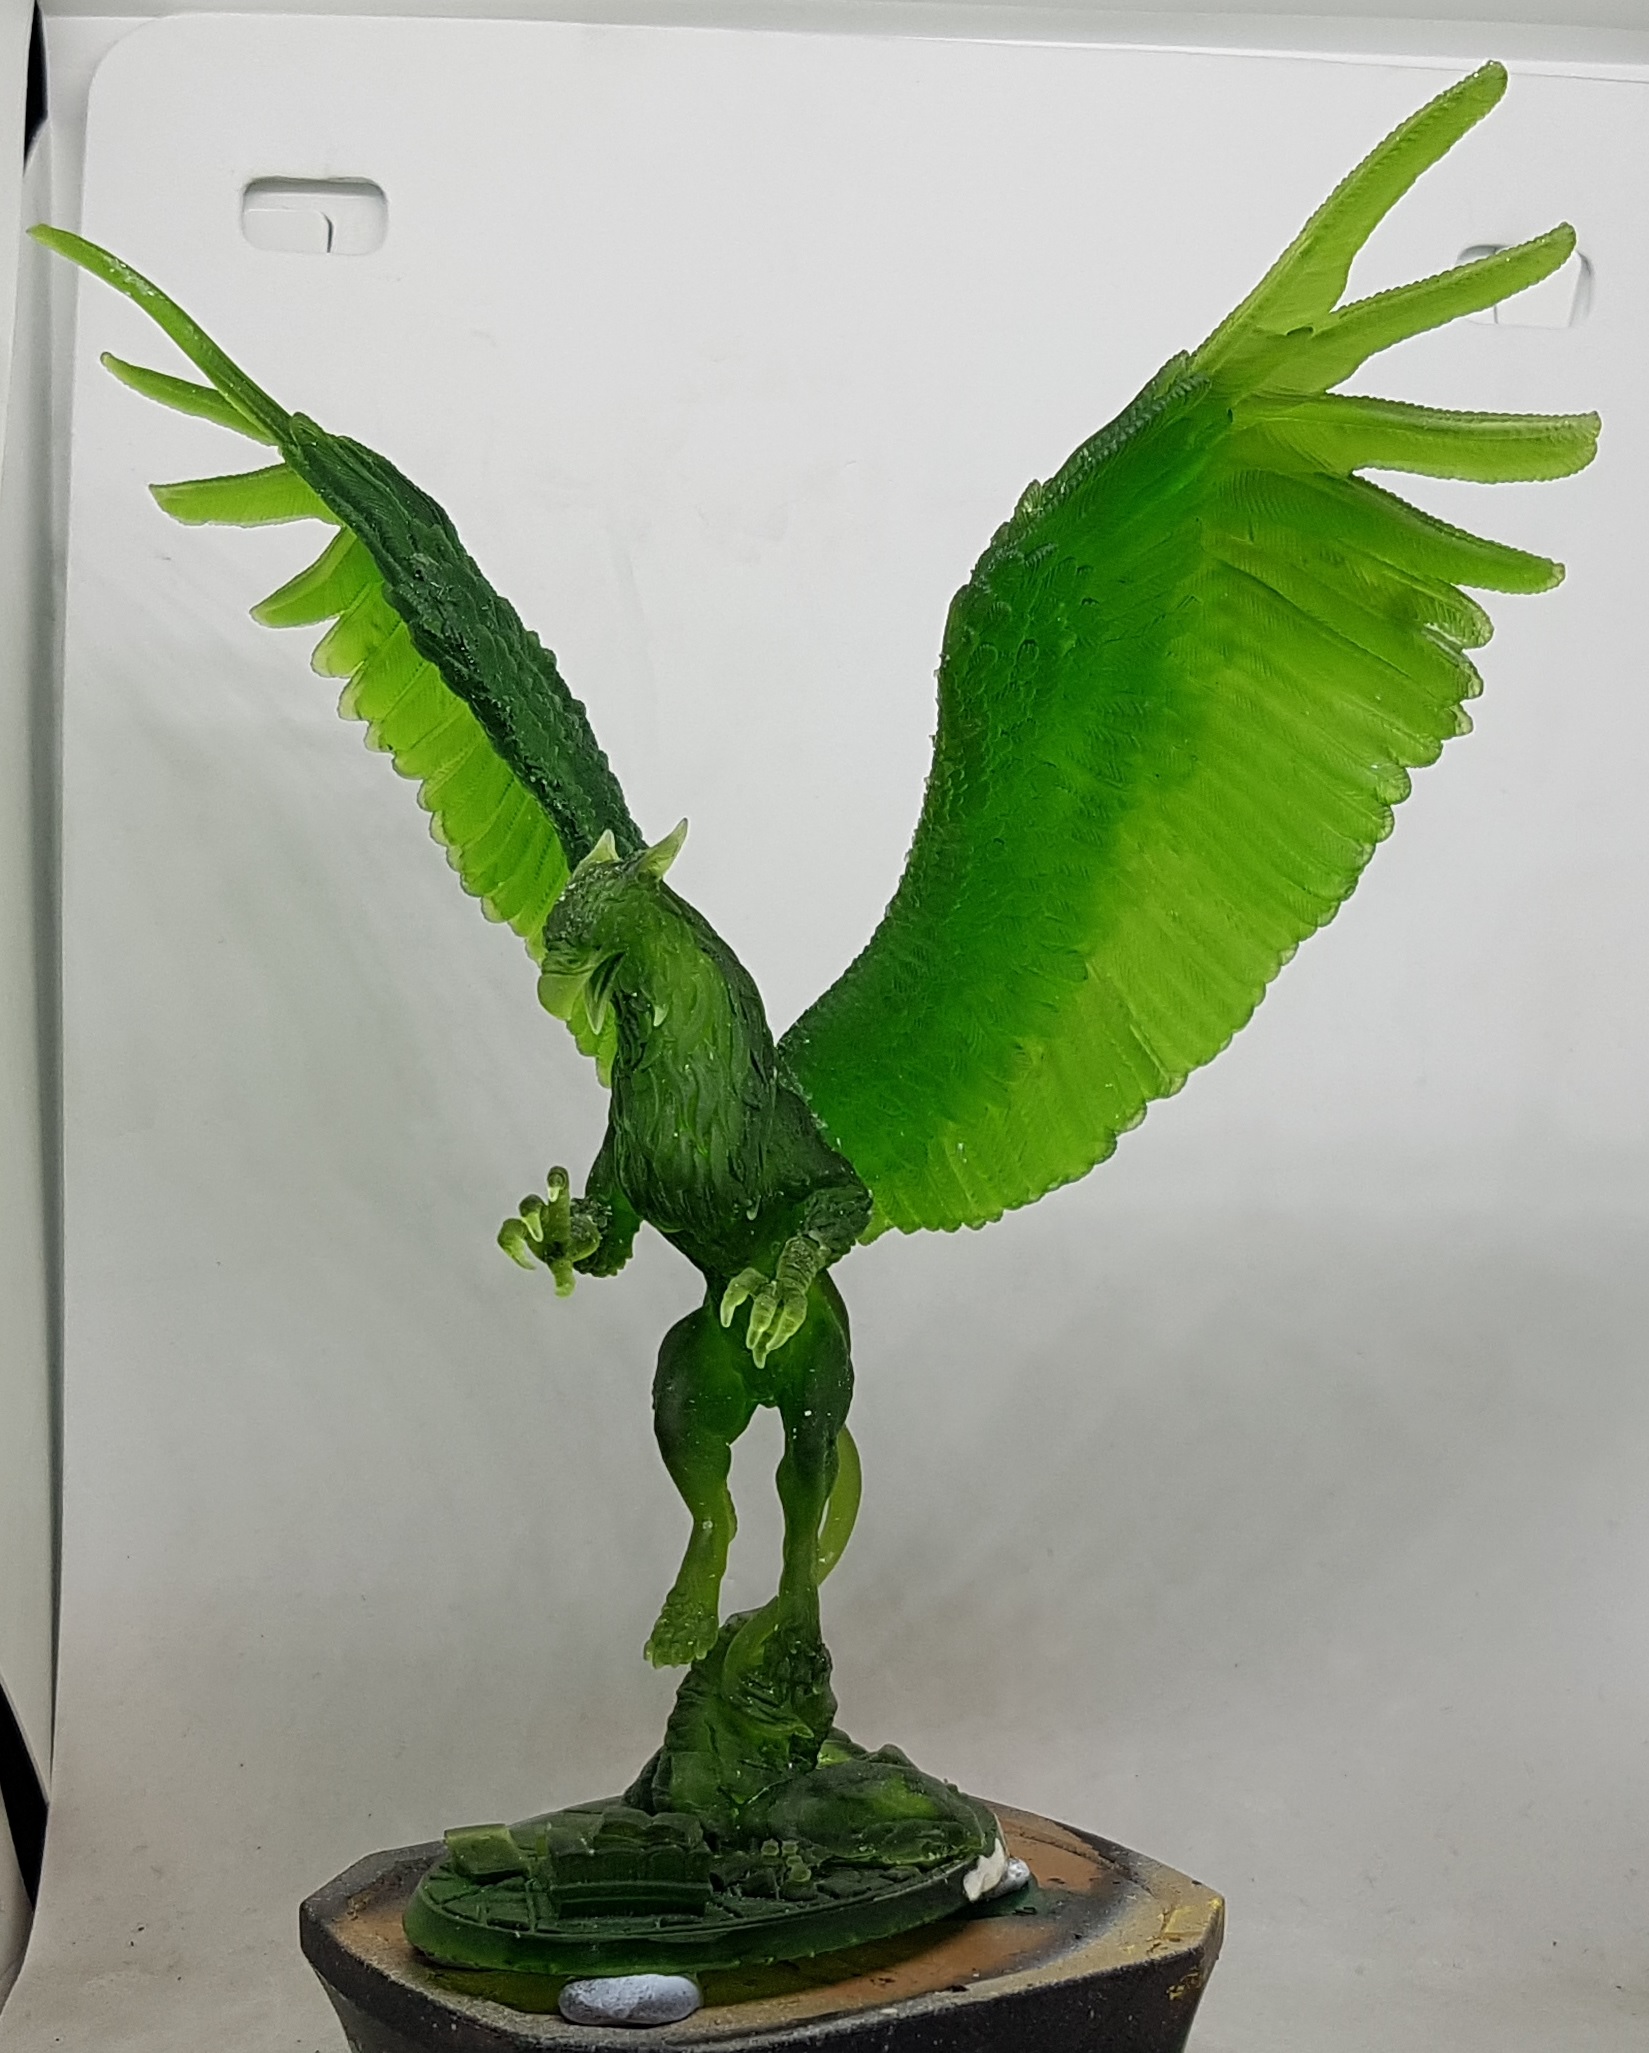
 Proof of concept piece done, I went back and tried my previous bases print and they worked fine. I’ve since printed out a load of bases, 2 30mm presupported minis and all the parts for an epic looking griffin and rider. I’ve only had one failure in that time and that’s because I took the print bed out and didn’t re-level it again. I printed 2 bases and one failed.
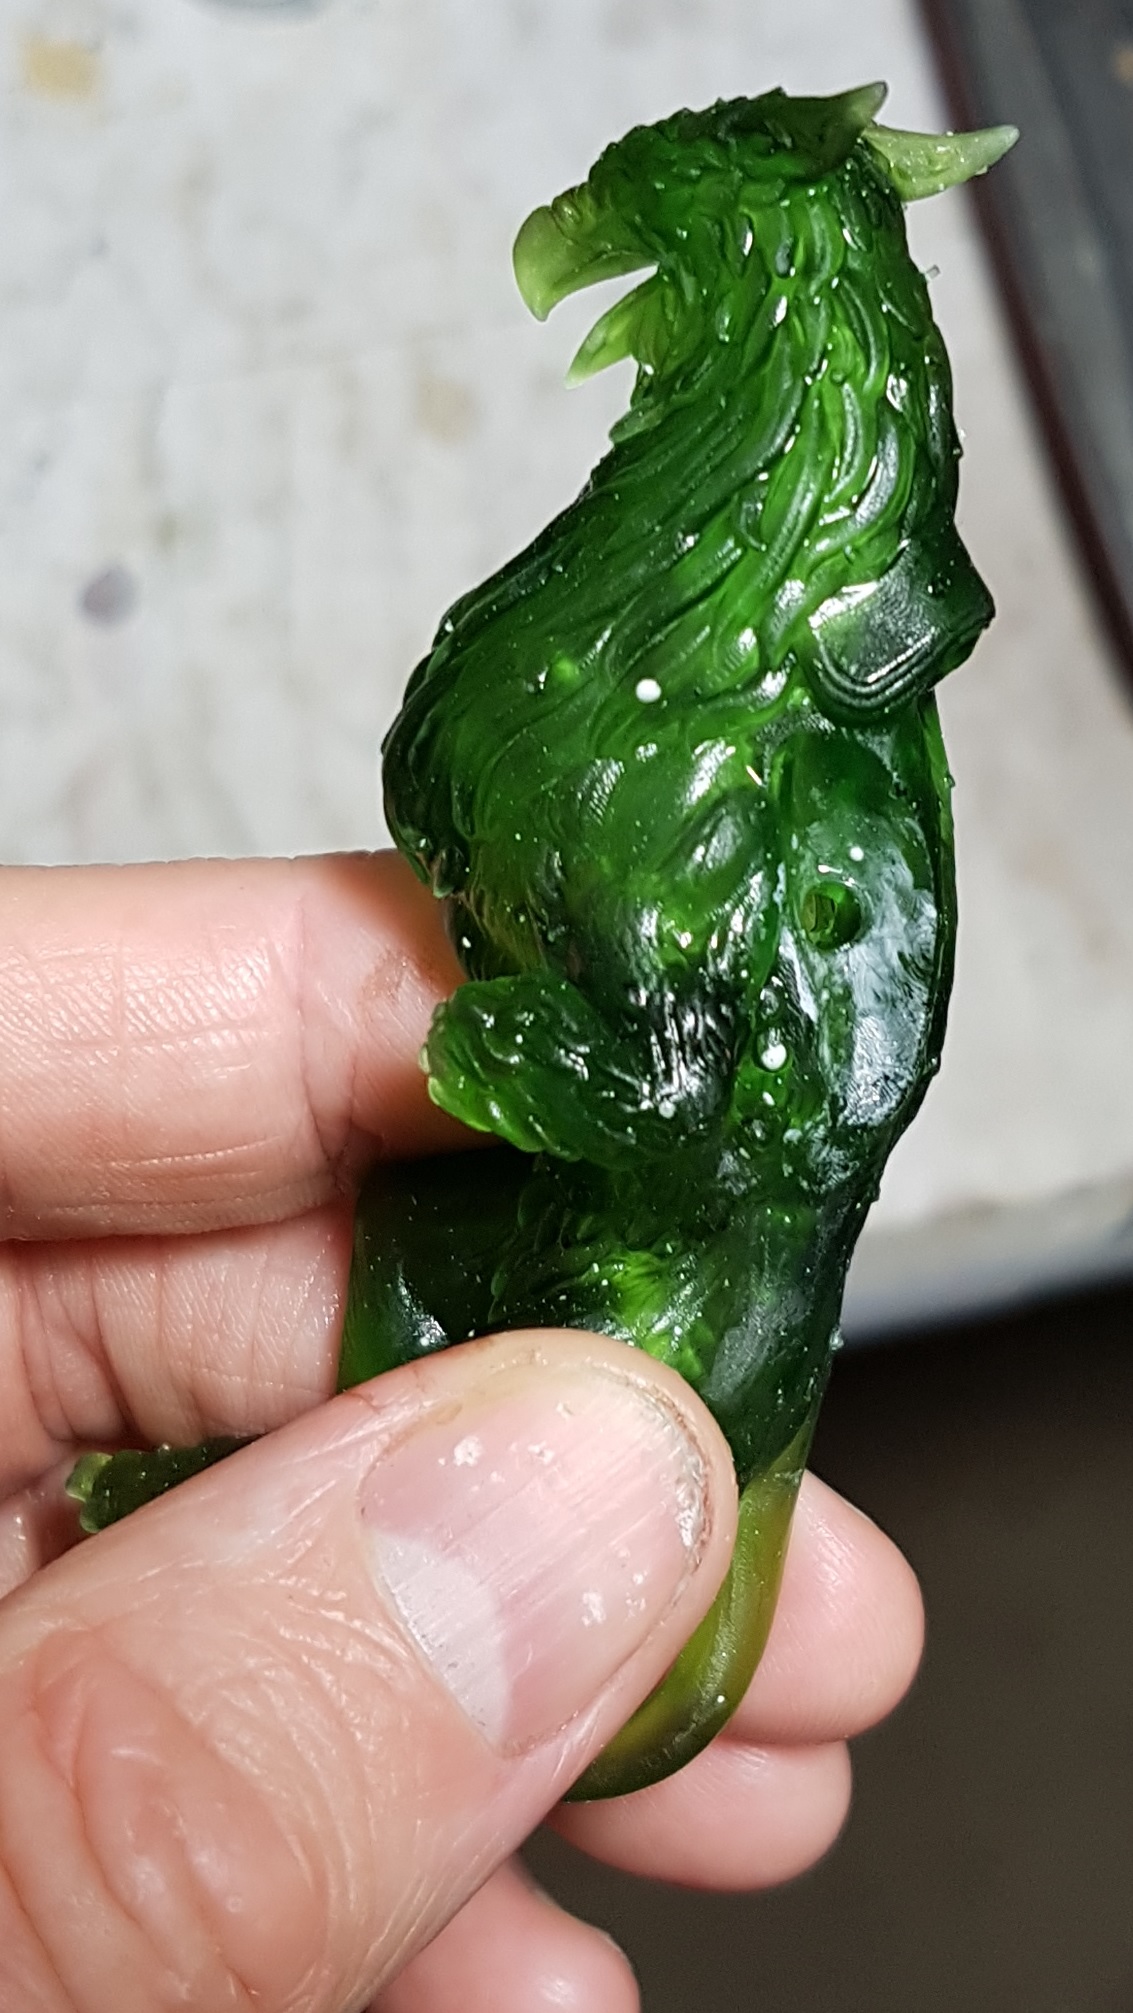
I have had another issue come up. I’ve only been giving my prints a couple of minutes in the IPA as I wasn’t sure how long they needed and I thought I’d read someone saying they have issues if they leave them more than that. I hollowed out my Griffin body and added a drain hole to each wing connection point. 2-3mm. I forget exactly. I washed him in IPA and left him in warm water catching the sun to cure. All was fine. Next day I take him out and leave him in the sun to dry. The day after I notice he has gained these white spots and smears. They appear to be a reaction between resin and IPA that has crept out of his body and set after the fact. I’ve since heard Blinky say he gives his prints at least 15 minutes in IPA and that’s what I’ve started doing. I can also really recommend making your drain holes as big as you can get away with. These were not big enough. On another piece I got cocky and ran supports through the drain holes. There looked to be plenty of room on the screen in the software. There wasn’t. They blocked up the drain holes and I needed to drill them out again.
Things to take away from my experiences:
- Watch this video before levelling your bed for the first time, or find a similar video for your model. A manual is no substitute for seeing it done.
- Always mix up your resin before a print. Shake the bottle thoroughly before pouring it out or GENTLY (No spills, splashes or scratches) stir it in the bath.
- Don’t put too much pressure on the plastic scraper as it could break and hurt you or the machine
- Give the edges and the top of your build plate a wipe down with a paper towel between prints to prevent build up and slow curing of residue.
- Use their paper filter funnels with caution and only inside a real funnel
- Prepare for an accident or spill that makes more mess than you expect. You cannot afford to get resin everywhere so prevention is better than a cure. Cover everything in many layers of newspaper. Keep paper towel nearby ready to mop up everything at short notice and keep a plastic bin bag (Not a shopping bag. They have air holes in the corners) to hand to throw everything in. if you have a spill you will not have time to fetch stuff.
- Jam jars are big enough to wash small bases and some small minis in, but they really are not big enough to wash much else. I got caught short and cut down a milk carton to make a temporary IPA bath. It doesn’t dissolve but it is not safe or stable and I will be replacing it. It was all I had to hand.
- The manual says to fill the bath 1/3rd of the way. Be warned that the build plate will go down in to the bath and displace the resin. It will rise a lot! You do not want it overflowing and you do not want it filling the screws on the top of the plate. That will end badly. It couldn’t hurt to wipe the edges of the plate after every print, even if you don’t fully clean it
- I’ve been trying to remove my prints from the plate without removing it from the printer. Be aware that if you apply too much pressure like this you could end up damaging the machine so if you’re doing this and getting some resistance you should probably remove the print bed and be prepared to re-level.
- If you hollow out a mini remember your drain holes and remember that while the model might fill your screen and the hole looks big, the print will be much much smaller and more narrow than you realise. Make your drain holes as big as you can get away with.
- Expect whatever you use to water bath your minis in to have debris stuck to it. I was using a measuring jug and leaving things bathing in water and sunlight for days. I have had to scrub it clean and leave it soaking for some time. it was not good.
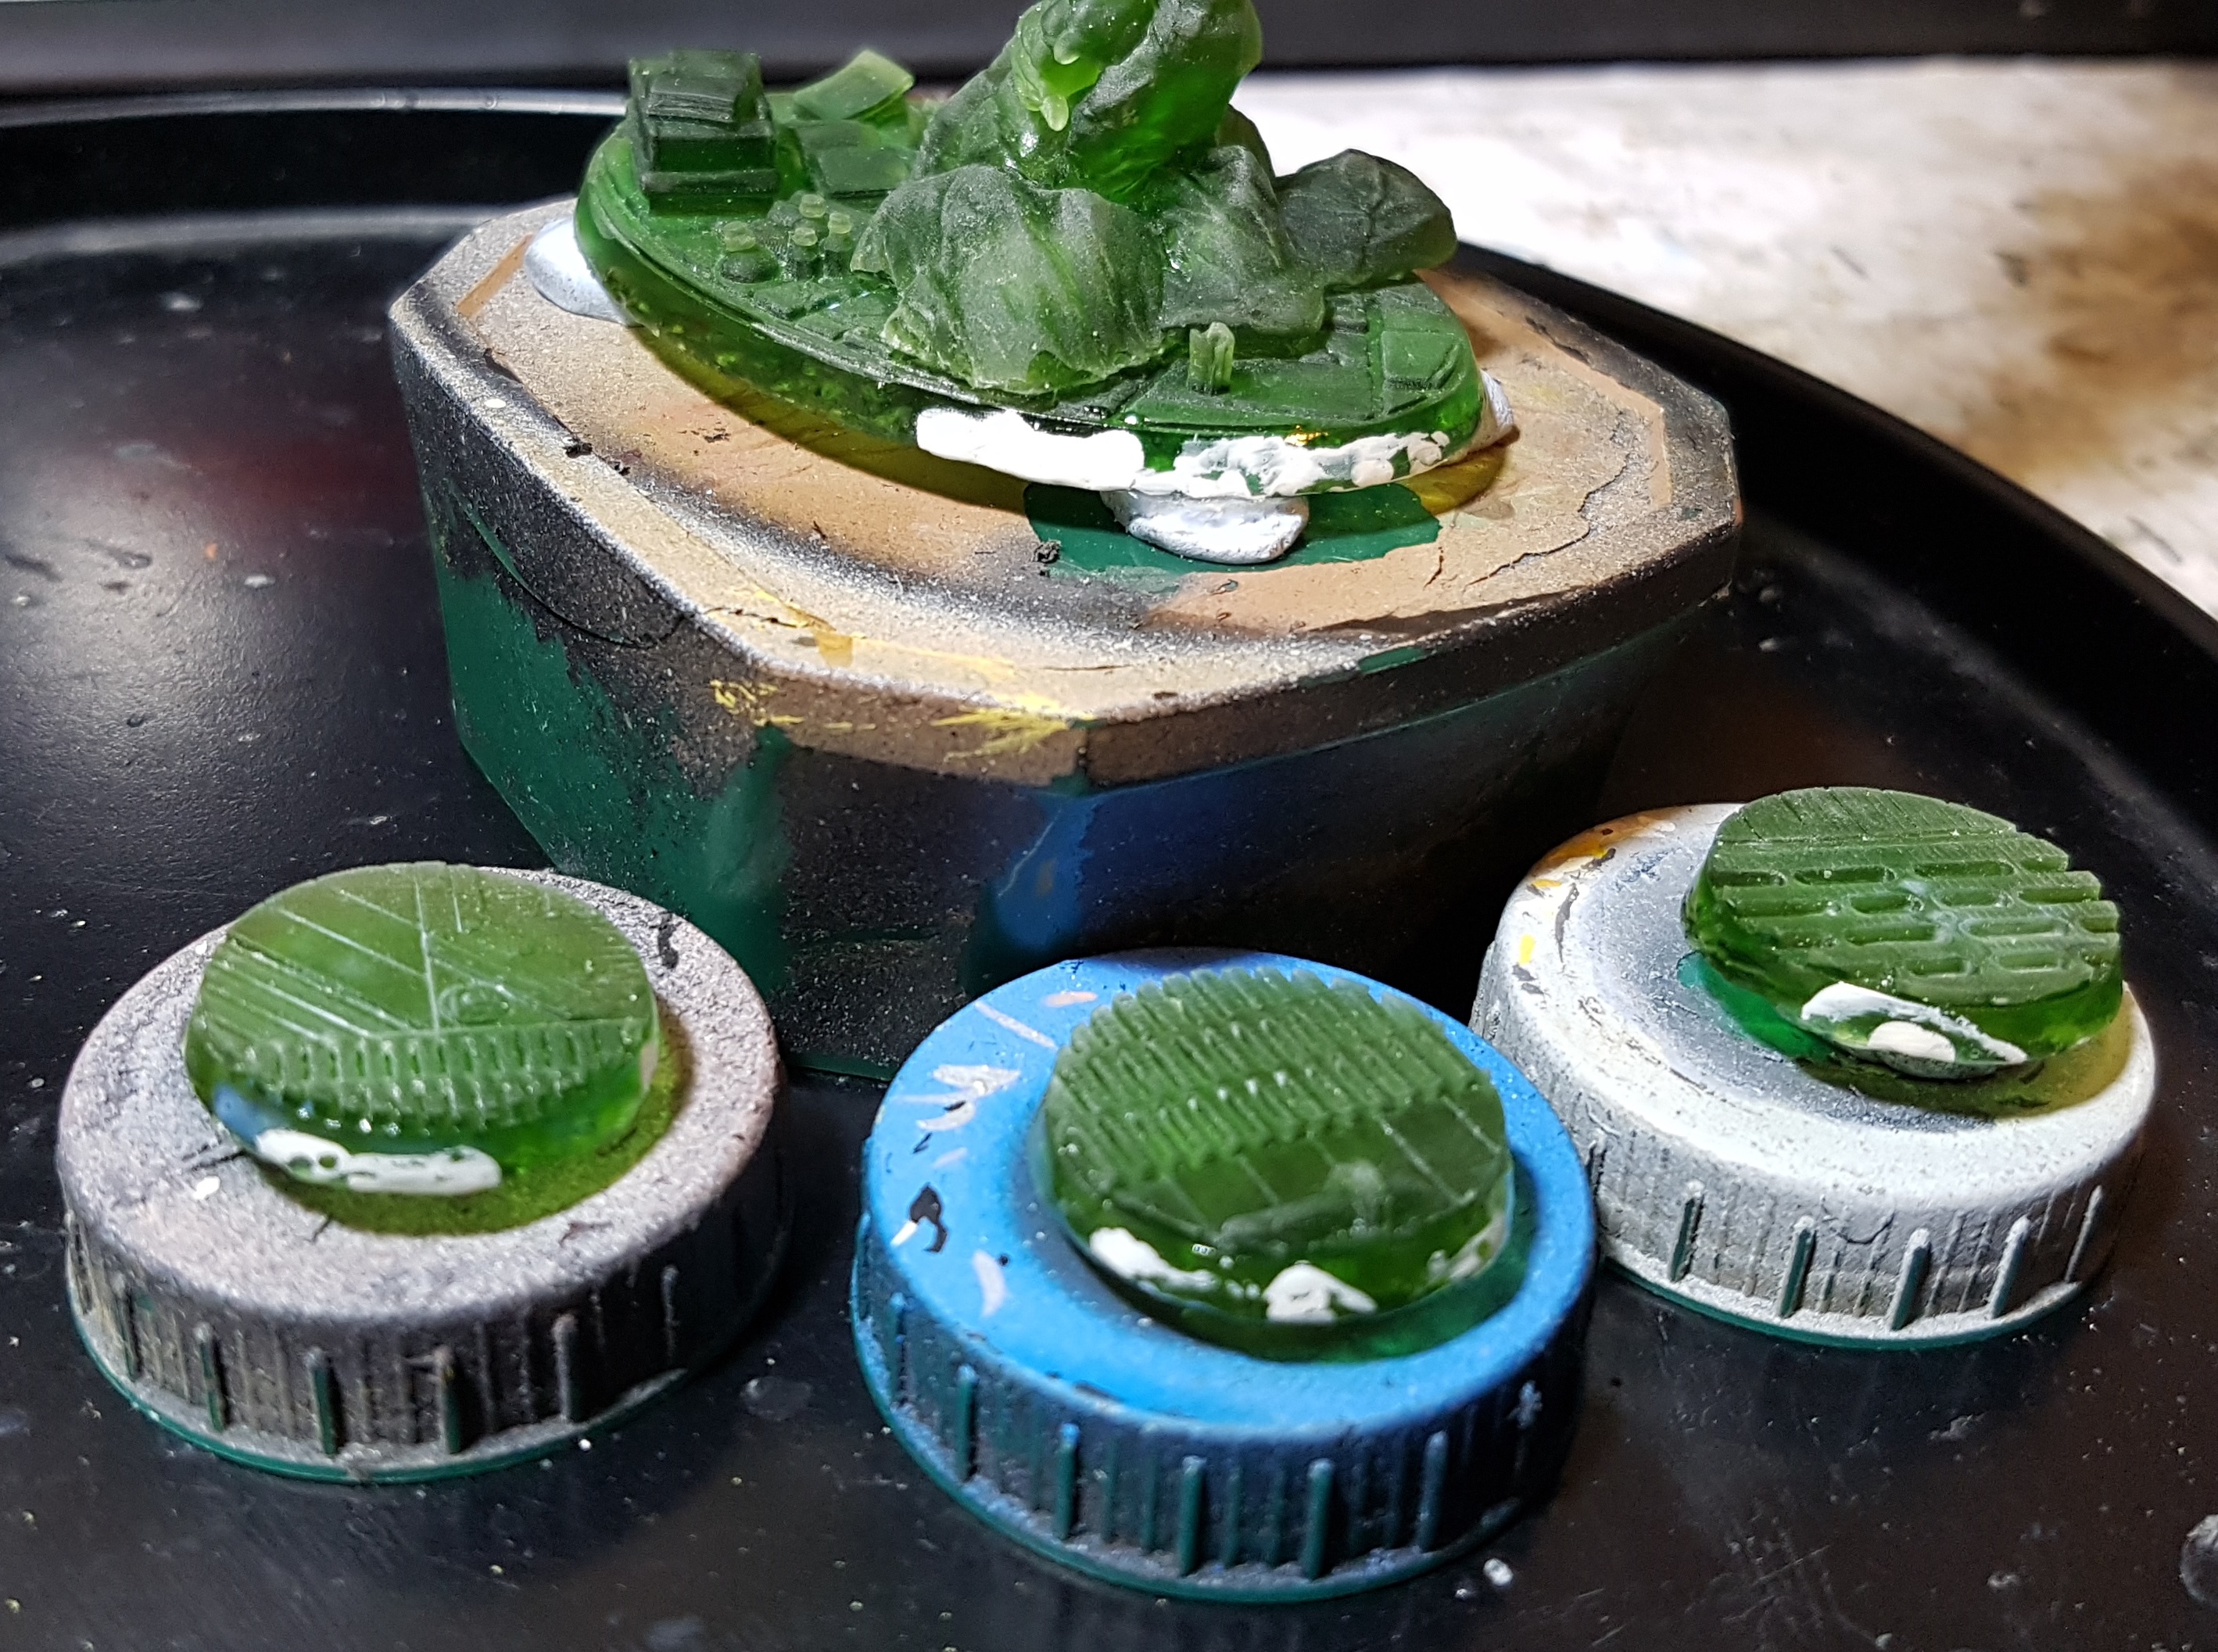
- Auto Supports. As the videos I linked before say, Auto Supports through Chitubox are not great. I’ve been using them on my bases though and then going back and adding a few heavy supports along the leading edge and everything has printed fine. However, what those videos didn’t point out is that when you click add autosupports it just runs off of whatever type of support you had selected at the time. It doesn’t switch between light, medium and heavy based on need. I was ending up with heavy supports everywhere when I did not need them, making it much harder to remove the supports. I was using clippers and as the supports were coming away they were sometimes taking chips off the edges (I’ve patched them up with Vallejo Plastic Putty, filed them down and put 5-10 coats of gloss varnish over them. We will see how this works out). Dropping Autosupports down to Lights, then adding 6-10 heavies and switching to CAREFULLY using a box cutter to remove supports has been yielding much better results and I even still have all my fingers!
- Wash your minis in IPA for at least 15 minutes and be wary of any hollow models still trapping anything inside them. It could leak out and stain them or another model, or even get on you.
- Photon File Validator is really useful for checking and fixing your supports. After slicing you should always at bare minimum run them through this program and let it fix what it can automatically. Watching this video will show you how to find and fix everything else it flags. There is no reason for a print to fail due to lack of supports with this program out there.
- Don’t use toilet paper to clean up. I was caught short and was using it, but it tends to leave little fragments of paper behind. The kitchen roll I’m using hasn’t been doing this yet.
- Don’t trust the timer on the slicer or on the printer. They are mostly right, but not 100% accurate. They will be in the right ballpark.
- If you leave your IPA wash pot in sunlight the resin will cure, but not in a solid lump. My resin is clear green and my IPA jar is full of what looks like white foam/cream. I’m told you can dispose of that and reuse the IPA but I have yet to do this.
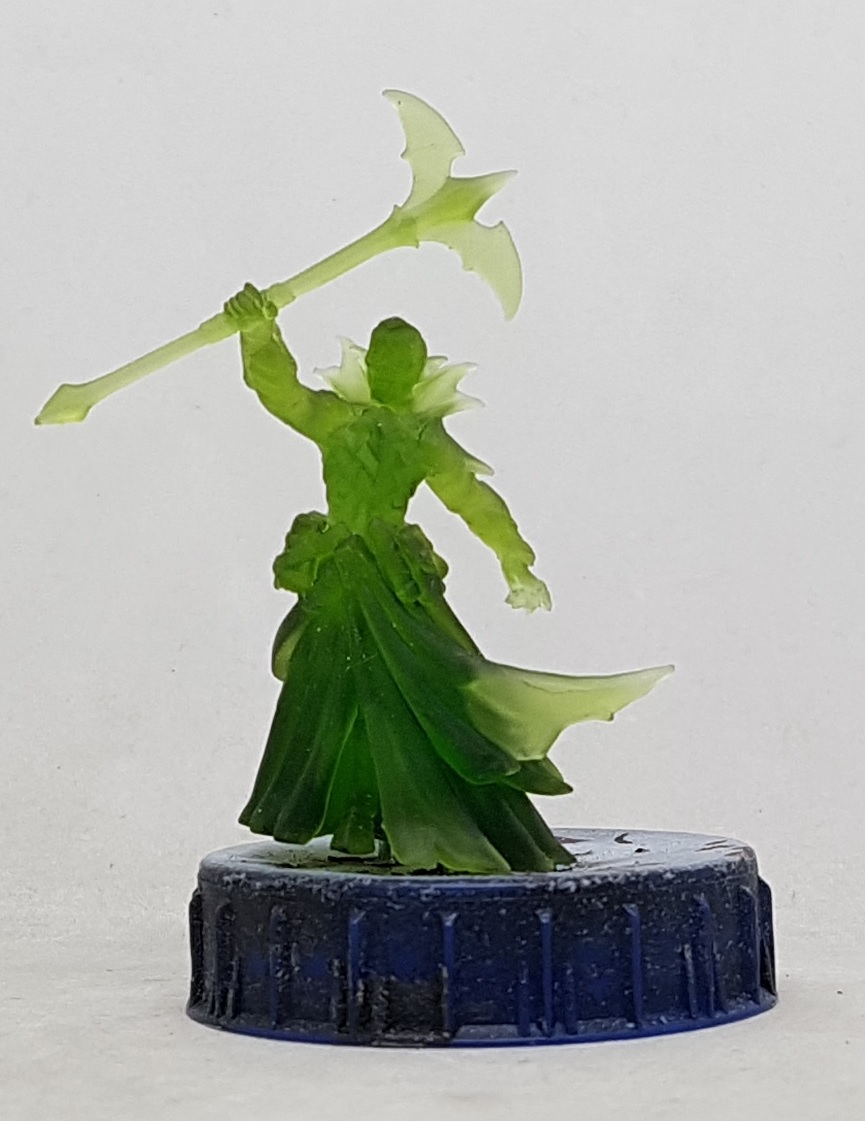
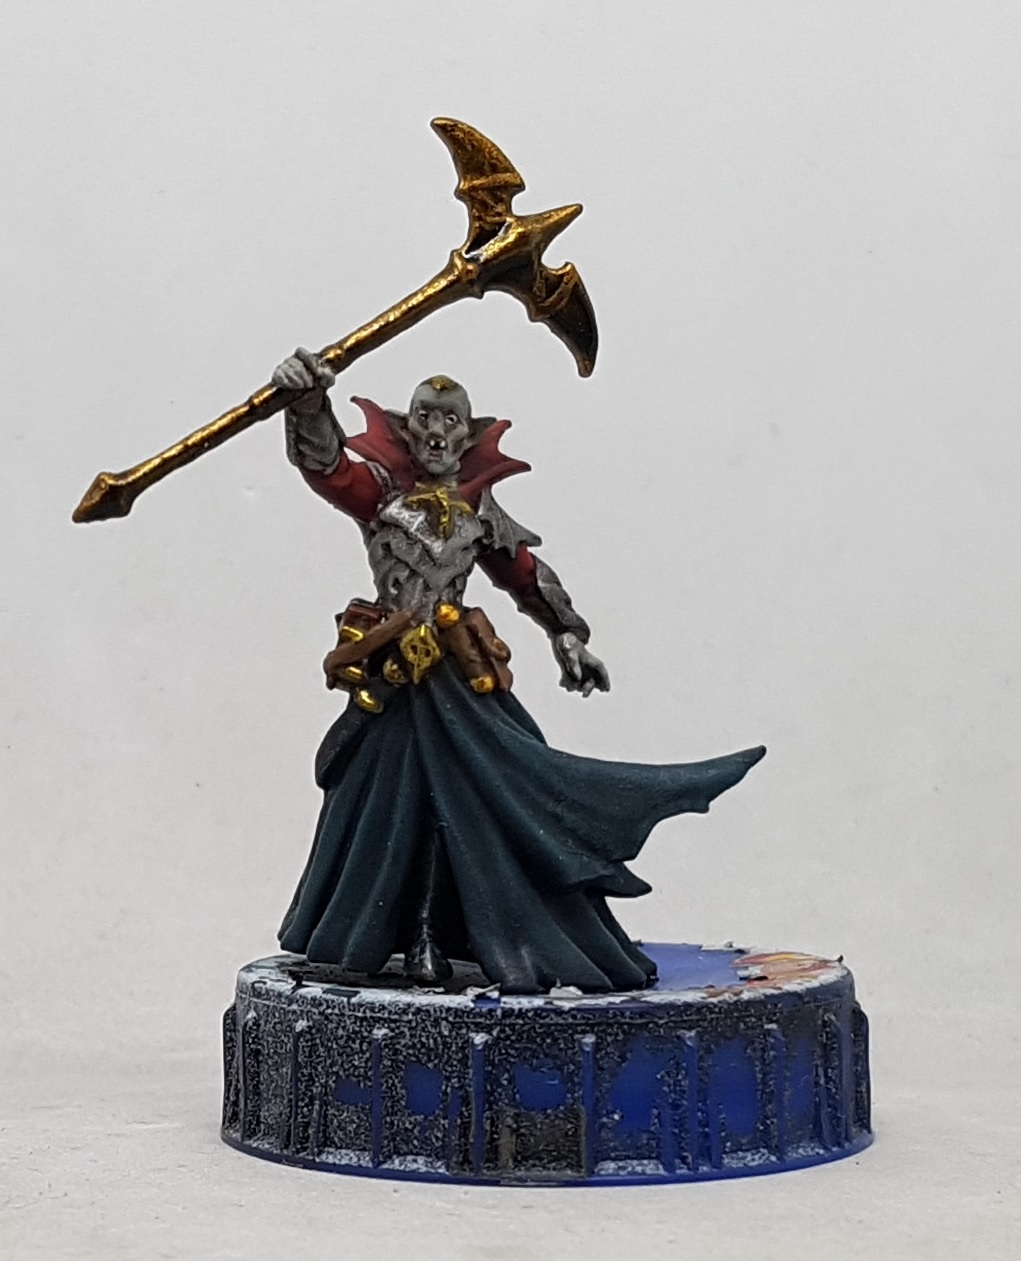
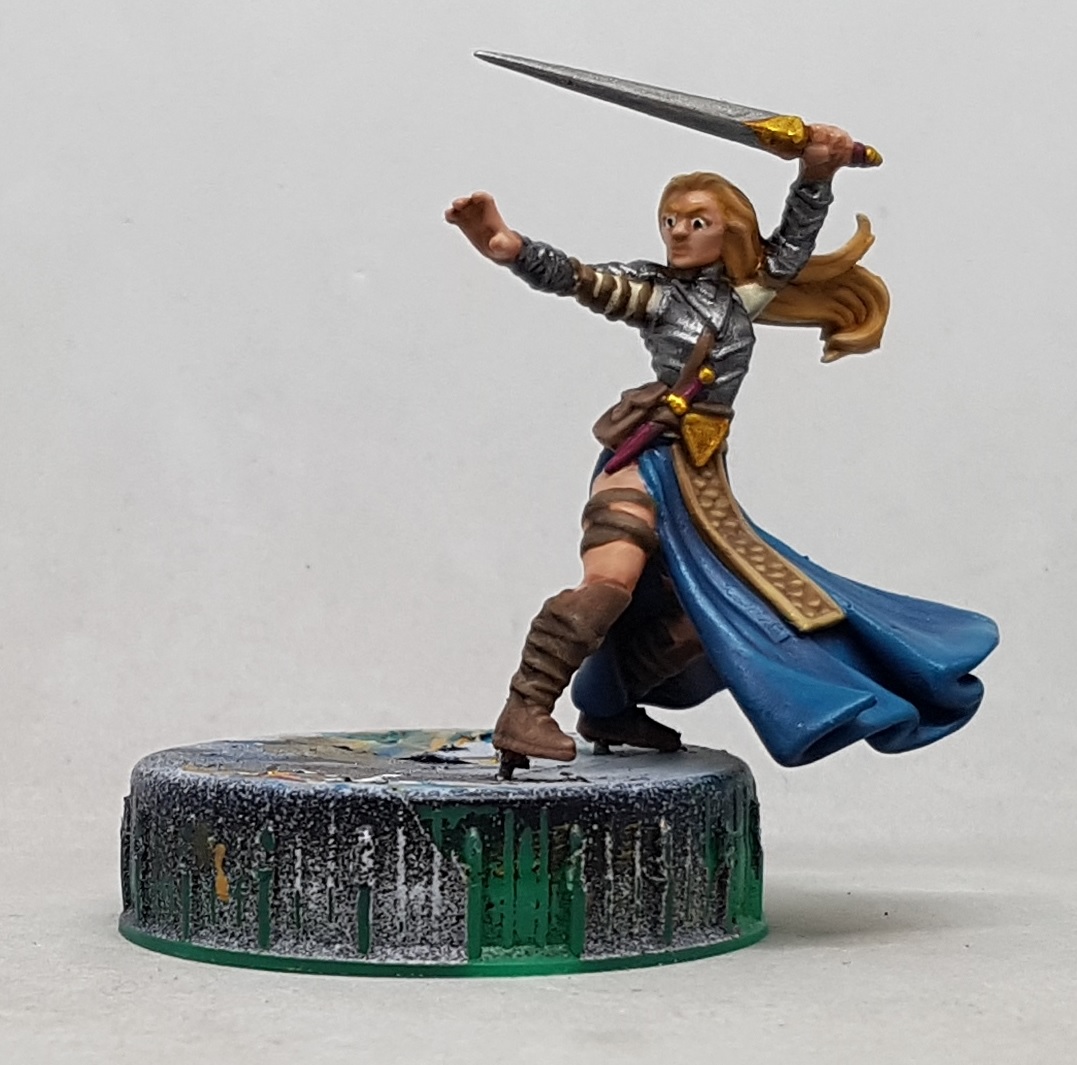
Here are some shots of what I’ve got printed so far, along with a WIP shot of my attempt to fix the chipping on the bases. Some primer should reveal how well that’s going.
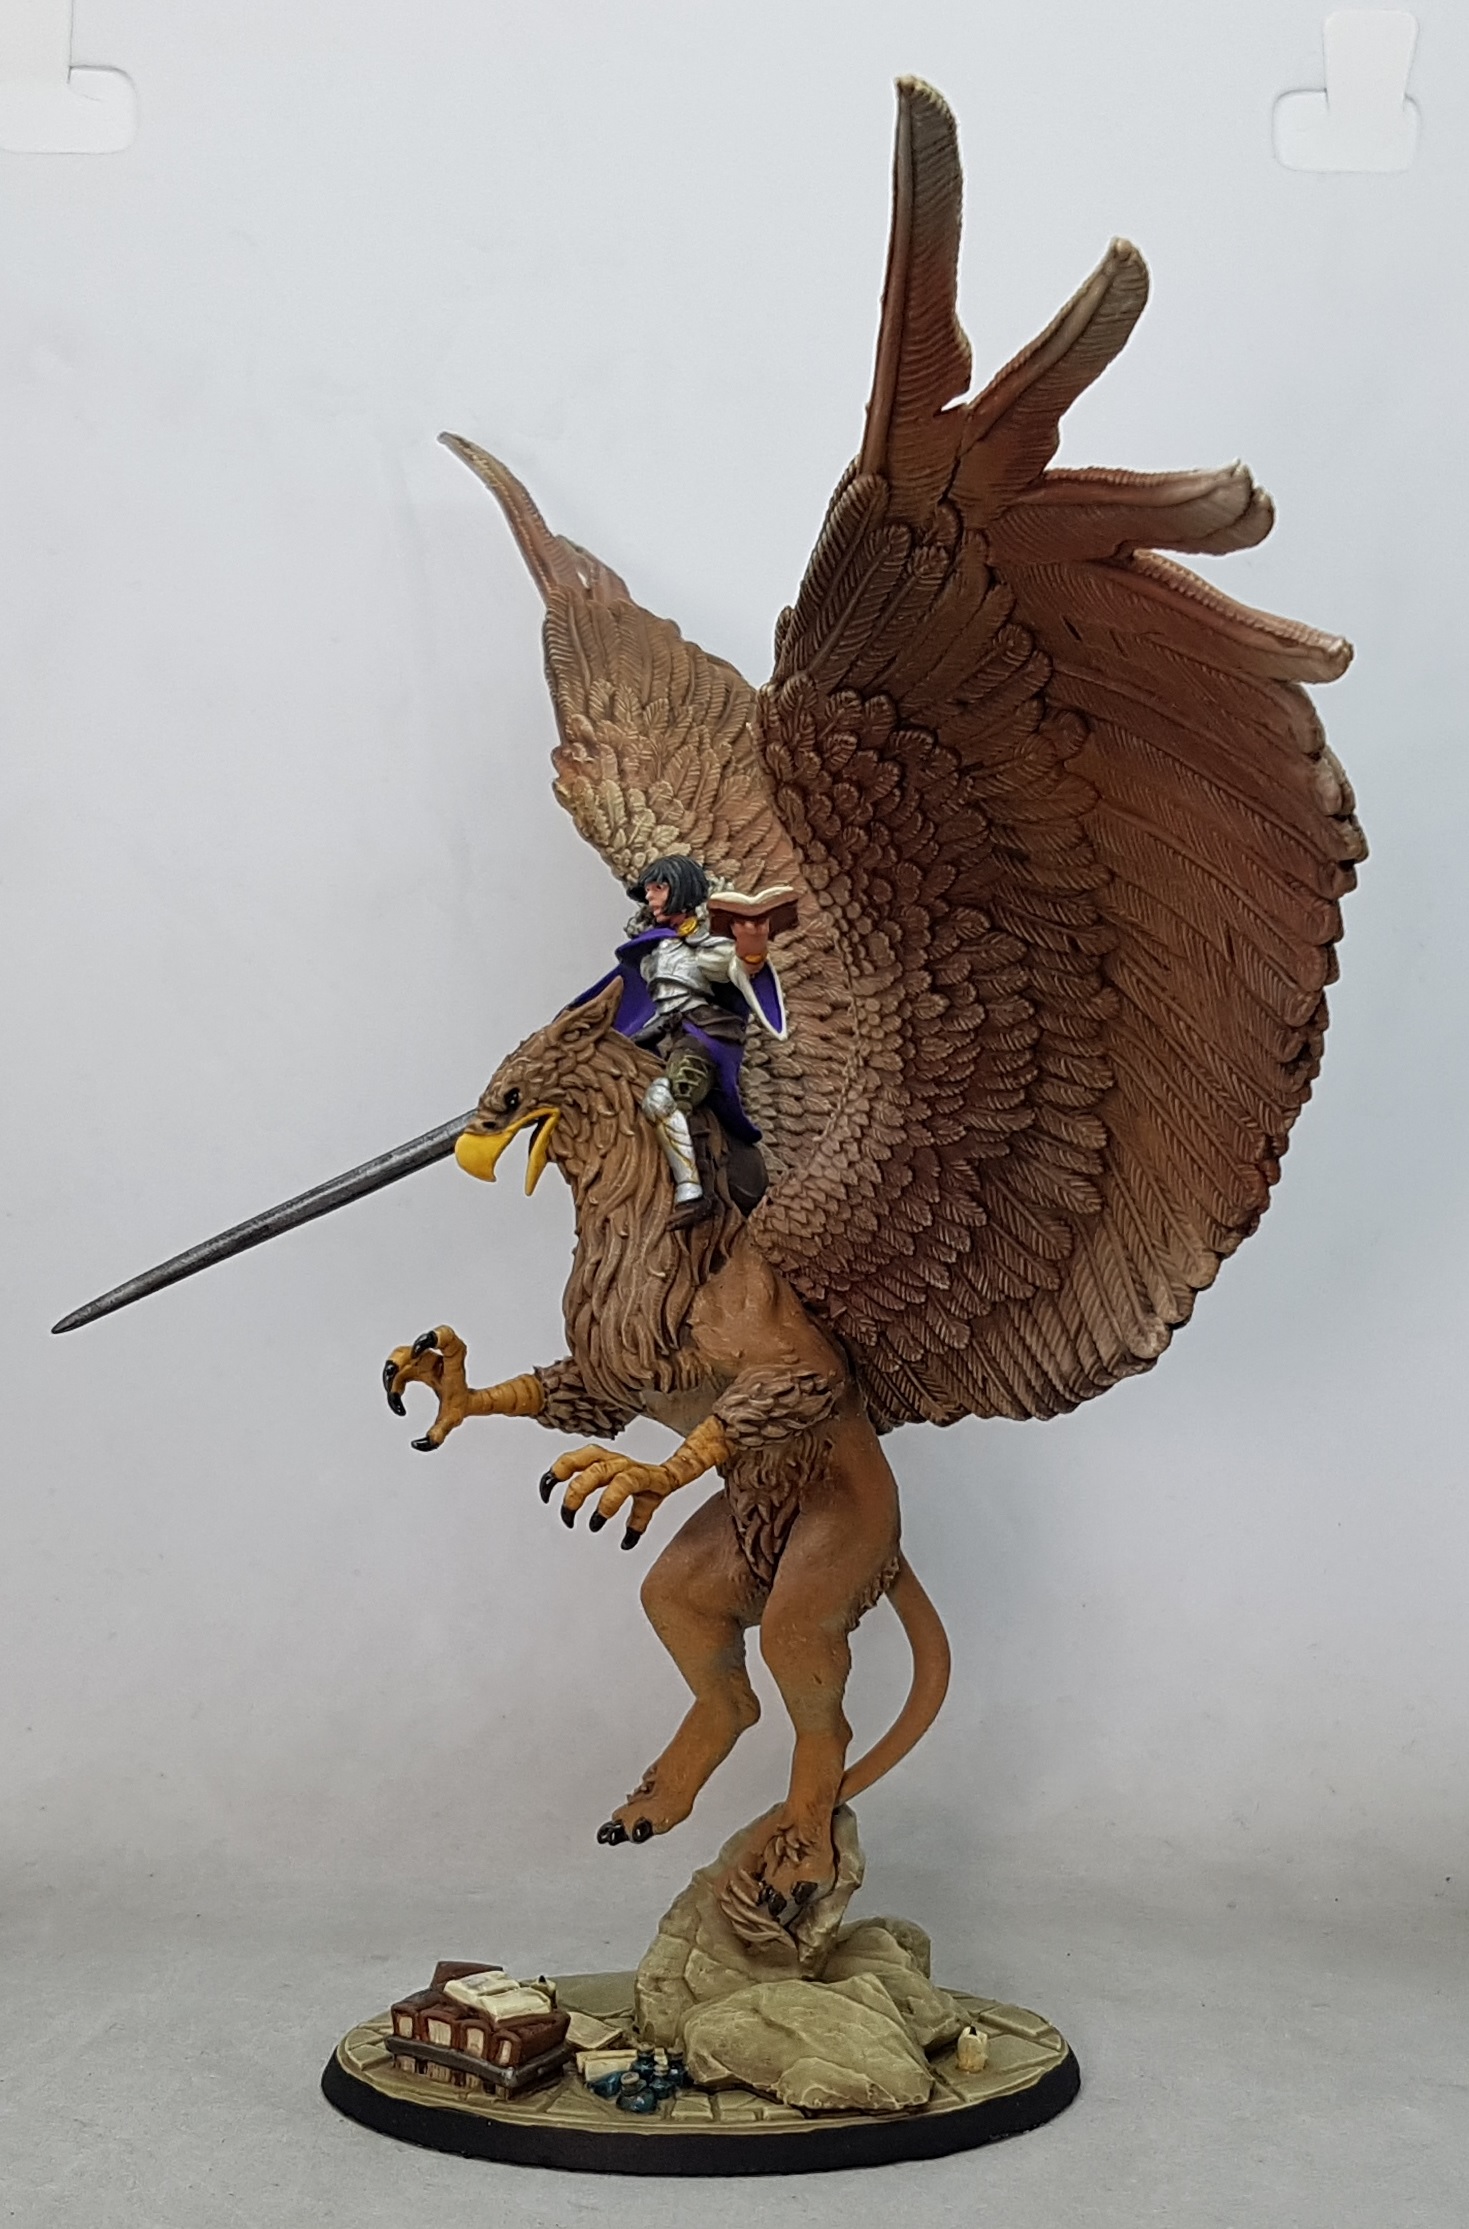
EDIT: 19/5/2020 I finished my griffon rider and added the shots below

Anyone who has browsed Thingiverse has learnt two things:
- The search functions are not the best and really aren’t designed for us
- Its a temporal black hole. You go there for 30 seconds to look for one thing and without noticing two hours just disappear.
As such I’d appreciate some pointers for some things I’d like. Files I’d like suggestions for are:
- I have the body for the previous sculpt of Abbadon the Despoiler for 40K. I do not have any of the other parts. I don’t play 40K, but it feels like a waste having what feels like the bulk of the mini and not finishing him up. if anyone has sen suitable STL files for printing his arms, head and back spikes I’d like to see them
- I was handed a bag of classic Necromunda minis before christmas. Most of it is ready to paint, but there’s a load of generic plastic Orlock Gangers that need limbs and weapons. Suitable STL files would be appreciated
- I fixed up a second hand Space Wolf army last year not really knowing what I was doing. When it came to the marines I was advised to just build what I thought looked cool and it’d be fine. I did and I painted them and then I found out there are 3 different types of Tactical marine in the Space Wolves and my build options do not make a full unit of any of them. I’m a mini or two away from a full table legal unit, despite owning 13ish models. I don’t play the game so I don’t want to buy another box of marines, but it bugs me. If I could print up the remaining model or two I wouldn’t have this niggle at the back of my head. I know GW wouldn’t appreciate this, but I’ve already seen some STLs on Thingiverse, but they all have their heads fixed on using grated face plates and the SW are more of a helmet-less people. Anyone seen anything suitable?
- At some point in the future I might be interested in printing some minis for Moderns or maybe Flames of War or Team Yankee. I assume all this sort of thing is uncopyrightable, even if individual files can be. Has anyone any favoured creators on Thingiverse or anywhere else?
- I painted up some Daemons during the 40K hobby weekend and I have a Slaanesh box to go with it yet to paint (A prize from BonesCon). Has anyone seen any printable bases that would match my scheme? I’ve been holding off painting them in case there’s a 40K or AoS hobby weekend this year.
Questions:
I’ve seen it said that resin is only harmful to us and the environment in its liquid state so once its cured it is safe. IPA is safe to go down the drain too. So if we cure all our waste, including leaving out IPA and water baths in sunlight for long enough we can dispose of it as if it were normal household waste. Is this true?
Has anyone got any experience with plat based resin? How biodegradable / long living are the prints? Is the waste safe to through out and the printer air safe to breathe?
I’ll be looking to cut some large models in to smaller printable parts soon. I hear MeshMixer is the way to go. Has anyone any preferred Youtube tutorial videos on doing this?


Answering your limbs and heads question to some extent, I’d recommend getting familiar with either meshmixer (introductory video: https://youtu.be/3GGnwDCFfv0 ) or MS 3d builder. Both are free pieces of software allowing splitting and merging different (and manipulating) meshes. To give you an example, I use 3d builder (amazingly simple tool) in which I changed 1/10 scale figure to 28mm and changed her weapon to match my Infinity army. Cutting off hands or heads and printing them as bits is just simple (on top of that you can scale them to fit your minis, mirror them, merge with different weapons or… Read more »
Meshmixer is on my list and I am after some good how to videos for people sho have issues doing anything interesting using MS paint. I should be able to learn how to cut chunks ouf of STLs, but I doublt I’ll be able to actually create anything fancy from scratch. Thanks for the links. I’ll definitley be giving them a good look.