


![TerrainFest 2024 Begins! Build Terrain With OnTableTop & Win A £300 Prize! [Extended!]](https://images.beastsofwar.com/2024/10/TerrainFEST-2024-Social-Media-Post-Square-225-127.jpg)


WW3:TY Soviets


2b - Su-25 Frogfoot Aircraft (x4): PAINT
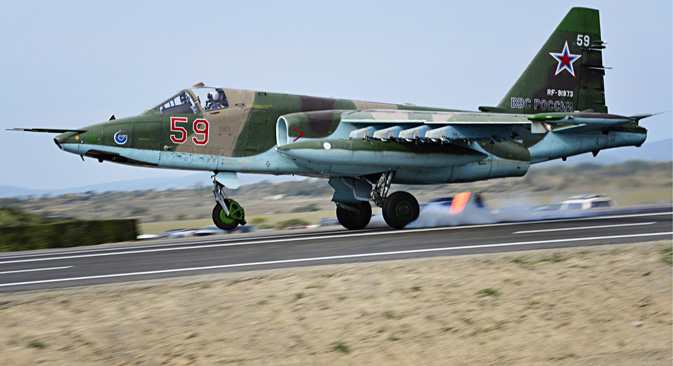
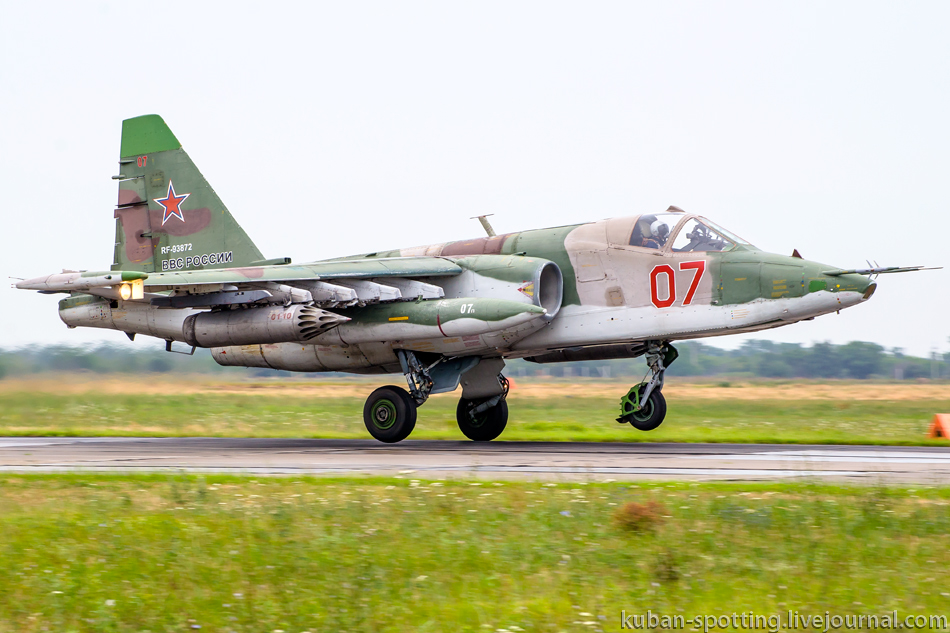
Looking for reference colour schemes I tend to bypass model references and look for real-world examples. This plane was widely used across the Warsaw Pact, so made sure I found Russian references rather than Czech, Polish or Ukranian – all of which have slightly different schemes (but the giveaway is usually on the tail).
One thing I immediately spotted is that I’m not going to need such a steady hand painting the line between the underside and the top camo 😉
Priming
The Vallejo Mecha Ivory Primer is on. Trying this primer range for the first time as it’s designed for the airbrush and is reputed to give a tougher surface. Realised a bit late on the first model that I probably hadn’t mixed the bottle enough as very little pigment came out. Get the impression that the pigment in mecha is finer than other Vallejo primers and had probably setttled before reaching me. Worked a lot better once I’d properly mixed it.
Top Camo Colours
Sorted my three top camo colours as shown below with some test patches. The Ivory is not as dark as I’d anticipated, should probably have used the same Desert Tan as the Hinds, but going with:
- 50% Khaki Brown [71.024] / 50% Aged White [71.132]
- Russian Green [71.017]
- Burnt Umber [71.040]
Probably applied in that order using putty to mask. Again a first attempt using this technique. The under-colour will probably be the same as the Hinds and again I may try using the putty to mask off the camo line. I’ll also try to protect the canopy, although that would be based to black before the same effect paint used on the Hinds’ glass.
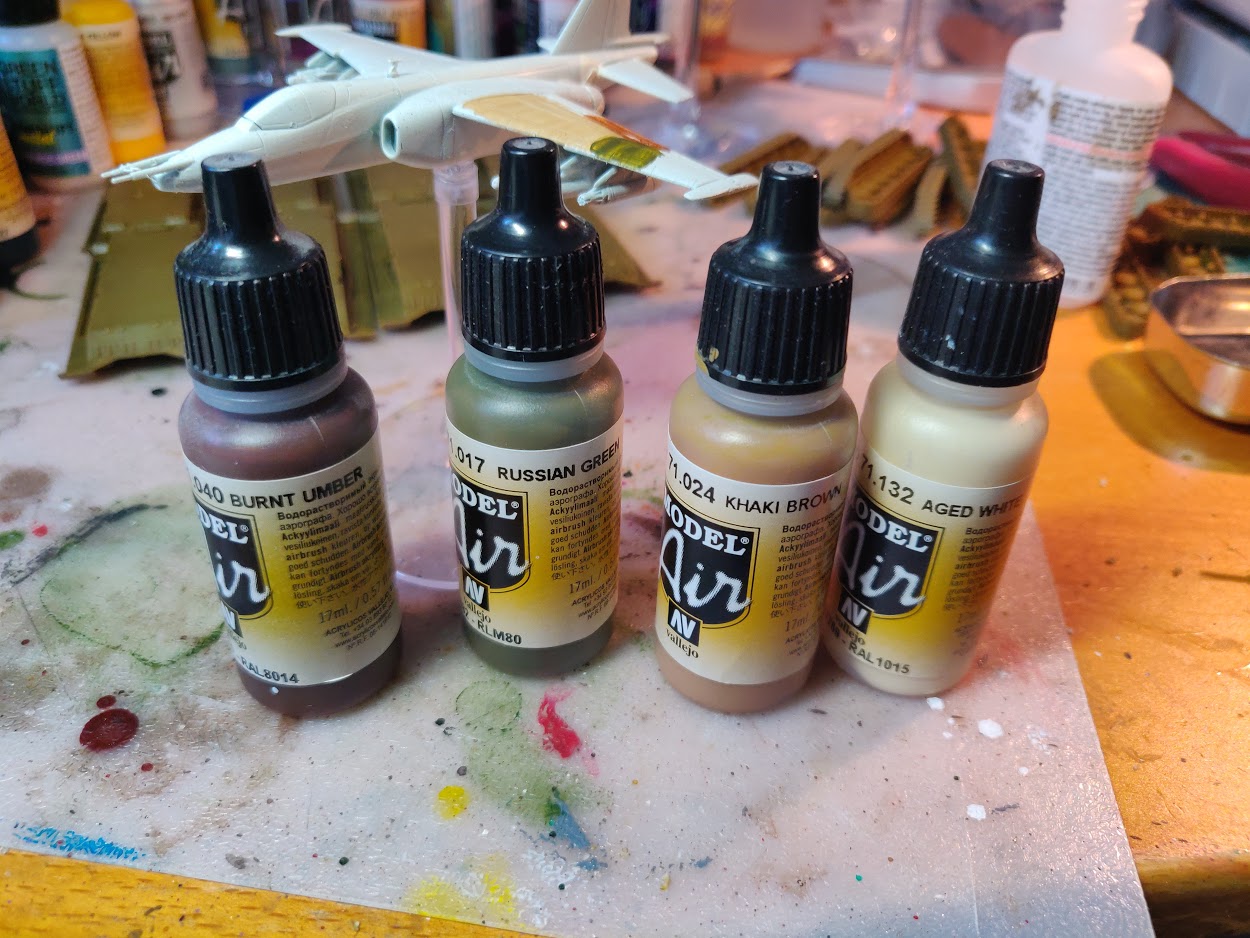 Top camo colours selected and tested
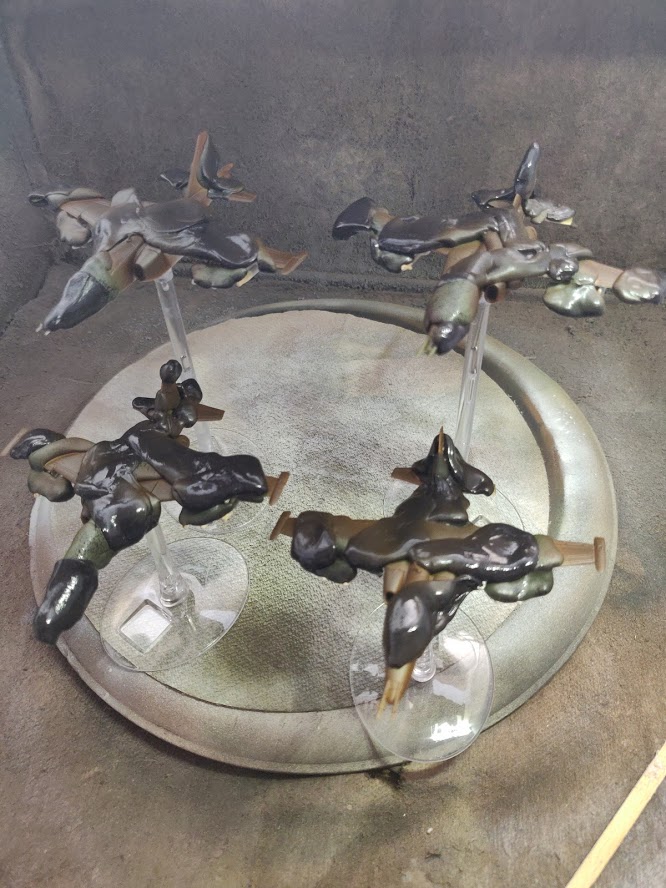
So here goes. First spray the light khaki mix all over the top surface and down the sides. Not being too precise as the colour underneath will come up and apply a nice line with the camo. Then on with the putty (retain light khaki) and on with the green. At this stage using this technique for the first time I have no idea how this will work out. I just know that I don’t want more than a third left light khaki…
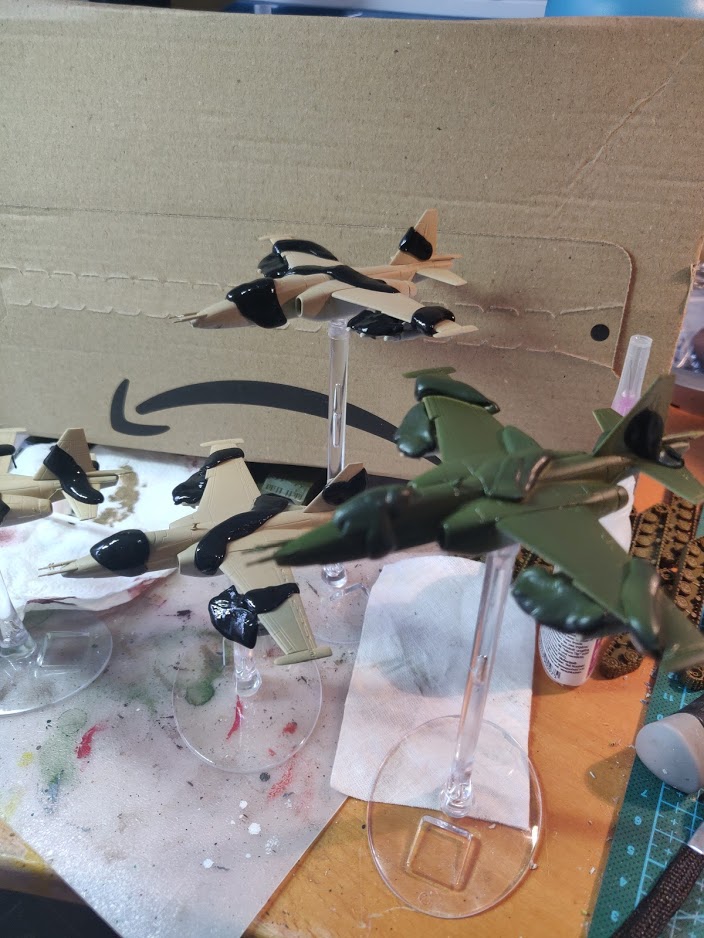 First plane gets it's Russian Green
Next colour is the Russian Green, making sure I don’t leave any fuzzy edges to the putty. Then more putty followed by the Burnt Umber. Time to leave it for a while before I mess with removing the putty. Schroedinger’s planes, at this point in time both potentially brilliant and potentially crap at the same time…
 All puttied up with three colours applied. Time for a cup of tea and cake before revealing...
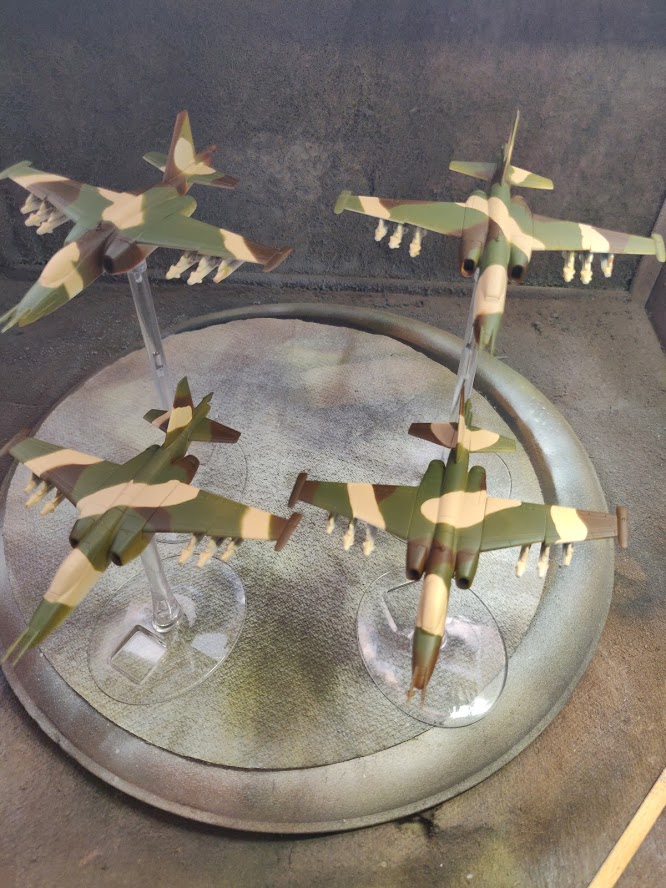 The putty's off!
I don’t mind admitting I’m rather chuffed! I’d planned to keep some bits consistent – the area around the cockpit and the area on the tail for the Russian Star left light Khaki. Apart from that enough variation overall for my liking. Some of the camo edges aren’t as twiddly as the box art, but I’ve not seen an real world reference photos that do that.
Under colour
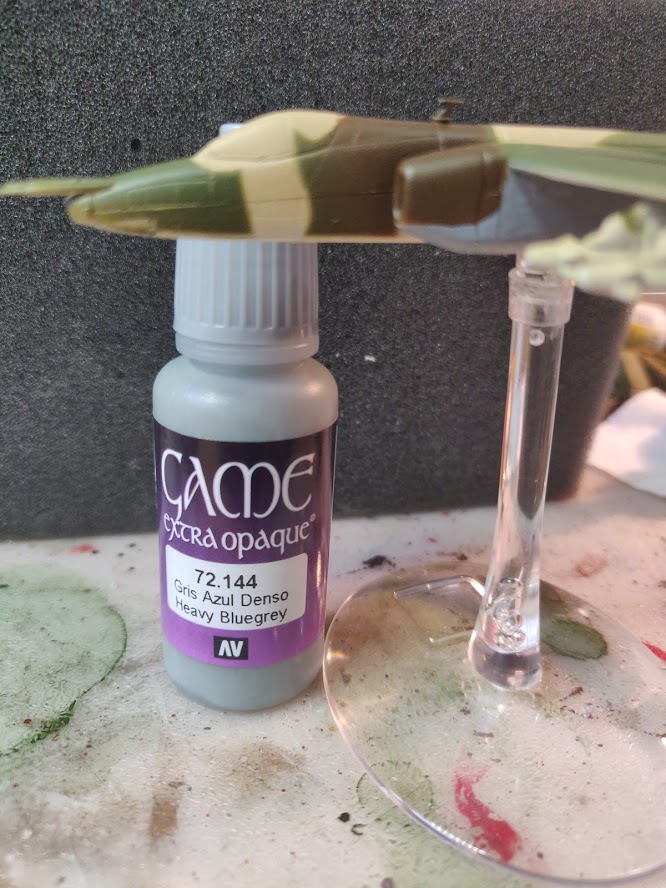
There’s going to be quite a lot of the green and umber to cover up under the model so I checked my pack of Vallejo Game Extra Opaque paints (high pigment) and the Heavy Bluegrey looks a good match to me. A quick test under the wings of one of the models shows it covering anything else in one coat… ideal!
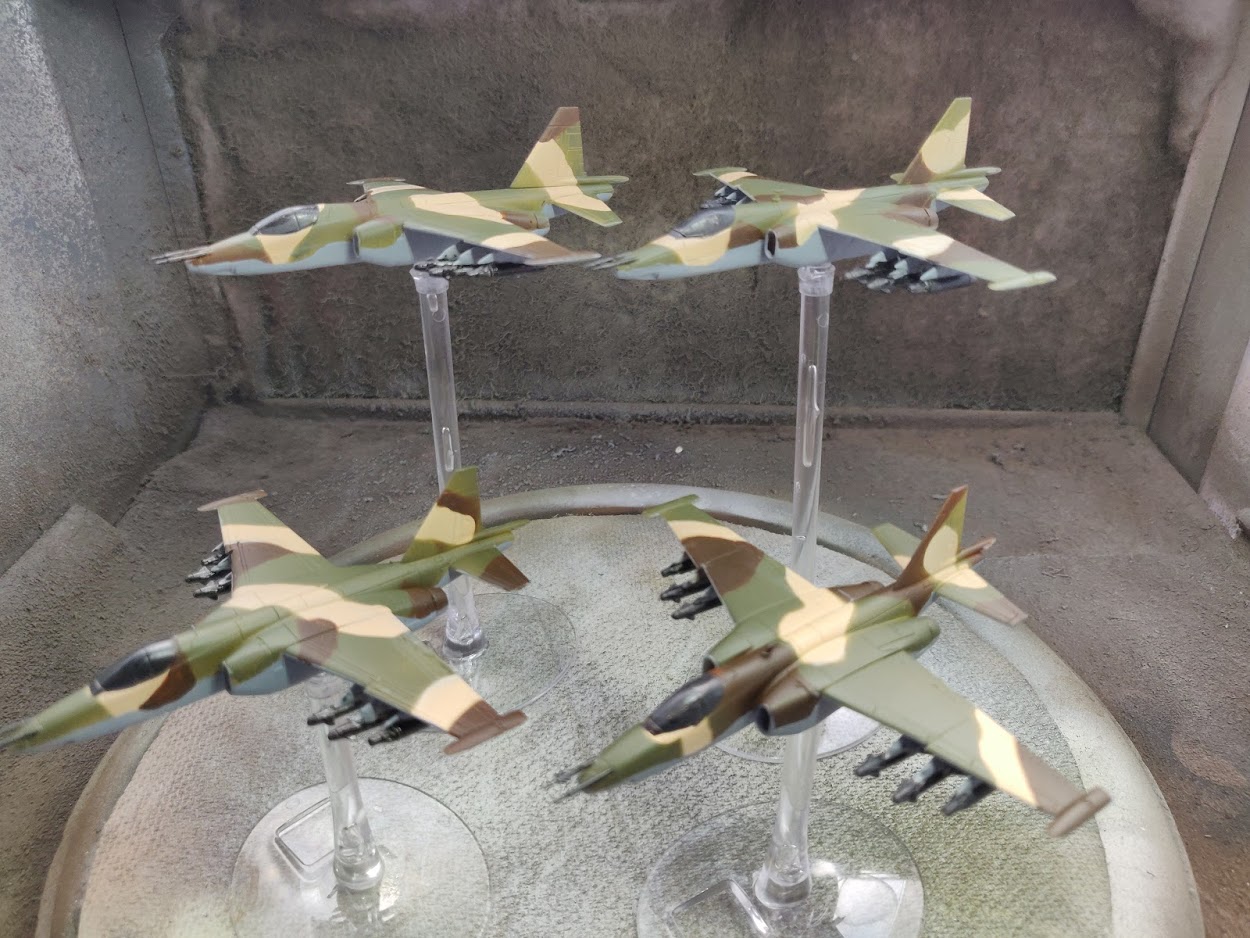
So the under colour was applied and the glass and front protruberances picked off using a Dark Grey extra opaque… time to do the detailing. Pin wash, oil streaks, glass effect and decals.


Leave a Reply