


![TerrainFest 2024 Begins! Build Terrain With OnTableTop & Win A £300 Prize! [Extended!]](https://images.beastsofwar.com/2024/10/TerrainFEST-2024-Social-Media-Post-Square-225-127.jpg)


WW3:TY Soviets


2b - Su-25 Frogfoot Aircraft (x4): BUILD
Again – do nothing by halves, two boxes of two it is giving me list flexibility. Having aircraft became a must for me after my first WW3:TY game when my opponents Tornadoes did most of the damage to my tanks on relatively few runs.

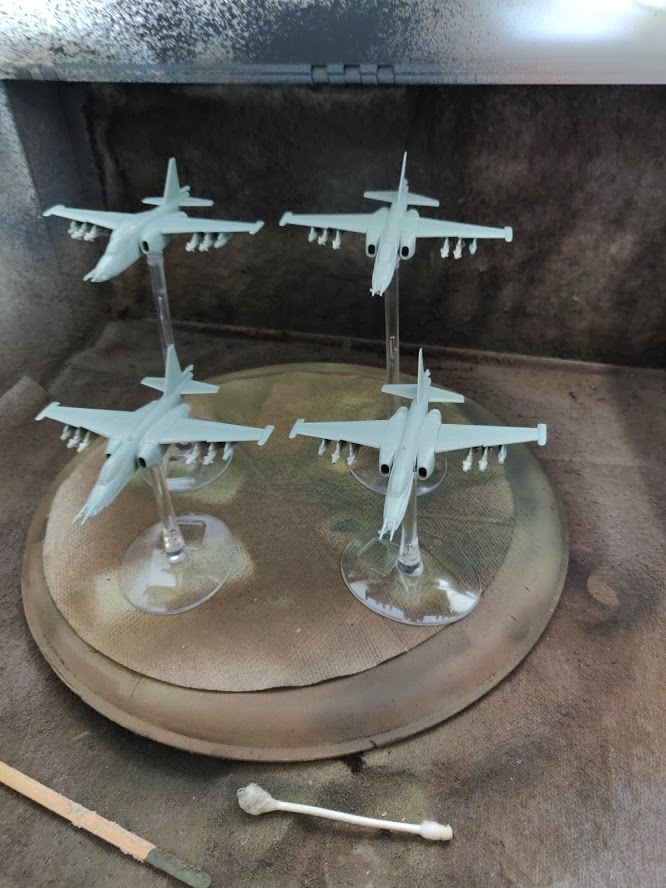
Building this model revealed what an interesting compromise Battlefront have made acquiring an existing scale model mold from someone and using it here. It has far more pieces than are necessary, plenty of parts (most undercarriage and armaments) left on the sprue. There were some quirks that I’ll detail later, but for now here are the four almost completed models. The canopy is an opaque plastic part, but I’m wondering whether to paint separately and add after:
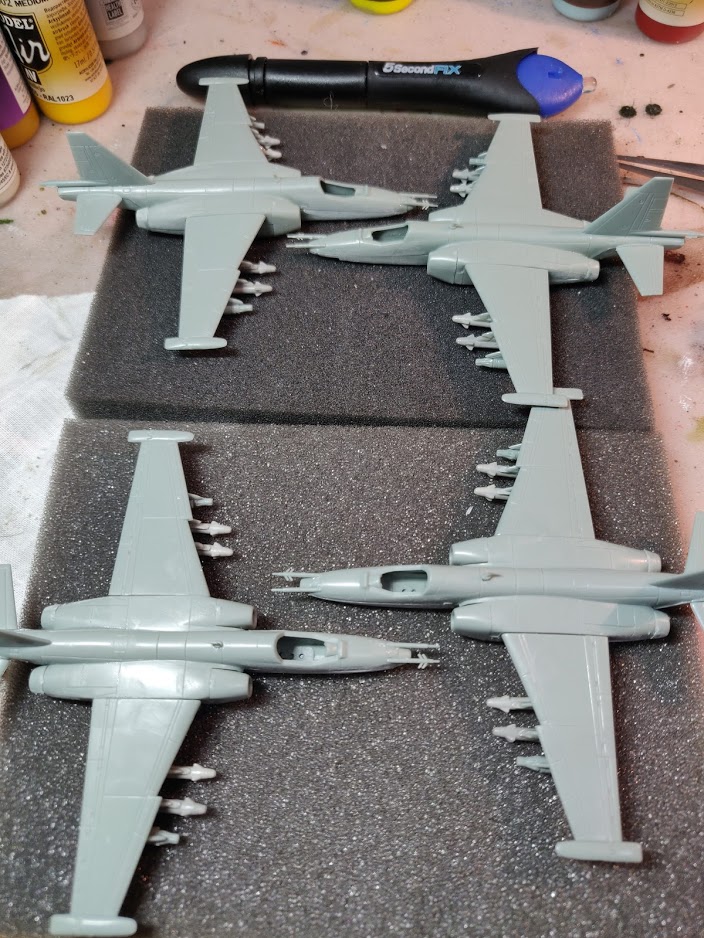 Four frogfeet minus canopy
The array of armaments on offer on the plastic sprue and the additional resin sprues was daunting, with 5 mounting points available and a selection of bombs, rocket pods, large drop pods and the resin A-G missiles.
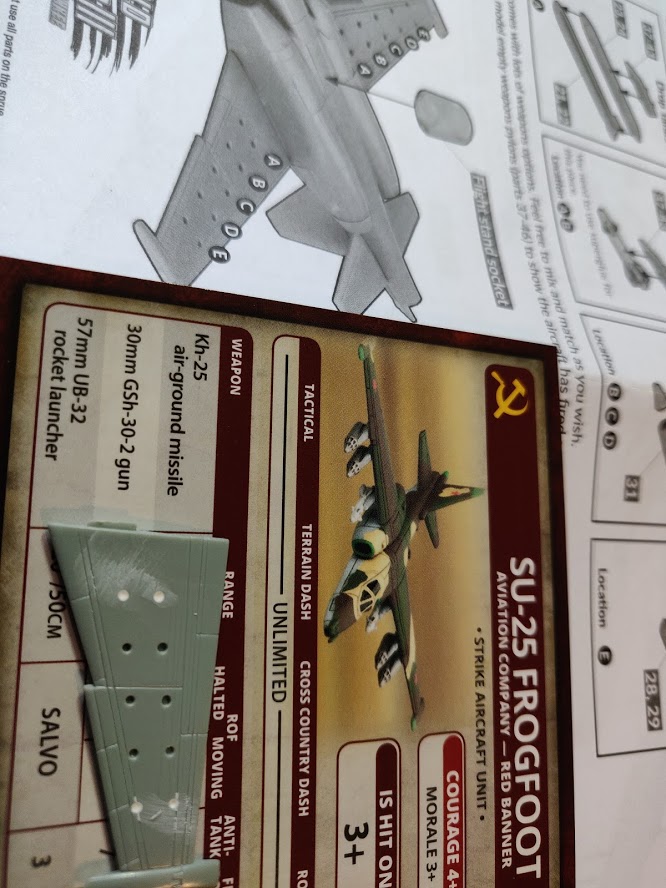
A quick reference to the card and book revealed that as far as WW3:TY was concerned the choice was simpler.
- single use UB-32 rocket pods
- multi-use KH-25 Air to ground missile
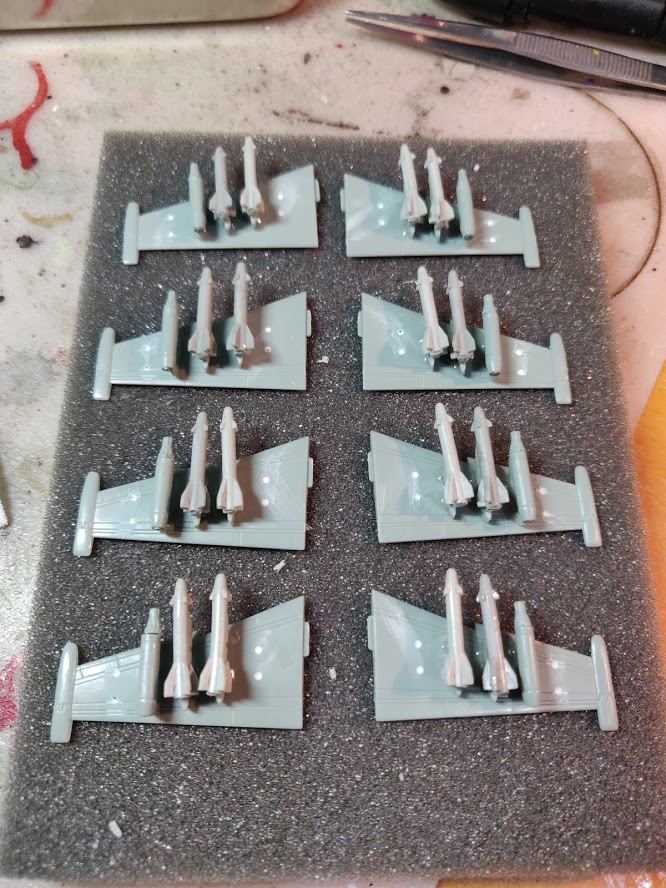
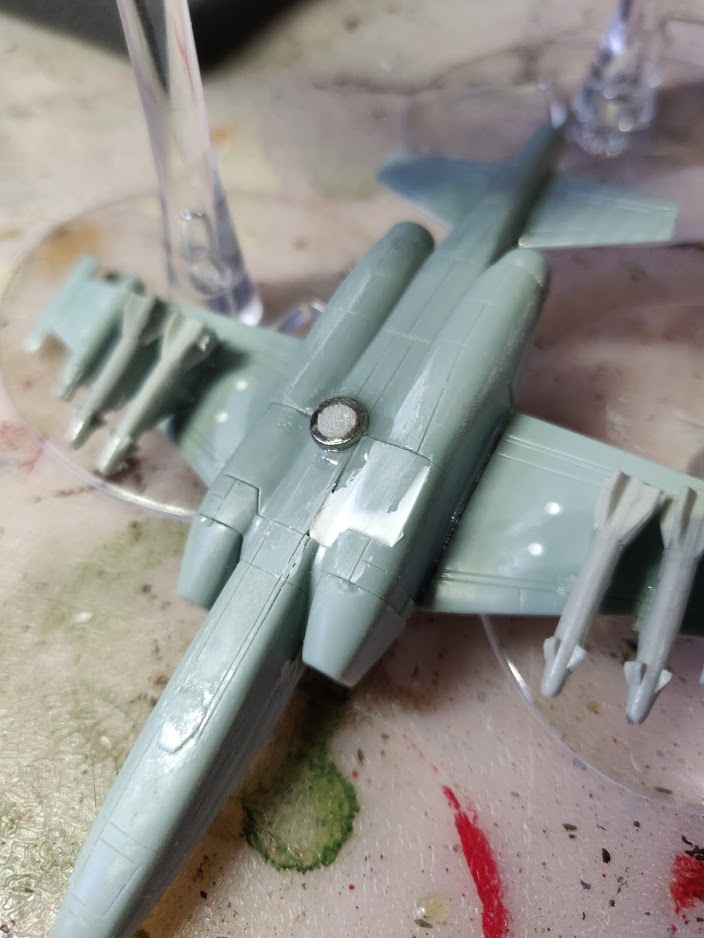
So blanked off (Vallejo plastic putty and a wet finger) two of the mounting points on each wing and loaded a single rocket pod and two KH-25s. Mounting on the wing before adding the wing to the fuselage made it a lot less fiddly.
You may notice a “5 second fix” pen in the image above. This is a cheap UV-resin device I got off the Internet (box of 5) that I’ve been using on this model and the Hinds to help with some issues. I use it to add strengthening ‘spot welds” where the glue itself isn’t likely to be resilient enough. Some of these I have been doing during assembly where they will be covered by paint but being out of general sight will be hidden. Others I add afterwards leaving the clear resin on view. For example I strengthened all my Hinds rear rotor mounts after the final varnish as they were weak points.
On these models as well as glueing I ‘UV spot welded’ each of the missile supports under the wing and will strengthen under the front and rear wings where they fit to the fuselage.
I was actually laughing at the two probes sticking out of the noses as I glued them thinking that they won’t last long in the foam/ on the table. I may well add some UV resin to support them, or to be honest I may as well just clip them short now!
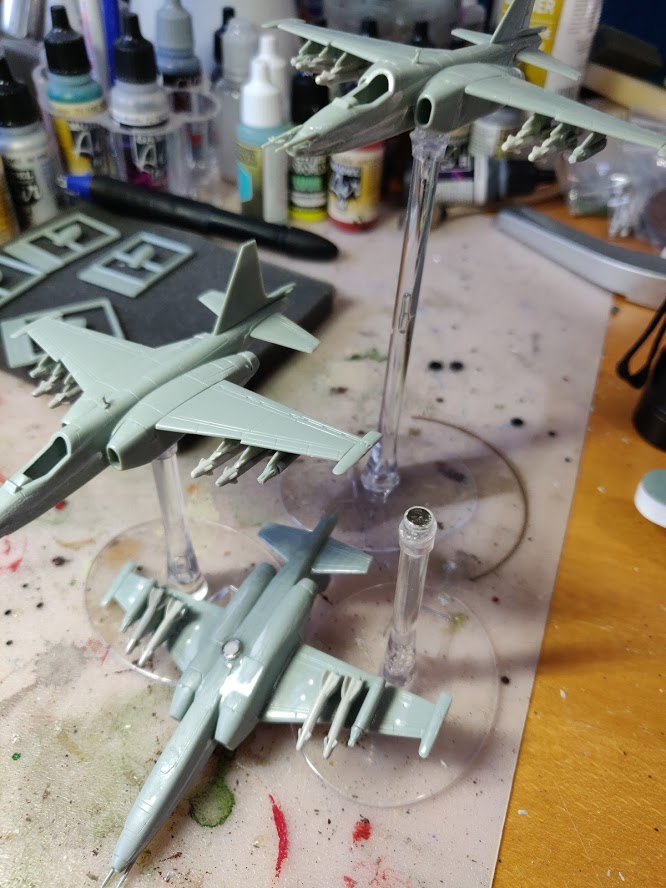
Magnetised for flight-stand
A last minute decision has been to add magnets (the ones I couldn’t fit into the Hinds) to the flight stands and to simply glue straight onto the fuselage underneath. Looks about as elegant as the suggested mount, and may actually look better once the primer etc. has been applied. Superglue was the main adhesive here, but again I’ve used the UV Resin to fill aroud the sides of the magnet giving a smooth shape that will both strengthen the bond but also make it more attractive (it’s underneath so no big issue).
After the resin had been in a window getting natural UV to fully cure I tried them on the flight stands and they were a bit wobbly, the resin had clearly formed a slight mound on the surface of the magnet. No worries, a quick sand down and they were stable and ready to go… well one final decision before priming, stick the canopy on and do it in one.
One final note on this. I’ve been using very fine grit sandpaper for a while. It’s not cheap! One thing I struggled with is when you need a flat surface, such as removing the resin bump above. Had a brainwave a couple of days ago sanding some of the filled joins…
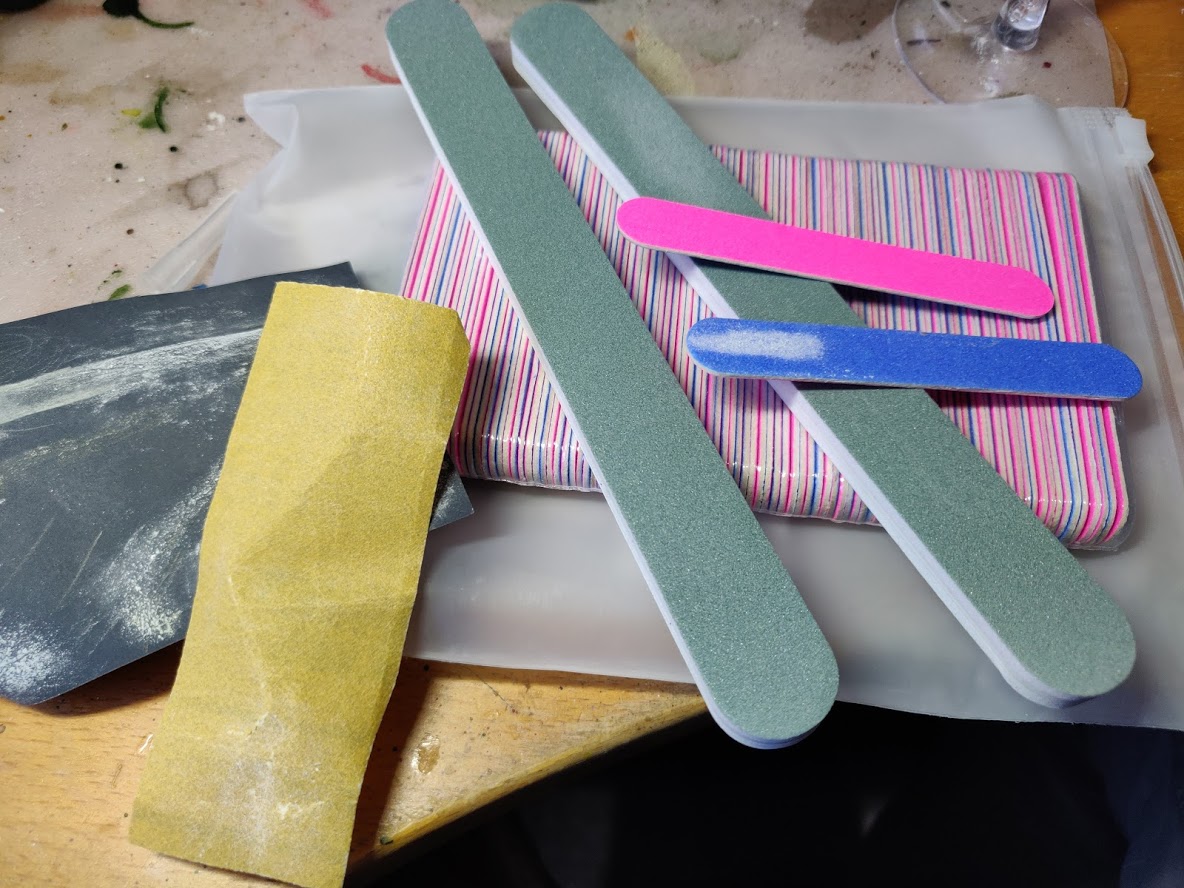 New and old sanding tools.
Cheap nail files, 100 of them. Grit on each side are 180 and 240. Pack came with buffing strips which are effectively 400 & 4000 grit – useful when you need a smoooooth finish!


Leave a Reply