


WW3:TY Soviets


2a - Mi-24 Hinds (x4)
Time for something completely different for me. I’ve been throwing together kits for gaming for years, but I need to go back several decades since I carefully built some scale models, and that’s what these feel like you’re building. So, starting with two boxes with two in each box [TSBX04]
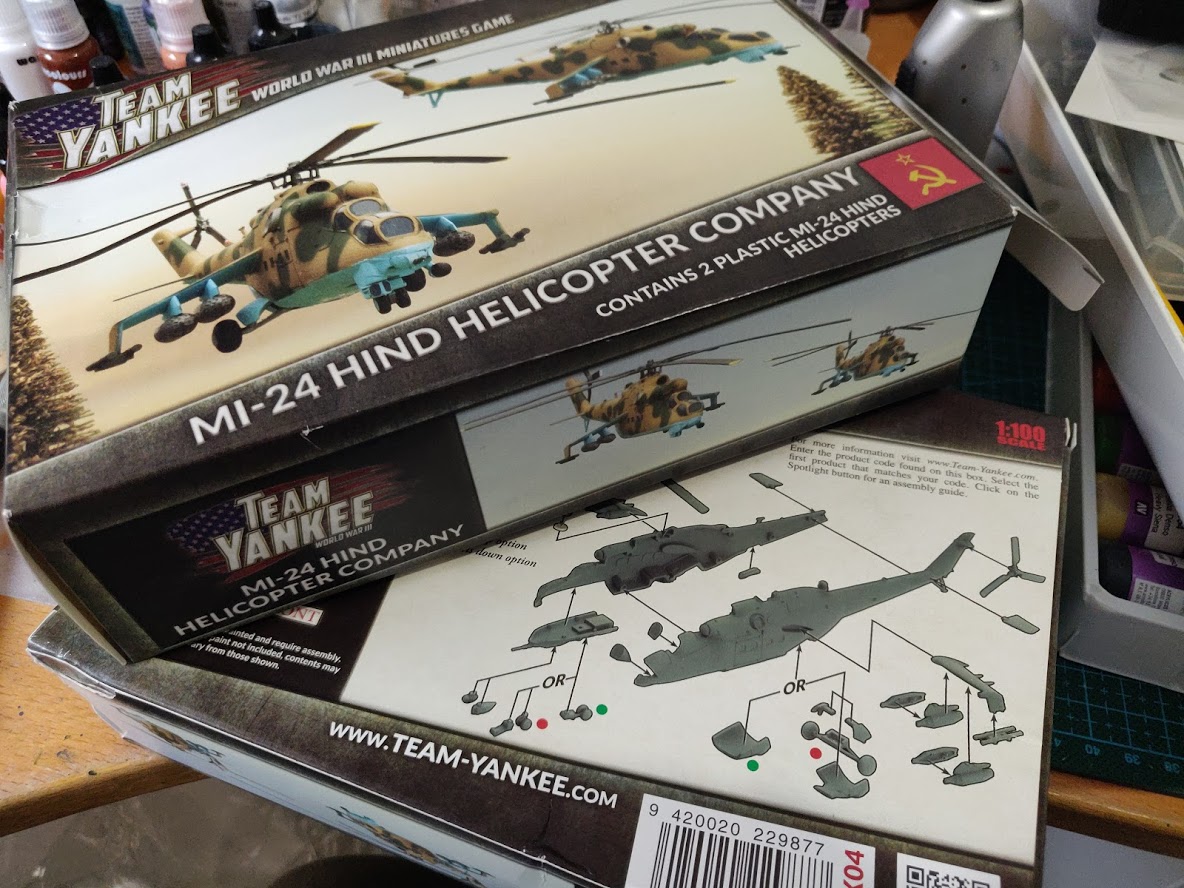 Two boxes of Mi-24 Hind Helicopters
Assembly was mostly smooth, a couple of pointers for anyone trying this at home:
- That first meld of the two halves of the main fuselage. Have some means of keeping them together after glueing. They’re inevitably slightly warped and it’s hard not to have gaps open up.
- The missile launch pod supports are a complete ****. The mounting under the wing requires 4 pieces on the sprue each with a unique combination of mount angle (left or right wing) and the gap between the nubs on the surface (small and big). Having struggled with my first model I had a very close look. From what I can see you get two left and two right, and two small gap and two large gap. However you have two identical pairs rather than 4 unique mount. Answer? Trim off the nubs that are wrong. Also do these out of order, mount them on the small wings before you glue the wings to the main fuselage.
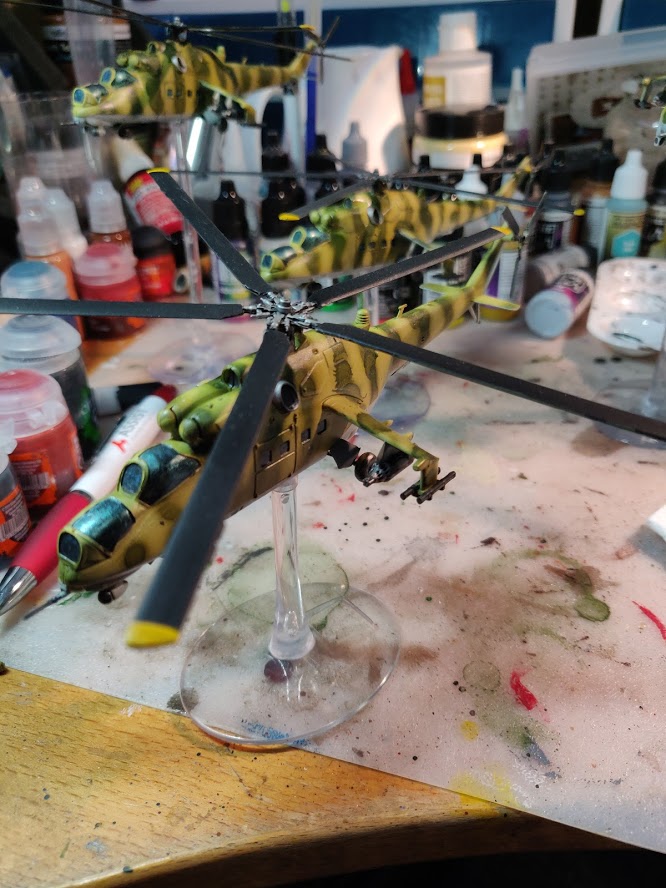
- The supplied magnets fit well in he top of the fuselage to take the rotor assembly, but the hole at the bottom to take a magnetised flight stand is too small to take the magnets even before priming (always magnetise before priming!)
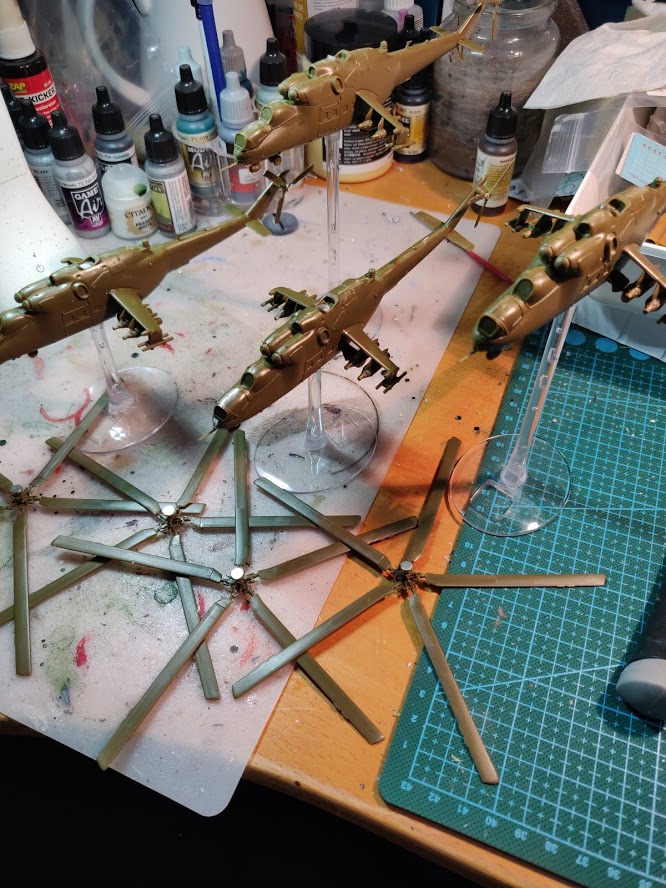 assembled models
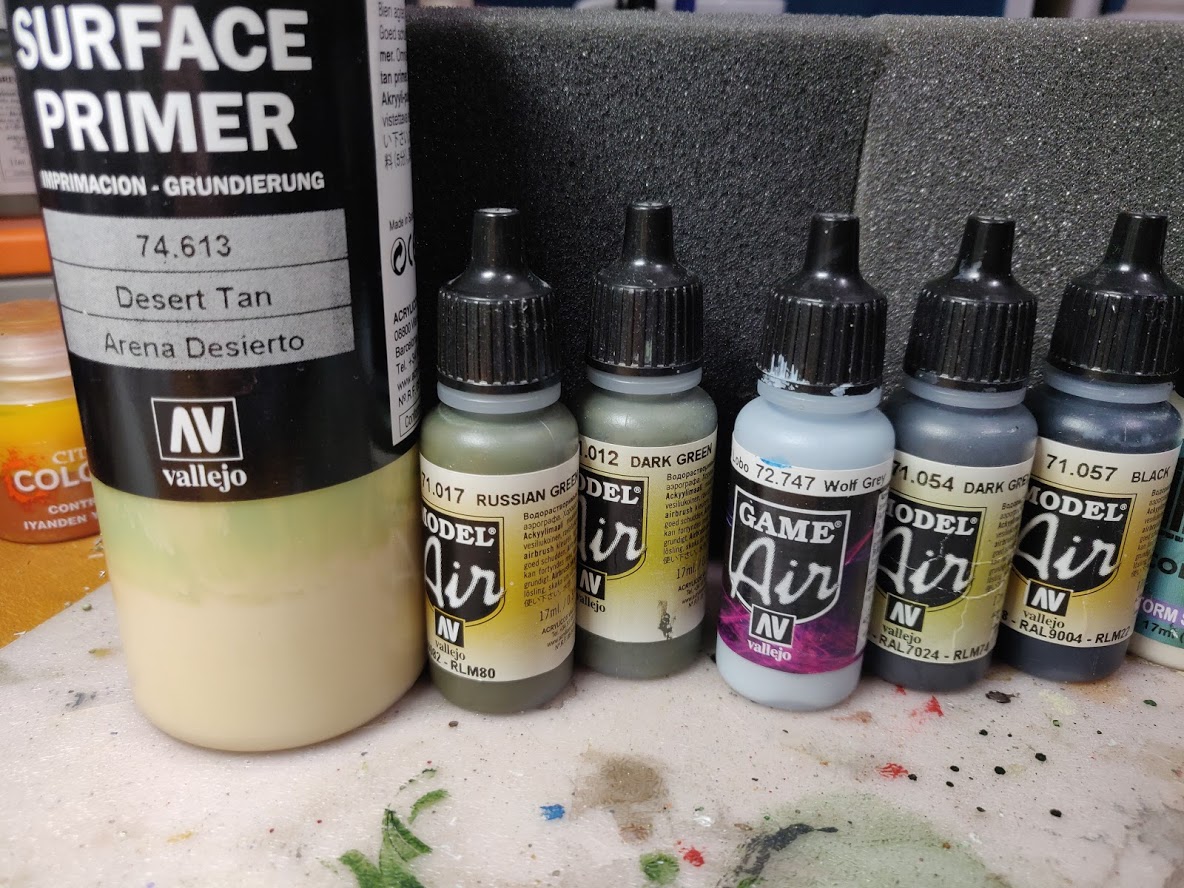
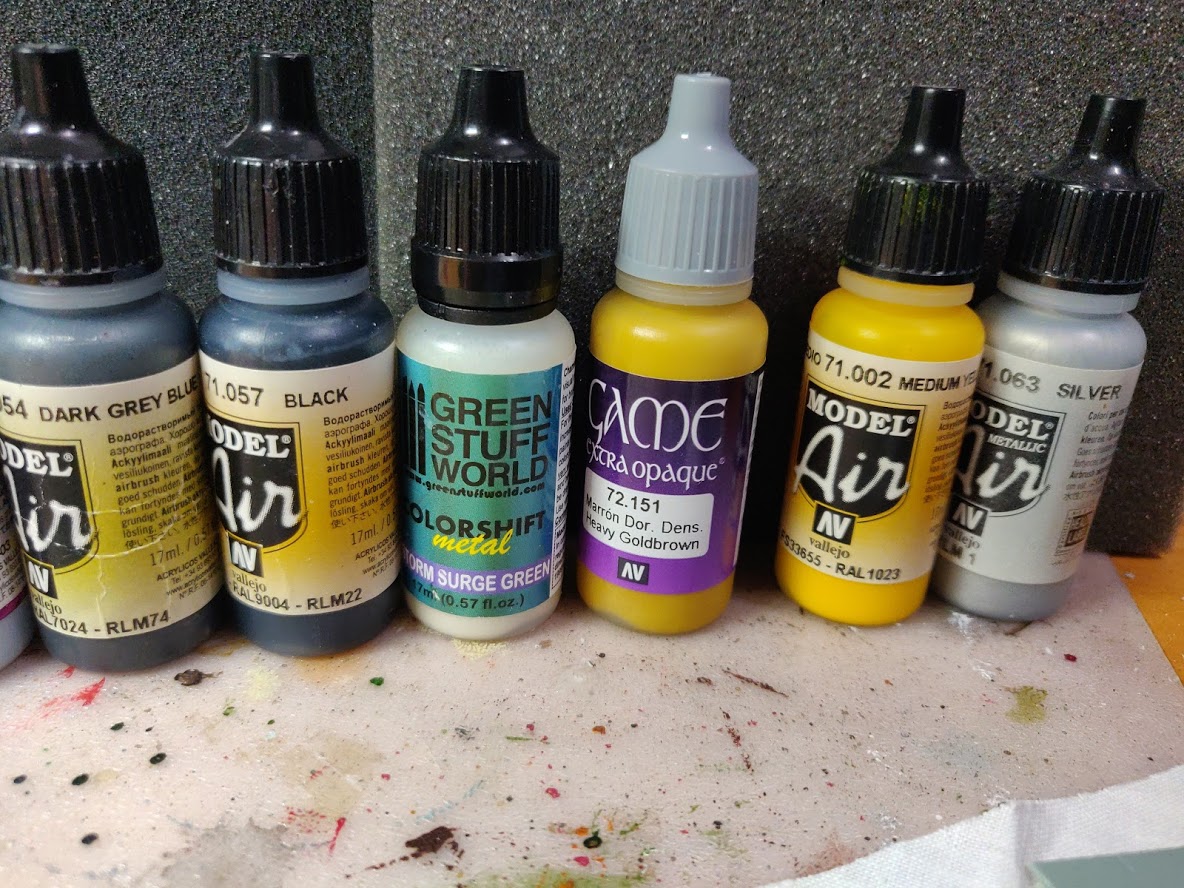
Fuselage primed with Vallejo Desert Tan Surface Primer [74.613] through an airbrush. Rotors primed standard black (See separate panel for pic of all paints used).
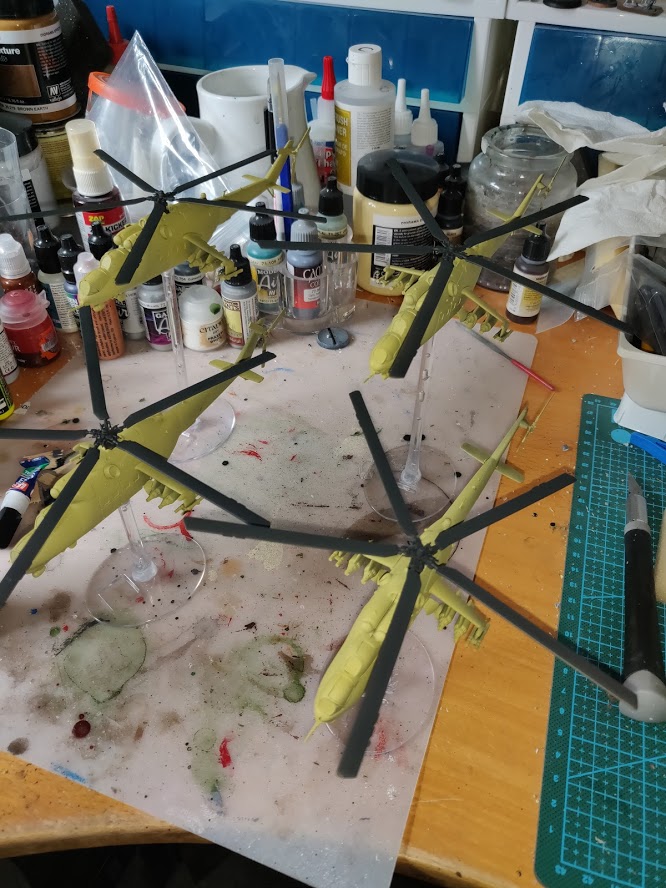 Primed models
Main paint job
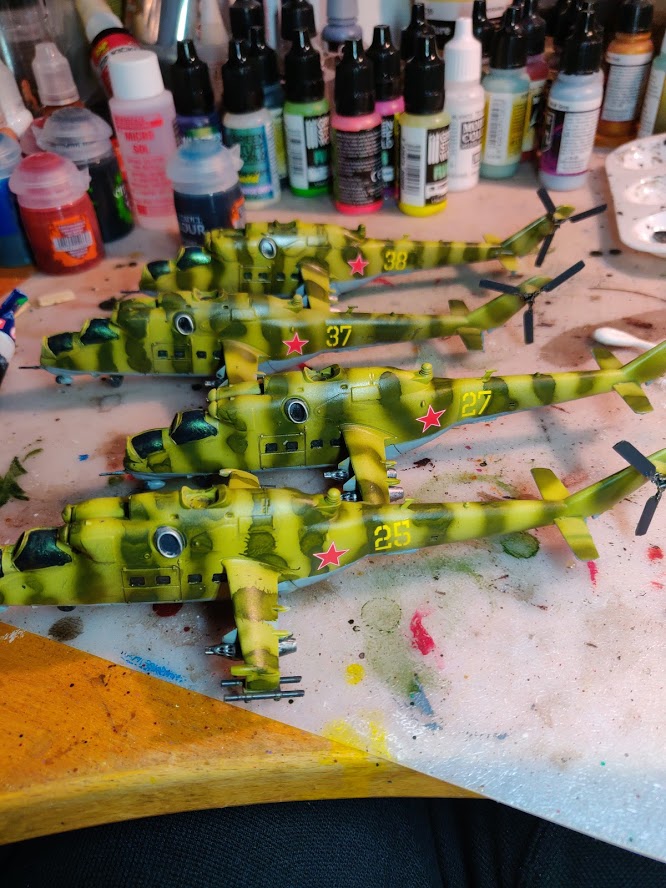
Firstly, the green camo was a mix of Vallejo Model Air Russian Green and Dark Green [71.017 & 71.012] that I air-brushed straight onto the primed model, leaving the desert tan primer as the contrast. In hindsight I had the pressure too high as got some unwante effects.
Underside was Game Air Wolf Grey [72.747] I could have masked and airbrushed. but used a steady hand and a brush instead.
Rotors and wheels base painted with Dark Grey Blue [71.054], probably my most overused colour across all models that need black with shading. The glass picked out and taken back to black, as were a few items under the wings.
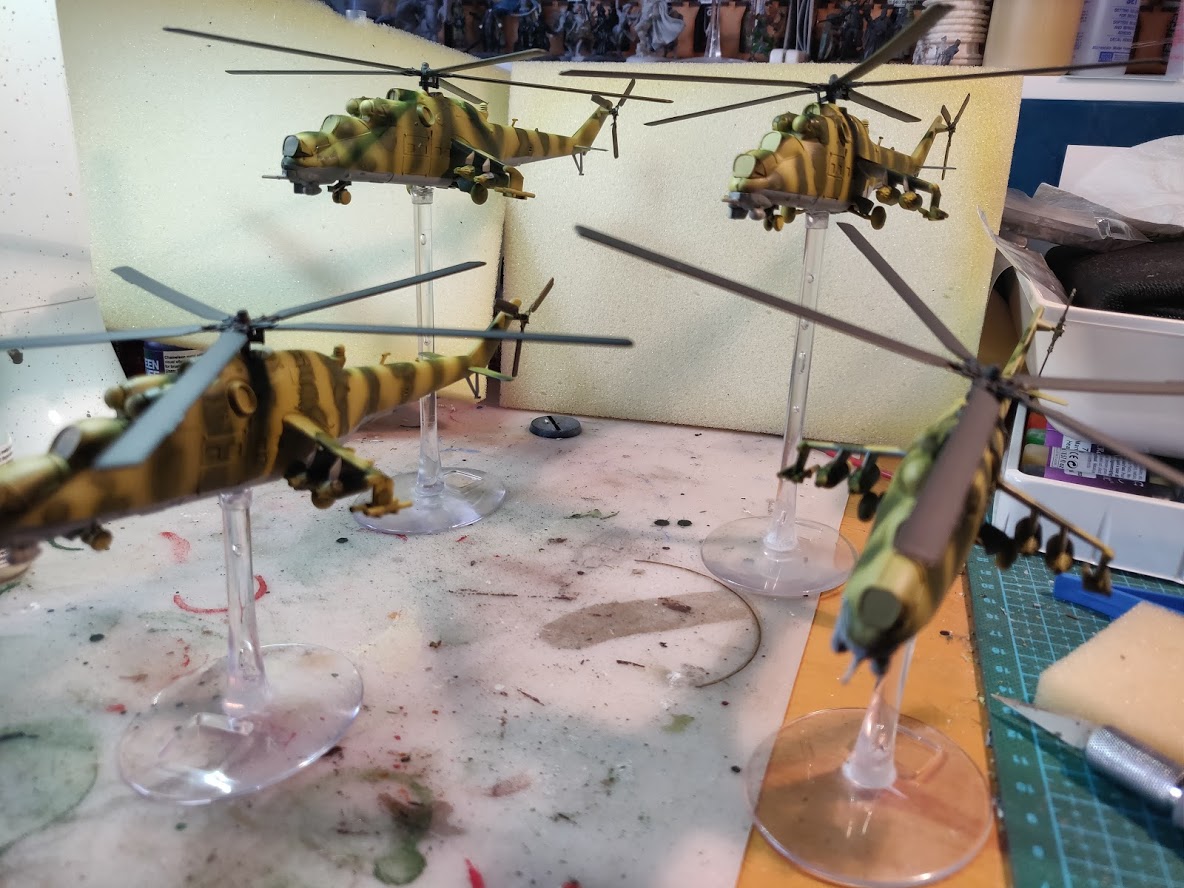 Base colours applied
Detailing
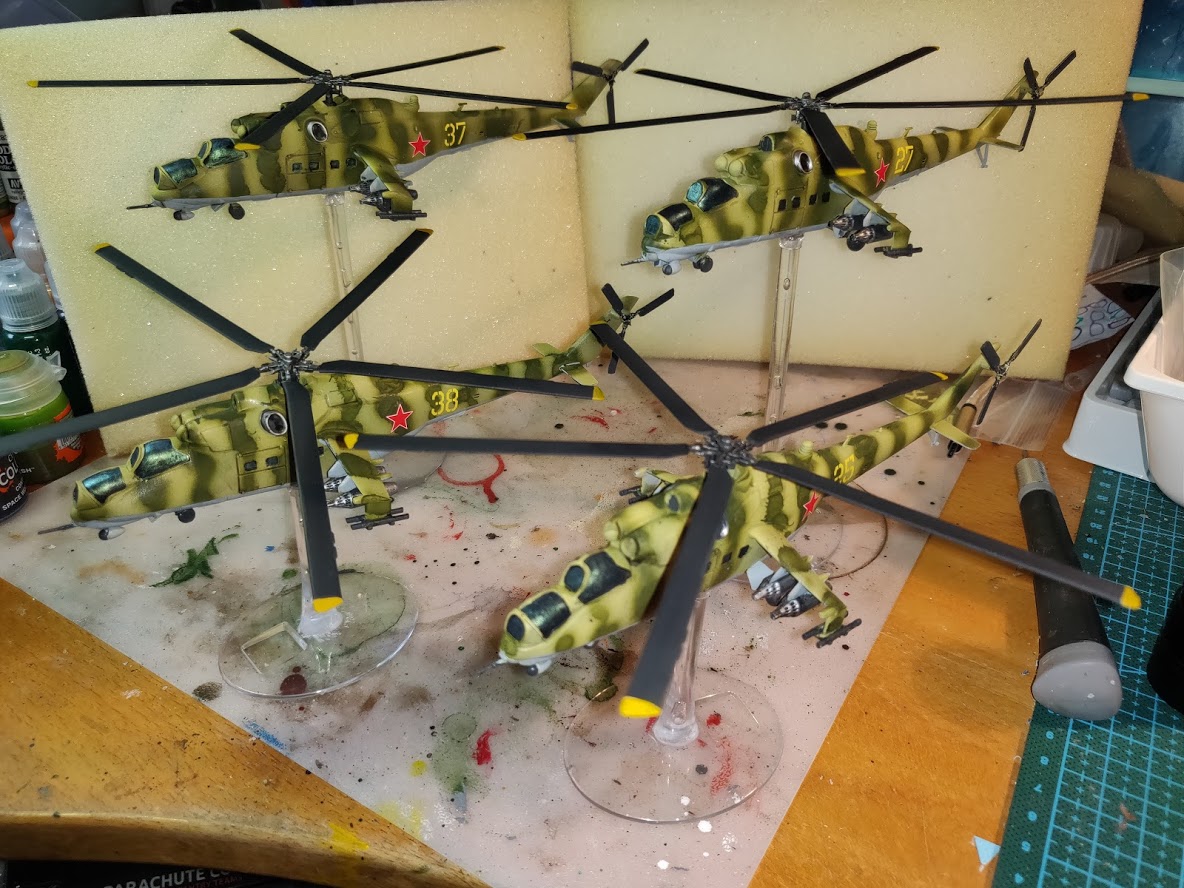
Several steps to detailing.
- Model Air silver [71.063] applied to missile pods, engine vents and main/rear motor works before nuln oil wash.
- Ends of main rotor blades first based with Vallejo’s Game extra opaque Heavy Goldbrown before brightening with Model air Medium Yellow [71.002]. Using the extra opaque saved a lot of time doing yellow on black!
- Coated the windows with GSW’s Colorshift Storm Surge Green onto the black base. Looked a bit lary at first, but after some wash and matt varnish that settlesd down.
- Decals applied using Microset and Microsol. First go at decals for decades, I was nervous at first but it went OK. Was suprised a couple of times how quickly the decal took and couldn’t be slid dead straight – but I think I got away with it!
- Pin washed various parts, applied selective washes on rotor parts etc and the windows.
- Vallejo Mecha Matt Varnish through airbrush finished the job off.


Leave a Reply