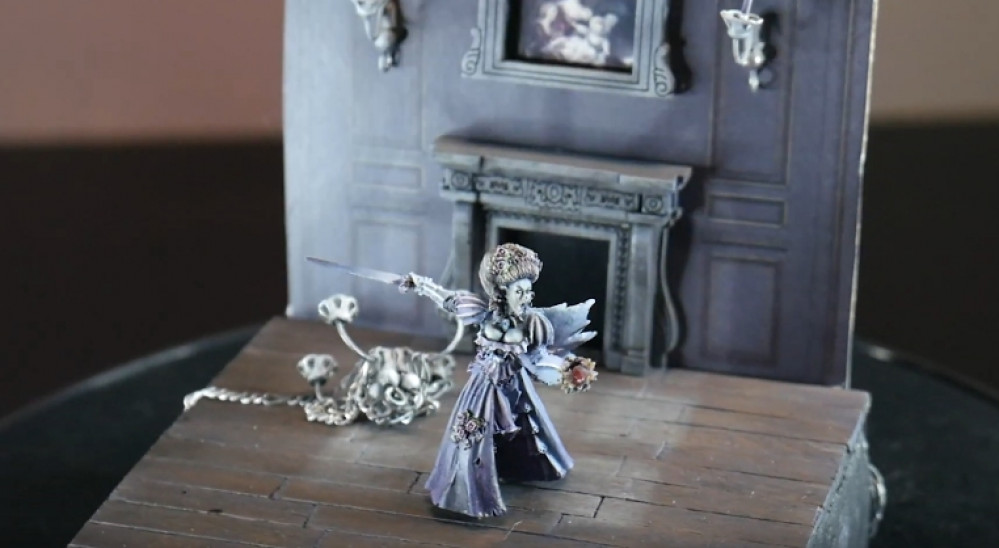
Vampire Diorama
Painting eyes
I never used to paint eyes. They’re just so damned fiddly. And after spending a good four or five hours on a semi-decent paint job, there’s nothing more dispiriting than a black blob for an eyeball (or, worse still, big white staring googly eyes).
Then I discovered this video by Lyla Mev
This was a game-changer for me.
Don’t add your eyes as an after-thought; put them in first. Start with the eyes and work outwards on the rest of the face. This is genius.
Firstly, it means that even if they go totally, irreparably wrong, you’ve not invested hours and hours on the rest of the mini! But it also means the chance of this happening in the first place is negligible – because you can keep correcting them until they’re at least a reasonable shape.
In her video, Lyla starts with a white splodge for the white of the eye; nothing fancy, no painstaking, perfect, get-it-in-the-lines immaculate brush control – just a simple white line for the eyeball.
Then, a simple line down to represent the iris. At this stage it doesn’t matter if you’ve drawn a slash right through the characters’ face – just get the eyeball (and all around it, it doesn’t matter) white then get the pupils facing in the right direction.
THEN the tidying up begins. Start by painting a black outline around the eye – but not right up to the eyeball; start away from the eye and “paint your way in”.
This way, every brushstroke goes almost on top of an existing one. If you’ve managed to put a line down just away from the eye, there’s no reason why you can’t paint the same line again, just that tiny little bit closer.
Then you just keep going, painting around the eye, getting ever closer to the final shape until you have an eye that you’re happy with. It doesn’t matter that your character has “panda eyes” or looks like an Alice Cooper tribute act; the key thing is to be happy that the eye itself is painted right.
Now, using the “start afar and paint closer” technique for the eye liner, you can do the same with a dark skin tone (I used a brown for caucasian skin) to remove the excees blackliner until only a thin outline remains.
Now simply paint the rest of the skin in your chosen skin colour and when you apply the flesh wash, keep a clean, wet, decent-sized brush handy, to wick up any wash that gets into your freshly painted eyes.
 start each model with the eyes at the beginning, before everything else - even when the rest of the model is unfinished, it gives a "finished" look to the whole character
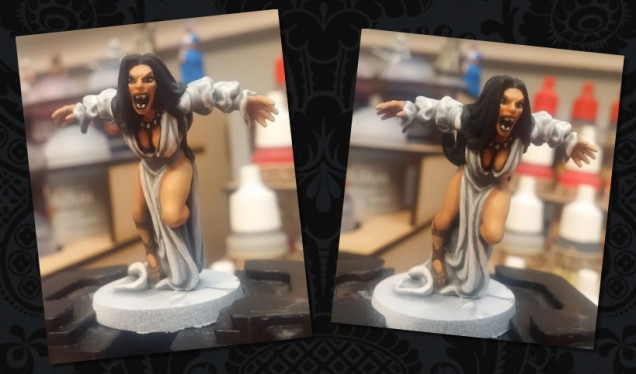
Above is a vampire character from Vae Victis I practiced this technique on. For a very first attempt, I was rather encouraged by the results.
I felt confident, not frightened, when painting the eyes. Mainly because I knew that I couldn’t really stuff it up! It took a couple of goes to get both eyes the same, but still far less time than it would have taken if I’d tried to paint them at the end of the paintjob.
Although this mini isn’t a Titan Forge mini, it was a great character to practice on and I’m really looking forward to trying it out on the final characters in the diorama.


Leave a Reply