
Liberty Prime is back online!
Paint!
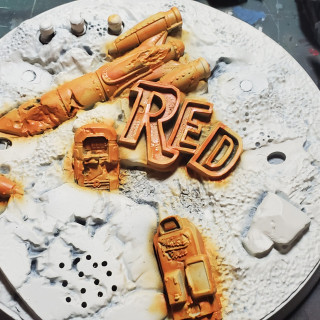
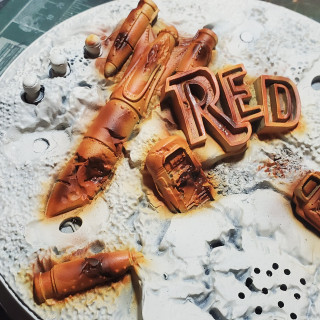
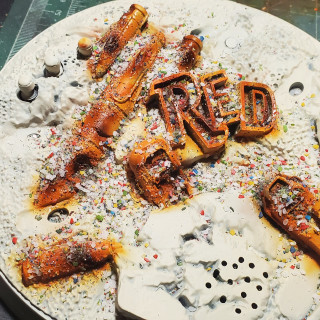
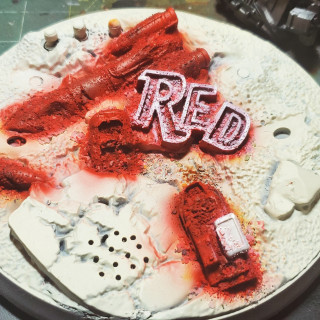
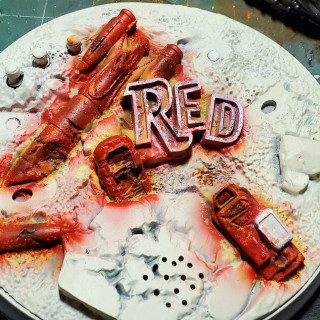
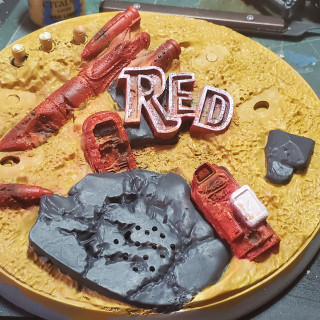
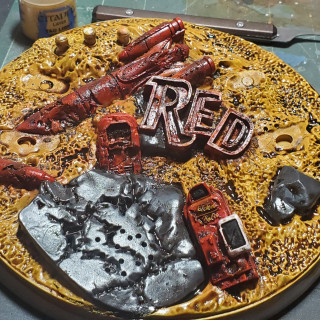
After washing all the parts and priming in a gloss black to help showcase the metallic I then did a lighter prime on the base for highlights. When it boils down to it Prime is just a giant metal man so there is not a huge amount of detail to do, the base is really the show stopper. I decided to use salt weathering on the Red Rocket parts and the Nuka machine so I airbrushed a couple shades on (Vallejo Model Air orange rust and Burnt Umber for contrast). Next I wetted the parts and sprinkled them with salt (I use standard table and Kosher Sea for diff size/textures) and let them dry. I then used Vallejo Model Air Fire Red as the base with highlights of Scarlet Red. Once dry I then flaked off the salt to reveal the “rust” underneath. At this point everything is a bit bright but will tone down once I apply some GW Agrax Earthshade. For the rocky outcropping I used Army Painter Necromancer Cloak and the dirt is GWs Tau Light Ochre, then I applied the mentioned Agrax Earthshade.
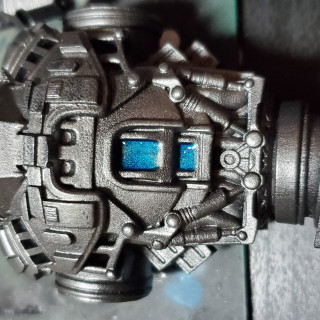
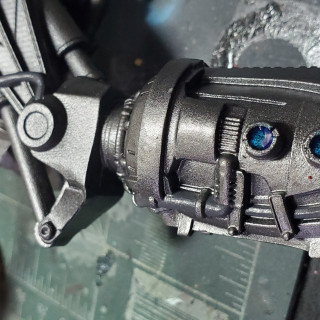
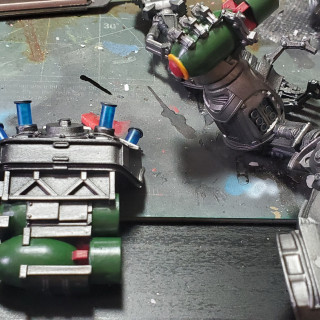
For Prime himself I used a basecoat of Citadel Air Leadbelcher with highlights of Runefang Steel. Instead of doing object source lighting for glow effects (mostly because I’m crap at them) I used GWs technical paint Soulstone Blue, I added this to areas I thought made sense to have power glow showing, I then highlighted it with Contrast Talassar Blue. For piping and tubes I used Necromancer cloak again and applied Contrast Chaos Black over it for shading. Some of the recessed panels that I wanted dimmer I did a coat of GW Nuln Oil to shade. Finally for the pistons I applied Runefang steel to brighten them from the constant “wear” of the back and forth. For the Nukes I went with a classic OD look using Vallejo Model Colors Reflective green, I added some color with a ring of Vallejo Game Color Gold Yellow smoothed out with a couple coats of Contrast Iyanden Yellow. The fins I applied some Vallejo Heavy Red. I also wore off some of the green to reveal the original metallic base coat as weathering and applied some Agrax as well.
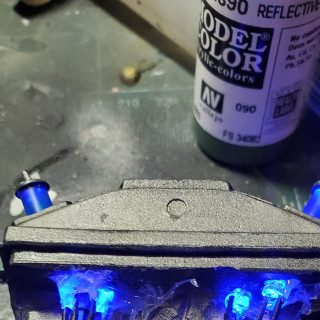
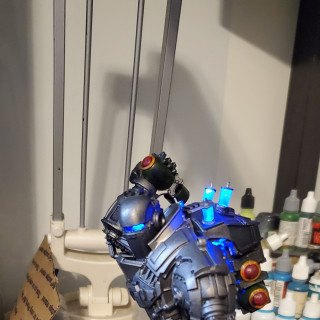
Finally I applied the lighting pack I built, it’s all run off a single coin cell battery. I secured the backpack lights using some hot glue but left the Head’s LED loose so the wiring can still be removed from the central body. I finished off the back cells with some plasticard caps I punched out with a hole punch and then added a pin in the middle to match the spikes on the original look.




Leave a Reply