


![TerrainFest 2024! Build Terrain With OnTableTop & Win A £300 Prize [Extended!]](https://images.beastsofwar.com/2024/10/TerrainFEST-2024-Social-Media-Post-Square-225-127.jpg)


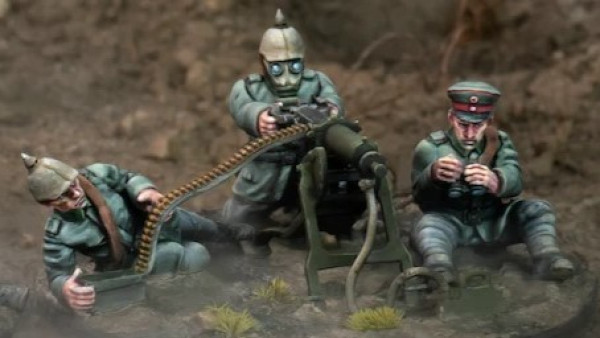
A Project too Far? - British Paras for Bolt Action


Para paint schemes - Denisons and all!
The Uniform
Miniatures sorted, the next step is perhaps the most daunting…the painting! I recommend spending some time before hand researching your chosen Division’s uniform and looking at a few photos and illustrations. Anything by Osprey is a great starting point.
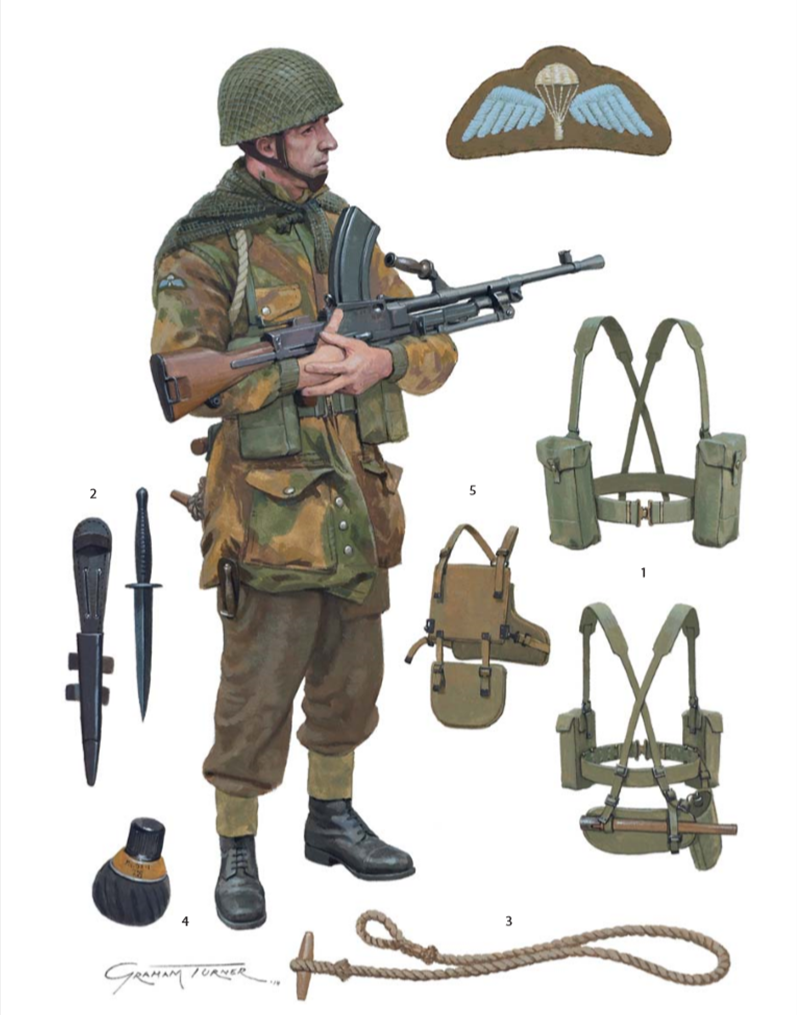 A great illustration of the uniform by Graham Turner - handy reference material!
Some parts of the models, especially the equipment, are so fine in detail that it’s hard to tell what everything is. Luckily the above illustration, found in Osprey’s British Paratrooper 1940-45 , helped to identify some of the more obscure items. This is obviously essential, as we need to know what we are painting!
Here’s the accompanying paragraph of text breaking down each piece of equipment…
When the Para jumped he carried as much equipment with him as possible, as resupply or coming across equipment containers could not be guaranteed. On his person he carried some equipment and weapons that were the same as those for the rest of the British Army, such as the ’37 pattern webbing (1). Other items, such as the Fairbairn-Sykes dagger (2), were carried by more specialized units such as the Commandos and SAS. The Para carried the dagger in a special pocket in the parachutist’s battledress trousers, designed to allow him access to cut himself free if he became caught on items such as trees when landing. The toggle rope was also issued to these specialized units (3); these could be used to pull items and be linked together to help climb over obstacles. The No. 82 Grenade, more commonly known as the Gammon Bomb (4), was not only used by members of The Parachute Regiment, but was invented by one of its officers, Capt. Jock Gammon of the 1st Parachute Battalion. Some Paras were issued Medical Research Council (MRC) body armour (5) during Operation Overlord, which was worn under the Denison smock. Made from manganese steel, MRC body armour consisted of three plates: chest, lower belly or ‘goolie’, and a rear plate that partially covered the lower back and kidneys. The body armour proved unpopular at the time as it caused chaffing and the wearer to sweat, and it was quickly discarded or swapped by the men.
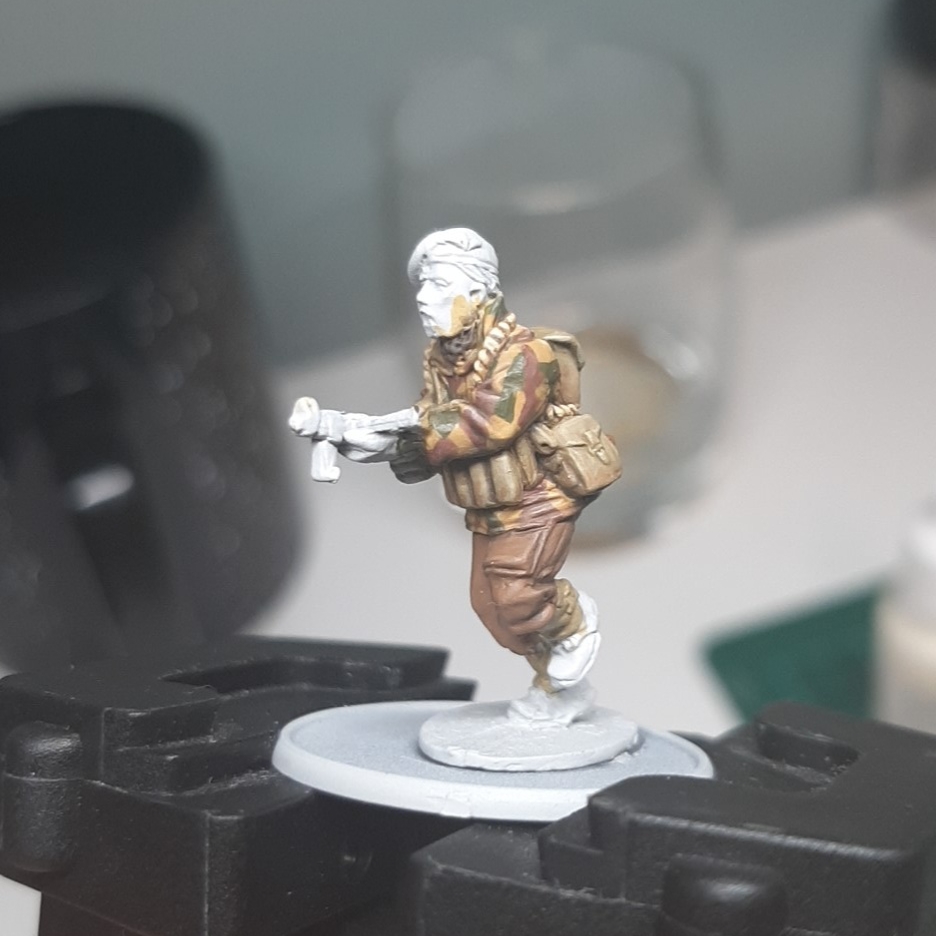
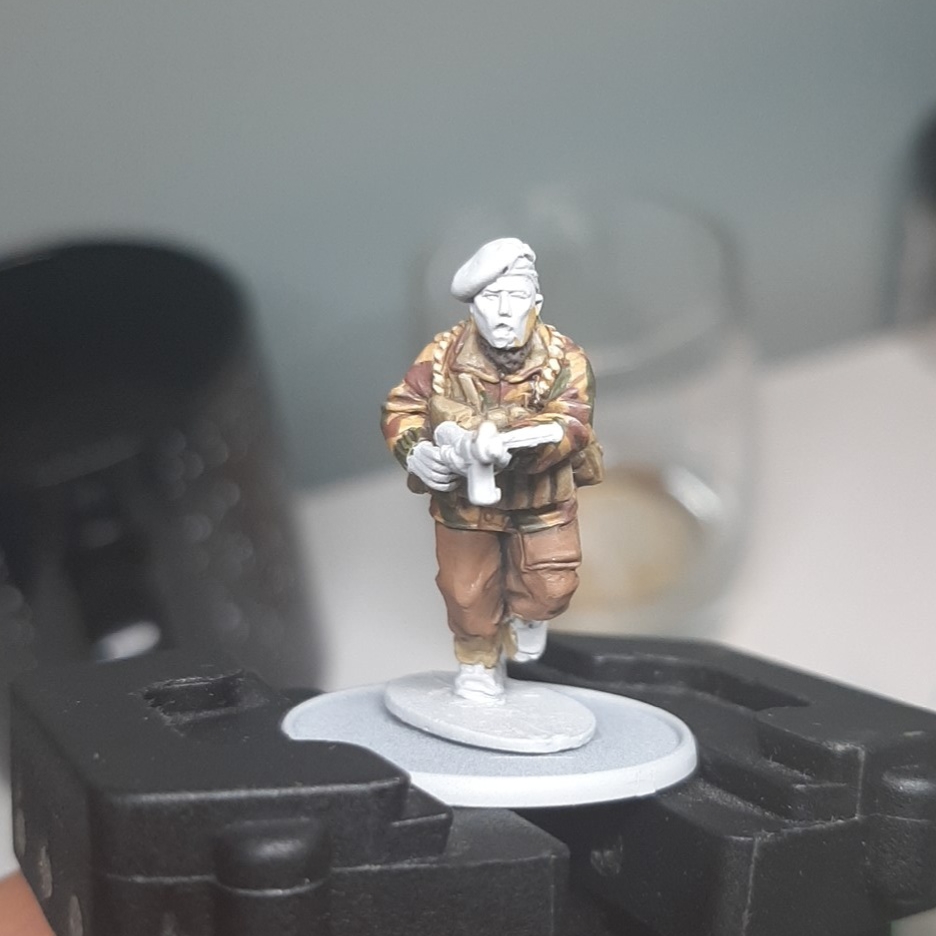
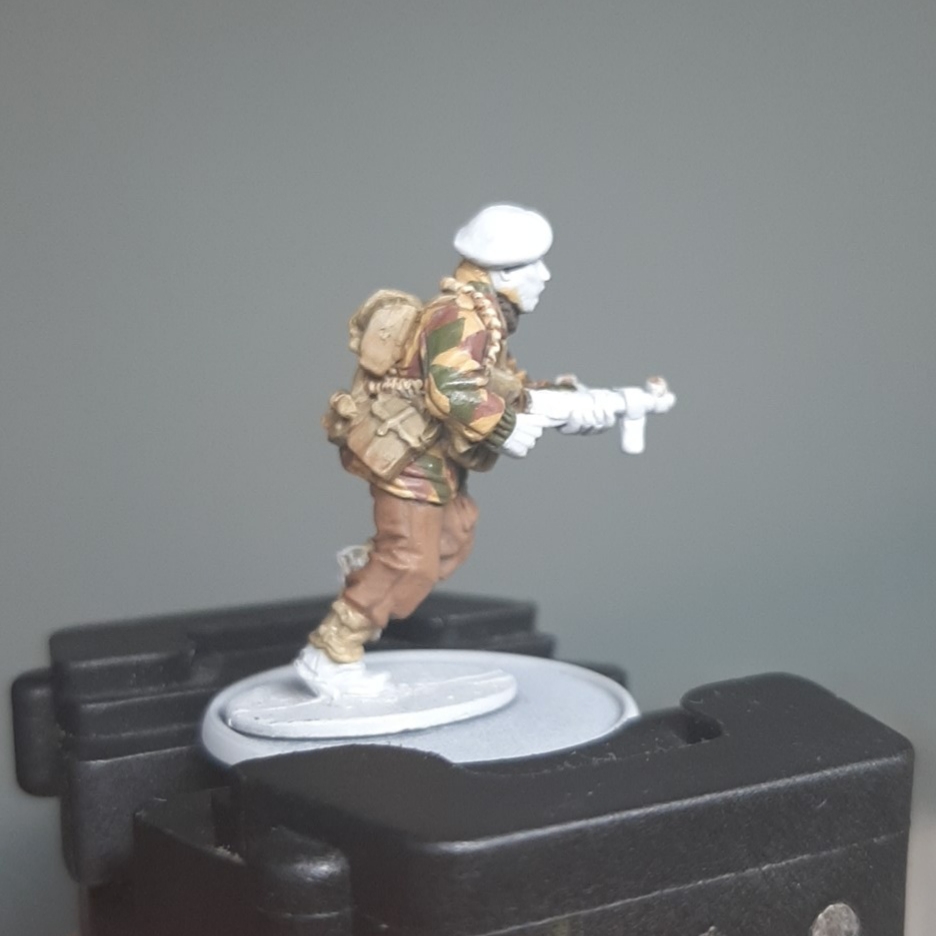
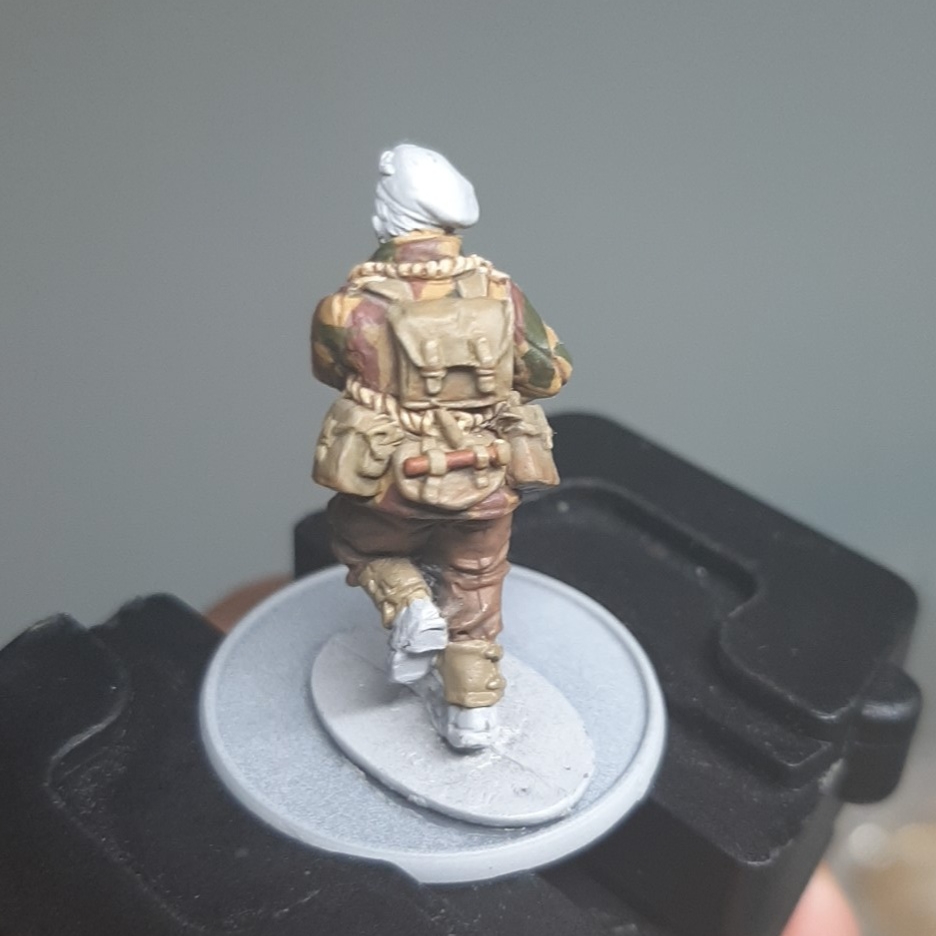
The 'Test' Model
Admittedly i’m few days into this already, so i’ve made a lot of progress on my first ‘test’ model. So far i’ve worked out a scheme I am happy with, and have completed the Denison smock, webbing, equipment and trousers. Let me know what you think!
Colour Recipe
I find it invaluable to keep a record of what paint recipes I used for each project, so I can easily jump back in should other hobby temptations catch my eye. There’s nothing worse than forgetting how you painted an army when it’s only half done!
I’ve included the recipes for each part of the uniform for those interested for their own armies.
Denison Smock
Base: Green Ochre/Refractive Green/Saddle Brown
Shade: Chocolate Brown/Lhamian Medium
Deep Shade: Rhinox Hide
Highlight: Dark Sand/Lhamian medium Glaze
Webbing/Equipment
Base: Vallejo Khaki
Shade 1: Vallejo Khaki/Refractive green (1/1)
Shade 2: Vallejo Khaki/Refractive Green (1/2)
Shade 3: Chocolate Brown/Refractive Green (2/1)
Highlight 1: Vallejo Khaki
Edge Highlight: Vallejo Khaki/Ivory (1/2)
Mud Effect: Watered Down Beige Brown Applied to lower areas of packs
Toggle Rope
Base: Dark Sand
Shade: Agrax Earthshade
Highlight: Dark Sand
Trousers
Base: Beige Brown
Shade 1: Beige Brown/Olive Brown (1:1)
Shade 2: Olive Brown
Highlight: Beige Brown
Edge Highlight: Beige Brown/Khaki (2:1)
I use a ‘glazing’ technique. The basecoat paint is applied using multiple layers of thin paint, before shading the recesses with a mix of paint and GW’s Lahmian Medium (with a bit of water added to make sure the mix is thin). I work the shadows out gradually, applying more shade to deeper recesses. This helps avoid shading every recess to the same degree, which would look unnatural. The highlights are then applied over the raised areas, and some key parts get an edge highlight after that.
Well that’s all for now, I’ll get back to finishing this first chap off. Let me know what you think!
Cheers all.


Leave a Reply