Gaz's Spring Clean Hobby Challenge 2020
What is this 3d printer magic.......and how do I abrah cadabra the bloody thing!
Hey guys, so having seen the Weekender where the guys talked about and covered the Titan Forge Patreon I bit the bullet and signed up after which I then went on the hunt for a 3d printer.
Rather than try and break new ground and with Justin kindly offering to give me pointers when needed I went with what the guys used to do the prints for that show, the Anycubic Photon.
So had it a couple of days and now starting to get a feel for the old girl. I went with Chitubox for slicing as it is a better tool than the one you get with the printer IMO.
I am using the Anycubic grey resin, IPA for cleaning the prints, Meths for cleaning the printer itself, a UV curing lamp for nails (got it from Argos…promise). I did buy a metal scraper for removing the minis as it has been advised in videos but it can scratch the surface of the plate something you don’t want to do and so I have gone back to the plastic scraper you meant to use.
I have the printer sat in a deep oven baking tray in case it leaks, I have a shallow baking tray in front of the printer which is where I do my clean up and to be honest its all very simple after you have done it a couple of times.
So I haven’t dived into a full mini yet as I wanted to keep it simple stupid and as you can see in the images I wasn’t going simple enough hehe.
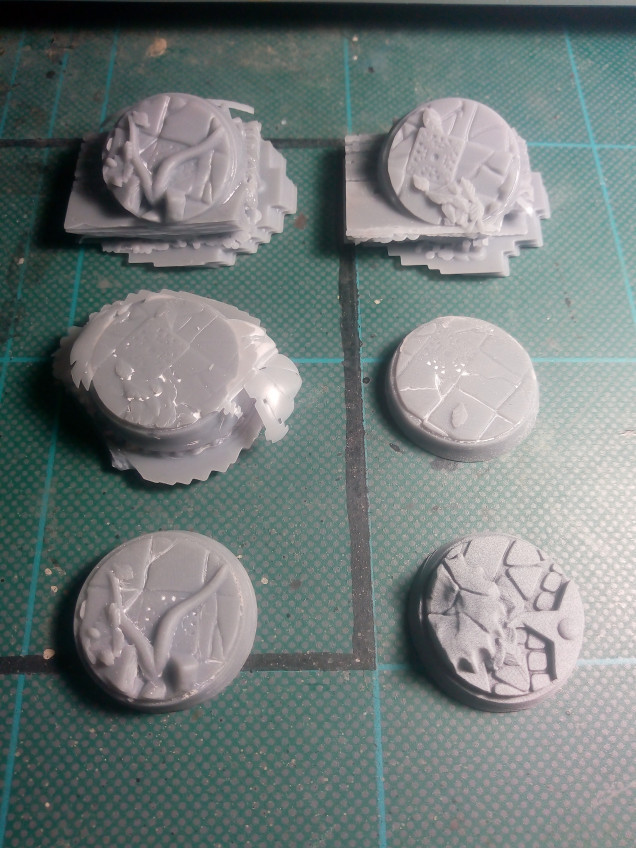
The first image is some bases from the Titan Forge Patreon.
The top pair are fails as I didn’t set the height to raise them off the platform and so when I tilted them for a better print I tilted them below the zero level of the machine…..balls……number 1!
The second pair I lifted the files on Chitubox as I should and forgot to tilt to an optimum angle, hence the lack of depth to the details…..balls…..number 2!
The third pair are my latest base attempts and I am happy with them (seems balls come in pairs rather than threes, who’d have thought aye.)
These I got right and have a good depth of detail, one is as it comes from the printer the second I have smoothed out a couple of areas where there were print lines on the edge of the base and zenith highlighted. I will say that before I zenithed I could see very small lines on the base but nothing I couldn’t live with. Already these are starting to be less visible and I would imagine with a single lick of paint they would be gone.
After this minor victory, I set about learning a lot more. I have found for the Anycubic Photons there is a file validator that will help you spot any flaws in your print, namely the unsupported or poorly supported areas by layer. It will fix some for you and by the end, the ones you have to go do manually on your slicer are a much smaller percentage than at the start.
https://github.com/Photonsters/PhotonFileValidator
Also, I got into some vids from that guy on YouTube, as Warren is always telling us that’s the place to go for genuine information. My guy turned out to be this guy. He has done 8 videos (I will just link the first one) and I found them really useful and now re-arrange a lot of my supports following the mantra he lay down. I still use the generated supports but have changed my settings and I now check the minis and adjust many even before my initial slice. All in all well worth a watch.
https://www.youtube.com/watch?v=TTZpvhfaNWY&list=PLC4QzbTxrEF-fA1OC_-zE_4f6n1K-w2SS&index=1
So what next, well a full-size miniature of course. Its definitely put me out of my comfort zone for a few days but now I am feeling much more comfortable and looking forward to doing more.
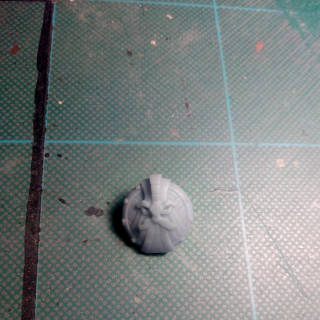
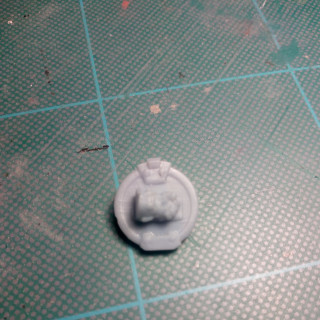
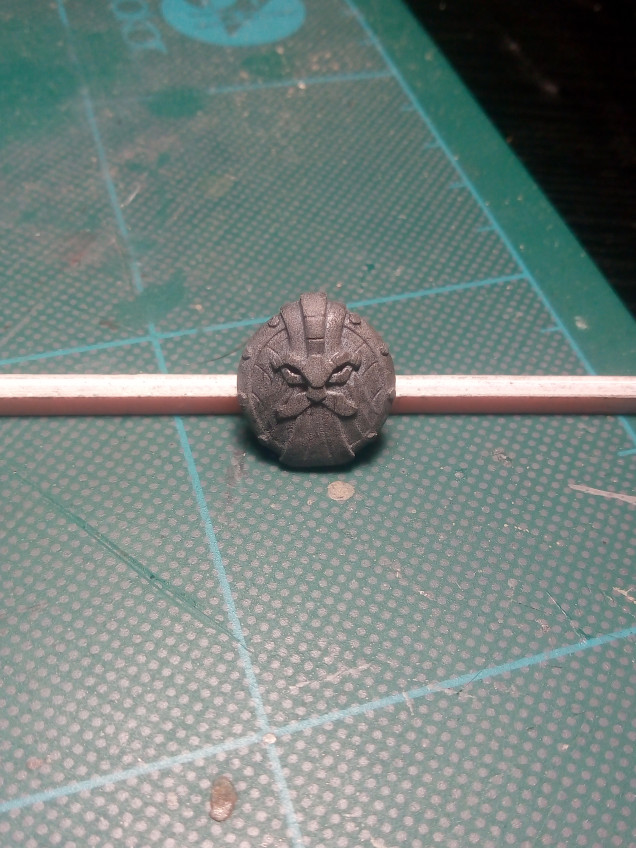
One of the Dwarf shields I wanted to test after the bases as it has some small detail such as holes in the strap on the back which are actually there and some clearly defined lines and details on the face of the shield. Really pleased with the results. Did a quick zenith and threw some thinned down Nuln Oil on it to show how clean the result is in the final image.




Thanks for this. Its interesting to read about someones first foray in to 3D printing. I’ve just checked my bank balance and I appear to have a little more than expected (not much more) and if this keeps up I am tempted to invest after the next paycheck and round of bills have gone. If you, or someone at OTT HQ could produce a full article based on this along with a more detailed list of Must Buys and Accessories you’ll want later etc I’d definitely give it a good read. I’ll certainly be watching this project for more of… Read more »
Hey buddy, not a problem. We touched on it a little bit during Laughingboys Twitch. Leakage is not a concern for me but I am just a cautious person by nature. I work with lots of chemicals on a daily basis including IPA, Meths and number of much nastier things. Due to this and the fact that I imagine getting grey resin out of my carpet may be troublesome I just make sure I had it covered. I will see about putting a little article together with more stuff in it. I don’t want to tell you to get to… Read more »
I think the article could be useful to a lot of people, if you have time and interest to write one (Thank you). The weekender chats are good, but they make it very hard to reference this information later on. I’d love a full buyers guide telling me exactly what to buy and where from but I know it’ll be out of date before it’s published and therefore a waste of time. Give Justin and Warren a kick and get them to help with an article. We know they’re not really doing any work these days outside of the weekenders,… Read more »
The auto scaffolding isn’t generally great and has caused me problems. You can use it for some stuff and you can use it to give you a start but as you will see in the video auto scaffolding sucks he clearly indicates why 🙂
I’ve watched a few of his videos druing my dinner and I see the problems. They’re very good and informative. Manual scaffolding doesn’t seem too hard, just potentially time consuming and frustrating when you miss something obvious.