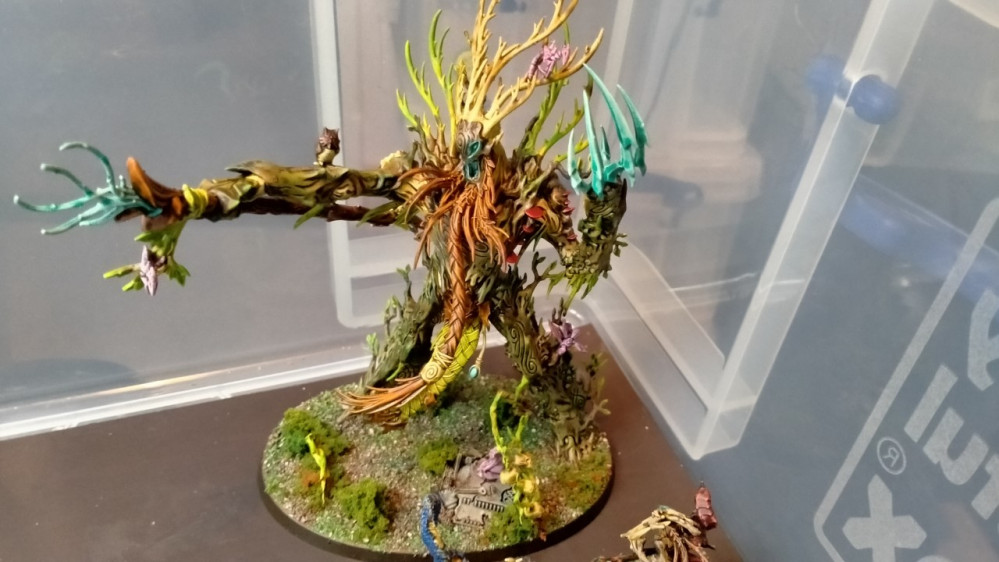
All things Fantasy
Part Two - Starting to Paint - Dryads (Got Motivated)
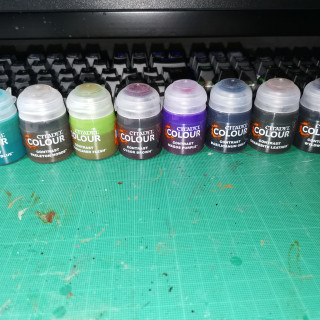
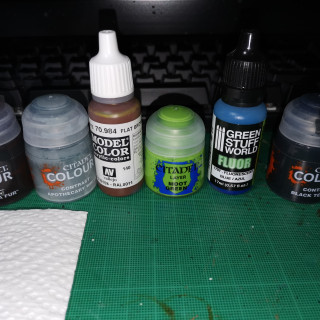
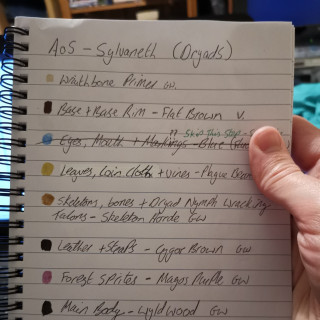
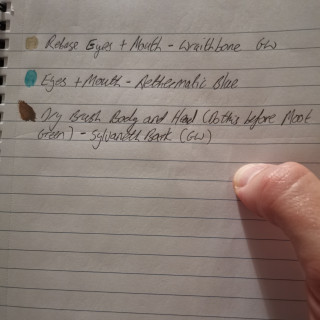
Ok so first things first I assembled my paints and below is a list of the paints I have used, there may be a few more that I will add later. There is a hand written list in the photos below which shows everything that is used.
Usually I paint the largest areas first starting with the darkest colours, however due to the nature of these minis and the nature of Contrast paints this is completely reversed.
I saw it would be easier to use the lightest colours first and hit the smaller details first, this meant when it came to doing the bark I could quickly and easily see what was left to paint without covering other details due to over zealous bark painting.
This part is the painting of the Drayds and the Branchwych. I split these into 3 batches – 7 Dryads, 6 Dryads, and the 3 Leader Dryads with the Branchwych.
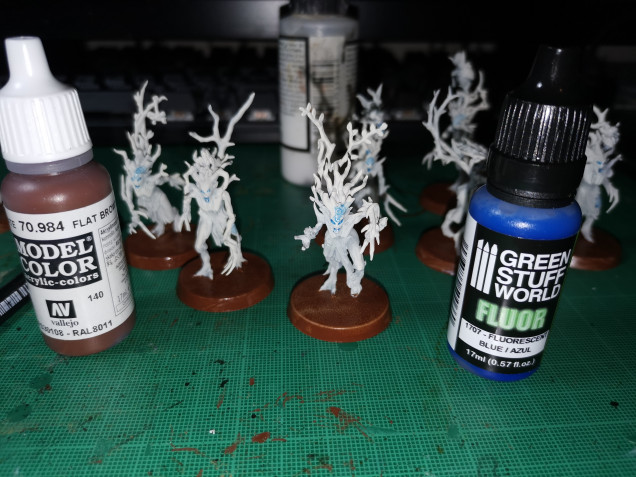 The base is painted in Vallejo Flat Brown, one coat leaves a few natural highlights two gets a nice solid coat, most of this will be covered at a later point. The eyes, mouth and the swirl on the dryads I originally painted with Soulstone Blue - I would recommend not doing this and instead don't worry about painting over these areas and see what I do in step three; it's a much better way.
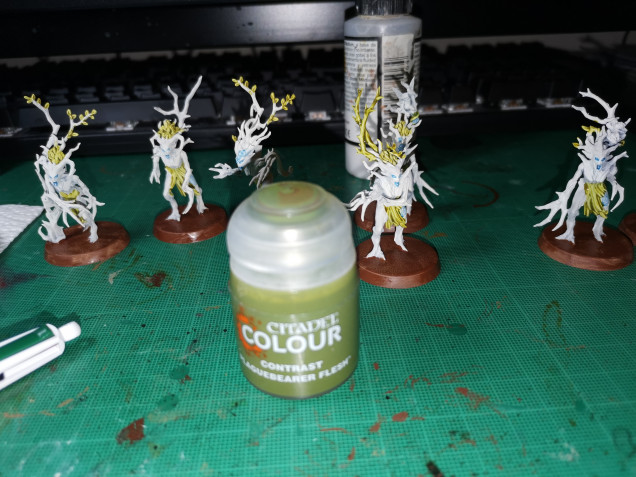 The first contrast to use is Plaguebearer Flesh, this is for all the greenery, so leaves, the skirt and vines; apply a good solid layer. Do not worry about getting this on the braches it will add character and can be tidied up later.
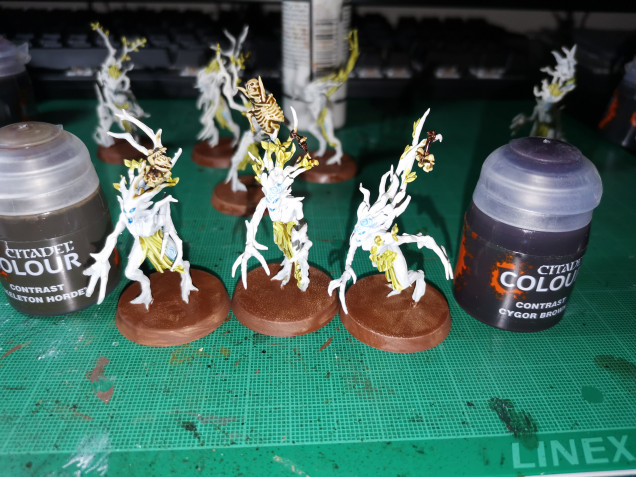 Next use Skeleton Bone for the bones and Cygor Brown for any straps or leather which is usually on or around the bones. These colours are also good for painting the owl. I found the Cygor Brown to have very strong pigmentation so it didn't always show highlights like contrasts are meant to, I would recomend applying this thinly.
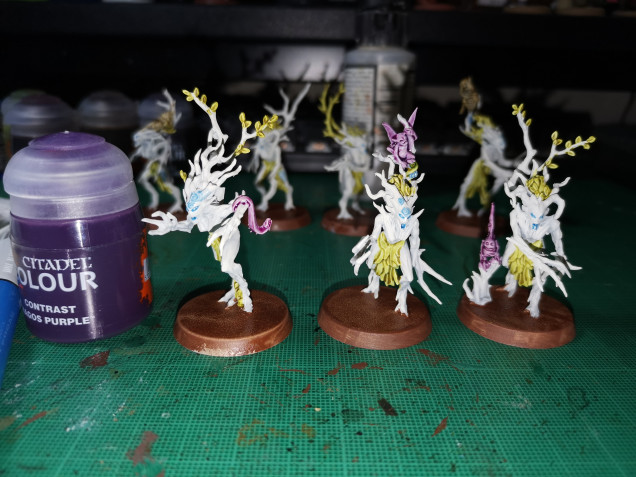 I used Magos Purple for the Sprites, since these sprites are small for the best results I found it best to not let the paint settle too heavily on the mini.
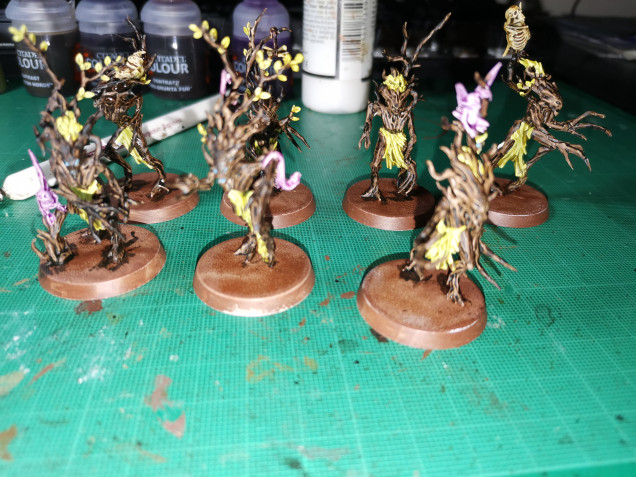 The final part of this step it to paint the Bark. An obvious choice is Wyldwood contrast and thanks to the order this was painted in all the remaining areas can be quickly covered in Wylwood contrast paint. With the second batch I painted I used Vallejo Glaze medium to thin the Wylwood and this produced a much better result than just out of the pot.
 Ok so this is a good point to take a break and let all the contrast paints dry. So go outside and top up your sunburn or get a cup of tea – since I paint late in the evening I usually call it a night at this point. The contrast Medium tends to add to the drying time and I find that even when dried the contrast paint still slowly becomes a slightly lighter shade – or I could be imagining it…
Next up is the dry brushing stage, you could stop at this point but the next stage really brings everything out and it the best tiem to correct mistakes. Trust me despite the rubbish photos they look quite good on the table in natural light.


![TerrainFest 2024 Begins! Build Terrain With OnTableTop & Win A £300 Prize! [Extended!]](https://images.beastsofwar.com/2024/10/TerrainFEST-2024-Social-Media-Post-Square-225-127.jpg)




Leave a Reply