Finally Finishing an Army
Painting a Big Blue Meanie (Part 1).
This is the first mini I’ve started after this project started, and I thought I’d take the opportunity to go through some various steps I took to get my Redemptor Dreadnought (currently operating under the name ‘Jeffrey’) ready. So let’s get started with the skeleton of the mini!
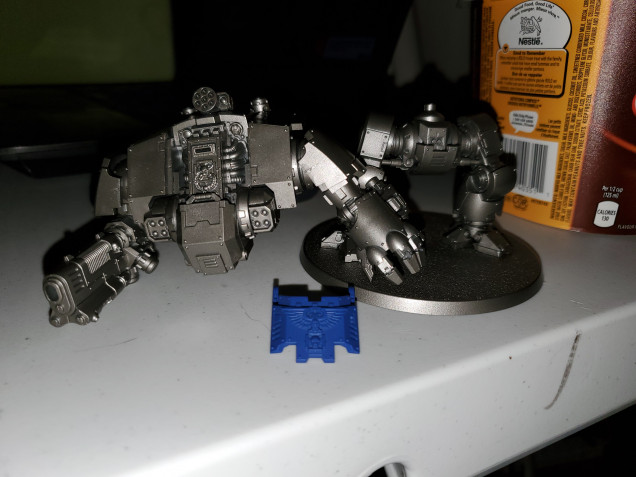 So, as I said before, I have a thing for sub-assemblies. Here are mine for this mini, the top glacis plate was seperate in order to get paint onto most of the Sarcophagus. I primed the legs and torso with GW's Leadbelcher Spray and the glacis plate in Macragge Blue. More on the blue bits later though!
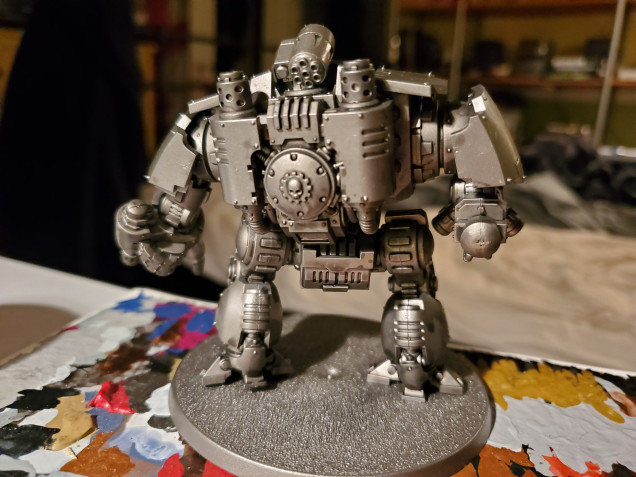 So the basic system here is one I borrowed from the GW painting videos for the Imperial Knights they did some years ago. First up wash all over anything that will be metal with Nuln Oil. This will take a while to dry, so be patient.
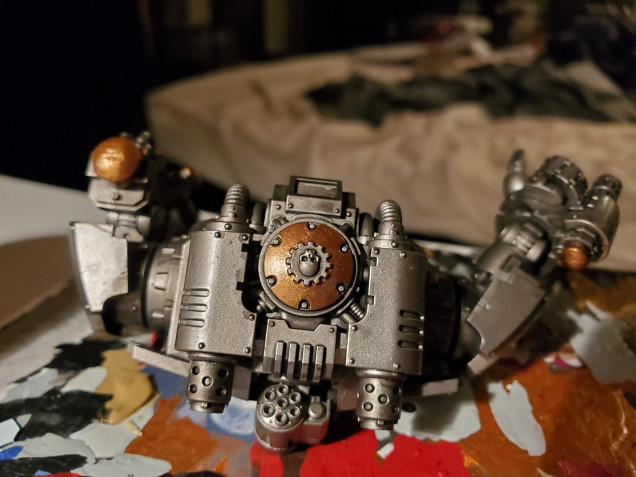 Next pick out some details with Balthasar Gold. This part is optional, really, and the mini would still look great without it, but it helps to break up the metal parts a bit. Get a nice solid base before moving to the next step. You'll notice only the torso here, because I am a dingus who jumped ahead on the legs before taking a picture...
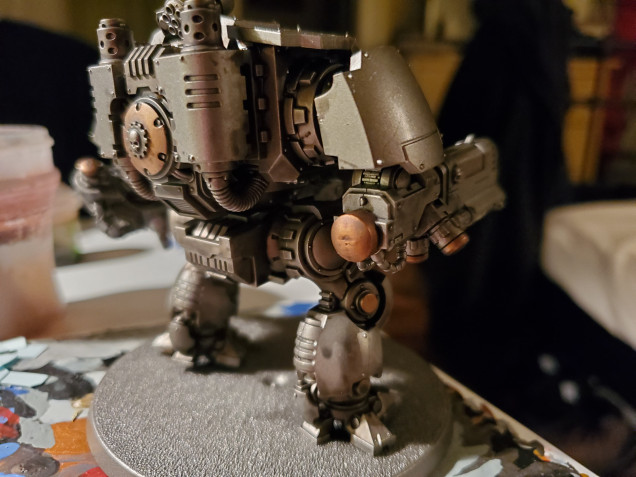 Next we want to apply a nice all over shade of Agrax Earthshade. This gives a bit of a grimier appearance to the machinery, and for that reason I avoided the weapon parts to help them stand out a bit more. You will need to shade all parts painted in Balthasar Gold if they are on the weapons, though, so switch to a smaller brush to shade these.
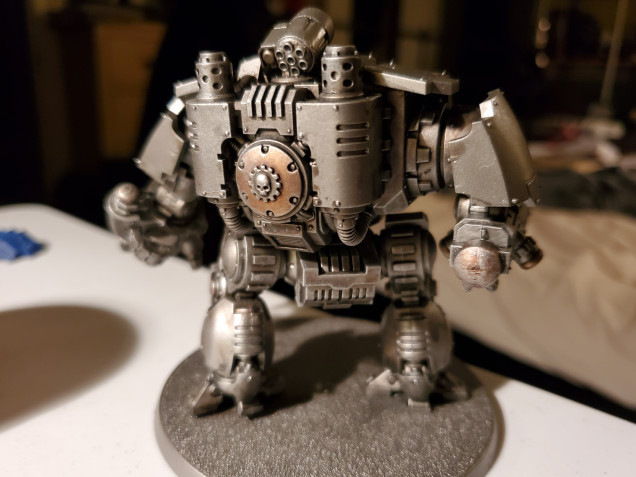 Then the fun part; drybrushing! I used Runefang Steel here, but any bright silver will do. Necron Compound would be a very good option if you have some, but, alas, I did not.
And that’s the basic skeleton! At this point if you want to show some more ‘polished’ zones such as pistons, go ahead and paint some bright silvers in there, but remember to leave some shading in the recesses! Next up we’ll be moving onto the armour plates. The brilliant thing about this skeleton, though, is that is works regardless of the chapter you’ve picked, or created, to paint! After this things will be more Ultramarine focused, but you can always switch out some colours.


Leave a Reply