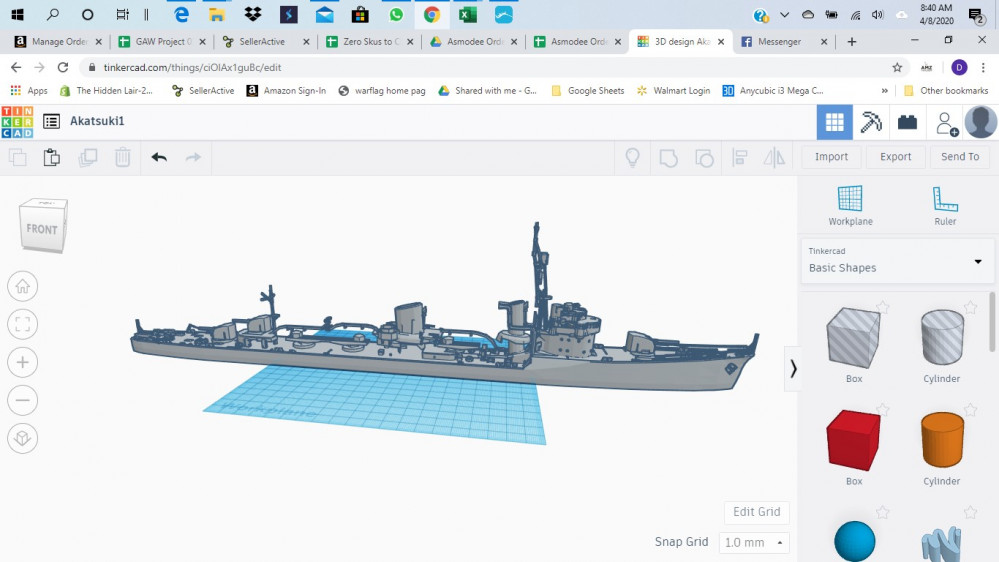
1/200 Scale Japanese Destroyer 3D Print Project
Next... To TinkerCad!!!!!
Ok… Found and downloaded the STL of the IJN Ataksuki…
Next, I imported the STL into TinkerCad… because it’s free, and that’s how I roll…
Resized the file…. The ship is huge! LoL
Nosing around the ship, I am seeing some spots where enlarging the file has caused gaps, and some spots where fine things like railings have failed.
So, a few things will have to happen… I will clean up the fiddly parts that aren’t likely to print well… I will fill gaps where the enlarging broke the file…. And I will sub-divide it into nice small bite sized pieces that my printer can handle.
First thing I did, was I trimmed off the bottom of the hull so it woud be a waterline model, and then created a slot all along the bottom of the ship… It should be perfectly sized to take a 1/4 inch square rod. This will help to line the Hull pieces back up after printing them.
Then I painstakingly subdivided the ship into 6 pieces of between 8 and 10cm in length, choosing the division points carefully to make printing easier where possible.
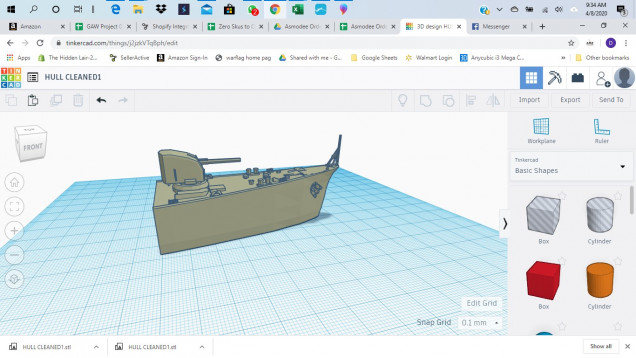
Then starting on the bow end of the ship…. Clean up….
I have removed the bits of railing that still existed and plug some gaps with basic shapes. Then merge and continue.
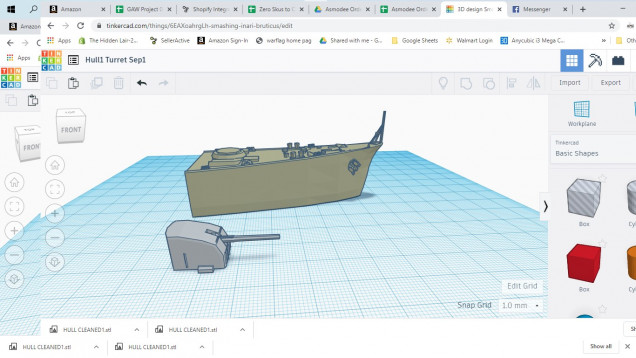
At this point, I decided that if I am going to all this trouble, I definitely want to be able to turn the turrets! So, those have to come off, to be printed separately! Will probably install some magnets to make them easily rotatable.


![TerrainFest 2024 Begins! Build Terrain With OnTableTop & Win A £300 Prize! [Extended!]](https://images.beastsofwar.com/2024/10/TerrainFEST-2024-Social-Media-Post-Square-225-127.jpg)




Leave a Reply