
Esoteric spring cleaning
Textures
I had a busy weekend.
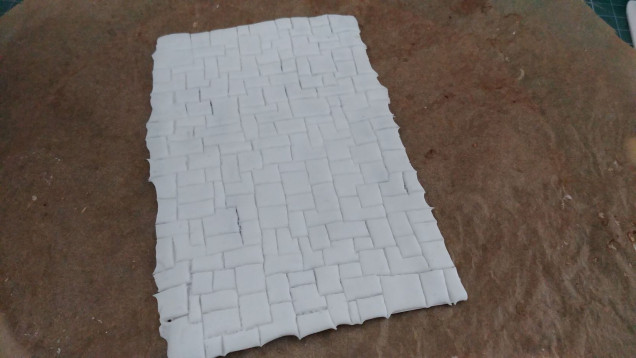
Bellow you see photos illustrating my process of creating textures. First I did the floor. I wanted it to have rather battered, worn look, so I avoided using any rollers or other “machine” manufacture. Instated I went for some child-play heat hardening clay and hand sculpted a pattern of stones which in reality would be carved out by stone masons on site to fit any gap the artisans had to fill. That way it became very irregular in all three dimensions. But before that:
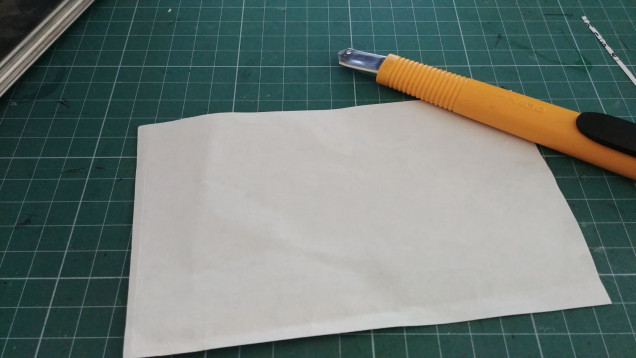
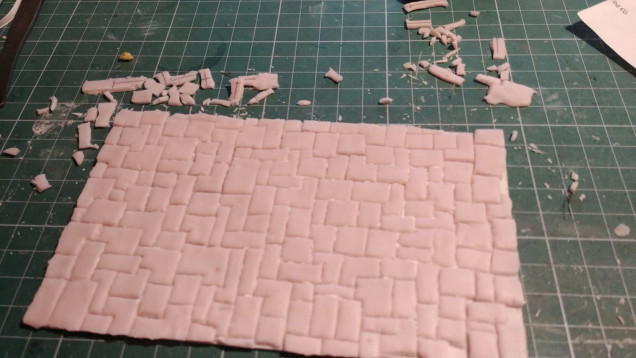 5. After baking the clay, I cut piece of plasticard to act as a foundation for my floor. I used super glue to stick the carving to the plasticard.
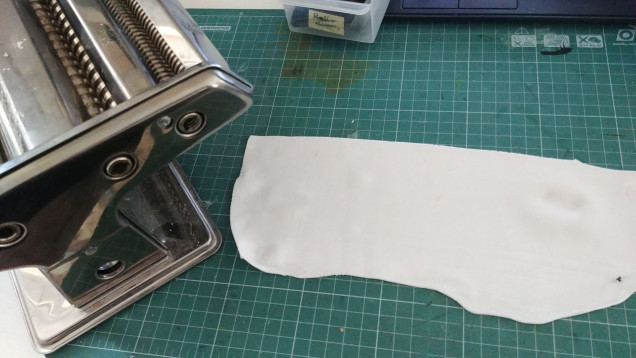
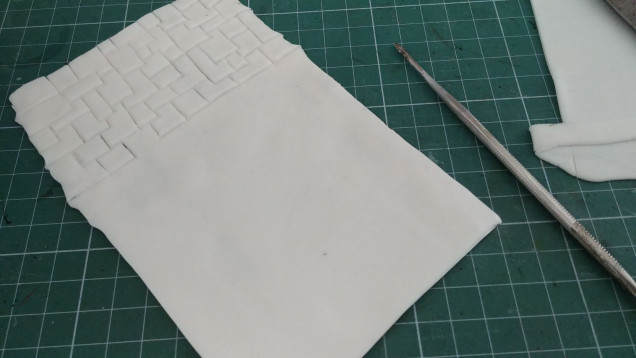
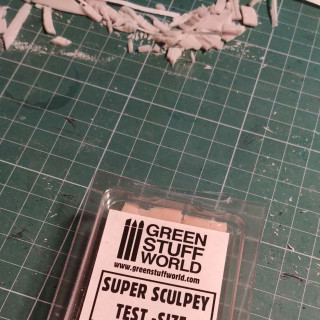
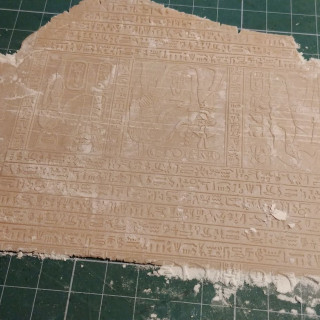
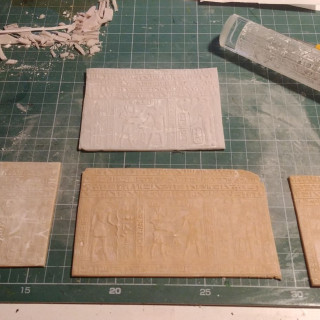
For the walls, the clue of this part of spring cleaning all the irrational ideas out of my mind , I used the GSW rolling pin. But to clean even more, I didn’t use my usual mixture of miliput and plasticine but used a sample of super sculpy, which I got from GSW as a bonus in my first order from them 6 or 7 years back. I have to admit I worked beautifully and can easily replace my normal mixture. It is less sticky (to the point where actually mixing two pieces of it together requires quite a lot of work), and transfers details equally well. On top of that , backing if much faster than waiting for miliput to cure. I have 1kg of that material stored somewhere…




Leave a Reply